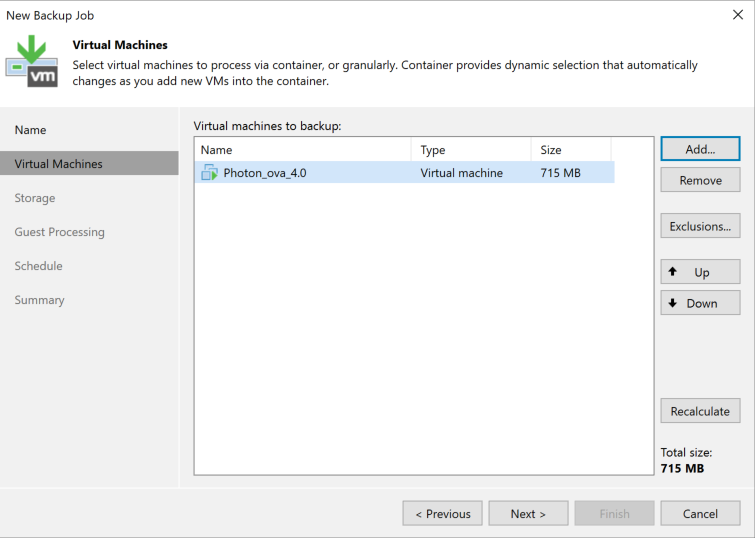
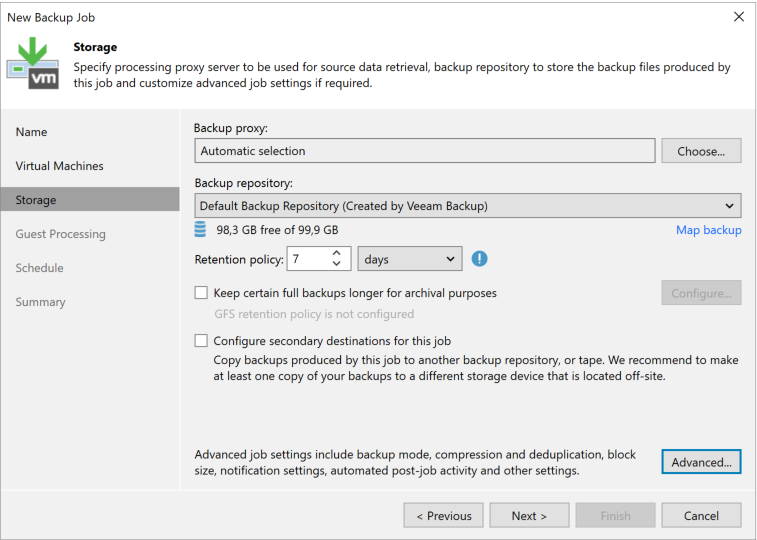
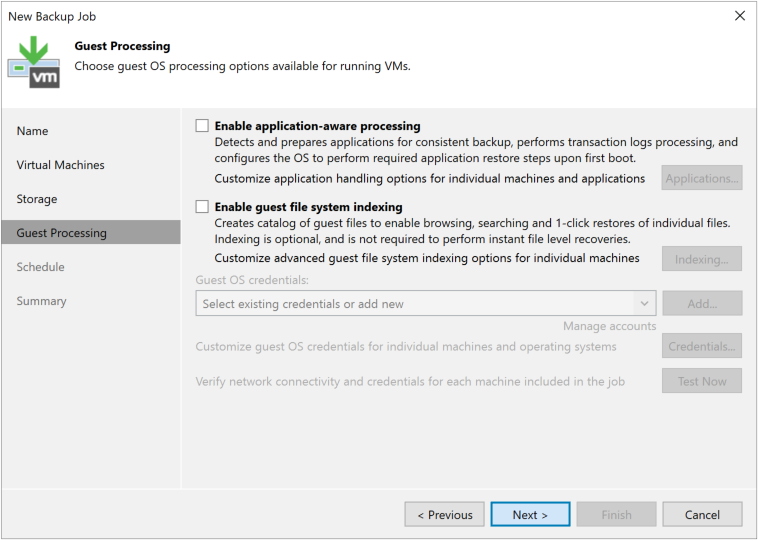
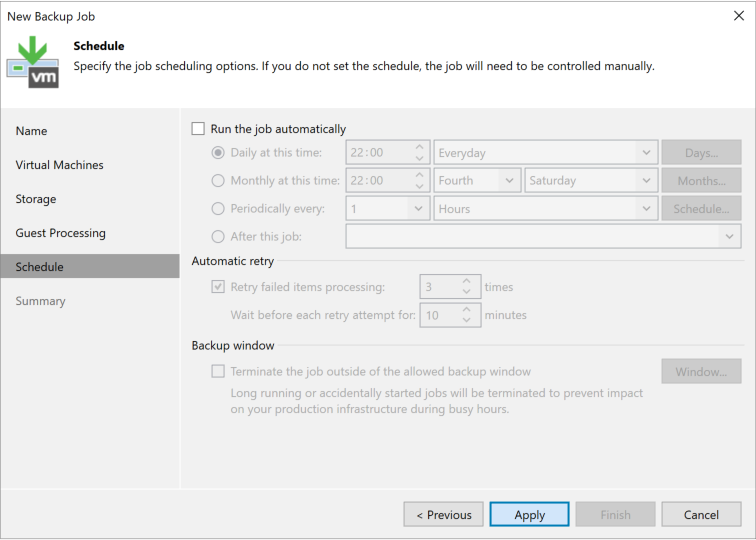
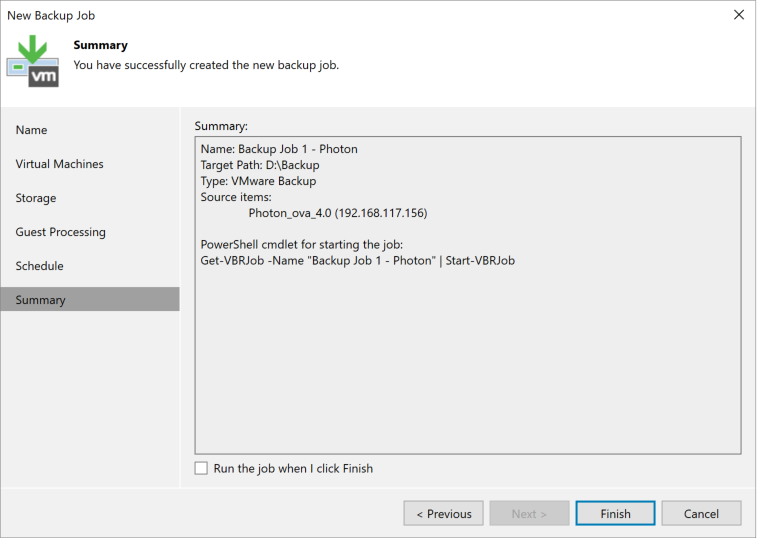
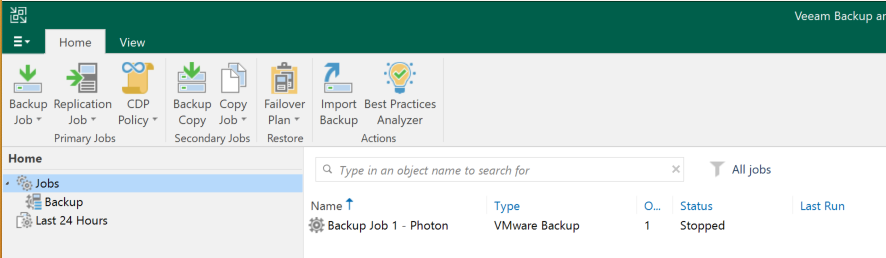
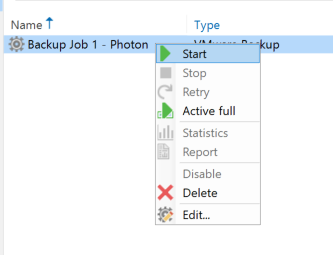
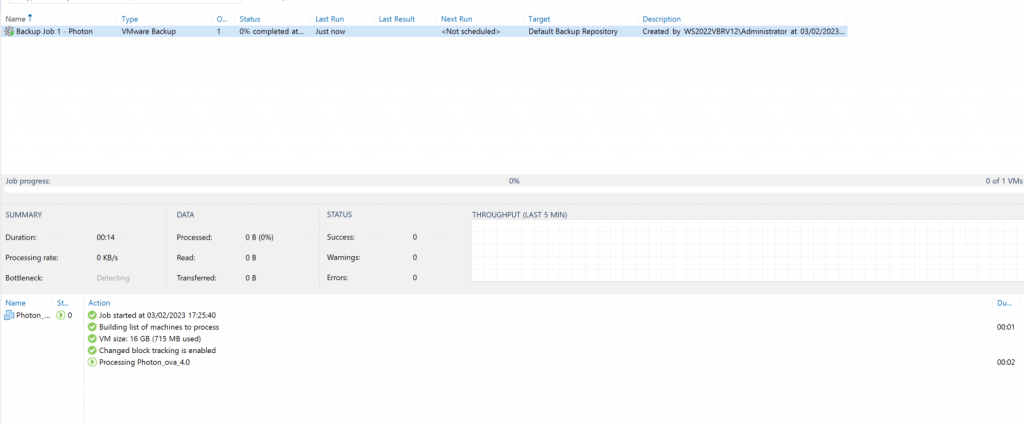
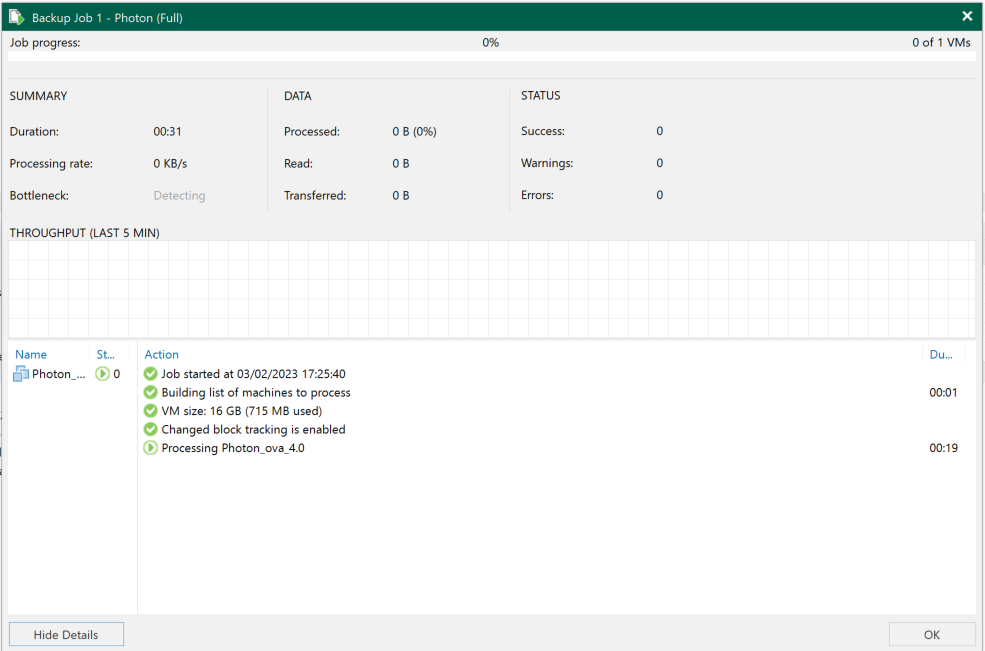
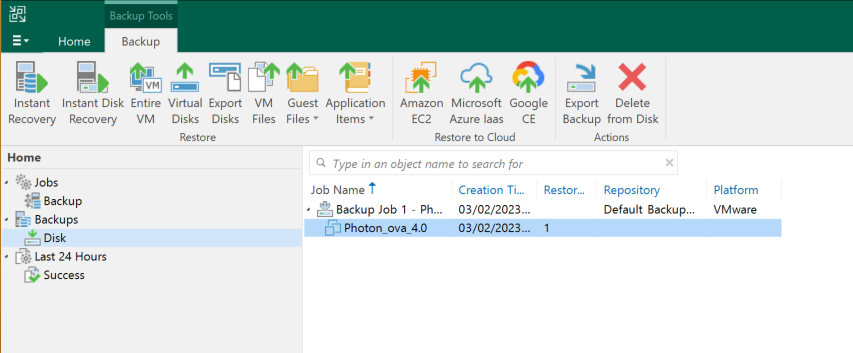
We’ll use screenshots to create our first backup job for a virtual machine, and then continue exploring.
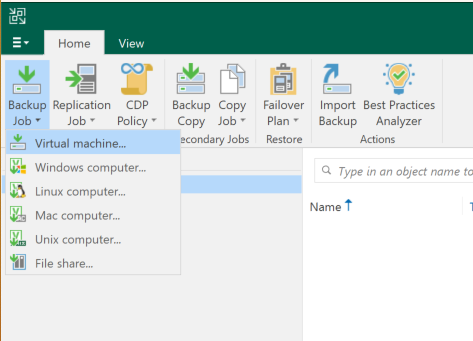
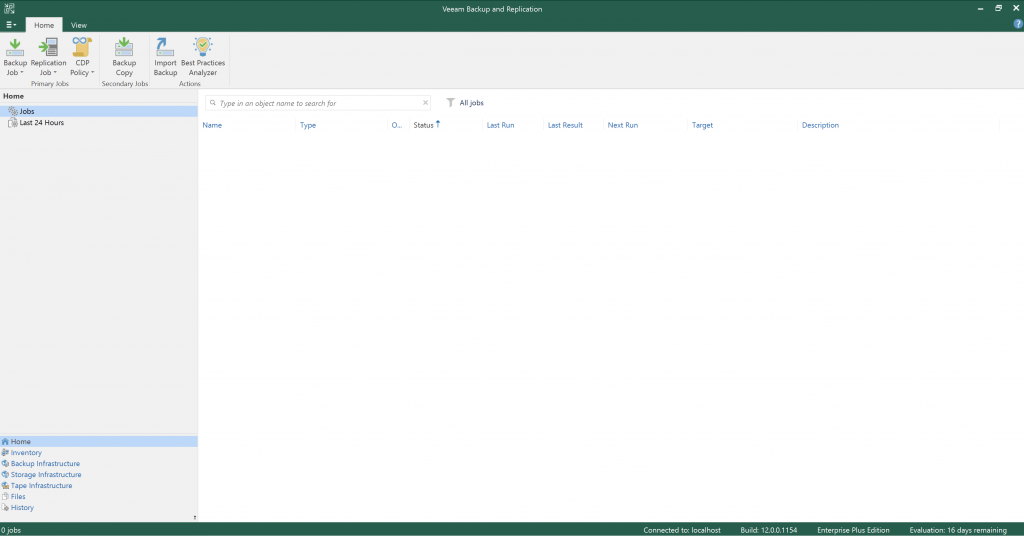
Open the Veeam console home screen and go to Backup Job > Virtual machine (since we’ve already added the ESXi server).
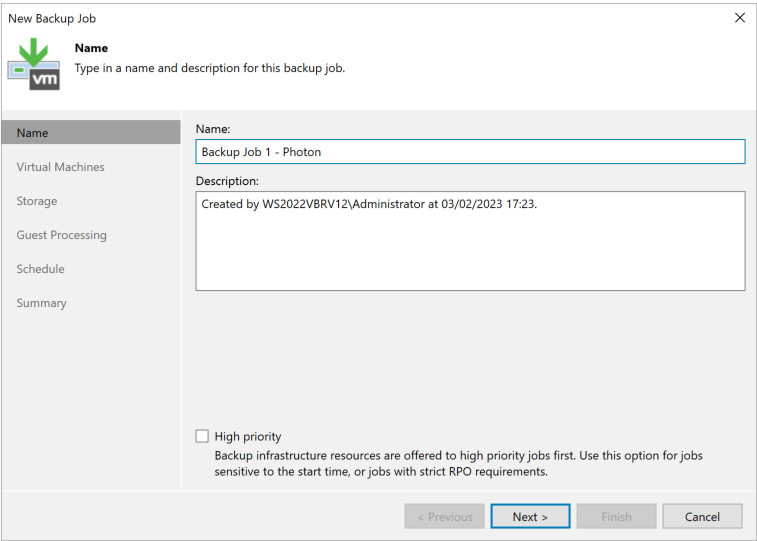
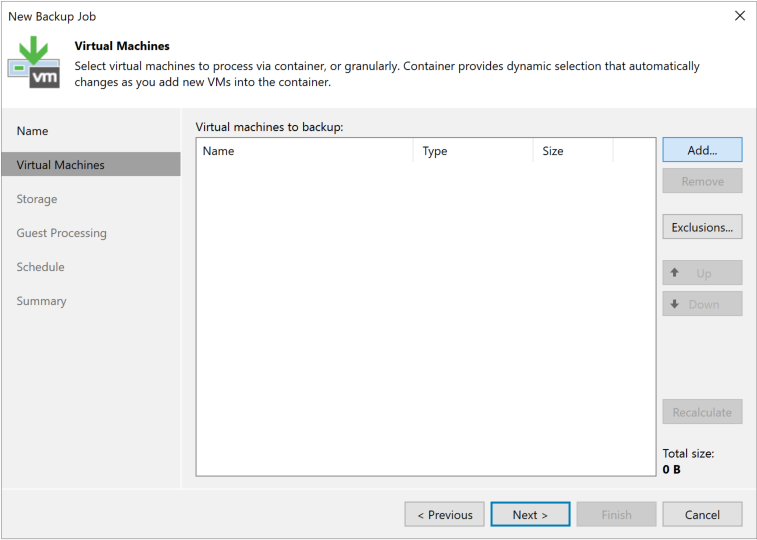
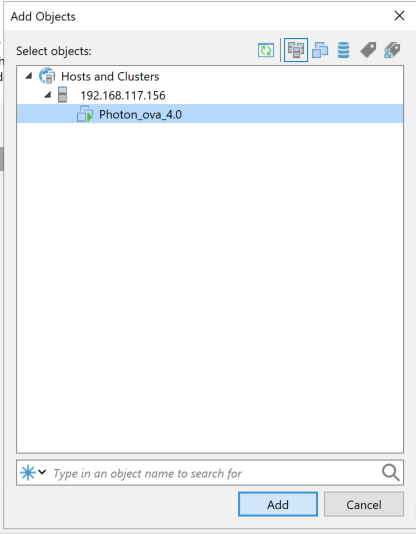
Give the job a name that will make sense to you later. You can add multiple machines to the same job.Click Add, then select the machine you want to back up.As you can see, our Photon VM is listed. Select it. Later, we’ll look at other ways to organize backups using tags and more.Here you can add more machines or continue to the next step.Here’s some useful information: the minimum retention is seven days, which means we’ll keep at least seven daily restore points.We’ll look at this in more detail. This is a great feature that helps make applications consistent in the backup, not just the machine.Job scheduling is very flexible: every few days or hours, on a periodic schedule, and more, depending on what you need. A daily backup outside production hours is common.Here’s a summary of our configuration.There it is: our first backup job!Right-click it to start the backup.Here’s the backup in progress.The backup completed successfully. We can access the backup file created by Veeam, which contains our machine and its restore points.
Next time, we’ll look at restoring data from a Veeam backup: both a full machine restore and recovery of a single deleted file.
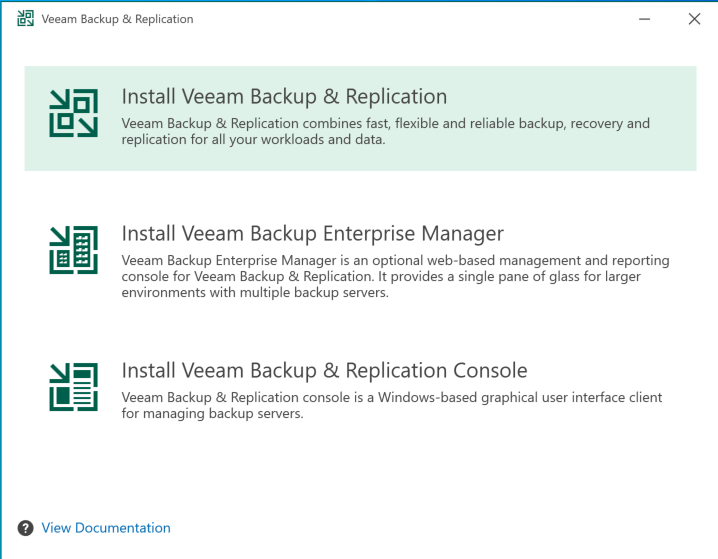
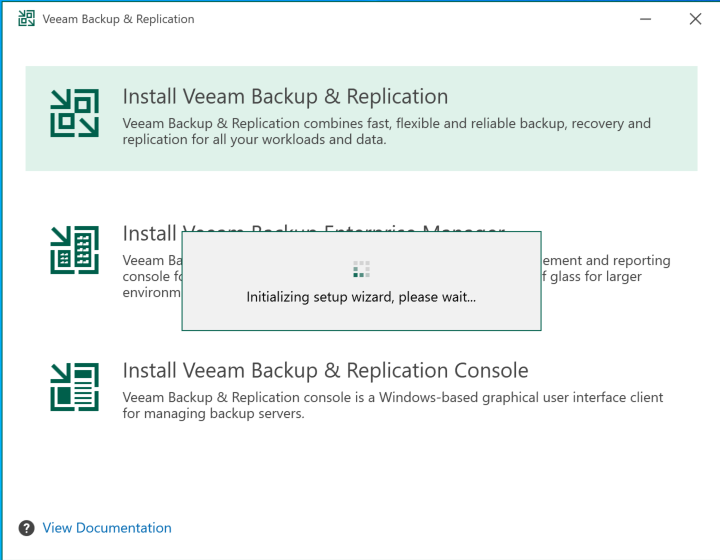
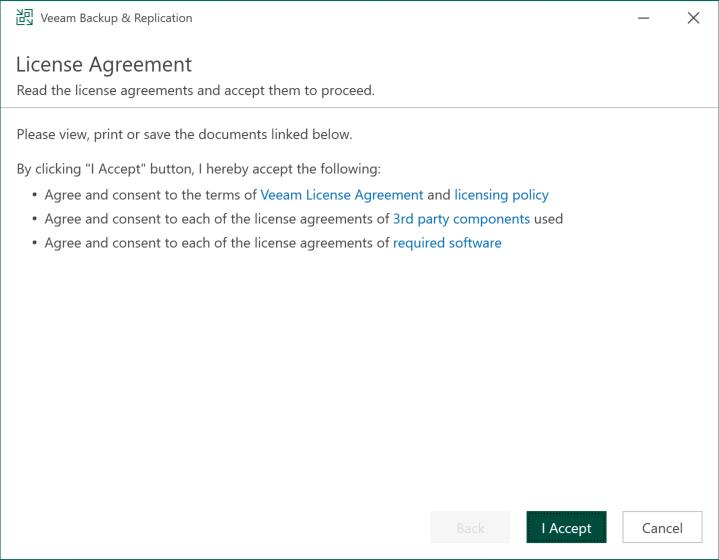
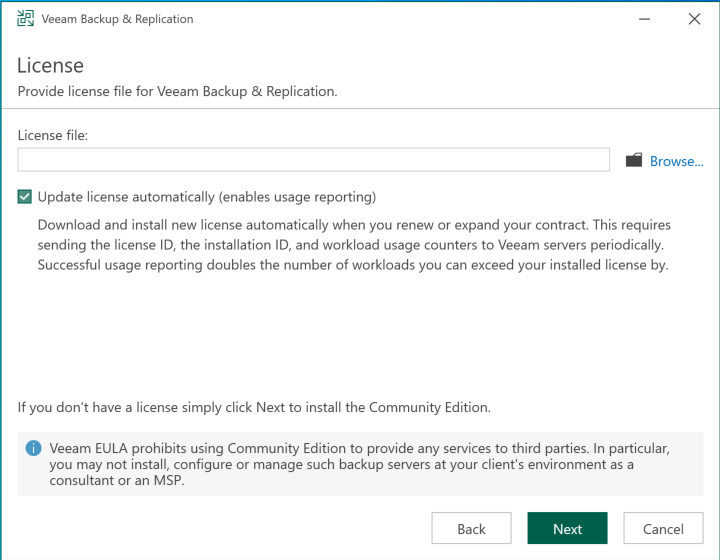
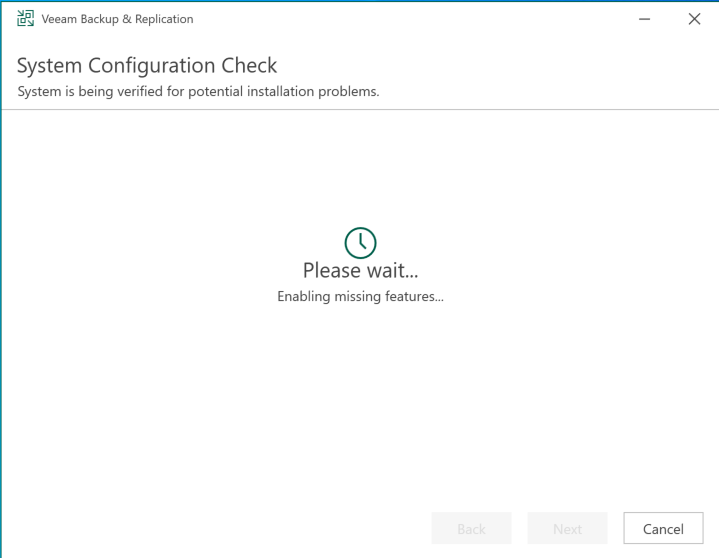
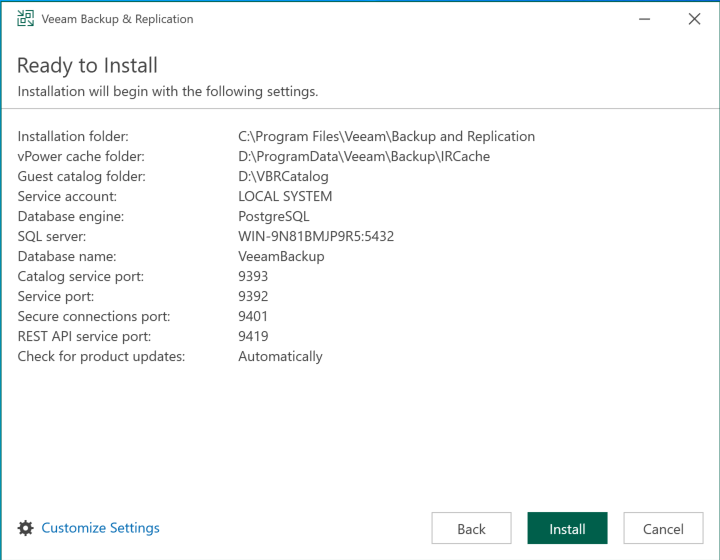
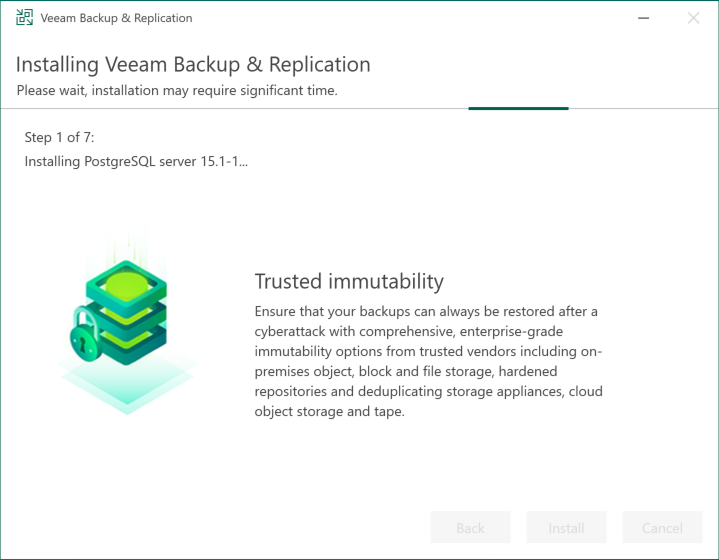
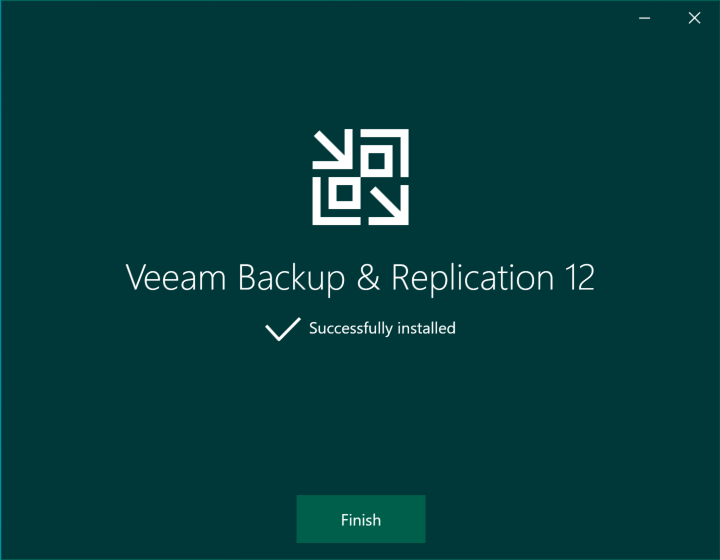
Here are a few screenshots of the new installer for VBR 12.0.0.1402.
I have to say, they’ve made it look great and made installation easier than before…
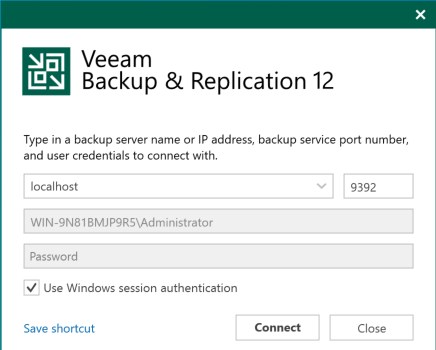
Once the ISO is downloaded, open it and start the installation. Let’s follow the screenshots…
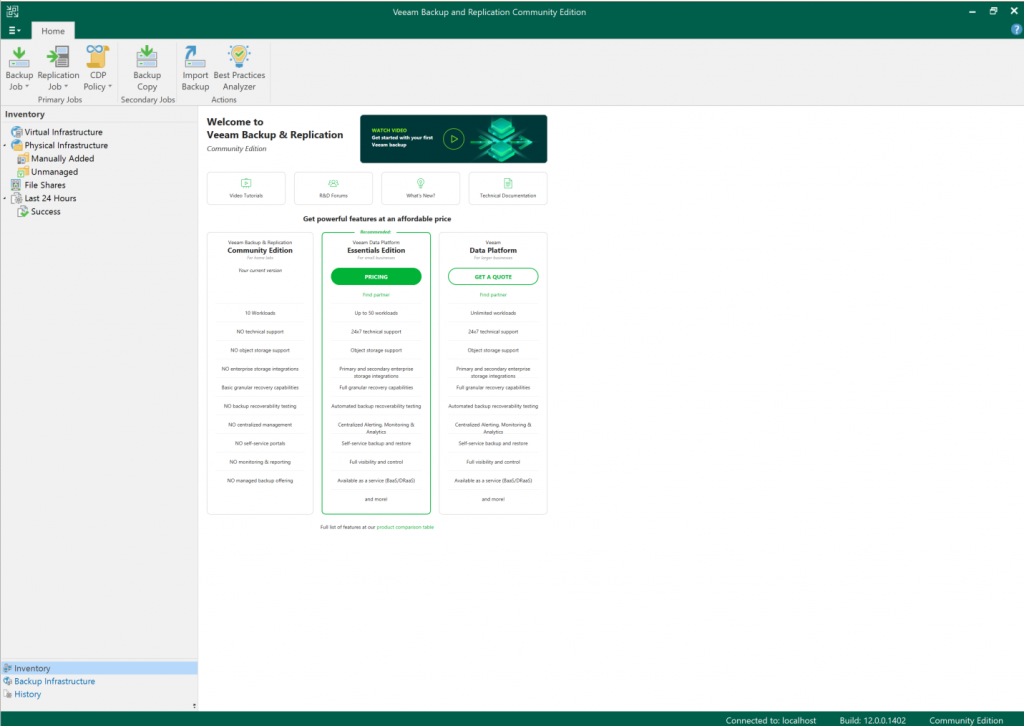
Initial installation screenSelect the first option: VBR v12.Here we go.If you have a license or support, enter it here. Otherwise, continue with the Community Edition; we’ll explain that later.The installer checks that everything is ready to continue.It shows a summary of the installation locations. Look at PostgreSQL—what a great addition!Let it work in the background.Ready! That’s how simple it is.
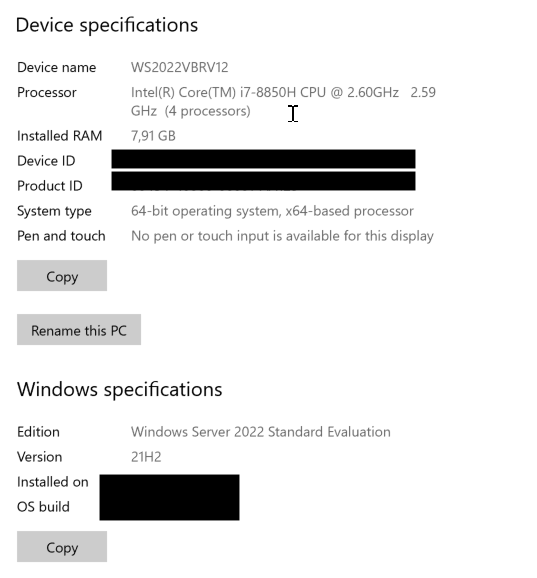
Here are a couple of screenshots showing the specifications of the machine where I installed Veeam v12, for your reference.
I usually create two partitions: one for the OS and Veeam database, and another for Veeam’s indexes, metadata, and local repository. The installer assigns the partitions automatically. I like to keep them separate so space issues on one volume don’t affect the OS, and vice versa.
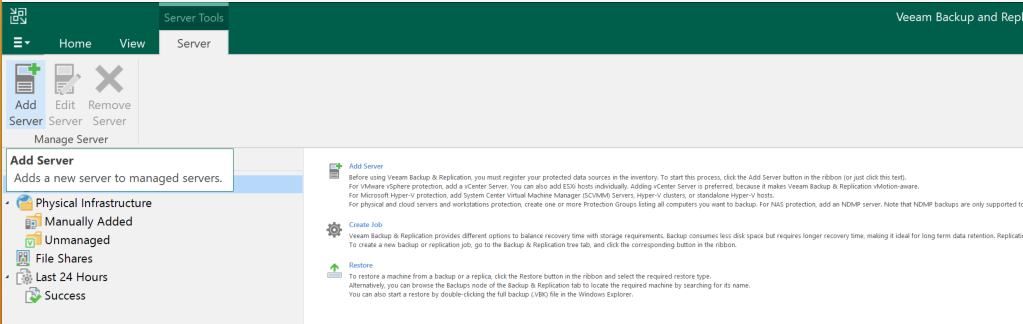
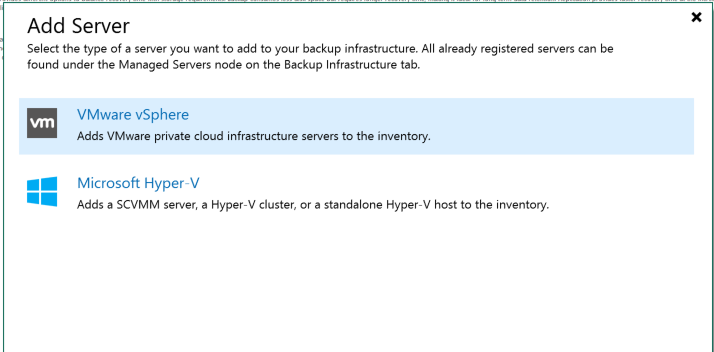
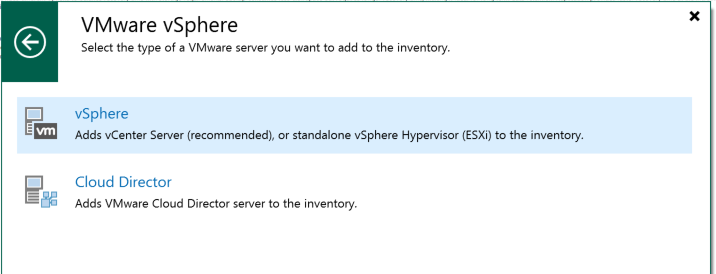
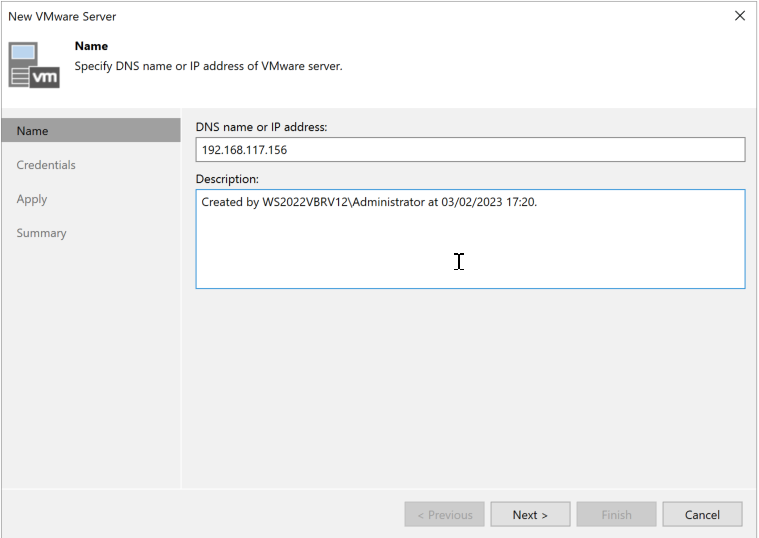
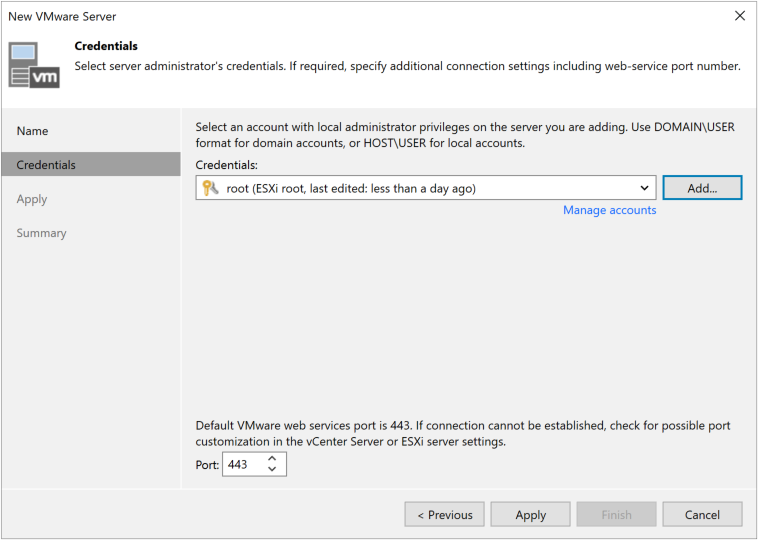
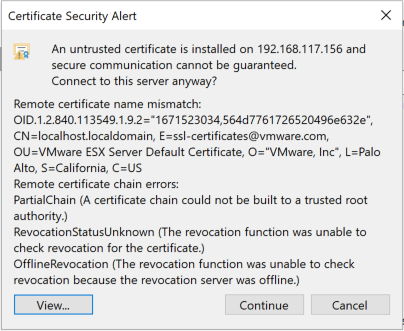
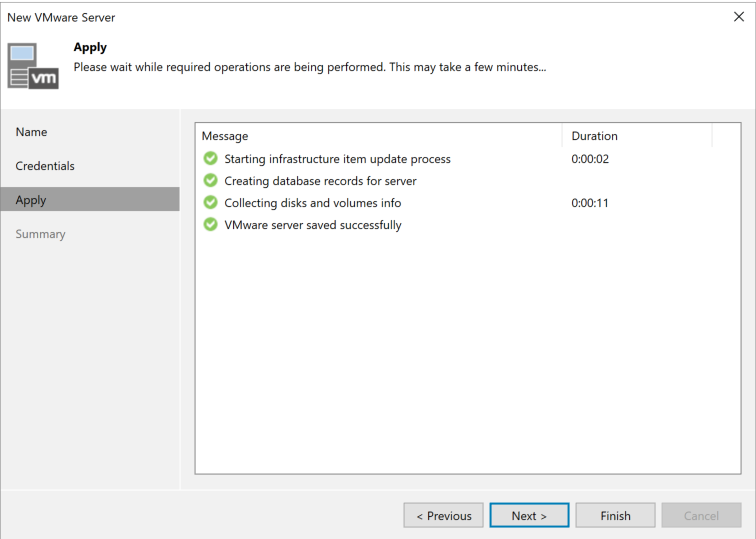
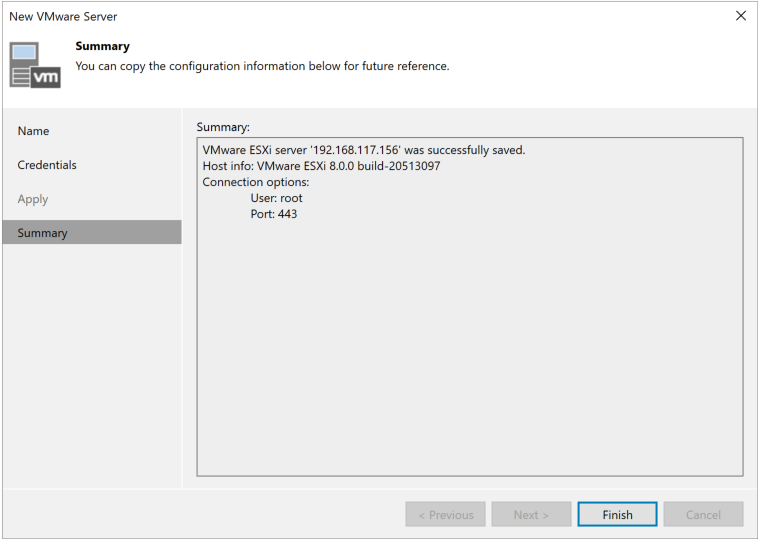
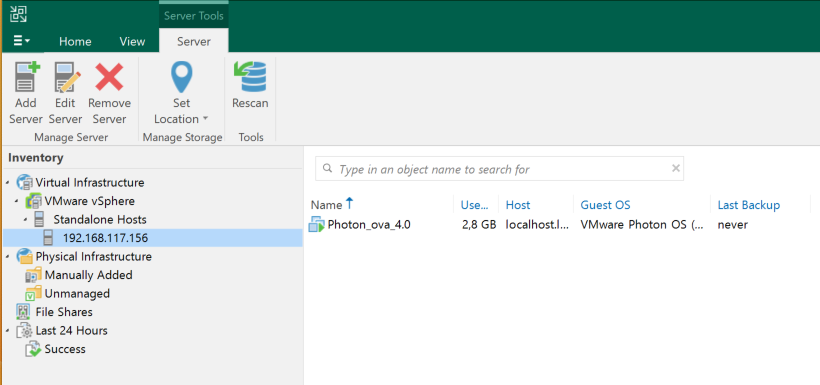
Here’s a simple screenshot walkthrough showing how to add an ESXi server to Veeam B&R v12 so we can back up its virtual machines. We’ve completed the initial configuration. Now let’s add a source to back up:
Open the Veeam B&R v12 console.Home screenIn the Inventory menu at the bottom left, select Servers, then click Add Server at the top.Follow the wizard.If the password hasn’t been added yet, click Add, enter the username and password, and continue through the wizard.It will ask you to add the certificate. Continue.Here it is. In the Inventory menu, under Standalone Hosts, you can see the added host. Click it to view the virtual machines it contains!
Now we can start creating backups, replicas, and more.
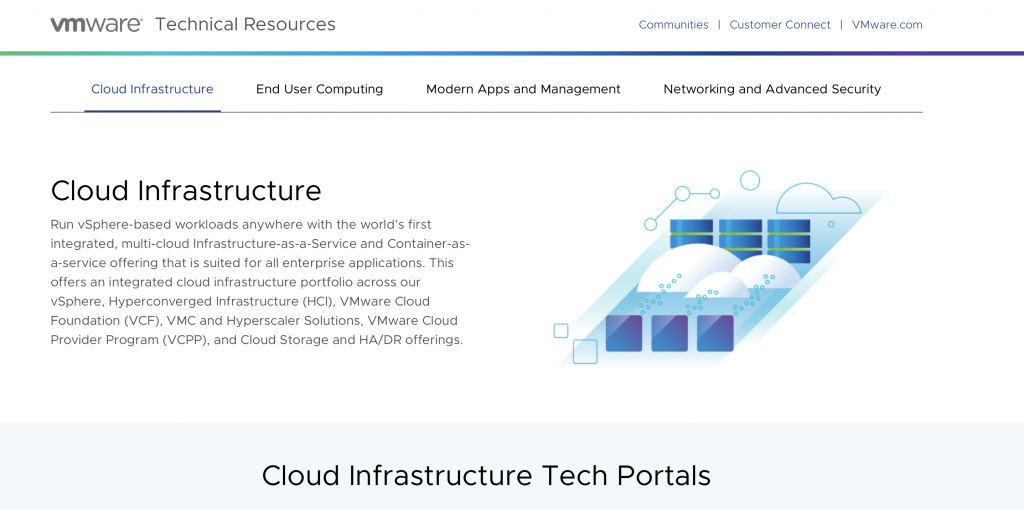
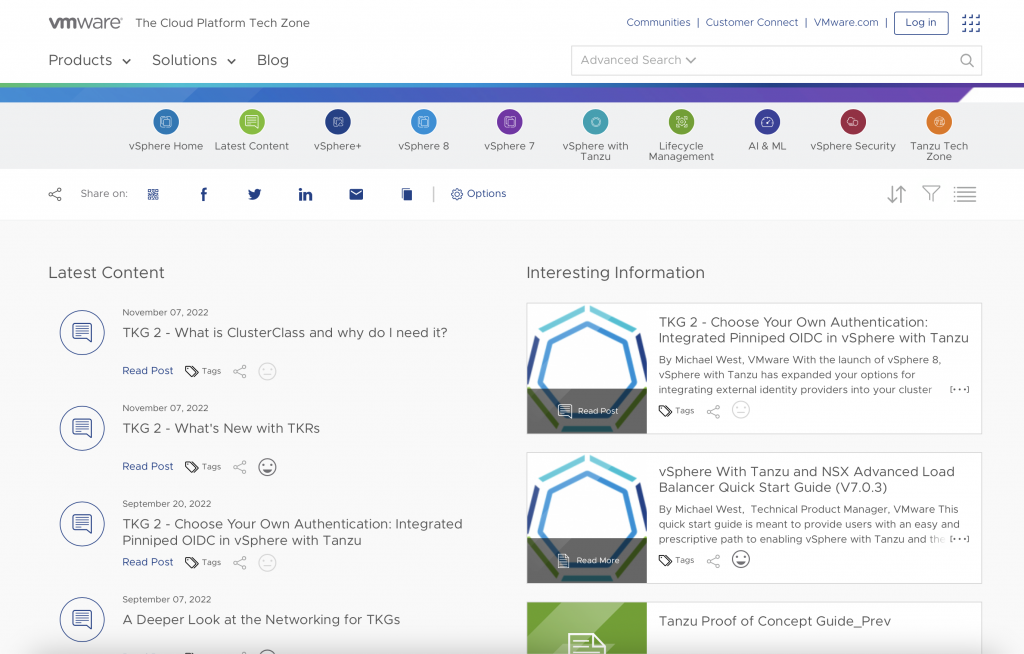
Hi! As members of the VMware Tanzu Vanguard community, we were introduced today to a very interesting site with a wealth of technical resources from VMware available to everyone.
VMware Tanzu Vanguards are active customers, cloud users, and other users who are passionate about VMware products and services. They openly share their experiences and knowledge with the community and others.
Member benefits
Access to VMware Tanzu products and services
Exclusive invitations to our conferences and user group meetings
Networking with a small group of experts who can help with technical questions
Recognition and rewards for contributing and achieving goals
Digital Tanzu Vanguard badges
Community-branded merchandise
Join in and take full advantage of everything VMware Tanzu offers for learning, experimenting, and advocating for TANZU.
When you do, please say you heard about it from me, @Luis Freixas.
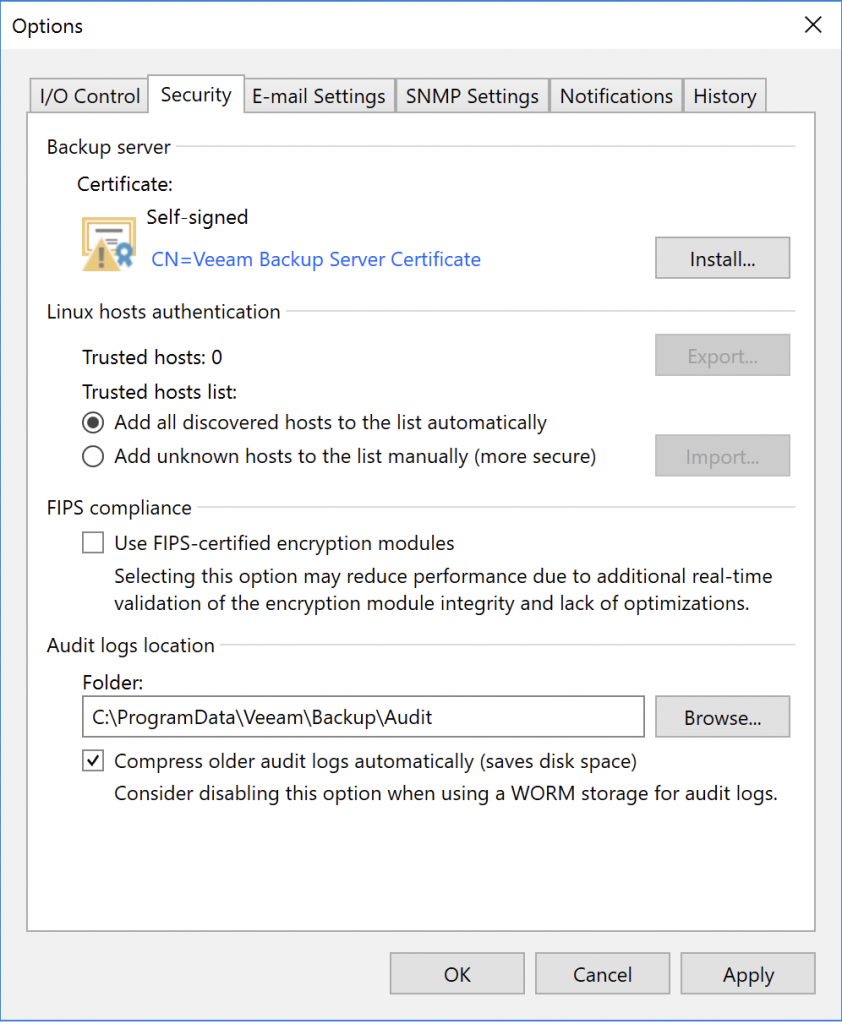
Now let’s go through the initial setup and review the general options before moving on to more advanced topics, such as backup and replication jobs.
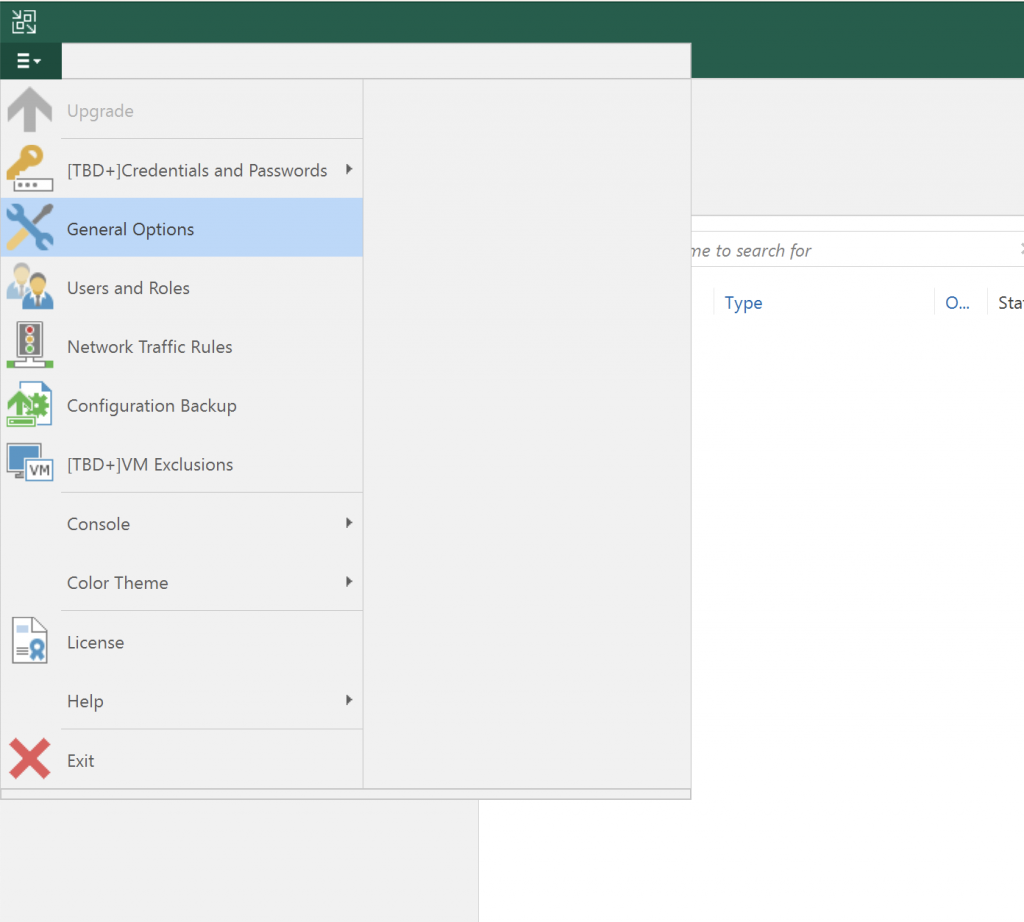
Let’s start with General Options.
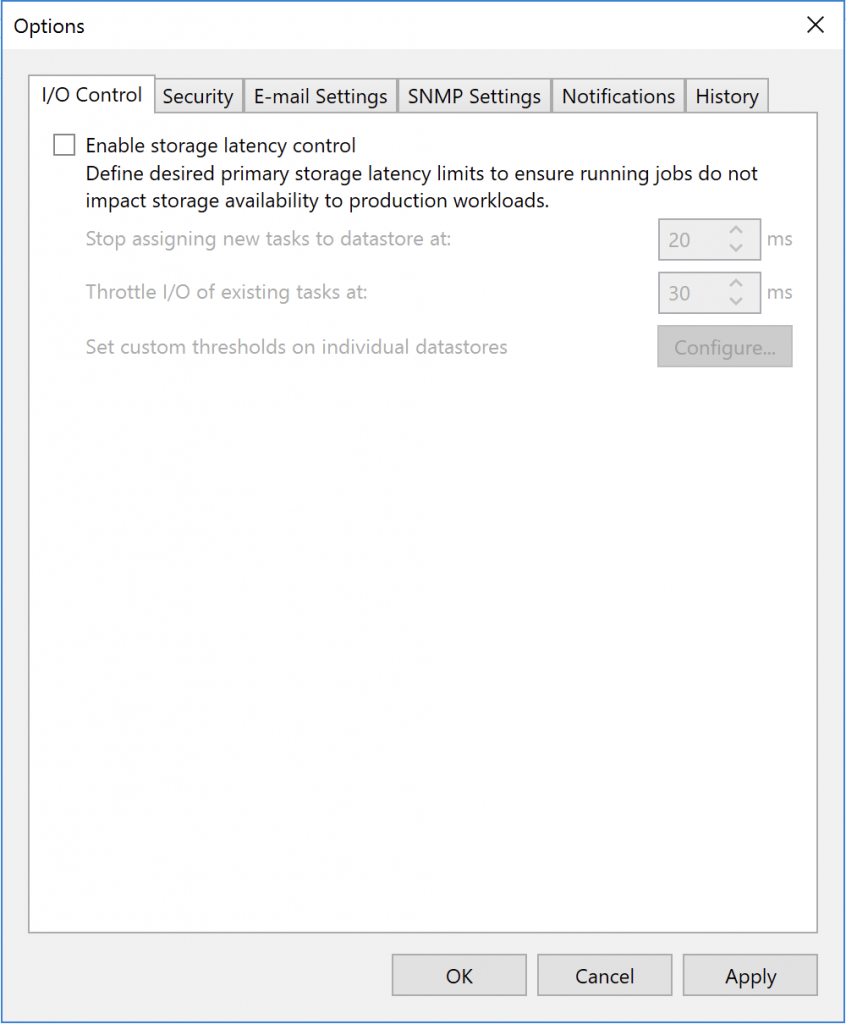
Let’s review the options and I’ll explain what I usually change.
I usually leave this disabled because the storage I use for backups is fast enough.I usually leave this at the default too. If you use your own certificates, this is where you configure them!
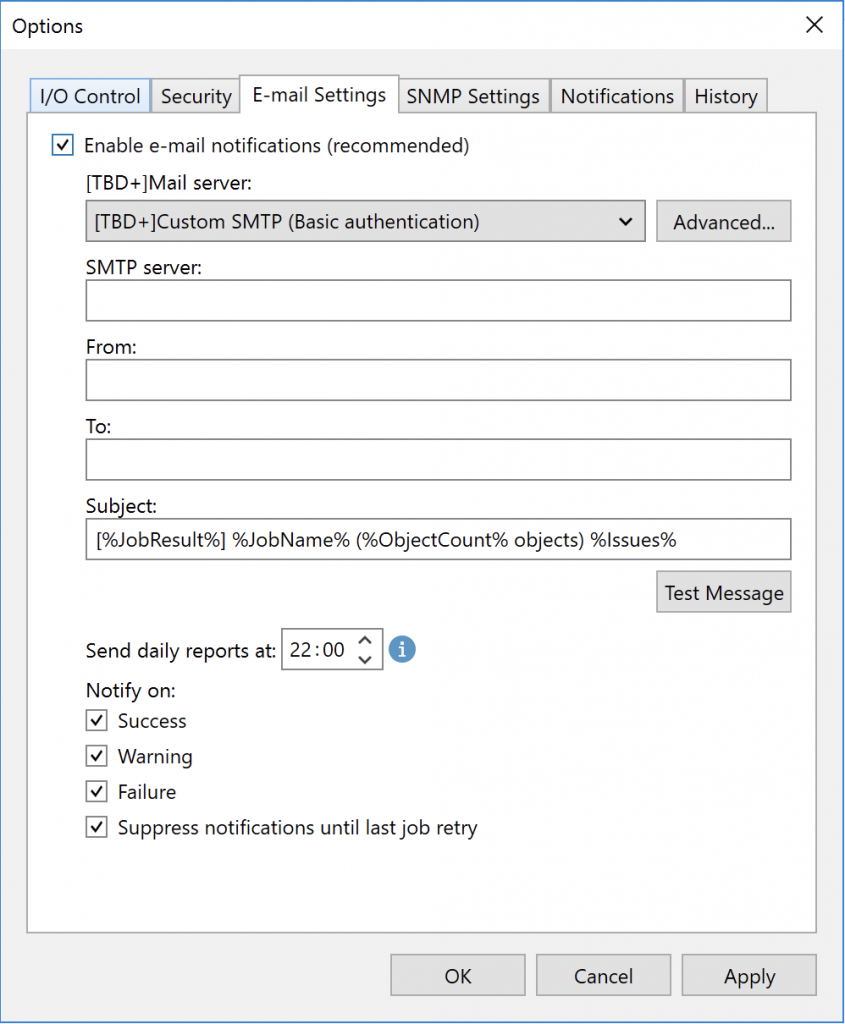
This is where things get interesting: email settings for notifications and reports.
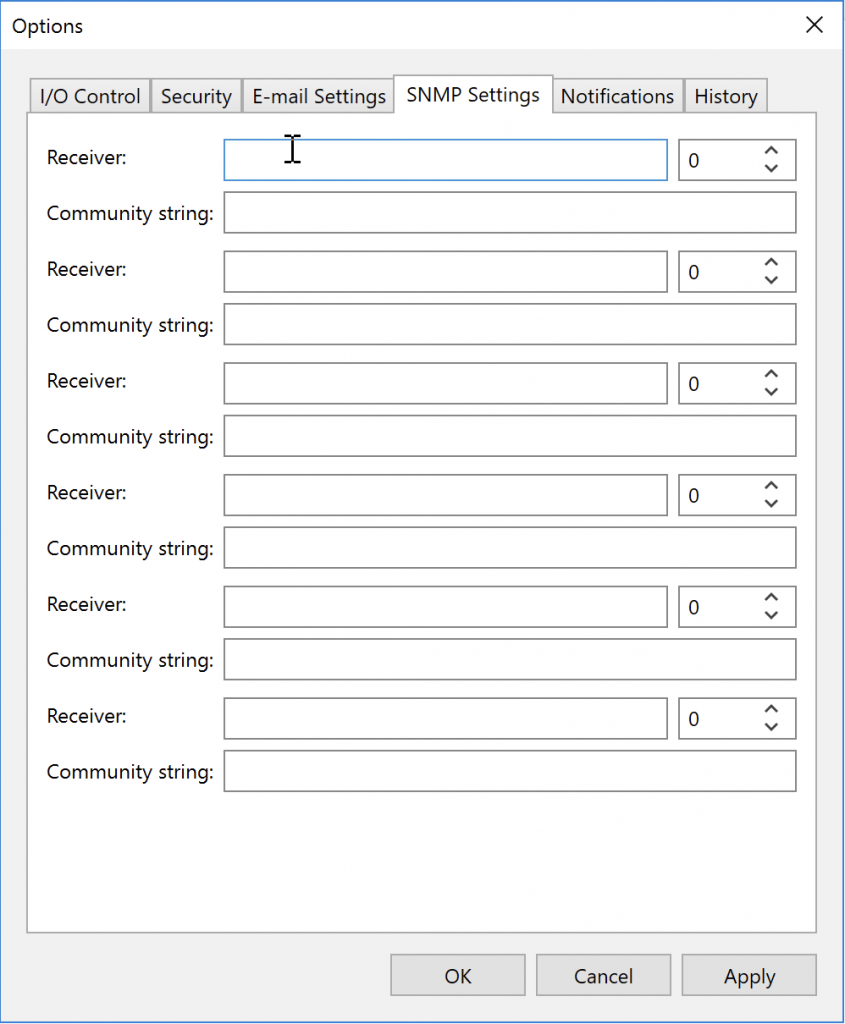
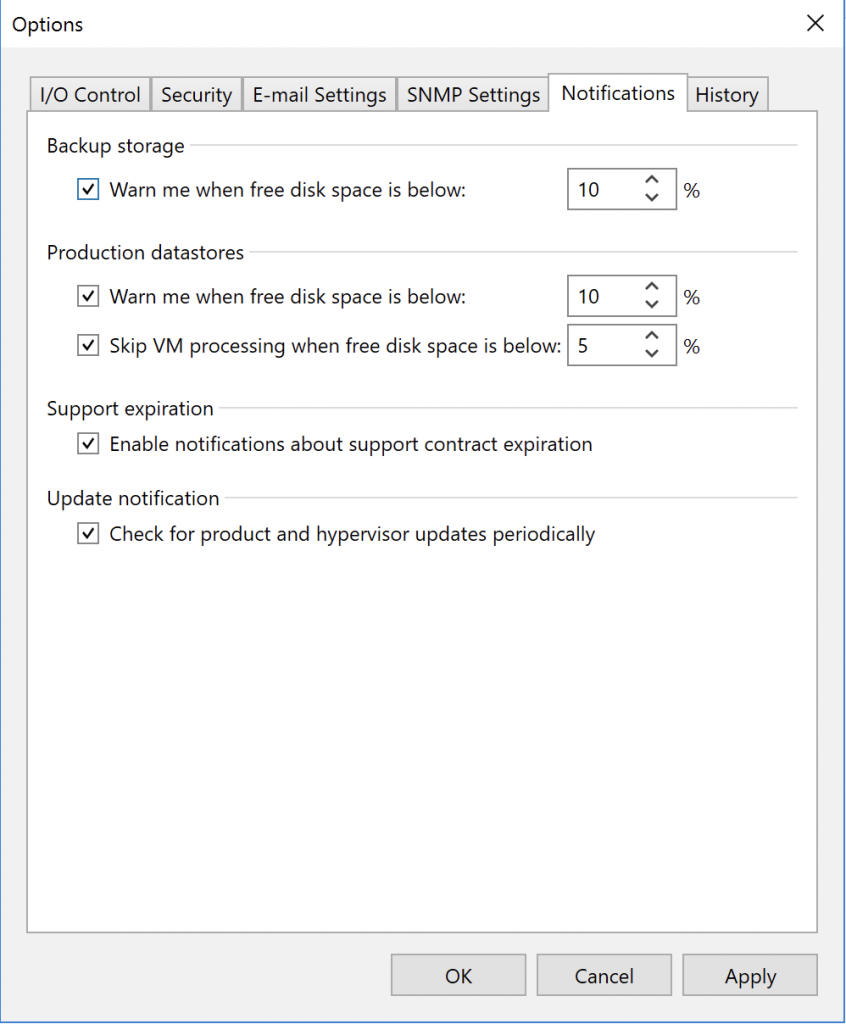
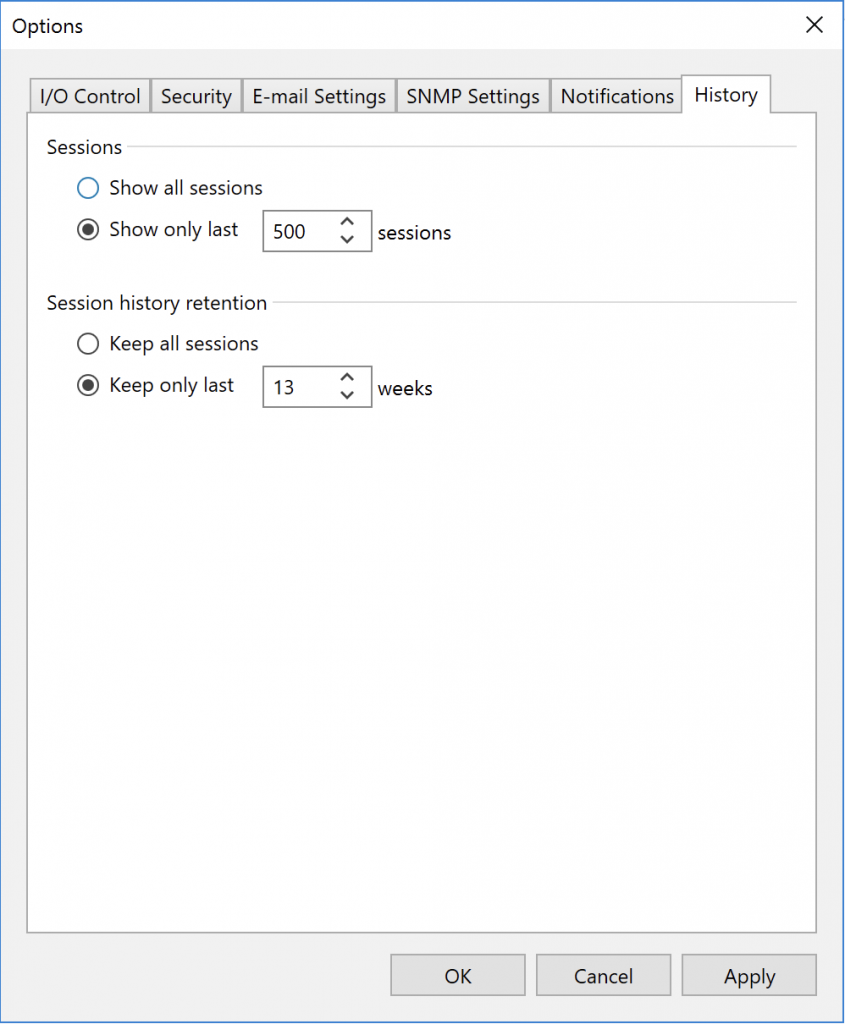
It’s easy to configure. I like receiving the daily summary report; you can change the time if you prefer. When you configure email notifications, you’ll receive messages for all jobs with the statuses selected below. You can also configure email alerts for each job individually—for example, to add recipients or include more details.If you integrate Veeam B&R with an event monitoring tool such as Nagios, Checkmk, or PRTG…I usually leave these settings at their defaults. They’re convenient, and this information is valuable for troubleshooting—especially the available disk space.This one is a matter of preference. I usually leave it as shown, but if you want to retain more history or see more or less historical information, this is where you change it.
Now let’s move on to Configuration Backup.
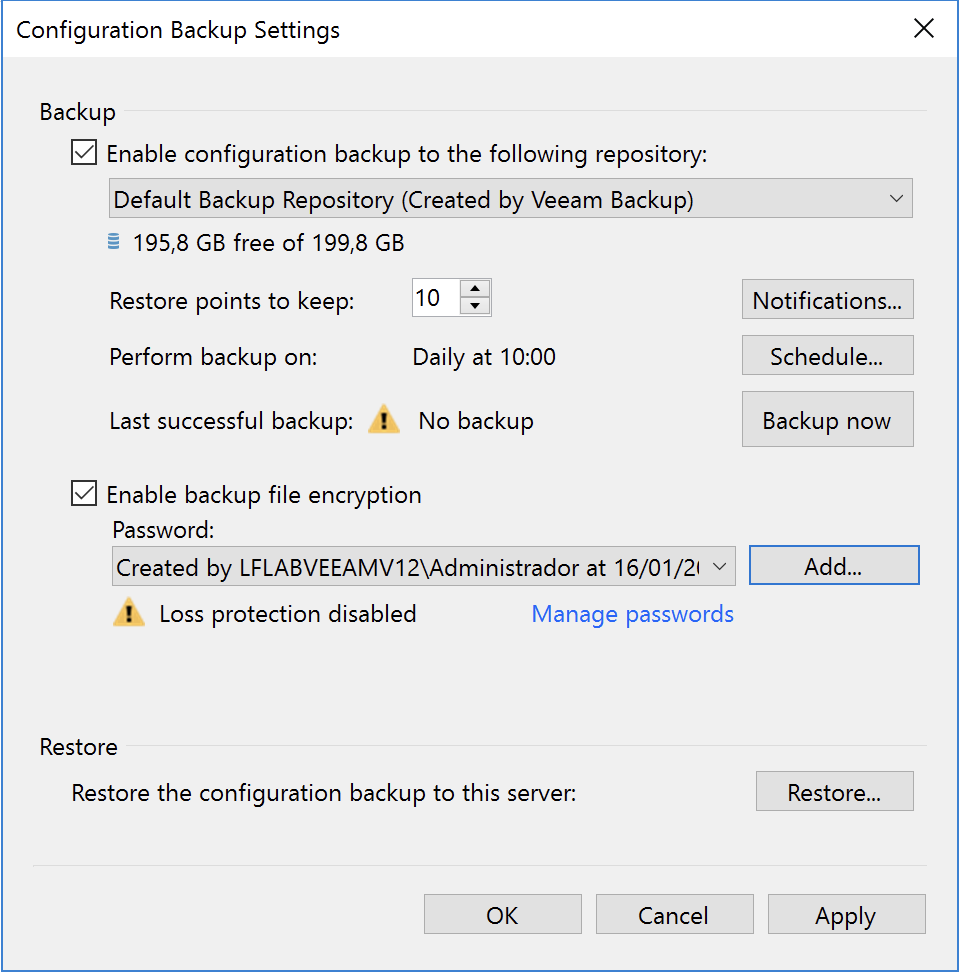
An important point: for now, we’ll configure it to use the local repository, though we can change that later. We’ll also enable encryption for this backup and set a password so that the credentials we add later are saved in the backup:
Select the checkboxes, then click Add next to Password. Create the password, apply the settings, and you’re done.
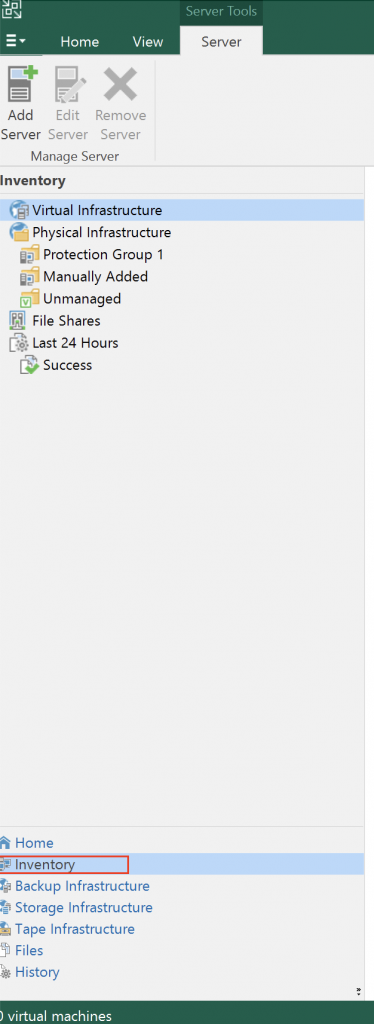
Now let’s look at the Inventory tab, where we’ll add the machines to protect with our backup and replication jobs.
Here we can see both virtual machines and physical machines with the Veeam Agent installed and connected to this server.
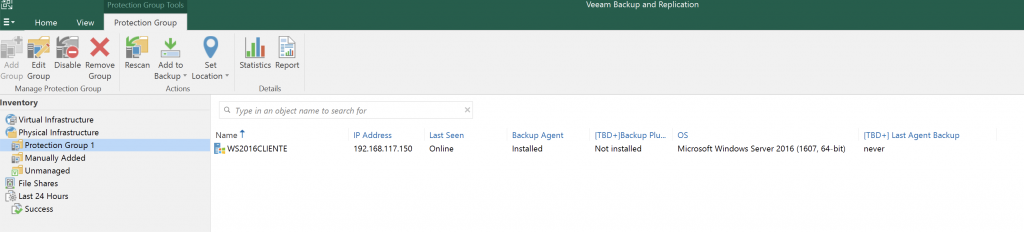
For example, here’s a physical machine with the agent installed.
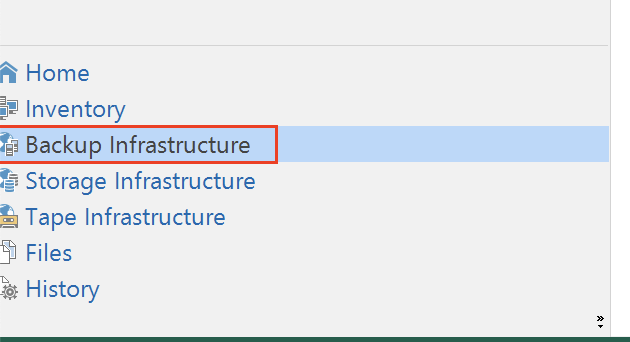
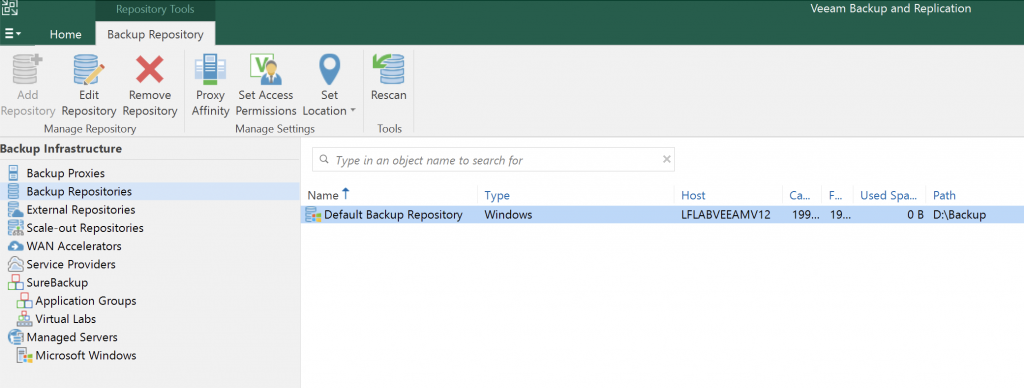
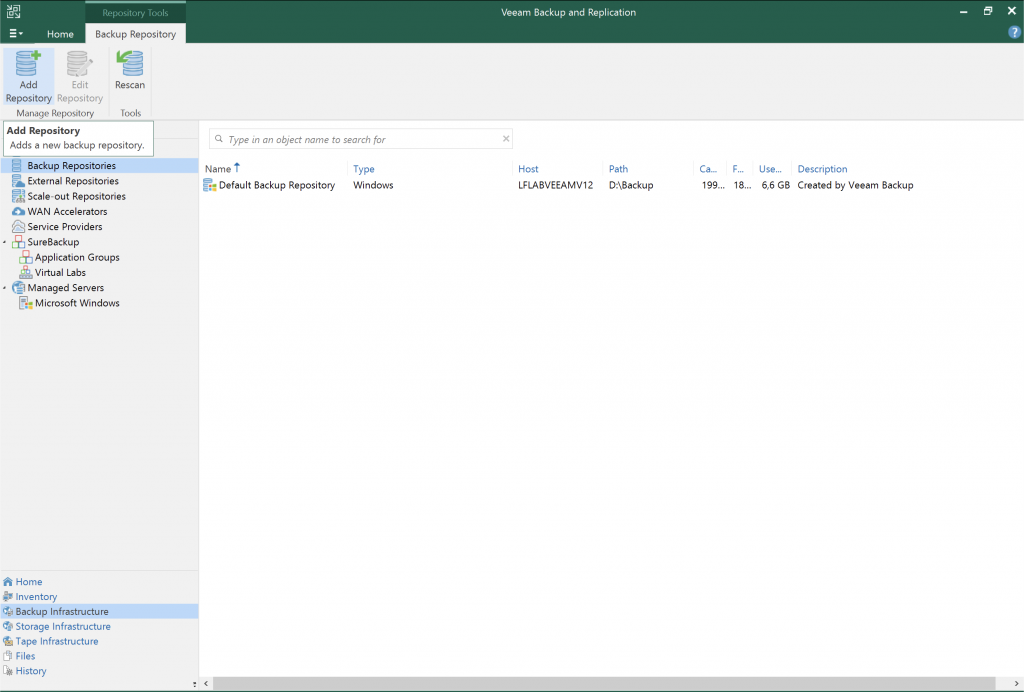
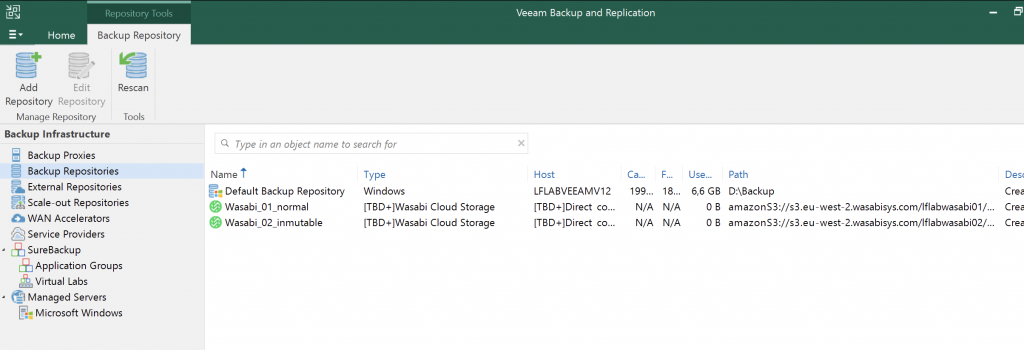
Next, go to Backup Infrastructure. You’ll see the local repository and can add backup repositories. I also have a post showing how to create an S3 cloud repository with Wasabi; adding it is straightforward.
Here is the initial Veeam repository, which is created automatically during installation.
In future posts, we’ll look in more detail at adding local, CIFS, NFS, and S3 cloud repositories.
For now, we’re ready to create our first SIMPLE backup job.
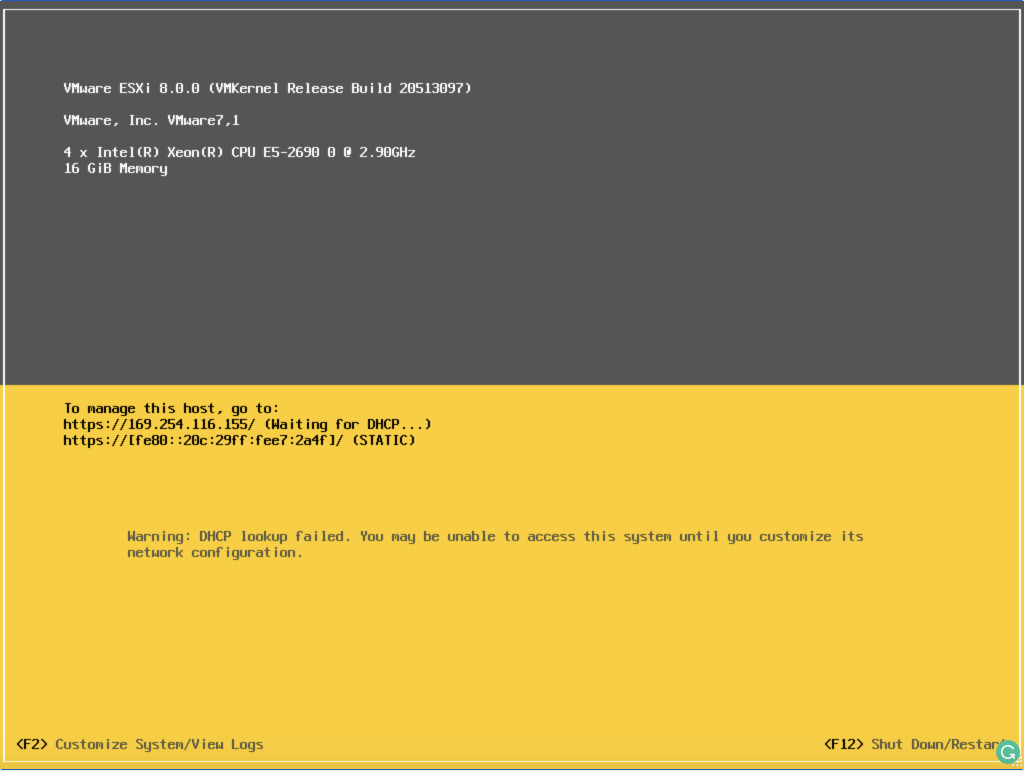
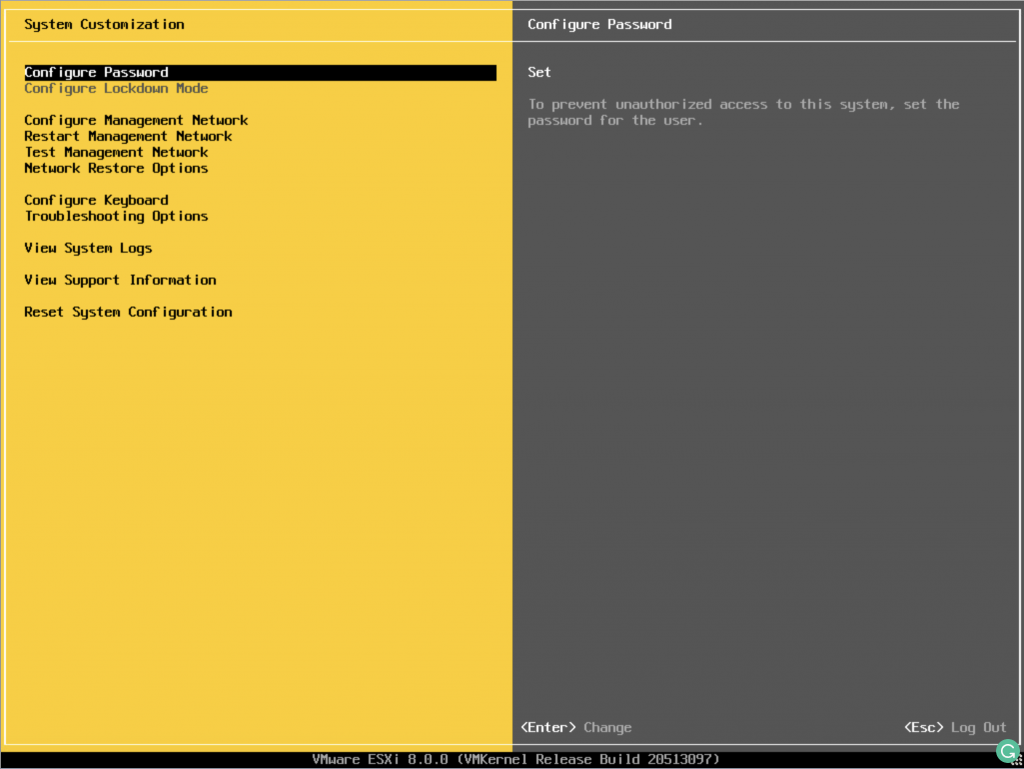
We’ve deployed and installed our first ESXi 8 host. Here’s the link to that post.Now we’ll configure the basics so we can start using it:
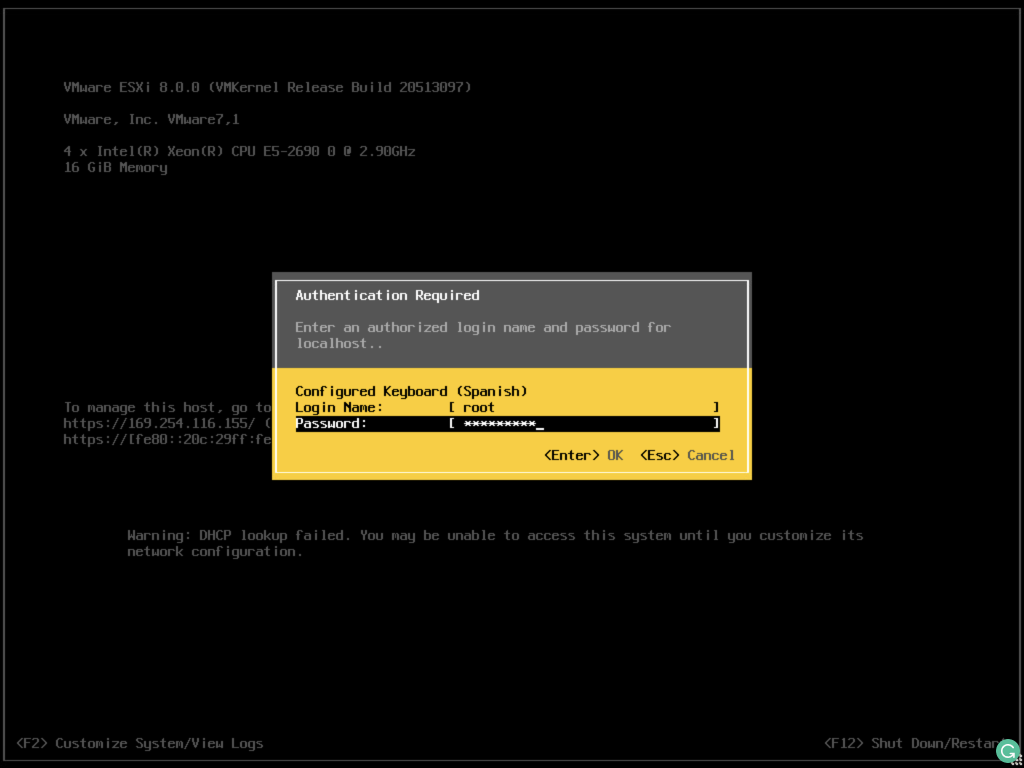
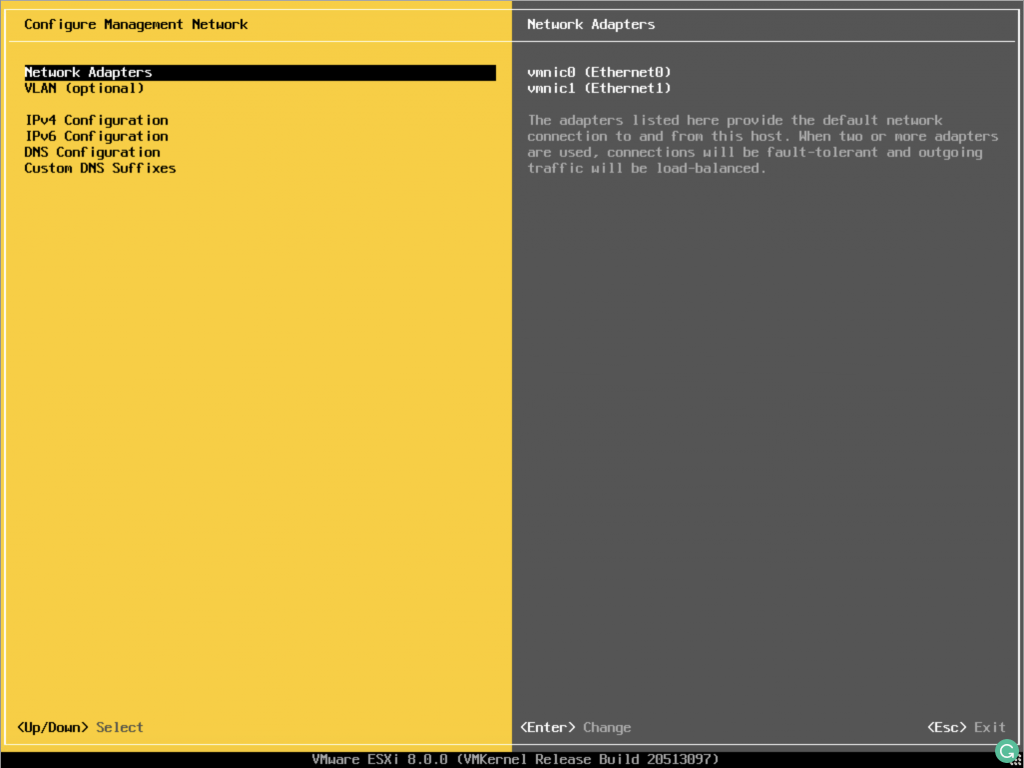
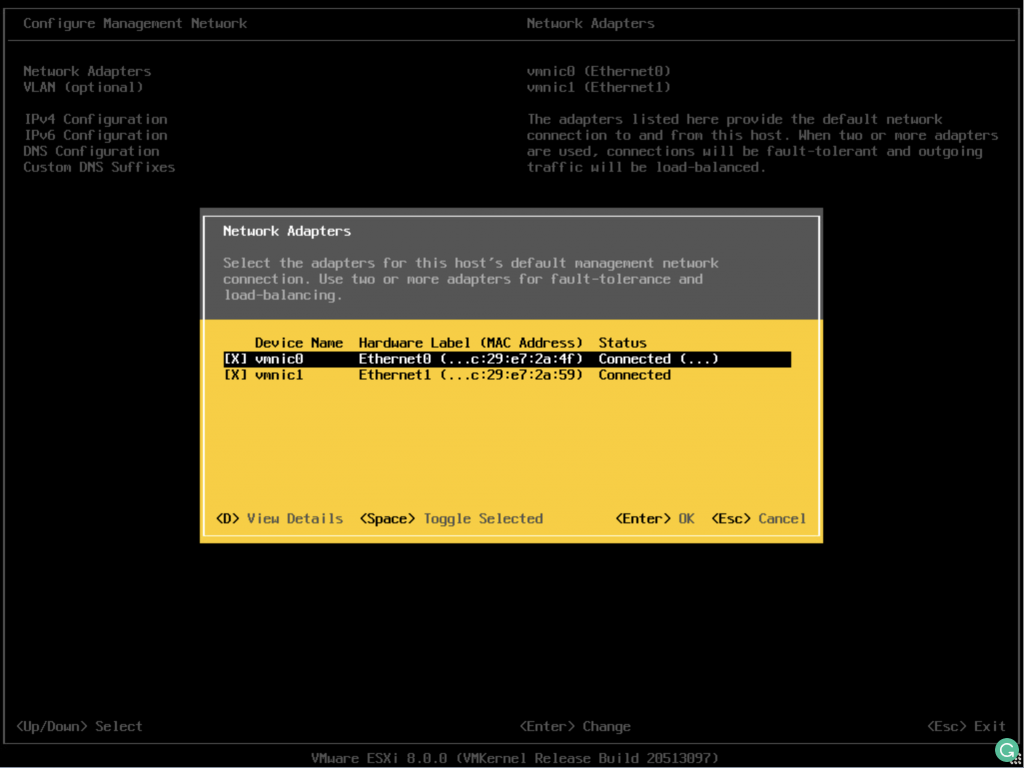
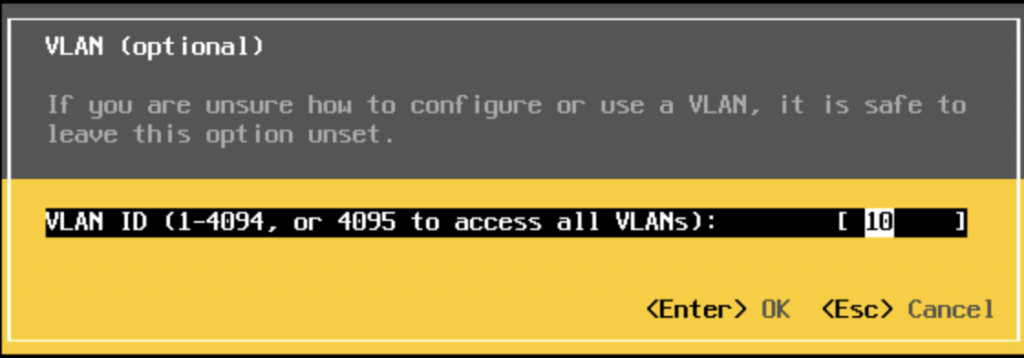
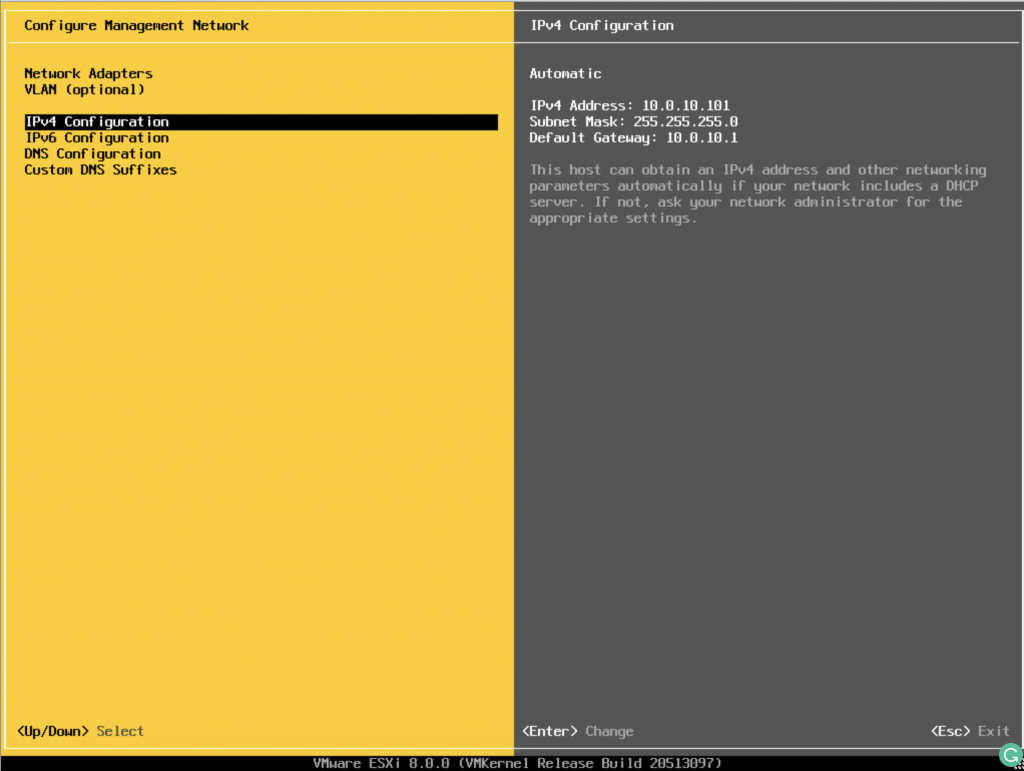
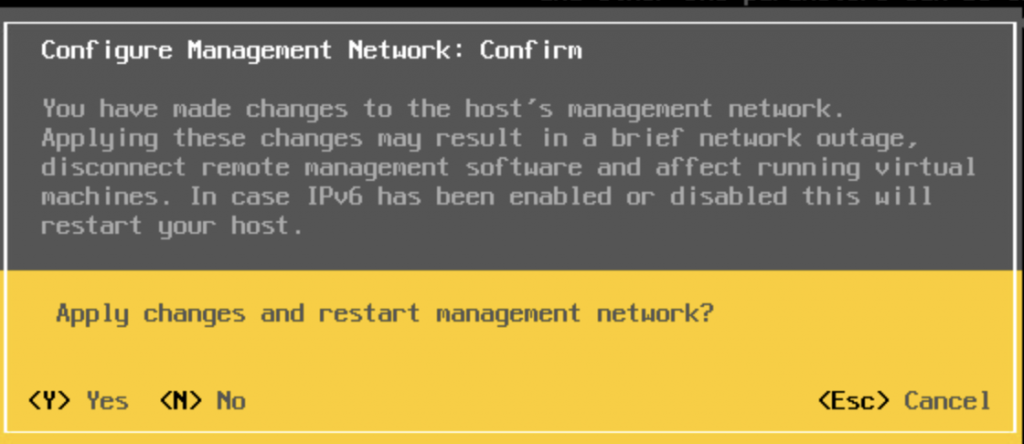
Press F2 to open the configuration menu.Enter the root password.We’ll configure the management network so we can access ESXi through the web interface.Select the network adapters.In my case, I assigned VLAN 10 to management.
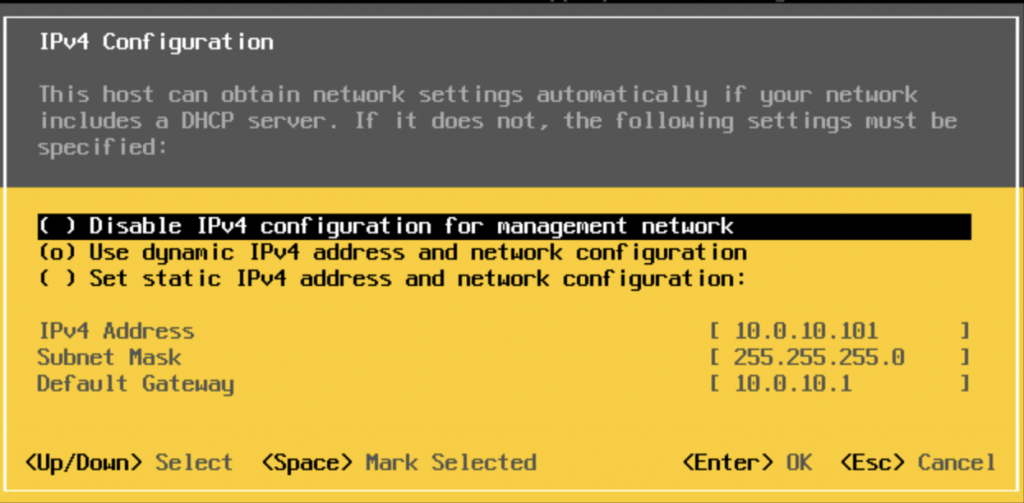
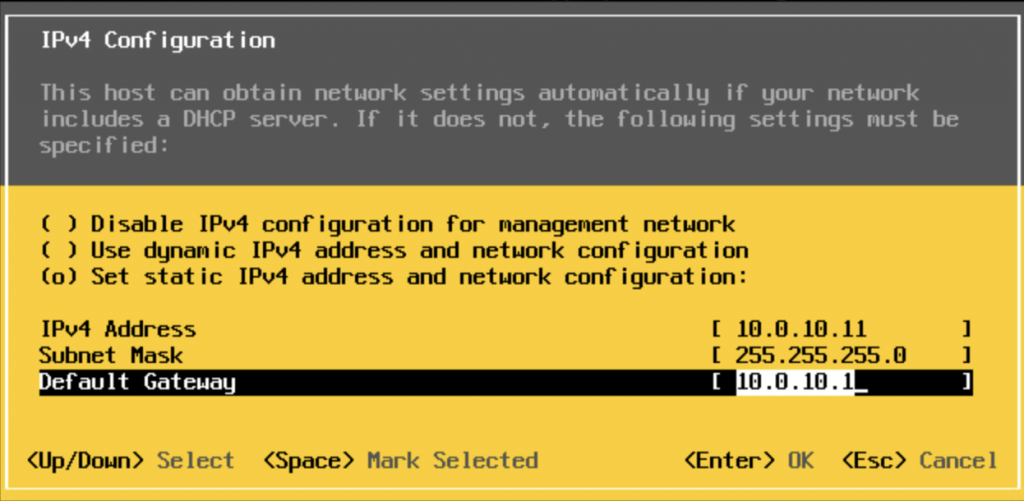
Return to the network menu. Under configuration, set a static IP address for the management interface.
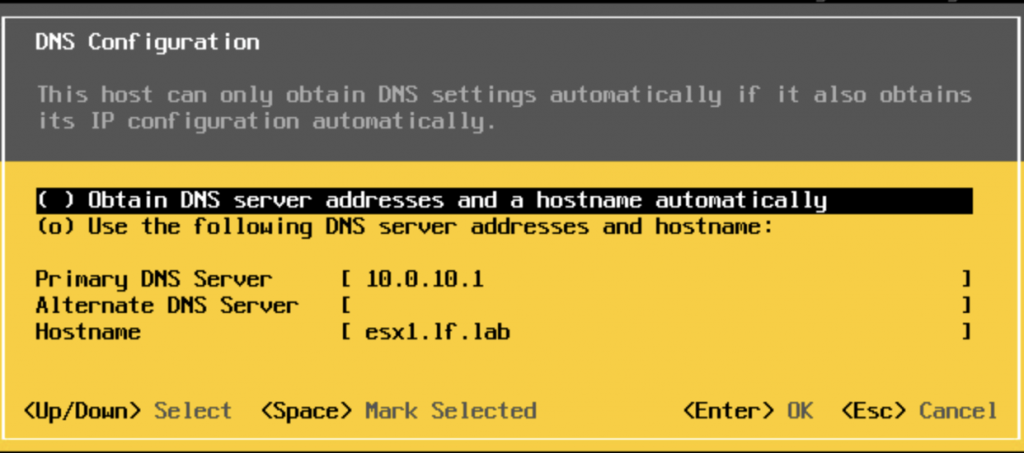
Stay in the network menu and configure DNS and the suffix. That’s it.
When the configuration is complete, press Esc to exit. It will ask if you want to save the settings.
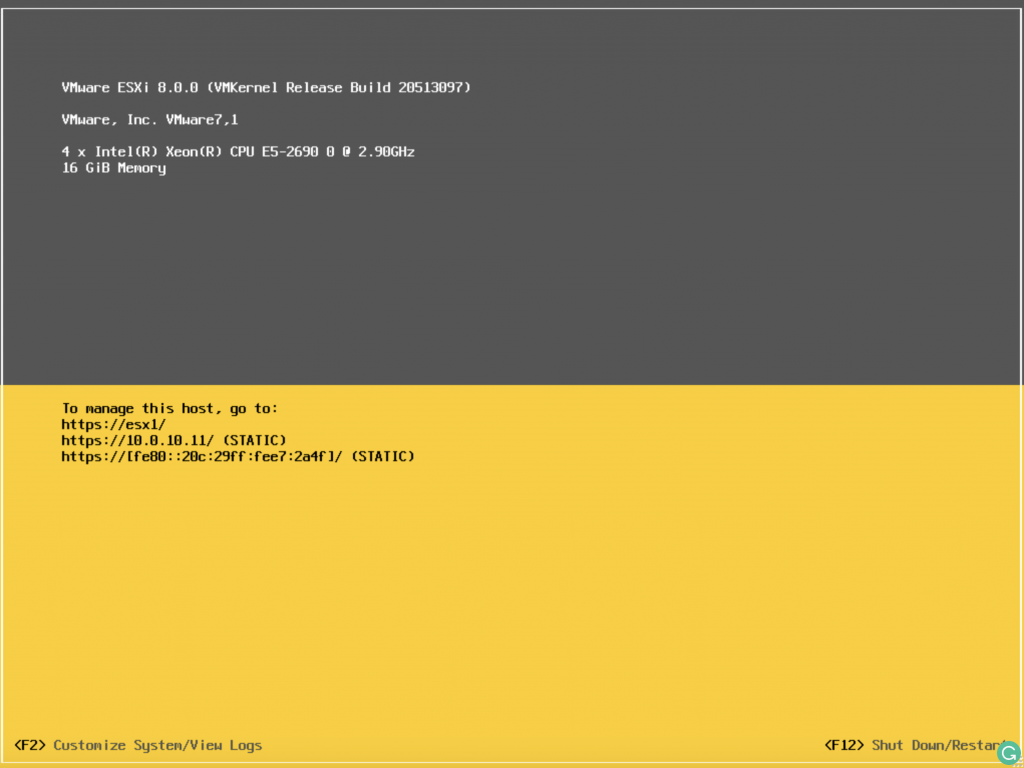
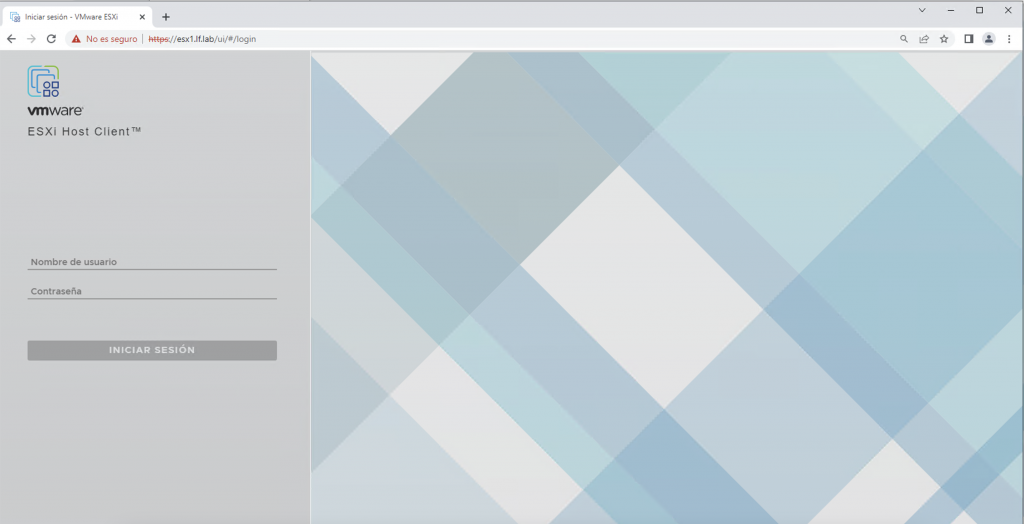
The network is configured. Now let’s open the web console to test it.
Next, we’ll cover the first host setup steps, the most important settings, and then vCenter and storage deployment.
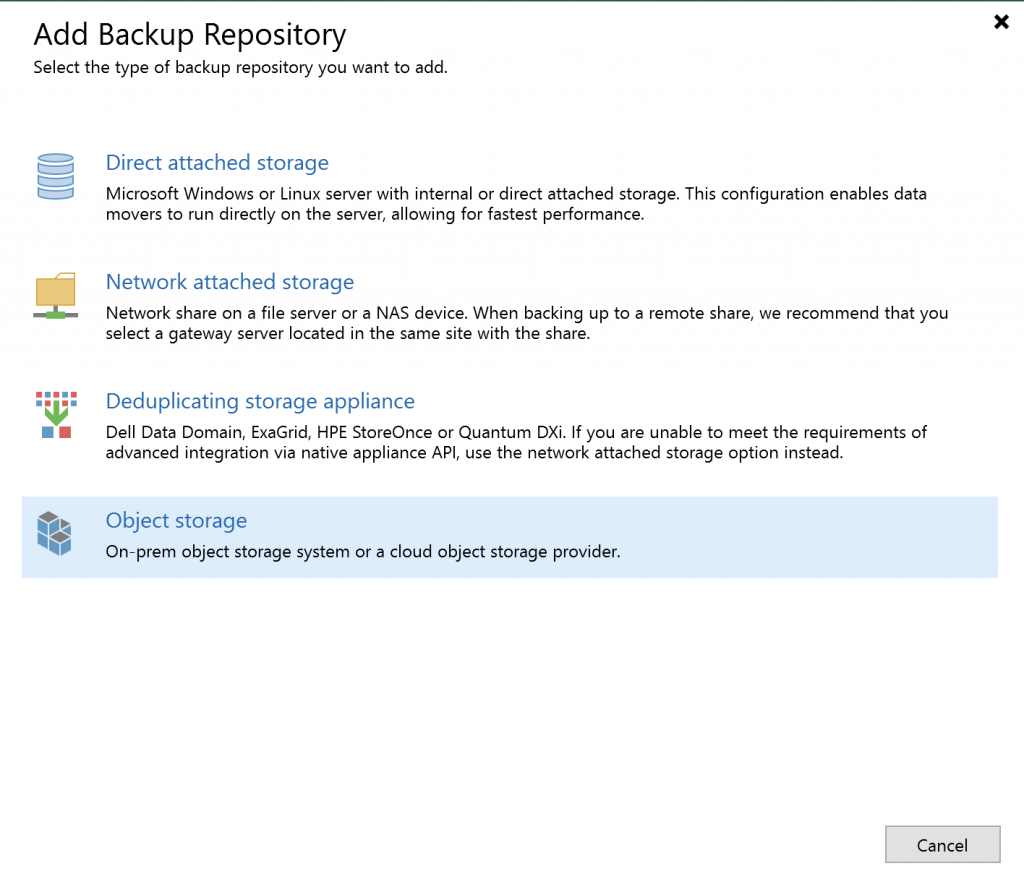
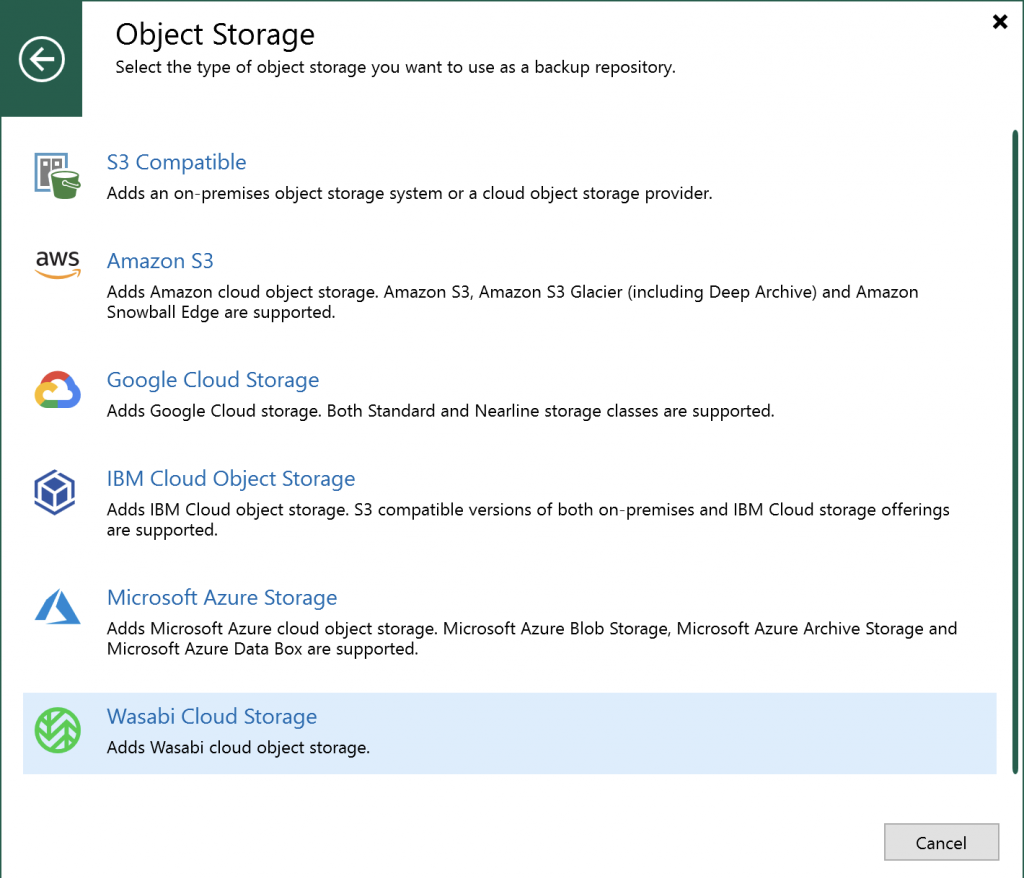
Here’s a screenshot walkthrough showing how to add Wasabi S3 storage to VBR v12.
Important: v12 supports backing up directly to cloud S3. You don’t need intermediate storage to upload backups to S3.
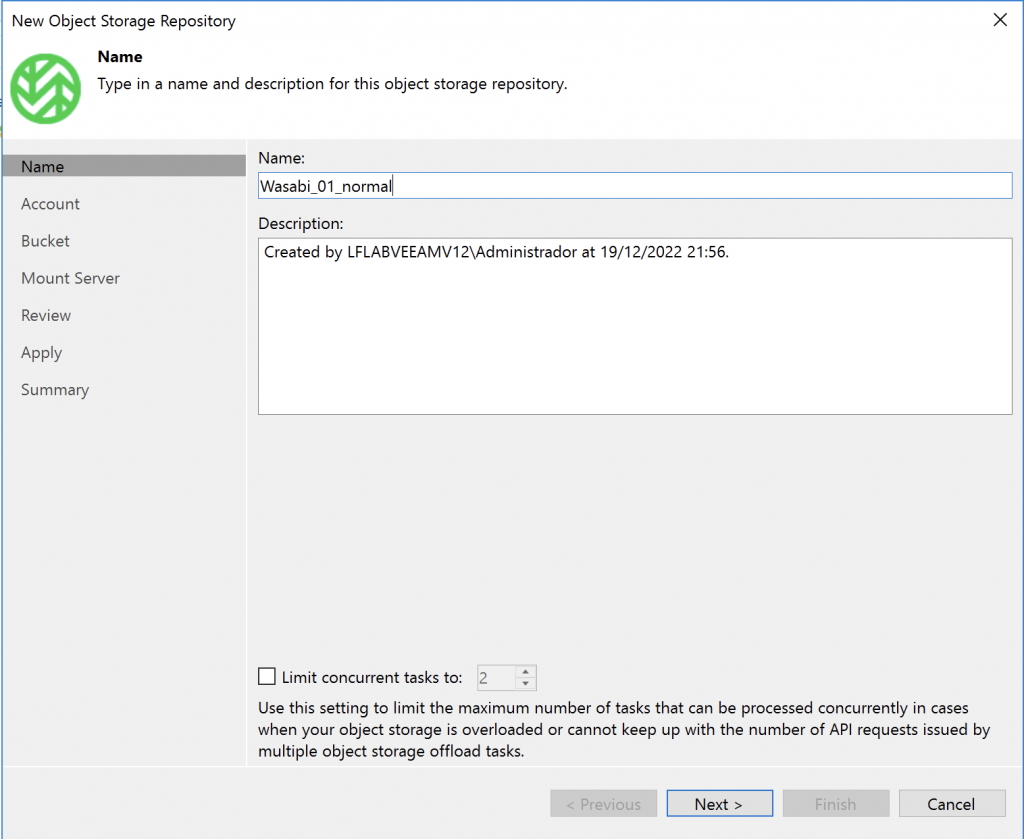
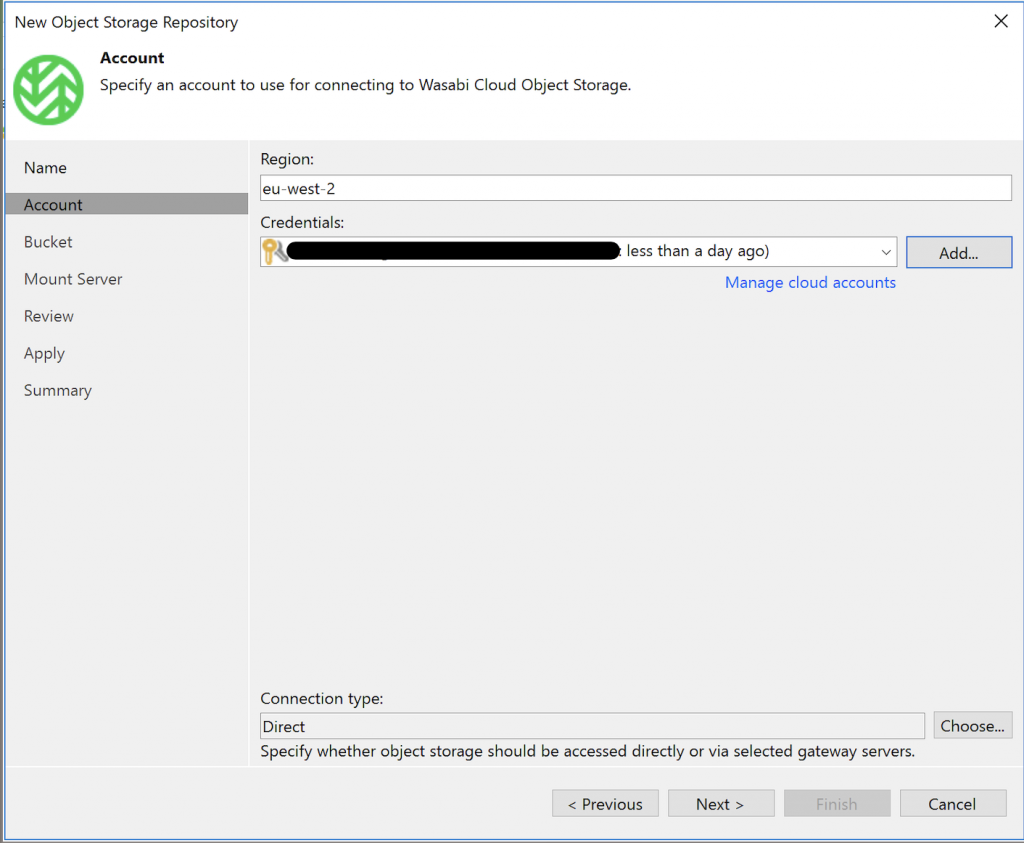
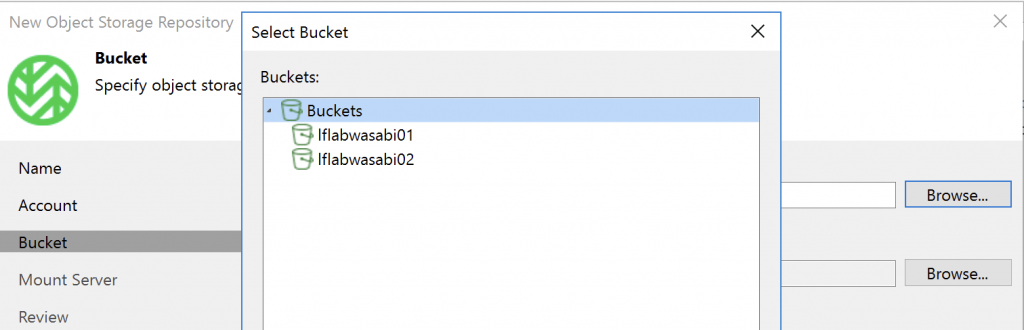
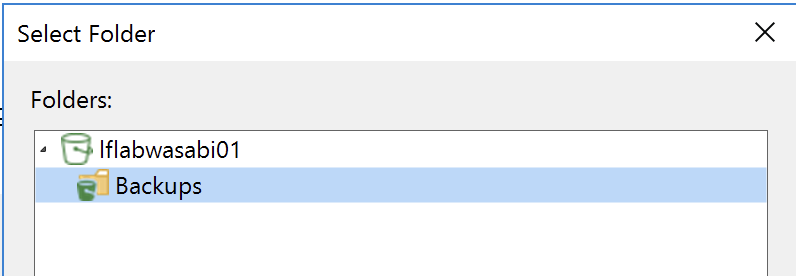
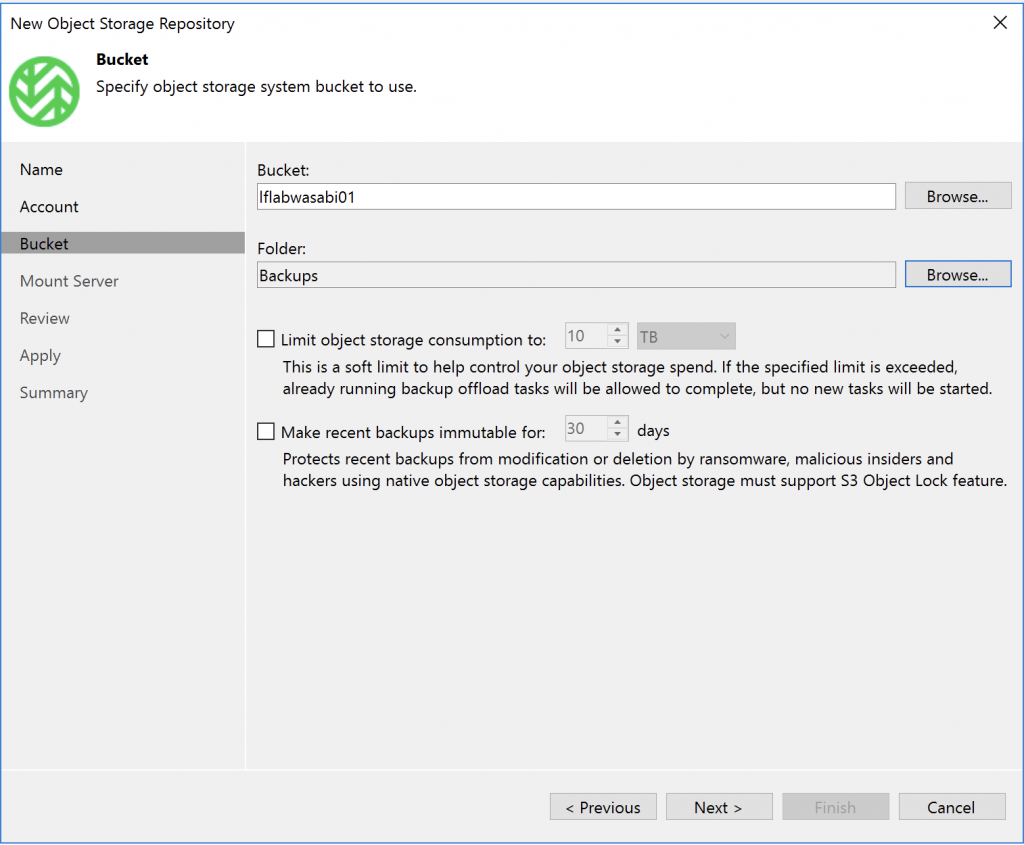
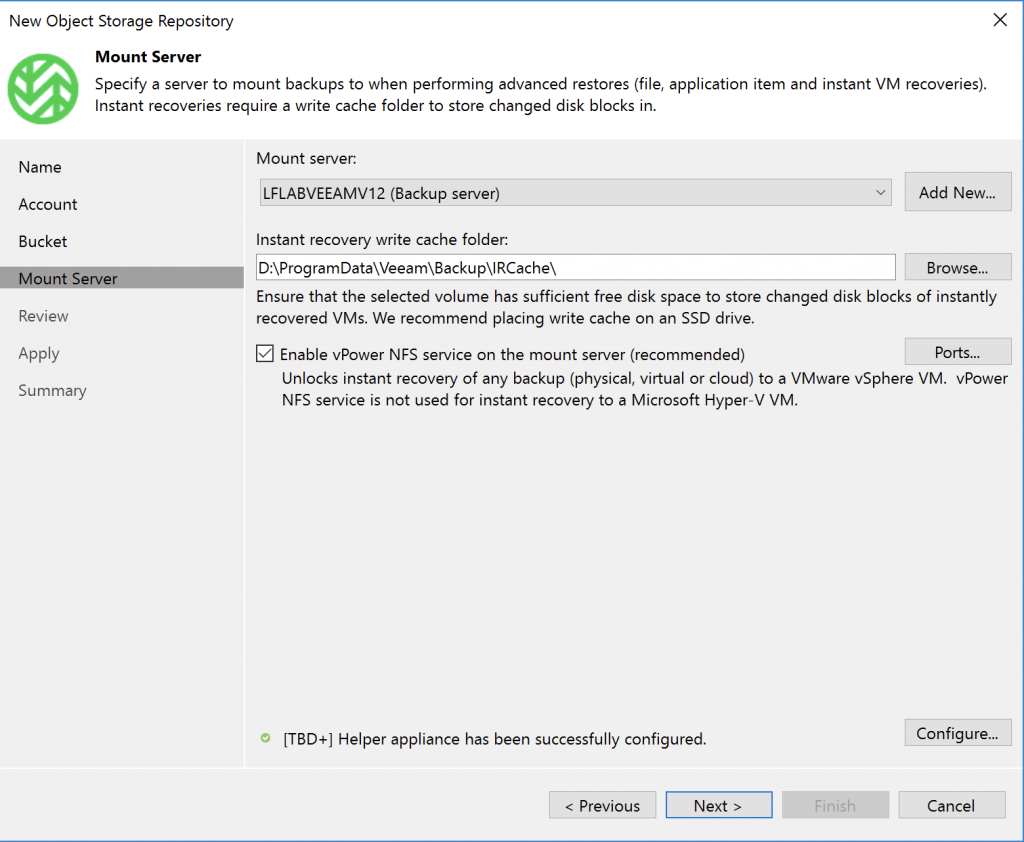
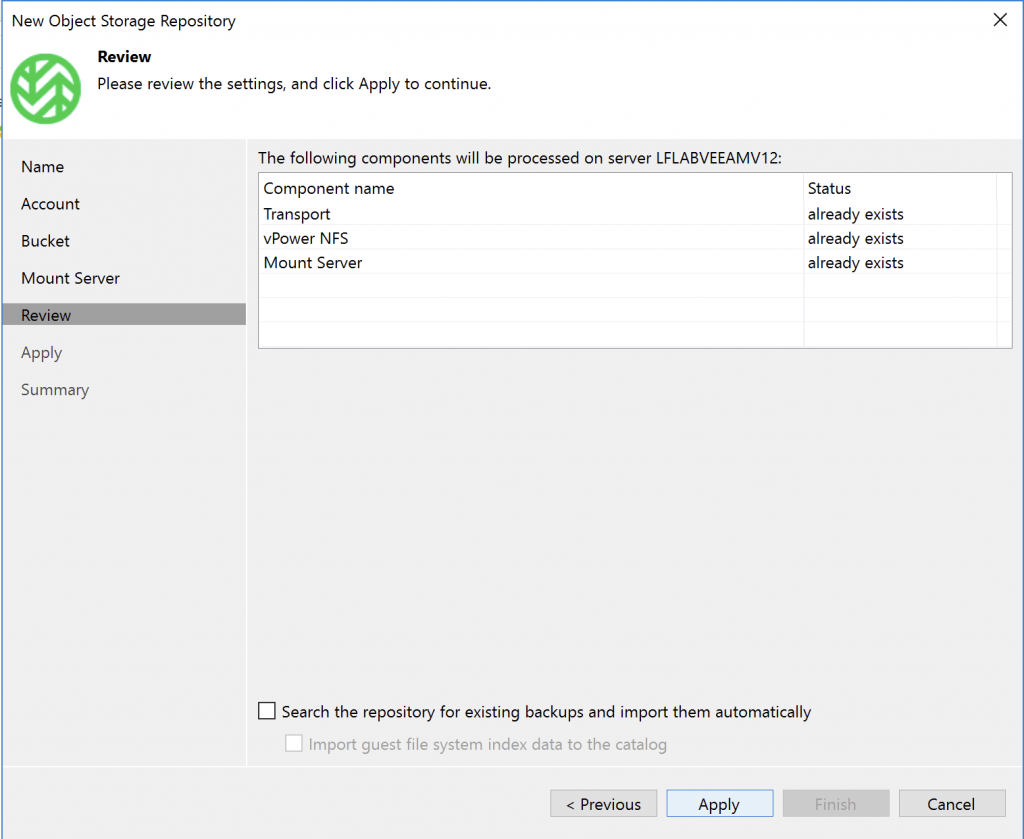
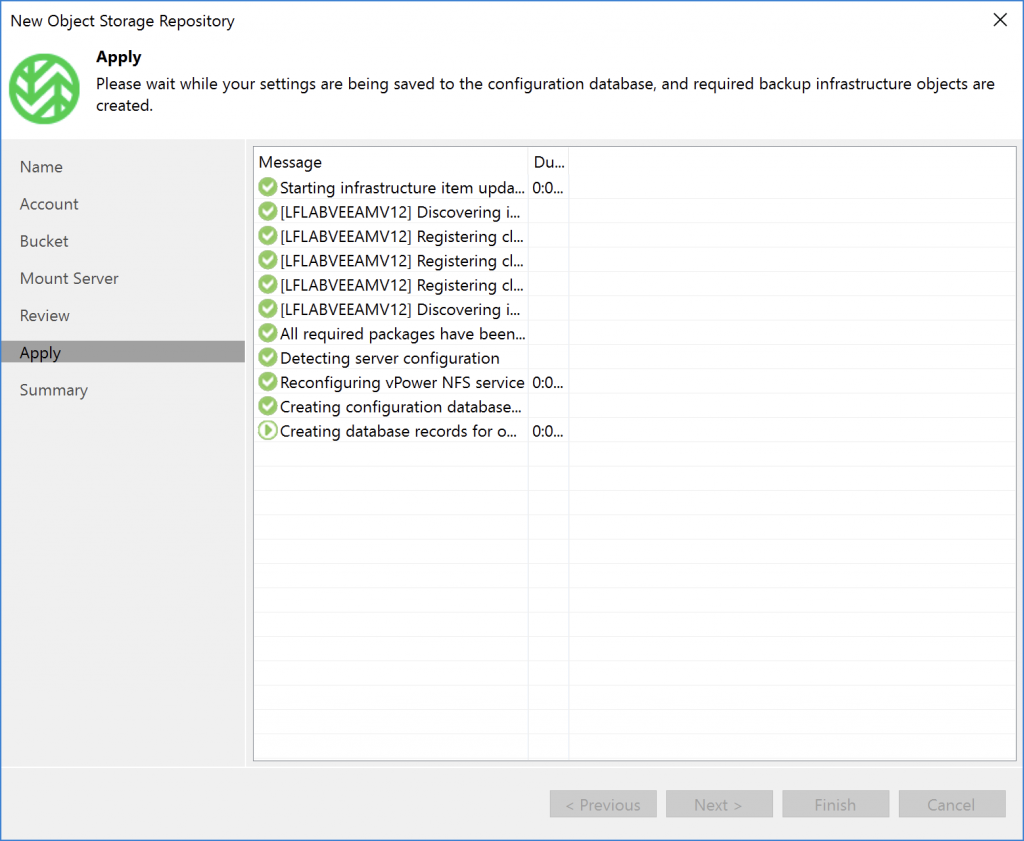
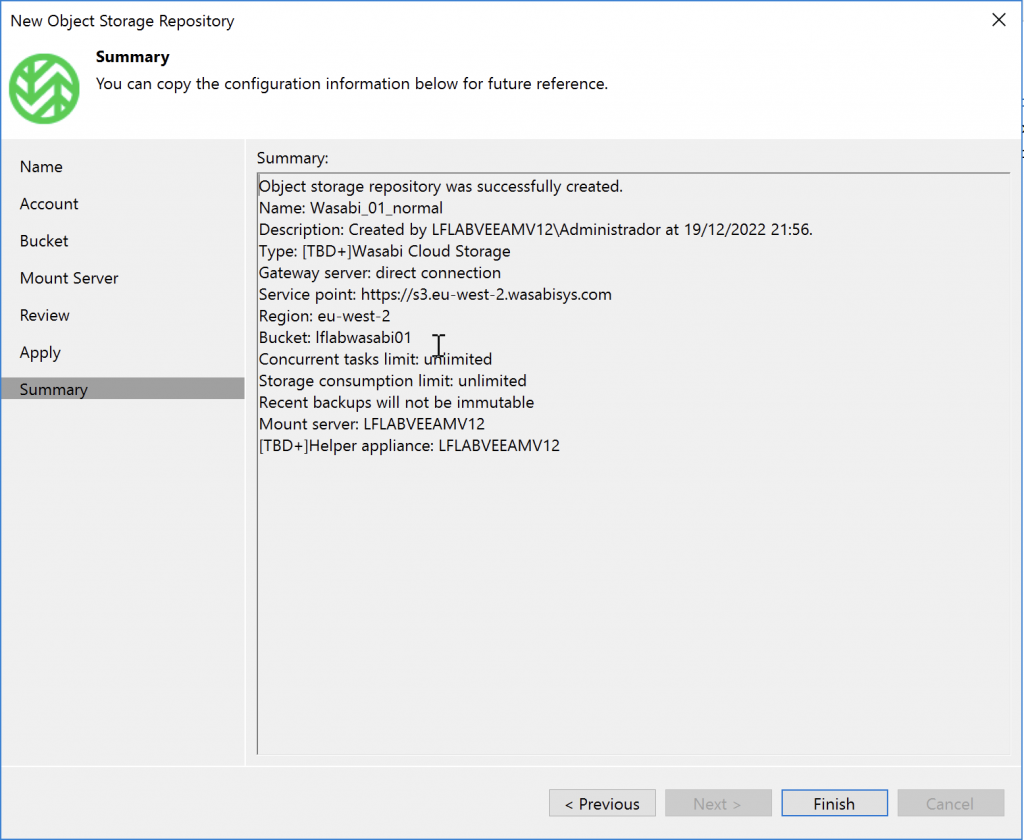
Backup Infrastructure > Backup Repositories > Add RepositoryObject StorageWasabi Cloud StorageGive the repository a name.Select the region where you created the bucket. This is very important! Enter or select your Wasabi credentials.Our buckets appear. Select bucket 01.Create a folder inside the bucket.Remember, this bucket does not have immutability enabled, so we’ll leave it as is.The usual options.Review and apply the configuration.…Done!
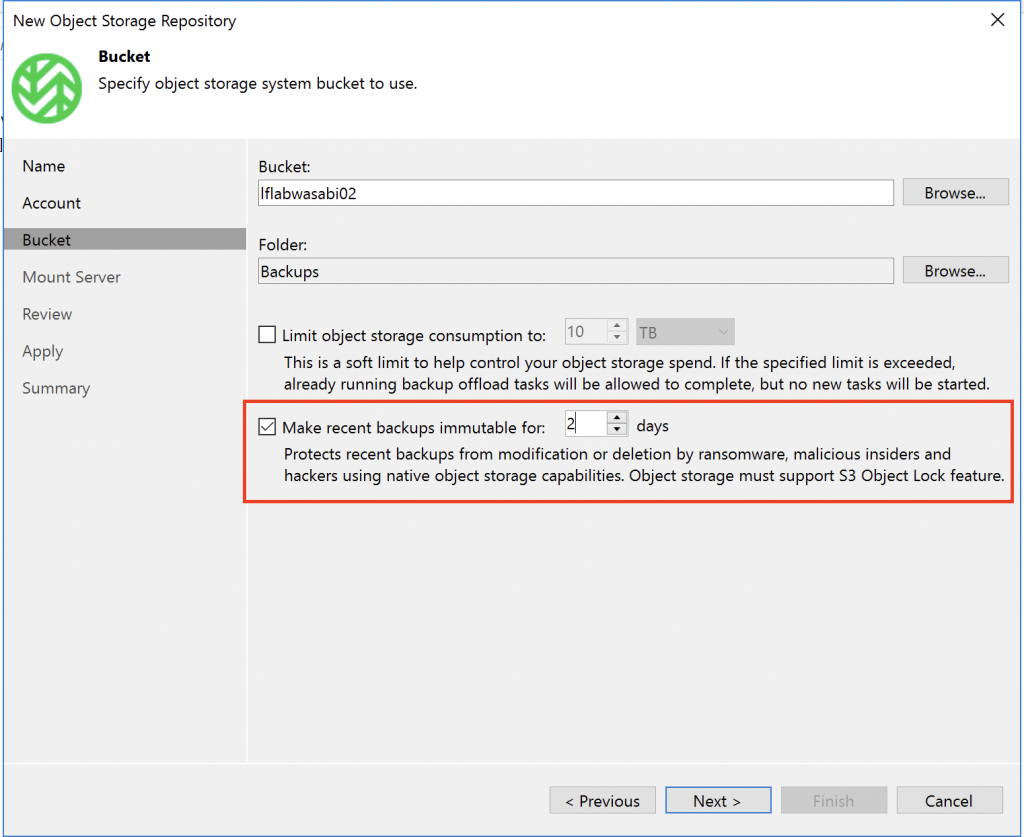
For the immutable bucket, follow the same steps, then enable the option when prompted…
We’ll create two storage buckets in Wasabi: one with immutability enabled and one without. This will let us test them later and compare the difference.
Go to Wasabi and create an account. In my case, I have a 30-day trial with 1 TB of storage.
Once that’s ready, let’s continue:
In the Wasabi main console, select CREATE BUCKET.Enter a unique name, choose the deployment region, and click CREATE BUCKET.Done! Our first standard bucket is ready.
To enable immutability, create another bucket, this time using the “advanced” options.
Follow the same steps.
Create BucketThis time, click NEXT.Enable Versioning and Object Lock.Finally, click Create Bucket.
Done! Our immutable bucket is ready.
Both buckets are listed. Create and assign credentials, and then we can add them to Veeam.
We’ve installed the agent. Now let’s use screenshots to configure a backup job that targets a datastore on a Veeam B&R server.
Veeam Agent console: click the three-line menu and select Add New Job.Enter a name.Select the backup type.IMPORTANT: Here we define the backup destination. We’ll send it to our Veeam B&R server.Specify its location and the credentials to use.As you can see, the process is much like the usual setup. Since this is a lab, we’ll leave the defaults.It offers a useful feature for mobile computers or machines with limited network connectivity.Another good option is Guest Processing and indexing if you have the Enterprise console.We all know the schedule!Review the configuration in the summary, then click Finish.Start the job manually.The job now appears in the Veeam B&R server console.And the disk will soon be available to browse and restore from.Here are the job statistics, just like any other Veeam job.Done! The backup completed successfully, as you can see in the Veeam Client.You can also see the Success status in the Veeam B&R server console.
Now we can use our backups, for example, by restoring from the client
or doing a more “serious” restore from the Veeam B&R console.
All the options are available: files, cloud, export, and more.
I hope you like this simple way to protect physical machines or machines whose hypervisor you don’t want to integrate with Veeam.