Download the agent. It is also available for Linux and Mac.
Run the installer. In free mode, backup destinations can include: Local storage — a local or USB drive. Shared folder — a CIFS share. Veeam Backup Repository — send the backup to a repository on a Veeam B&R server.
That’s all there is to it; it’s very simple.
After downloading, run the installer and follow the straightforward wizard.Wait for the installer to finish.If you’re going to use this tool only to back up the machine to a USB drive, you can connect the USB drive now. We won’t do that here.It’s a good idea to create this recovery media so you can restore the entire machine if needed. Since this is a lab, we’ll skip it.It’s installed. Let’s take a look.Next, we’ll configure a backup job, show the different destinations, and run the job.
Here’s the webinar we recorded with Wasabi on modern data protection using S3 object storage. It features Victor Perez de Mingo and Wasabi, presented with the Veeam User Group community.
Hi! We’re going to perform a clean installation of Veeam B&R v12.
Then we’ll add a machine and publish a series of posts covering physical and virtual machines, local storage, S3, and more.
Let’s get started.
First, download Veeam. V12 isn’t freely available yet, so here’s the link where you’ll find it once it is released.
In my case, I always use two disks: one for the OS and Veeam installation, and another for Veeam’s catalog and write cache, where I create the local repository. This happens automatically. So when you create your Veeam server, it’s best to have two disks, C: and D:. If not, that’s fine too—everything can go on C:.
Run Setup and select Veeam Backup & Replication Install.If needed, it will ask you to install prerequisites. Accept.If it asks for a reboot, restart the machine.
Run the installer again. This time, the prerequisites are already installed.
Accept the terms and conditions.If you have a license, enter it. Otherwise, continue with the Community Edition.
Continue with the installation. If you don’t need to change anything, leave the defaults.
Round two of software prerequisites—let’s go!
Install!
When it finishes, click Next.
Finally, review the settings to make sure everything is correct, then click Install.
Installing…
One of the big new features: PostgreSQL!
Done!
All set! Open the console to begin the initial setup.
We’re going to perform a clean installation of ESXi 8. Keep in mind this is a lab, so we’ll skip steps such as configuring disks in RAID. This ESXi will run nested (virtualized) in my lab. If you’d like to know how to do that, let me know and I’ll be happy to help.
To download the ISOs, I recommend joining VMUG ADVANTAGE
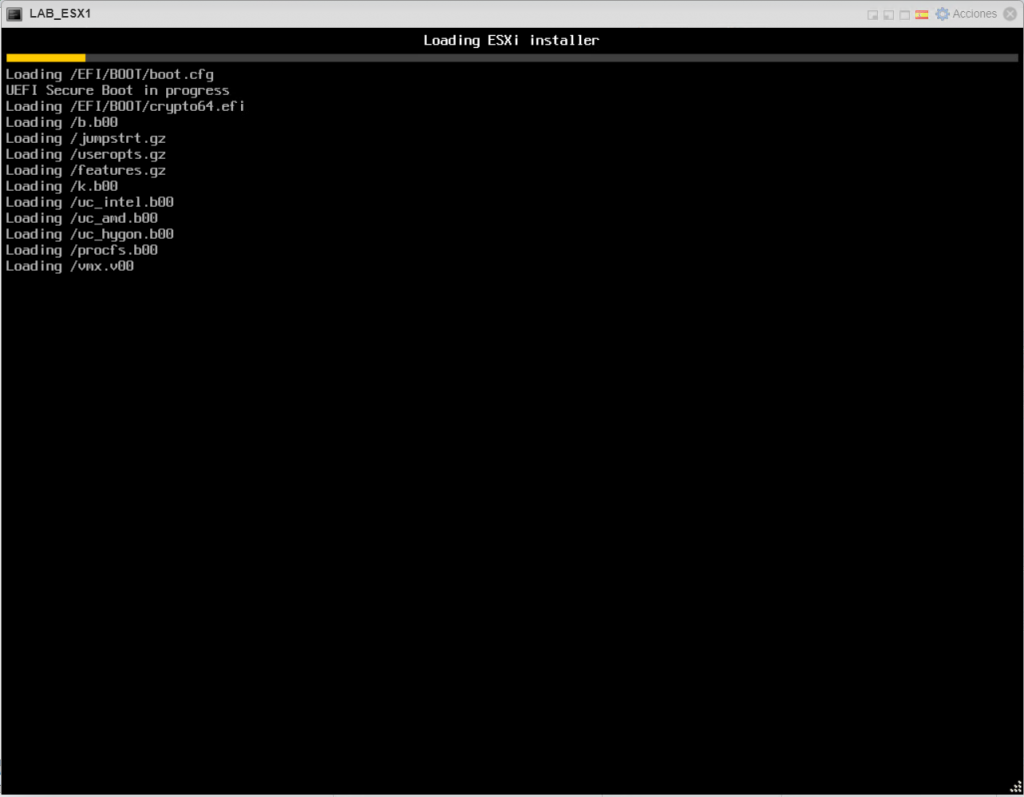
Boot from the ISO to start the installation.
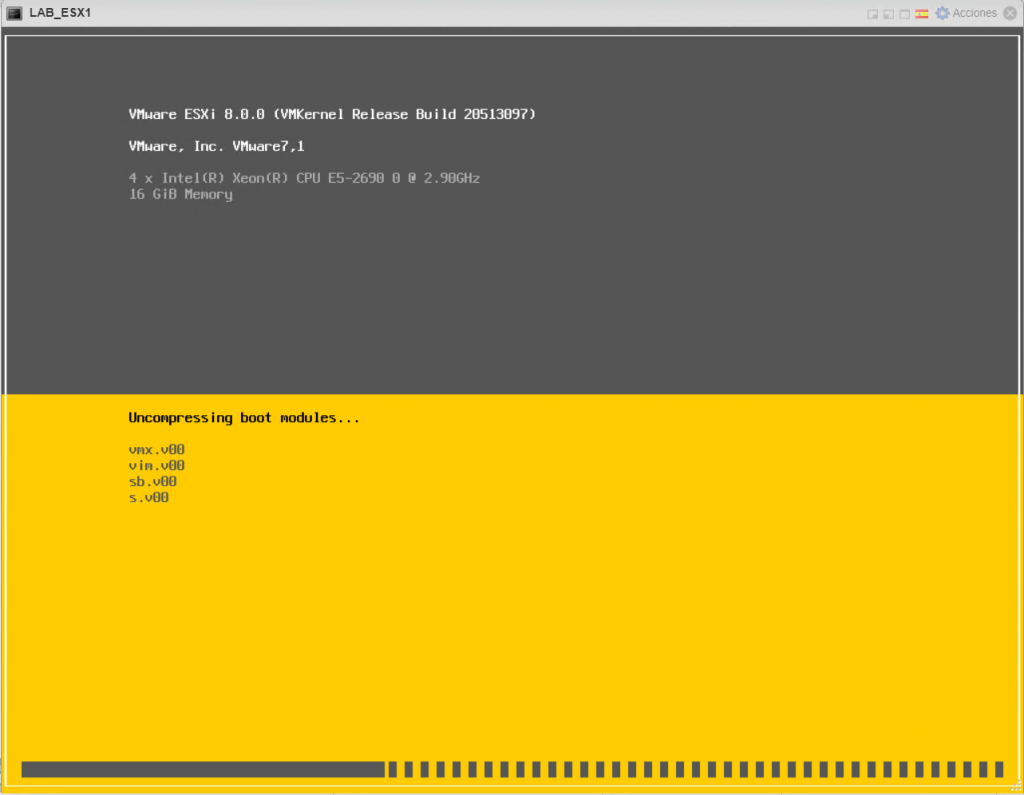
Continue loading. So far, we’re just booting the ISO and loading the files needed for installation into RAM.
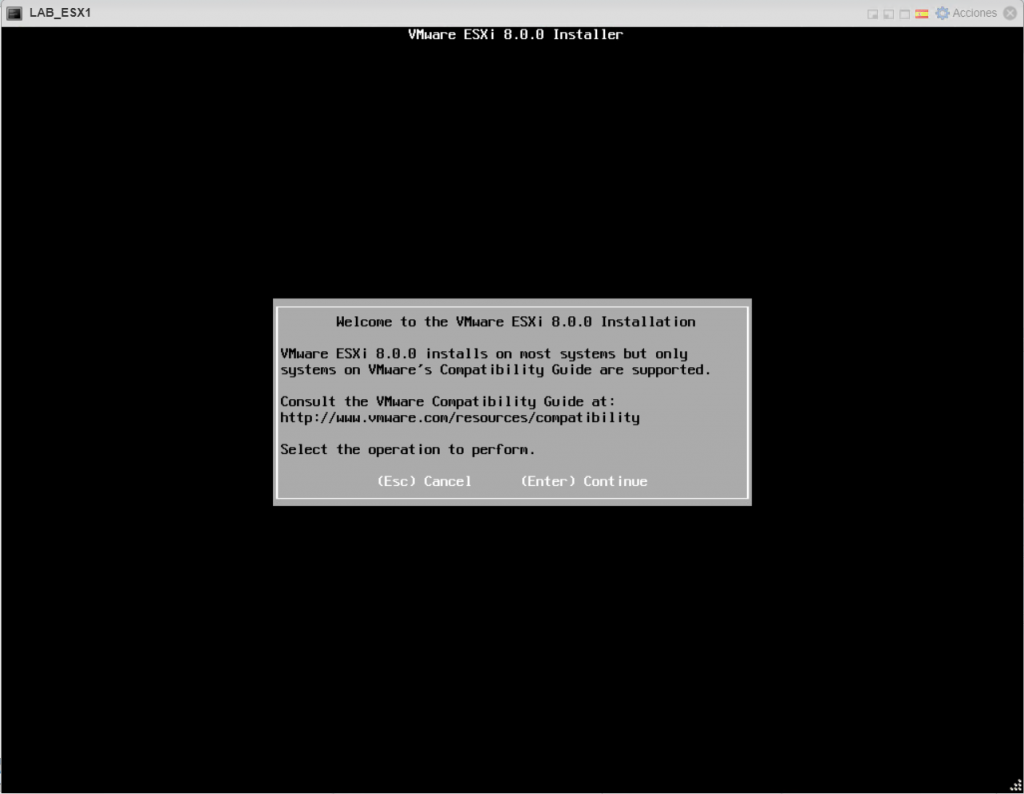
Press Enter to continue.
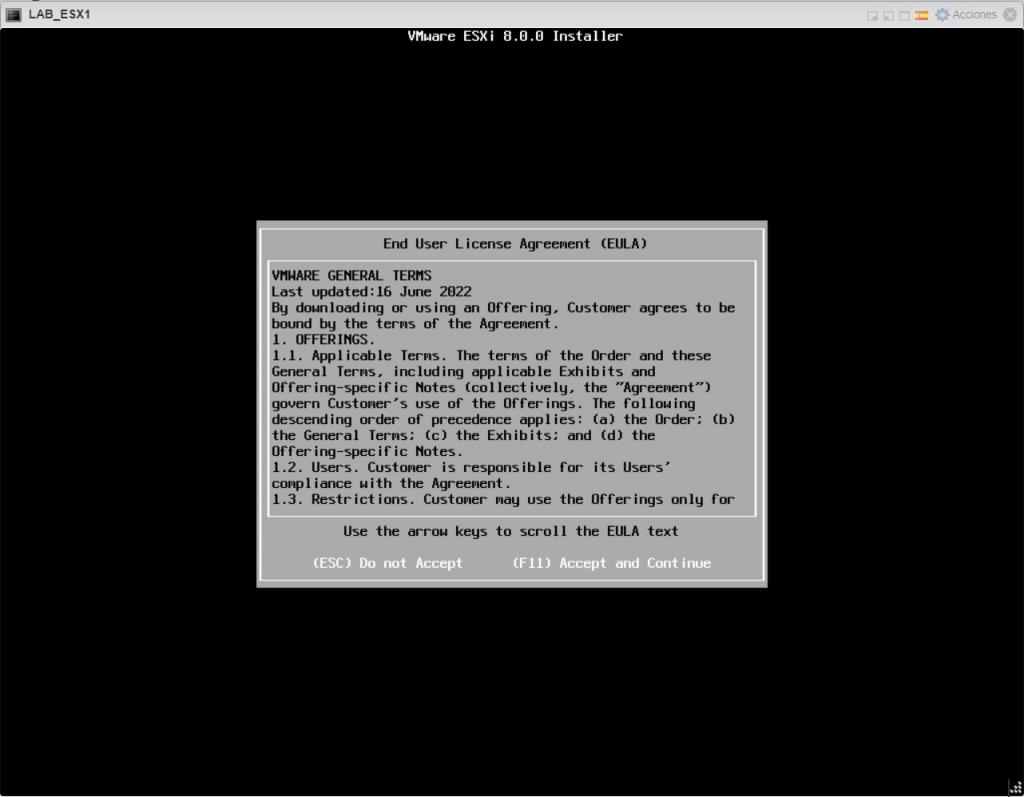
Press F11 to accept the EULA.
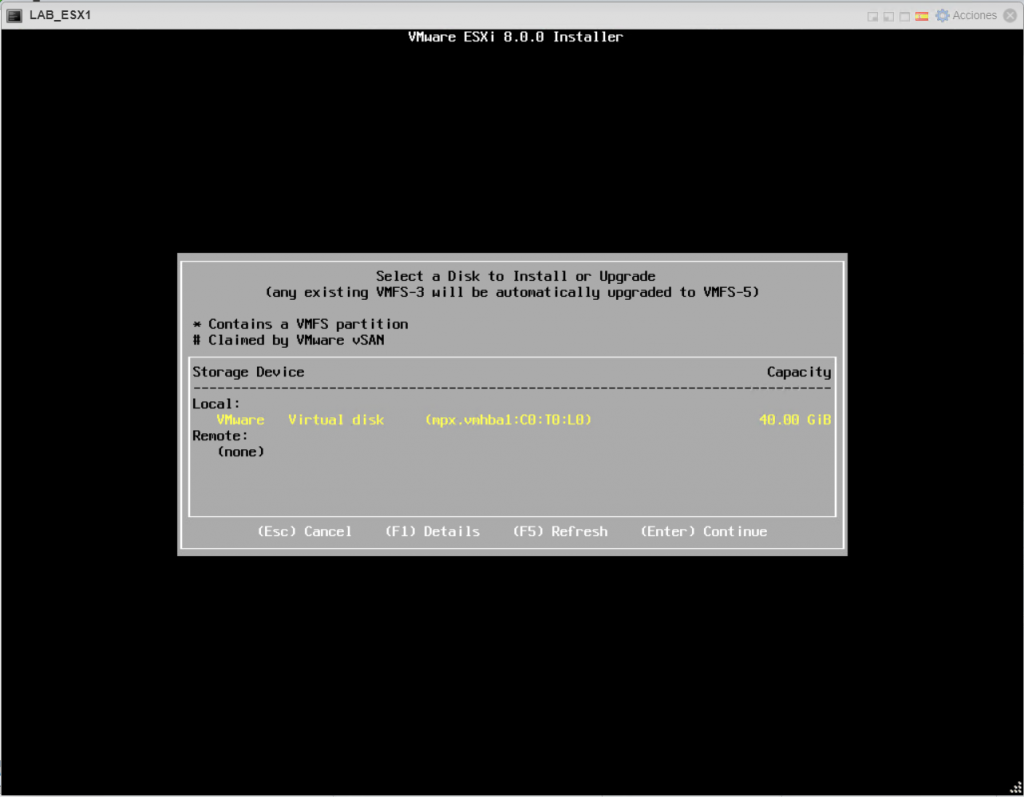
Select the disk where ESXi will be installed and press Enter.
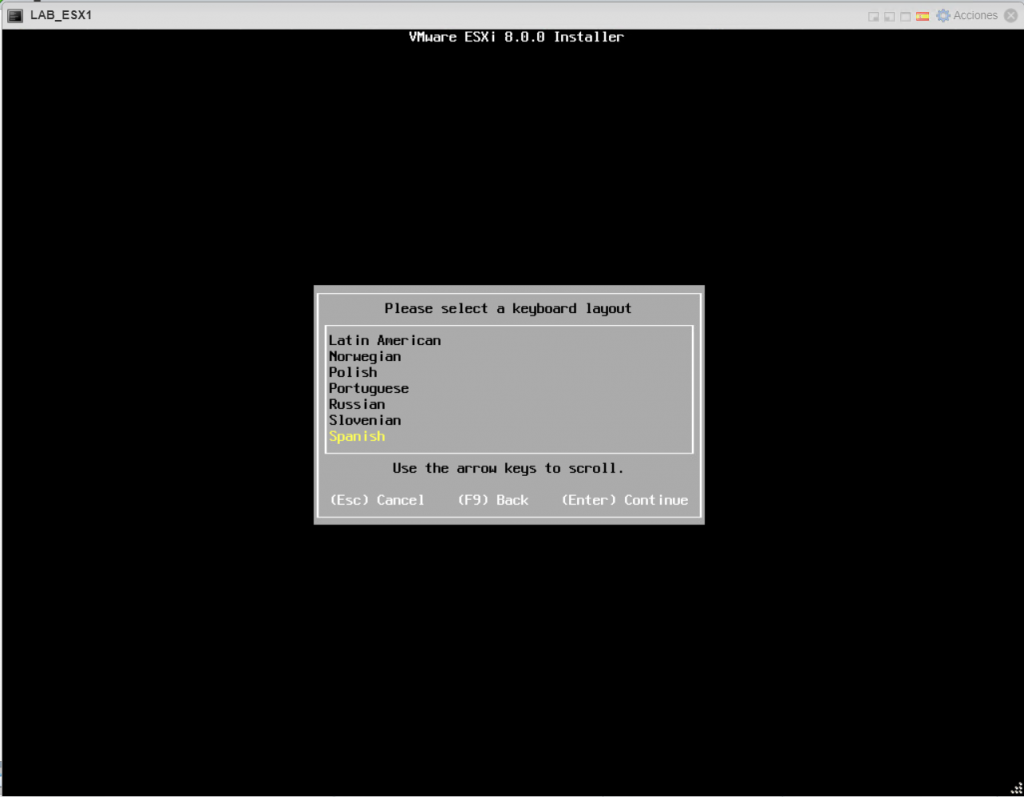
Select the language. In this example, I chose Spanish. You can change it later without rebooting.
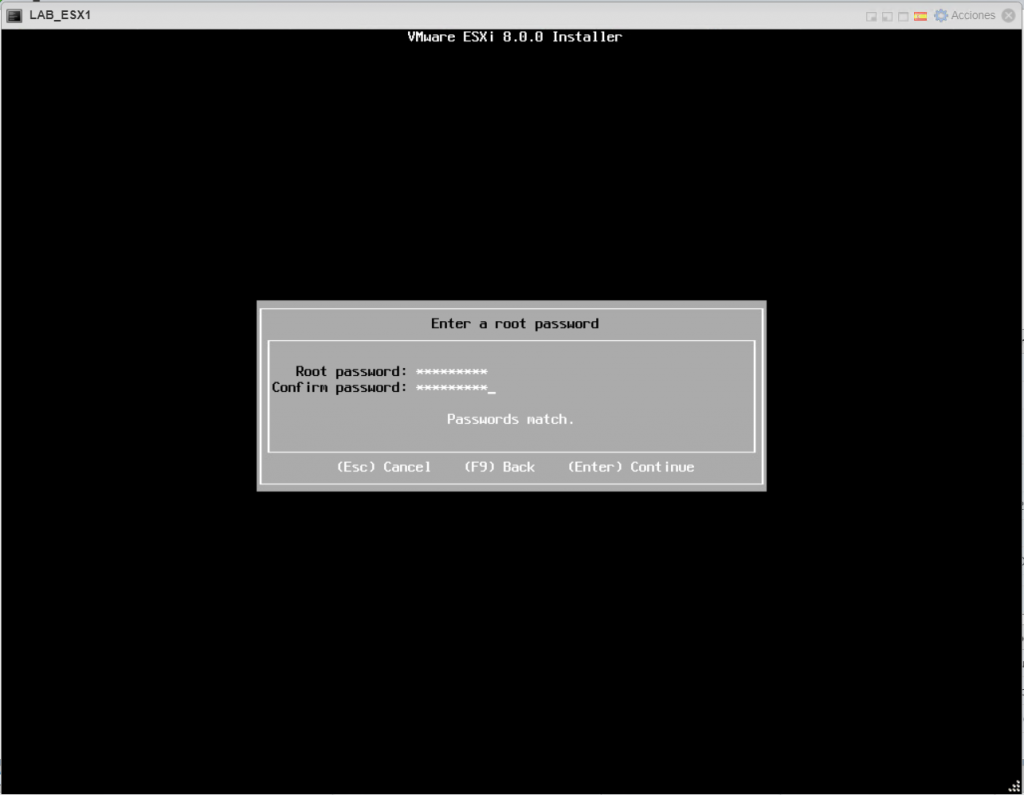
Enter the password for the ROOT user.
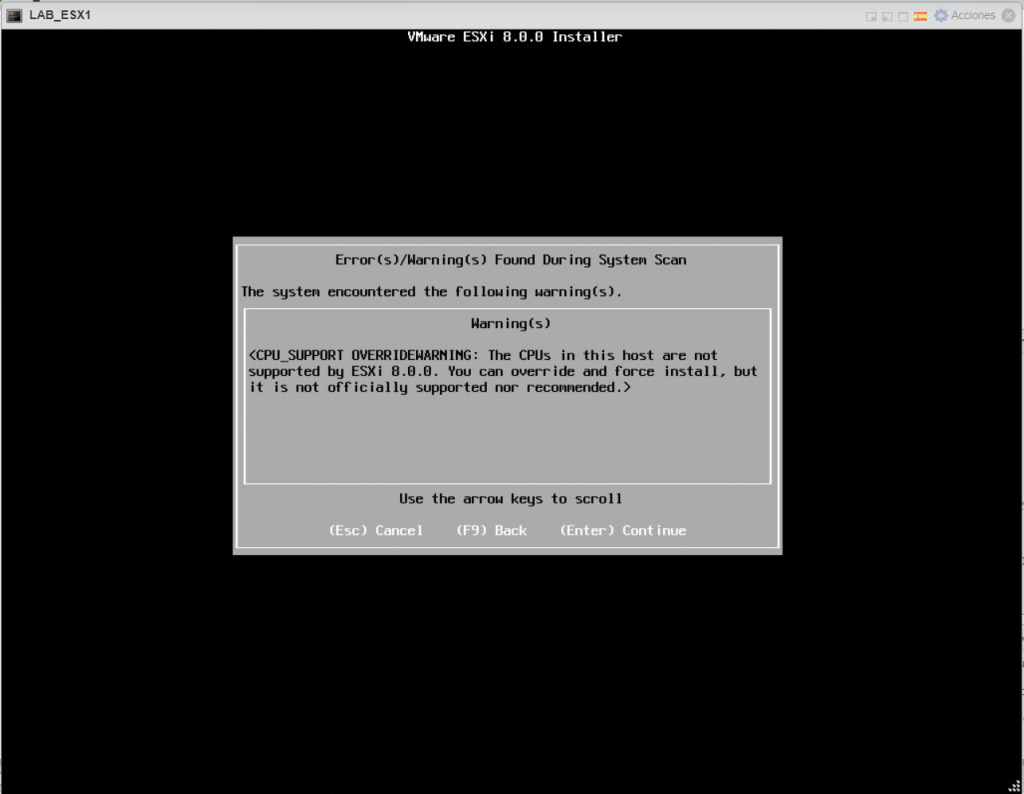
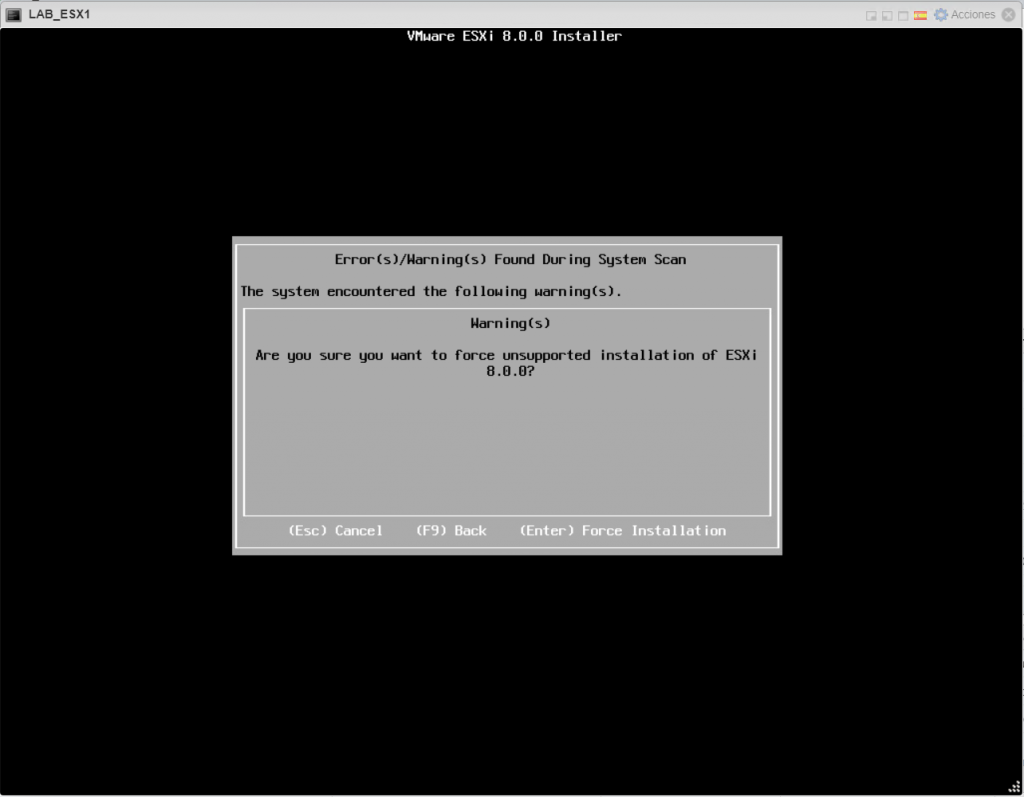
If you see the following warning, that’s expected because we’re installing on older hardware for a lab, not a production environment.
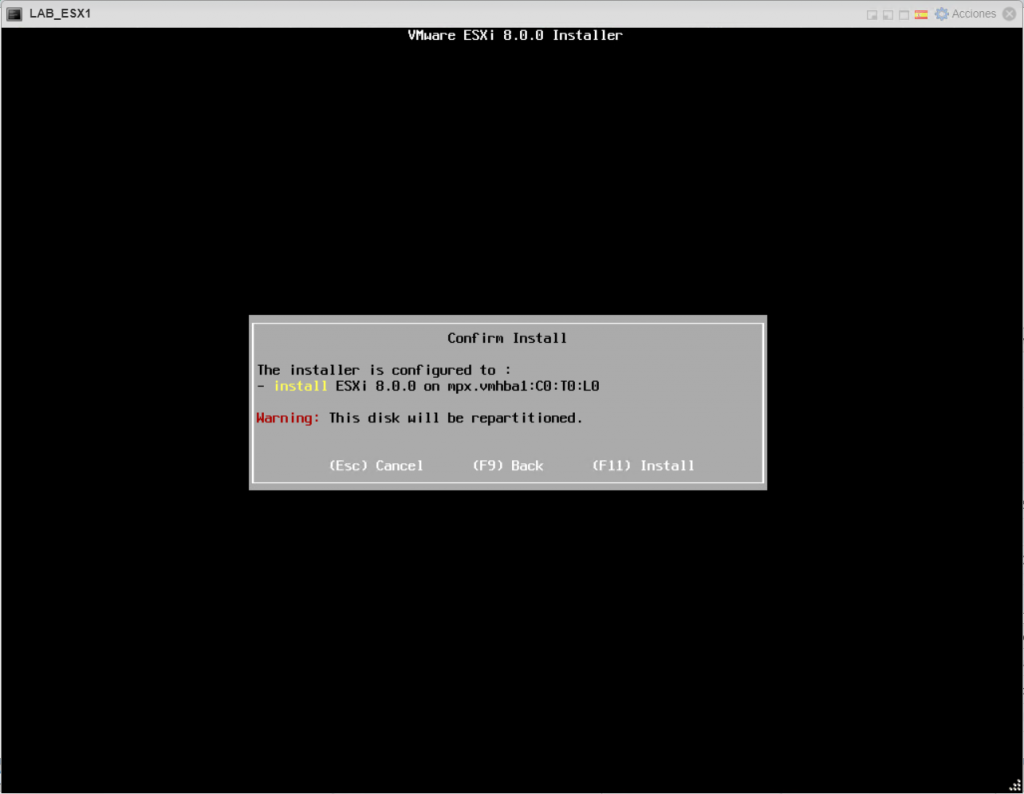
Now press F11 to install to the disk. Note that you’ll be warned that the disk will be repartitioned for the system.
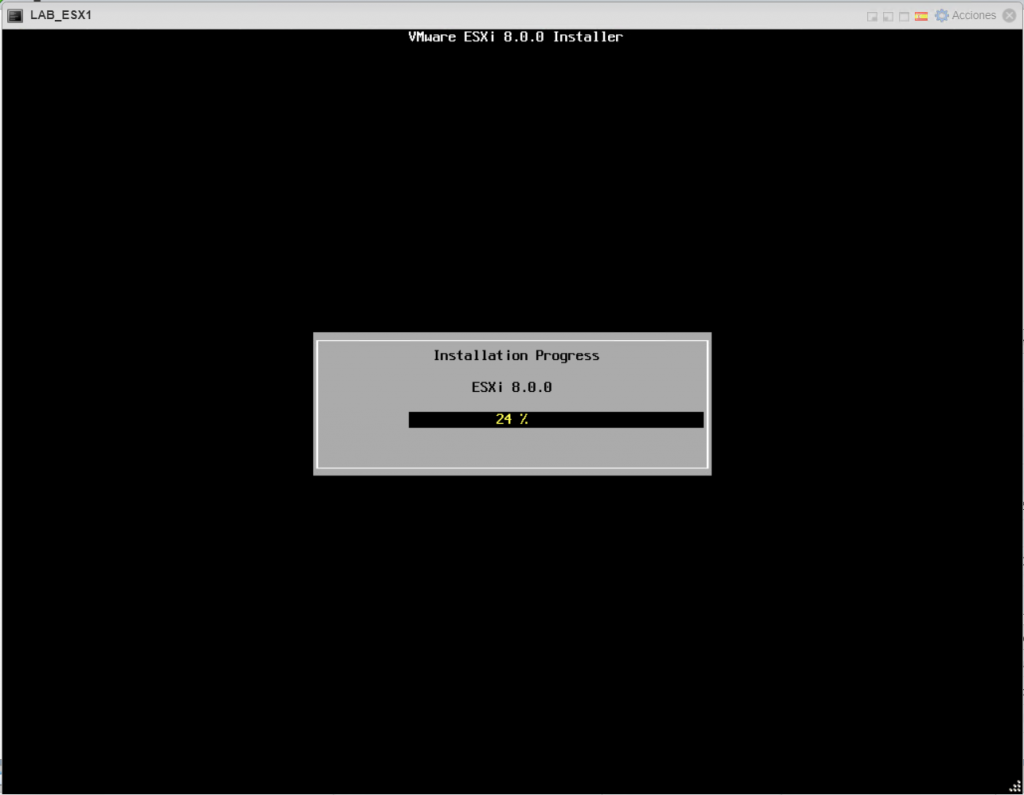
Installation in progress…
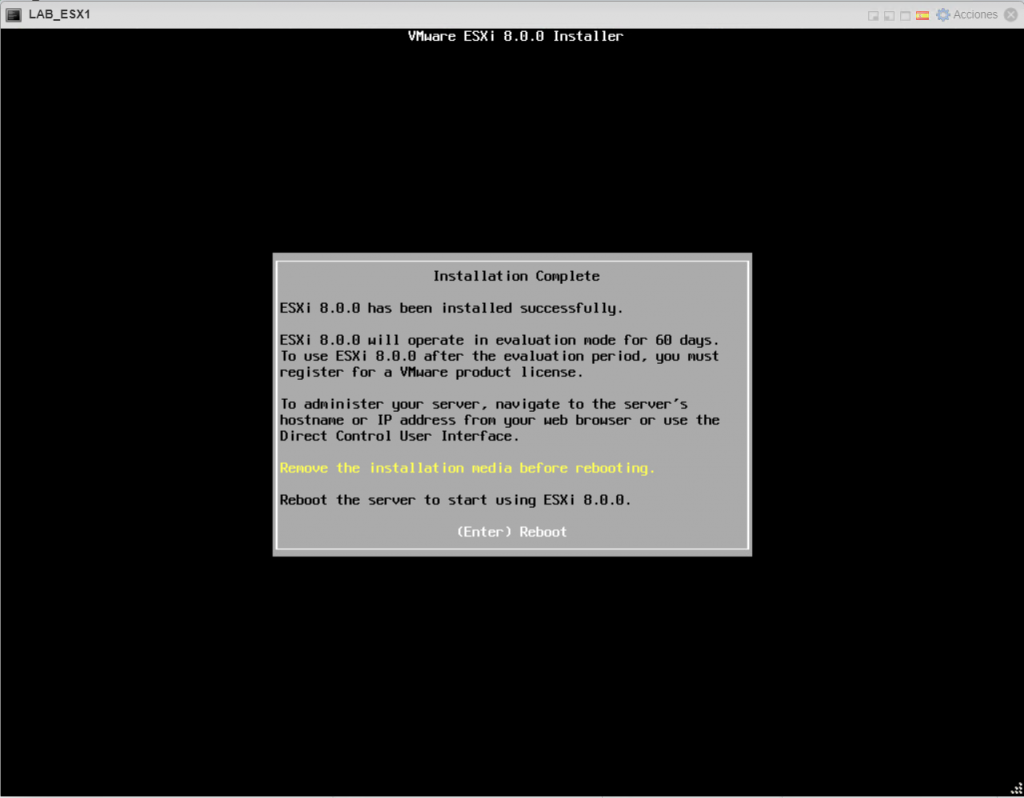
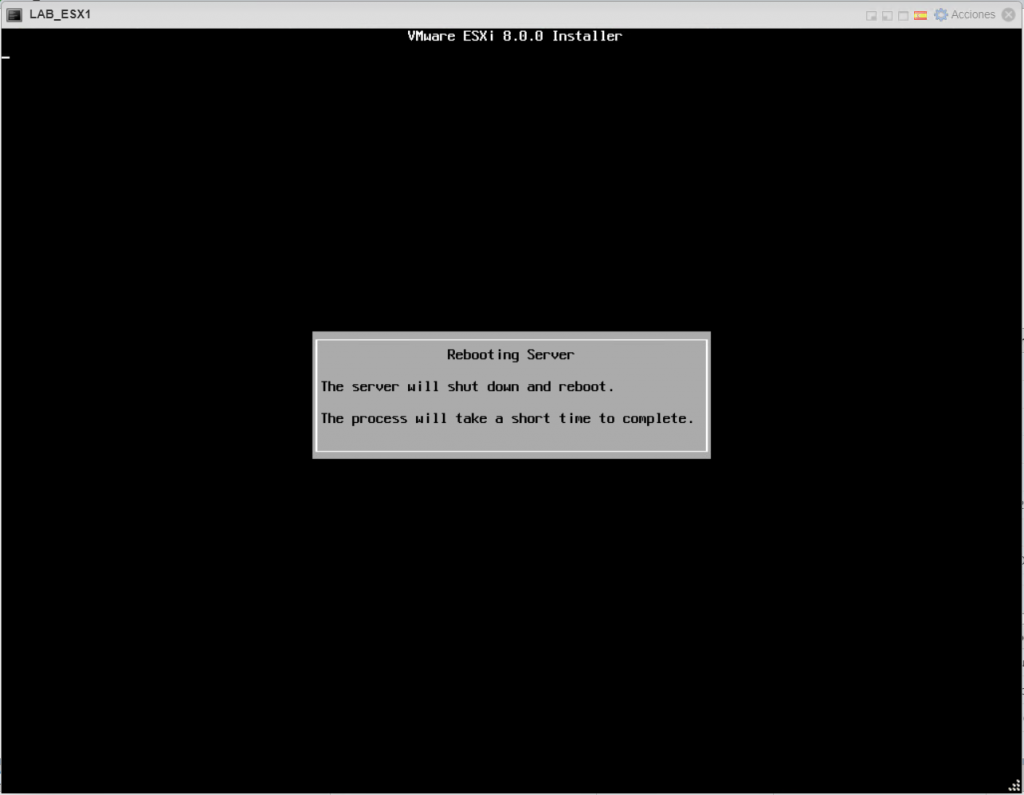
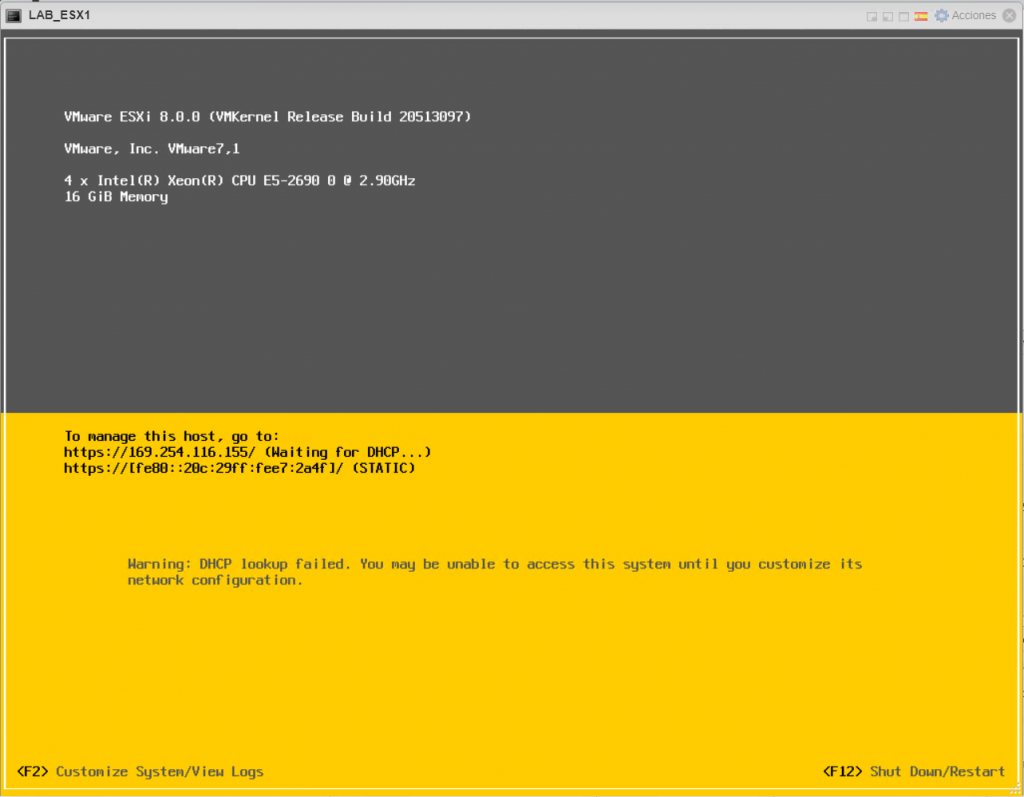
Done! Installation is complete. Remove the ISO, USB drive, or other installation media, then press Enter to reboot and start ESXi.
Important: if it doesn’t boot as expected, check that the BIOS boot device matches the one you selected during installation.
Installation is complete. Next, we’ll move on to step 2: initial setup and access to the web console.
Hi! There’s a program for members of the VMware user group called VMUG Advantage.
For less than $200 a year, it gives you access to many VMware product licenses, including VMware Fusion, Workstation, the full vSphere suite, and more.
All you need to do is register with your local VMUG. There are many VMware user groups, so choose the one closest to you. Once you’re registered, visit this link to purchase it.
There are often discounts, so check social media and the VMUG website.
Hi, I’ll give you a high-level walkthrough of deploying the Apache Guacamole virtual appliance and performing an initial setup of a user and RDP/SSH connections.
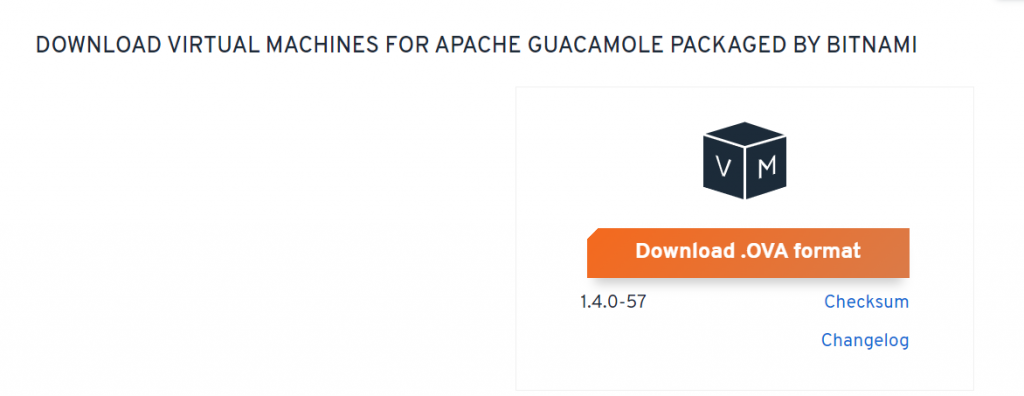
First, download the virtual appliance from Bitnami here It is an OVA for vSphere.
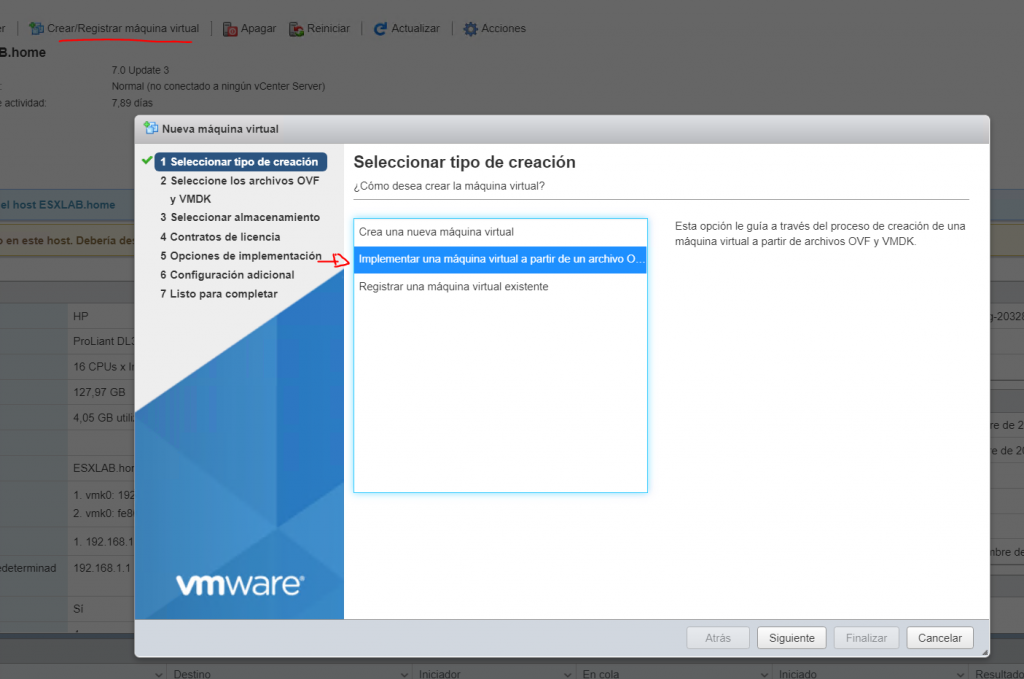
Once downloaded, deploy it—in my case, on an ESXi host.
Create VM > Deploy from OVF or OVA file > Next
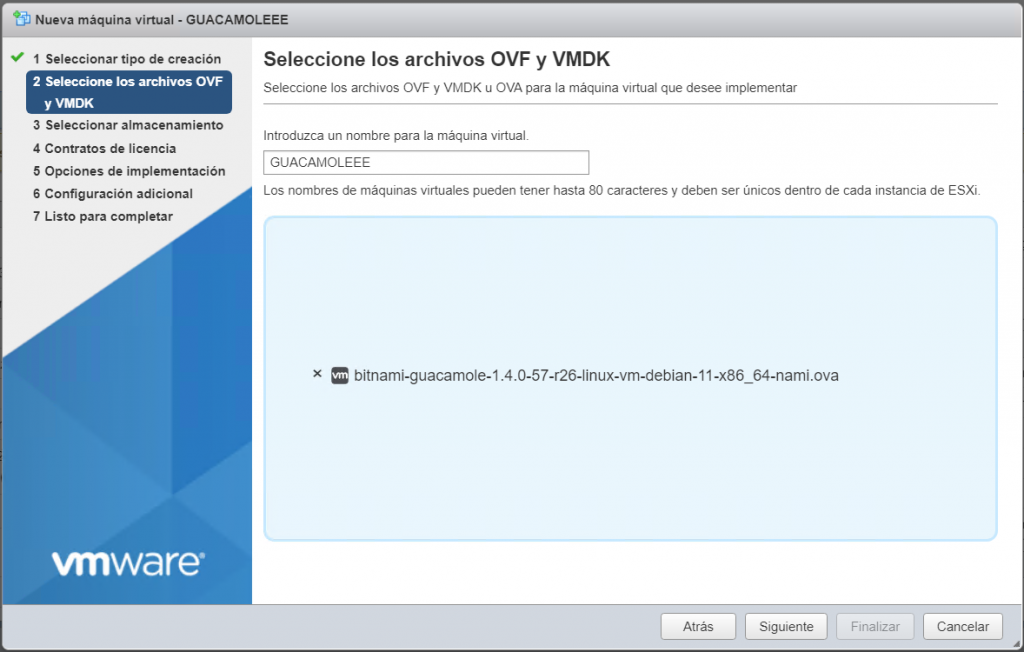
Name the VM, select the downloaded OVA, and click Next.
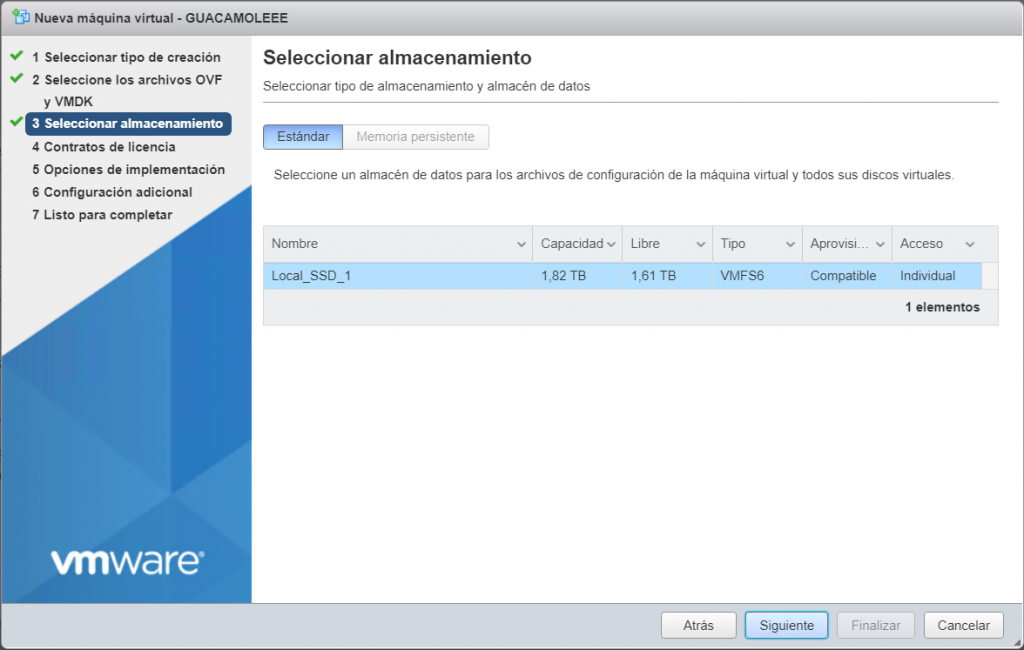
Select the datastore where you want to deploy it, then click Next.
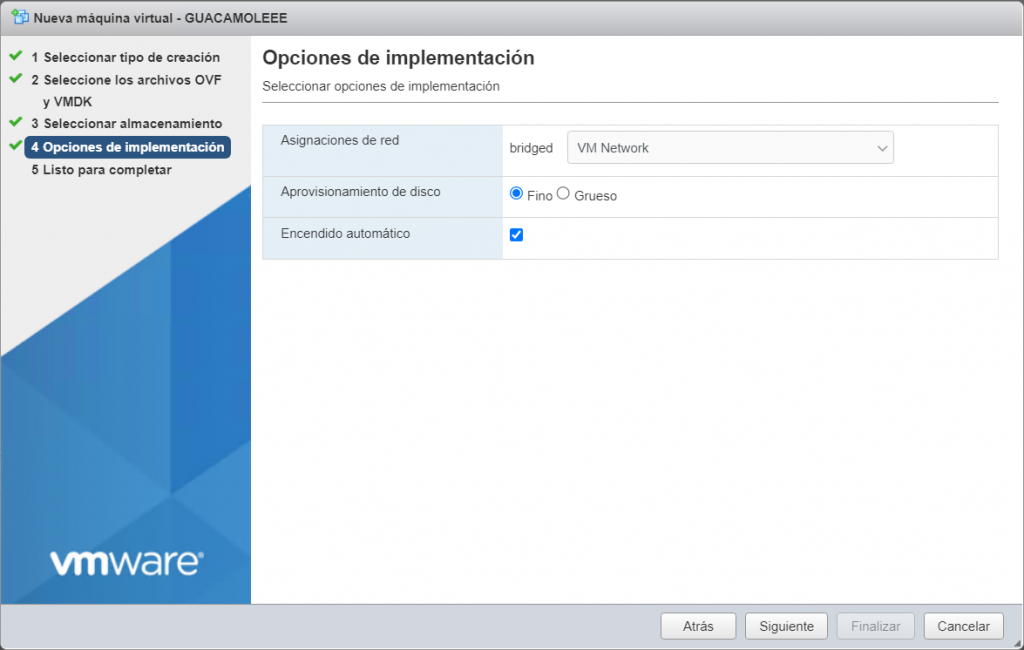
Select the network to connect it to and the disk provisioning option.
One detail: select a network that lets you reach the machines for which you’ll configure RDP, SSH, and VNC access.
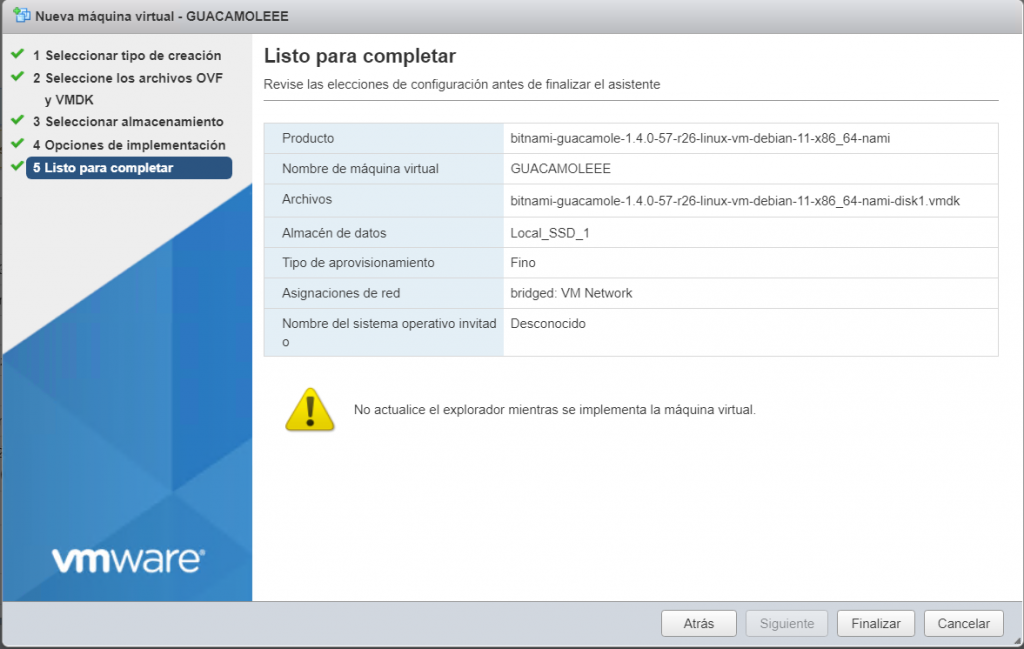
Review the summary and finish.
After deployment, open the vSphere console to perform the initial setup.
It has received an IP address through DHCP.
Open the remote console.
Sign in to the console with the username bitnami and password bitami.
It will ask you to change the password after signing in.
As a prerequisite, open ports 80 and 443 to the appliance’s IP address. If you configured a static IP earlier, or a DHCP reservation, make sure those ports are open.
In the Apache Guacamole console, run this command:
sudo /opt/bitnami/bncert-tool
The process takes a couple of minutes. It will ask for the fully qualified domain name (FQDN) where Apache Guacamole is published (Domain List), for example, guacamole.yourdomain.com.
The domain must point to the public IP address where Apache Guacamole is published.
Answer the simple prompts: Redirect HTTP to HTTPS: Yes Email address for notifications Accept the changes
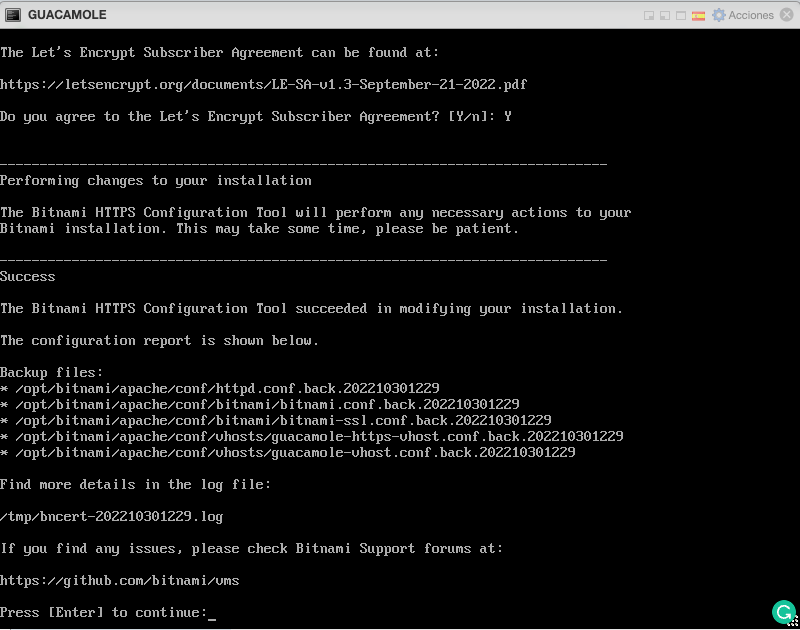
Then finish. Here is the final process summary:
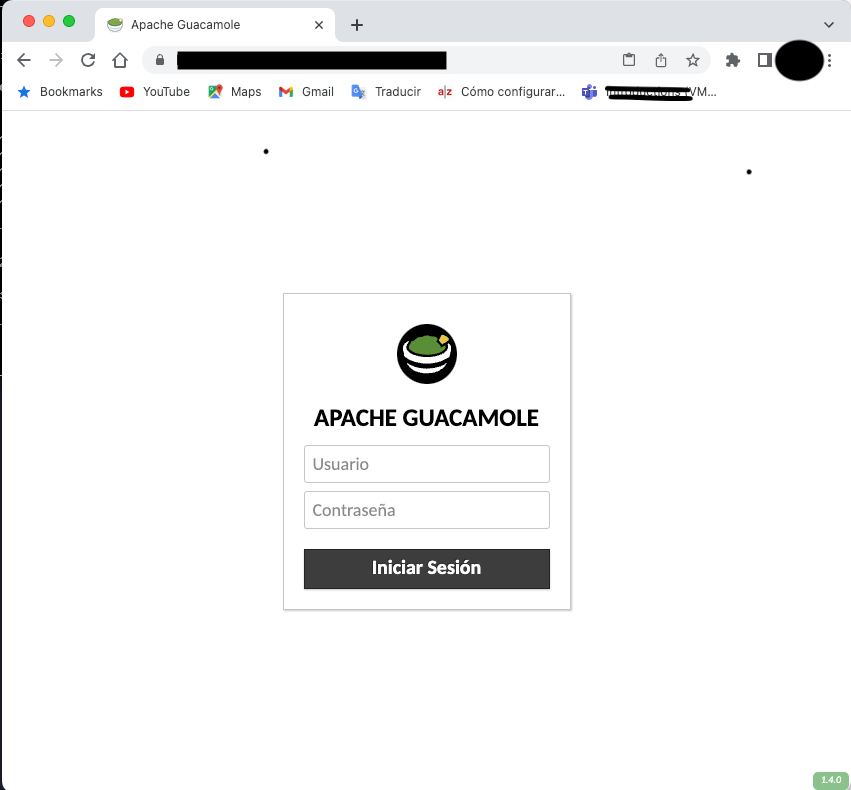
The process restarts the required services and enables Apache Guacamole over SSL! We now have secure web access!
In the next post, I’ll show you the console and how to add an RDP and SSH connection.
Hi, we’ve completed the deployment. Now let’s configure the appliance so we can connect it to our vSphere environment and Veeam backup system.
First, open the Quantum appliance’s web interface using its IP address and sign in with the admin credentials you configured earlier.
Next, in the left-hand menu, go to Wizards.
Let’s configure our CIFS and NFS repositories. Choose the NAS option.
Follow the steps. In my case, I’m creating a CIFS directory in a workgroup.
Now let’s create a user so we can manage permissions for the CIFS repository we created and secure it.
Go to the USERS wizard.
After creating the user, edit the repository permissions and test them.
To do this, exit Wizards using EXIT at the bottom left. In the main menu, go to CONFIGURATION –> NAS and edit the repo_dxi repositories.
These are the default permissions, which allow all users to access the CIFS repository. Clear the Allow all users to access this share checkbox and add our user:
Here’s the resulting configuration. Click Apply, and you’re done!
The repository list now shows that access is limited to allowed users.
Now let’s test access to the CIFS repository in Windows Explorer. It asks for credentials!
Enter the credentials for the user we created earlier, and it’s ready to use.
Everything is now configured for initial use. Later, we’ll look at other settings in more detail, such as host-based access permissions for NFS repositories. By default, everyone can connect. We’ll also look at email alerts and more.
Our storage is ready to support either a VMware cluster or a Veeam B&R backup repository.
My homelab is essential to my day-to-day work, learning, testing, and more.
Electricity is expensive these days, so I’ll show you what my homelab looks like and roughly how much it costs each month. It runs all the time.
My homelab is based on an HP ProLiant DL360p Gen8
equipped with: 2 Xeon E5-2690 CPUs 128 GB RAM 2 x 64 GB SSDs for the ESXi OS (RAID 1) 1 x 2 TB SSD for the primary datastore 1 x 240 GB SSD for the secondary datastore 2 x 450 W power supplies
I bought the server on eBay from an online store called Bargain Hardware. They’re very friendly and provide great service.
Numbers: At the moment, with the server always on and running at 30% load, I pay an average of €10–12 per month for electricity. For me, having it available all the time and being able to access it remotely is worth it. For roughly €120 a year, I haven’t found another setup with this performance that can run my nested lab on different hardware.
Of course, you could adjust the power supplies, processors, RAM, and other components. This configuration works well for me, and I’m happy with it.