En este artículo, exploraremos la transición de un entorno de virtualización VMware a un homelab basado en Proxmox, destacando los beneficios de esta migración y cómo Veeam Backup & Replication (B&R) y el almacenamiento S3 mejoran la seguridad y disponibilidad.
¿Por qué dejar VMware?
VMware es una solución completa para la virtualización, pero su costo puede ser prohibitivo para los entornos de desarrollo o pequeñas empresas. Además, la escalabilidad y el rendimiento pueden verse limitados en sistemas con recursos modestos. Proxmox, por otro lado, ofrece un conjunto de herramientas de virtualización asequibles y personalizables que se integran perfectamente con el almacenamiento S3.
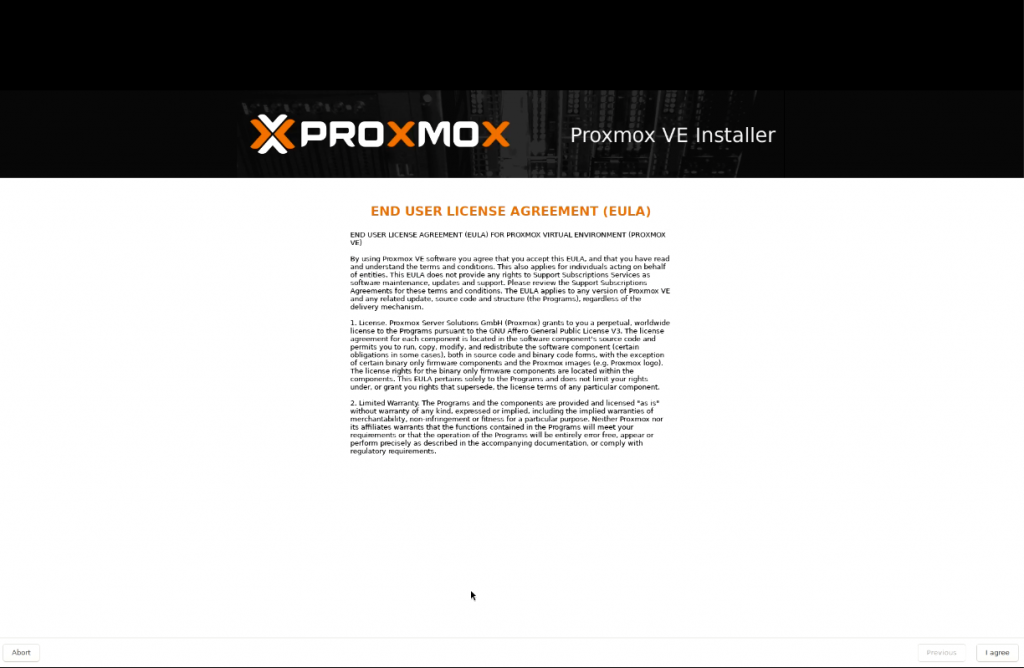
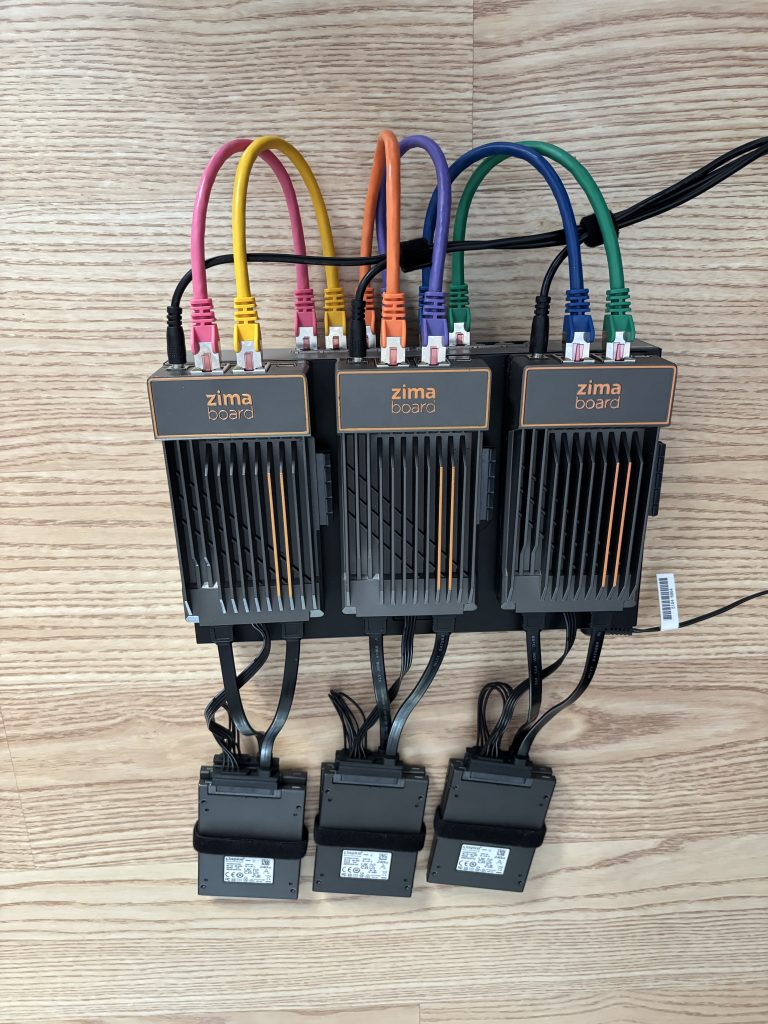
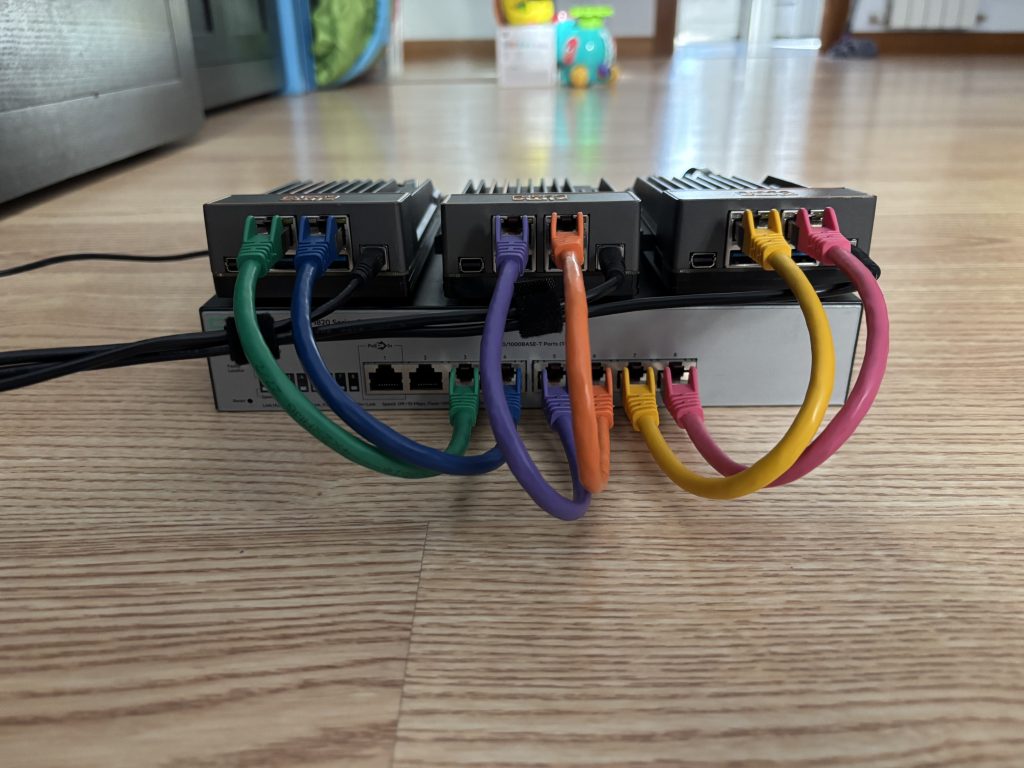
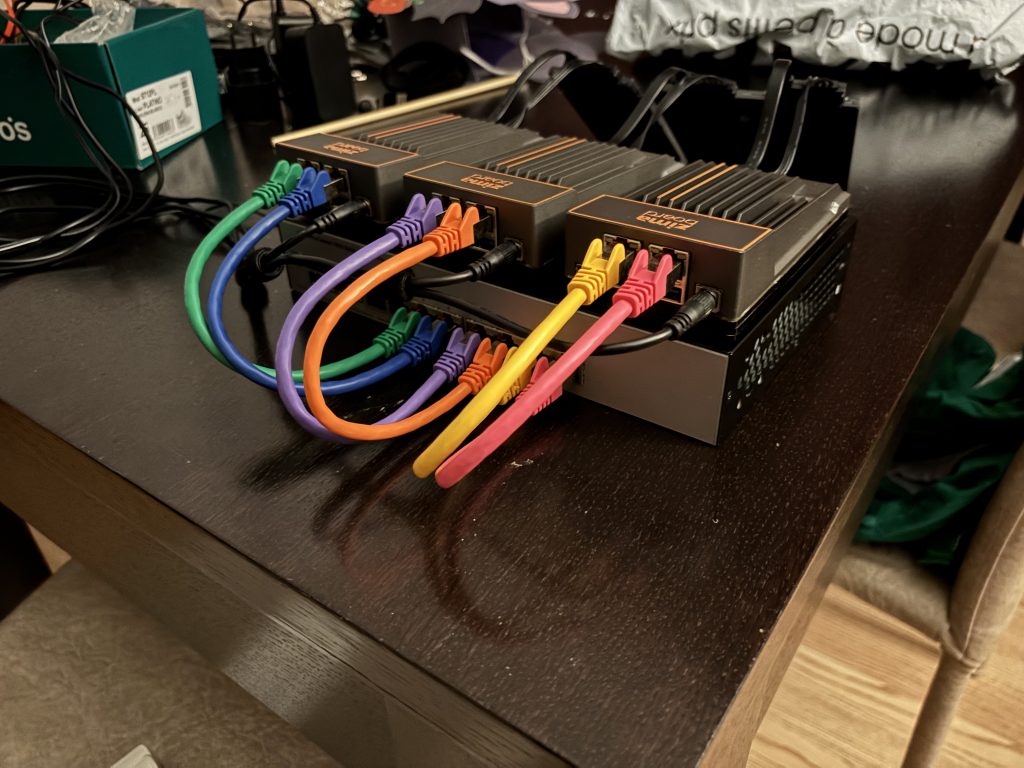
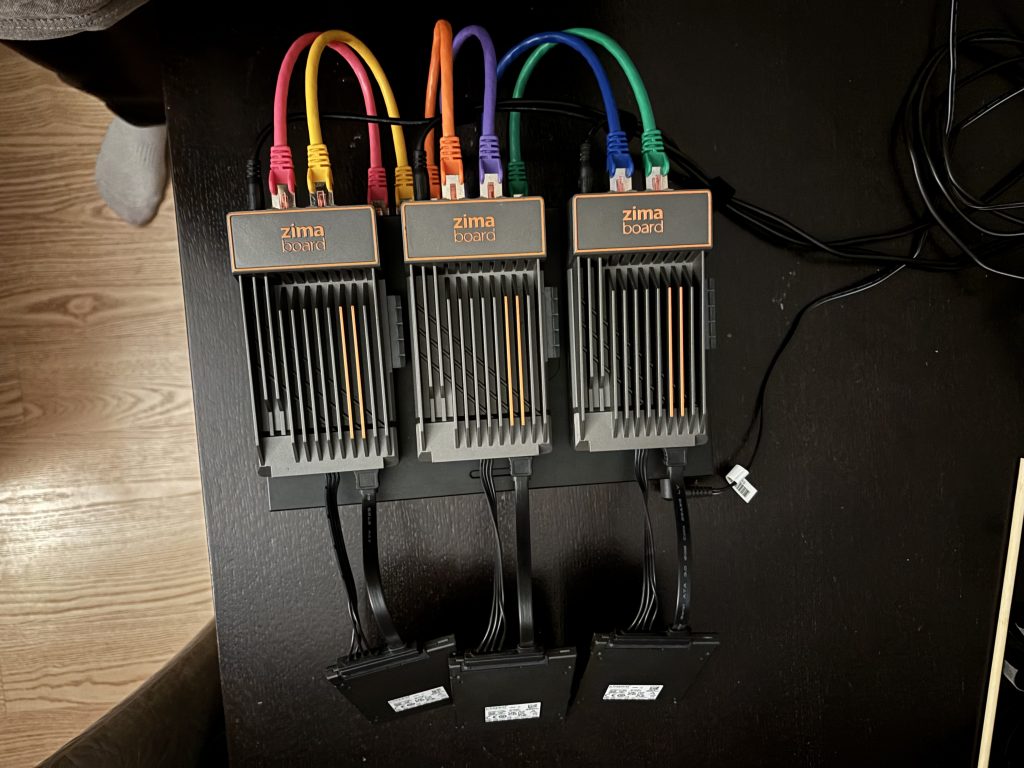
Introduciendo Proxmox
Proxmox es una plataforma de virtualización libre que permite crear servidores virtuales (VEs) en Linux. Ofrece características como la consolidación de servidores, la mejora del rendimiento y la escalabilidad, todo ello sin requerir un hardware específico.
Veeam Backup & Replication: Seguridad garantizada
Veeam B&R es una herramienta líder en backup y replicación de datos para entornos virtuales. Su compatibilidad con Proxmox permite a los usuarios crear copias de seguridad automáticas y transparentes, reduciendo el riesgo de pérdida de datos.
Almacenamiento S3: Escalabilidad ilimitada
El almacenamiento S3 ofrece una solución escalable y segura para almacenar backups y datos en la nube. Su arquitectura distribuida permite un crecimiento horizontal sin limitaciones, reduciendo así el costo del almacenamiento y mejorando la disponibilidad.
Ventajas de Proxmox con Veeam B&R y S3
La transición a Proxmox con Veeam B&R y almacenamiento S3 ofrece varias ventajas:
Costo reducido: Proxmox es una alternativa gratuita a VMware, mientras que Veeam B&R ofrece un costo predictible.
Mejora del rendimiento: La consolidación de servidores con Proxmox permite liberar recursos y mejorar el rendimiento general.
Seguridad garantizada: Veeam B&R proporciona copias de seguridad automáticas y transparentes, reduciendo el riesgo de pérdida de datos.
Escalabilidad ilimitada: El almacenamiento S3 permite un crecimiento horizontal sin limitaciones.
Conclusión
La transición a Proxmox con Veeam B&R y almacenamiento S3 ofrece una solución escalable, segura y personalizable para los entornos de virtualización. Al dejar atrás la complejidad y el costo de VMware, se puede aprovechar todo el potencial de Proxmox y sus herramientas complementarias.