In a previous post, we saw how to deploy the packaged Ubuntu VHL, which applies the default hardening and script settings, including stronger user permissions.
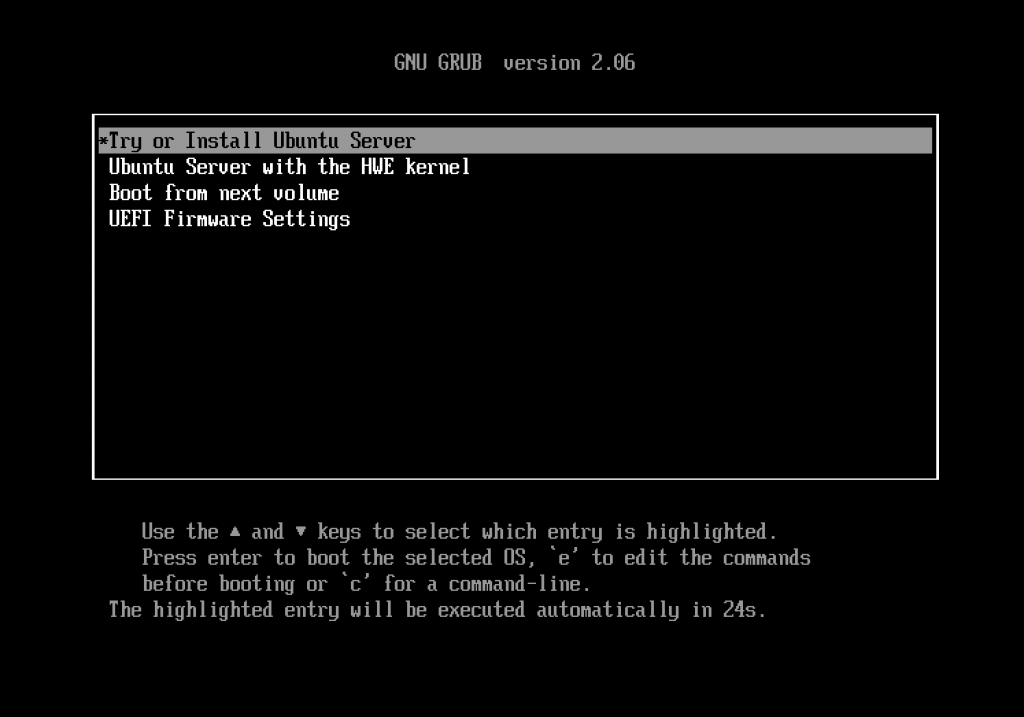
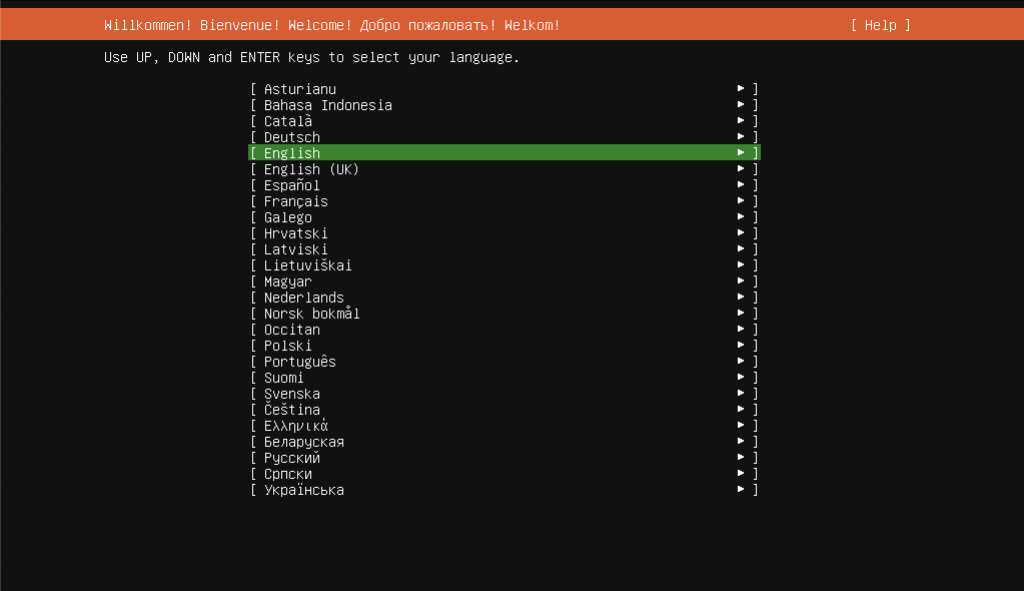
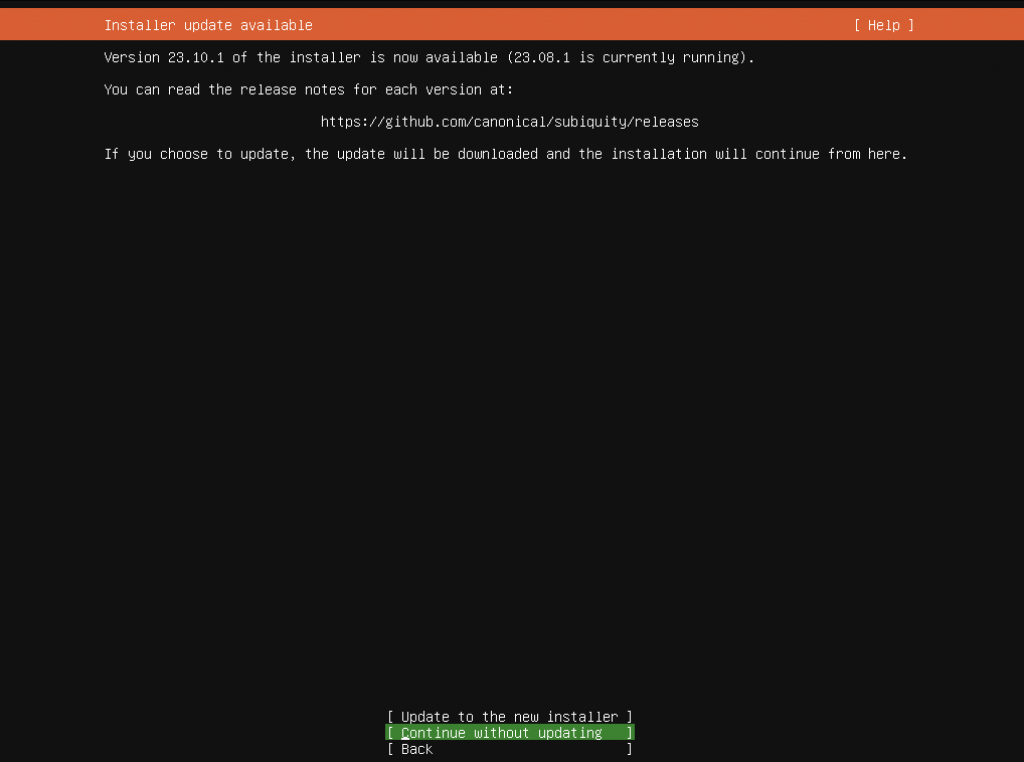
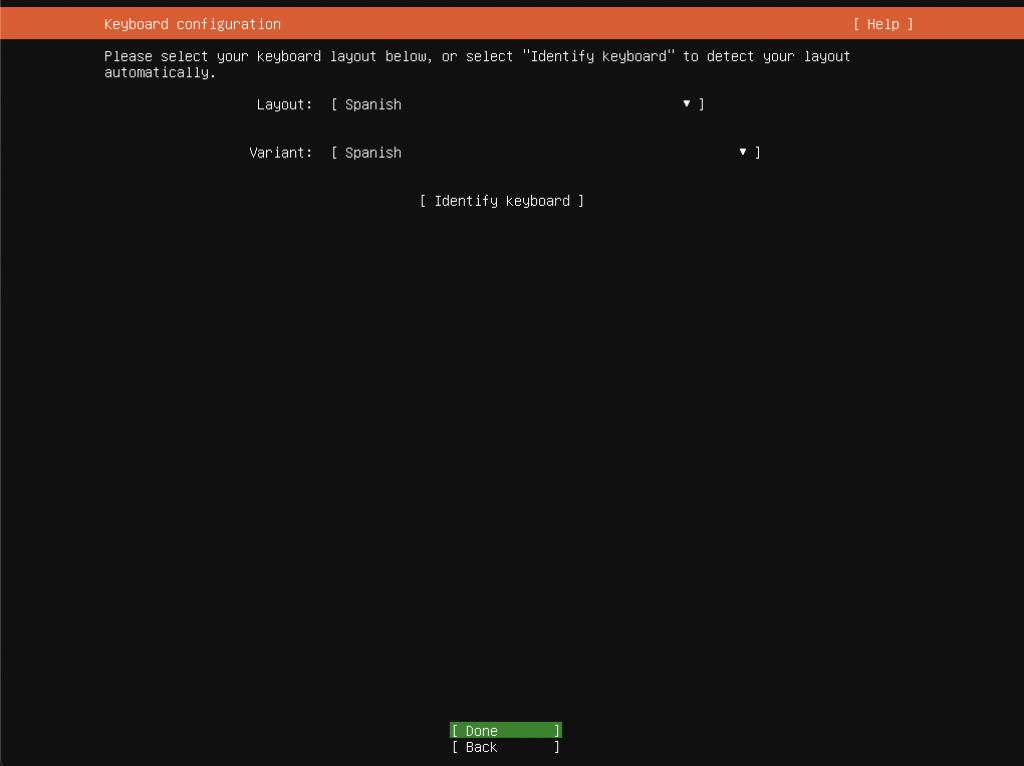
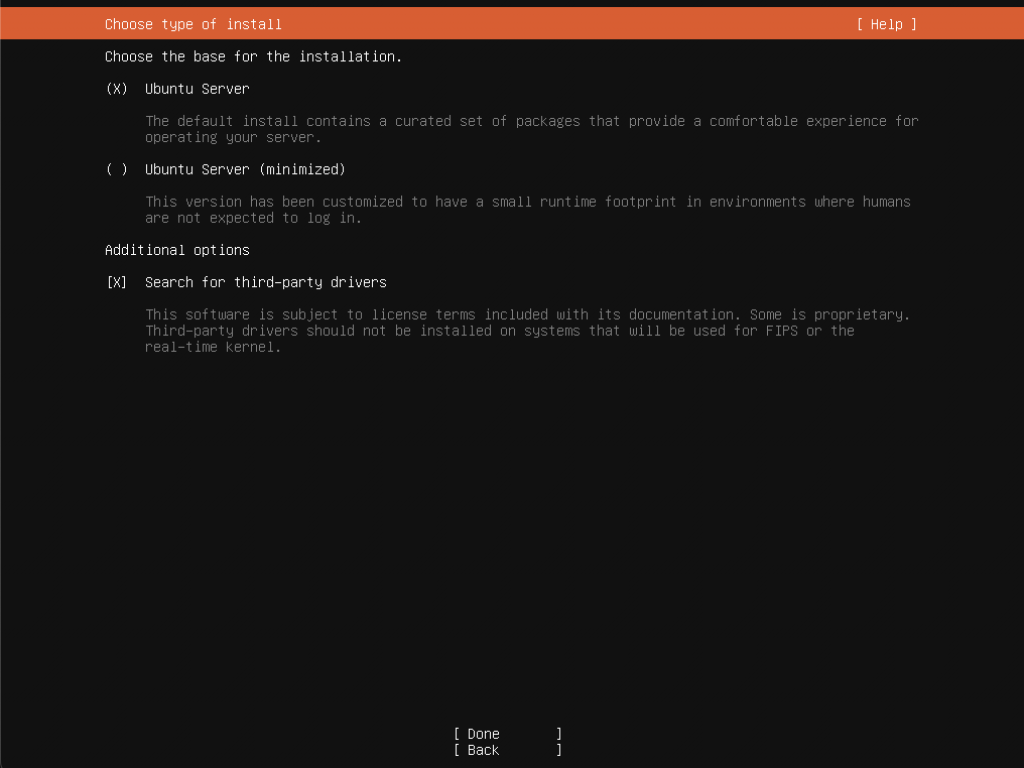
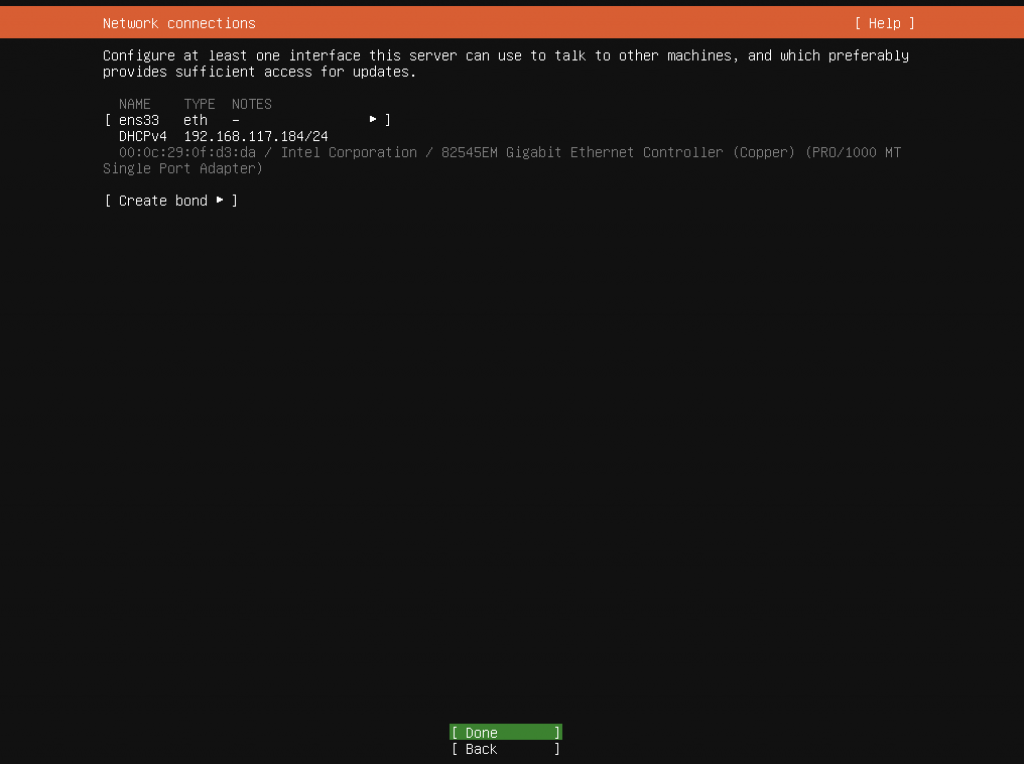
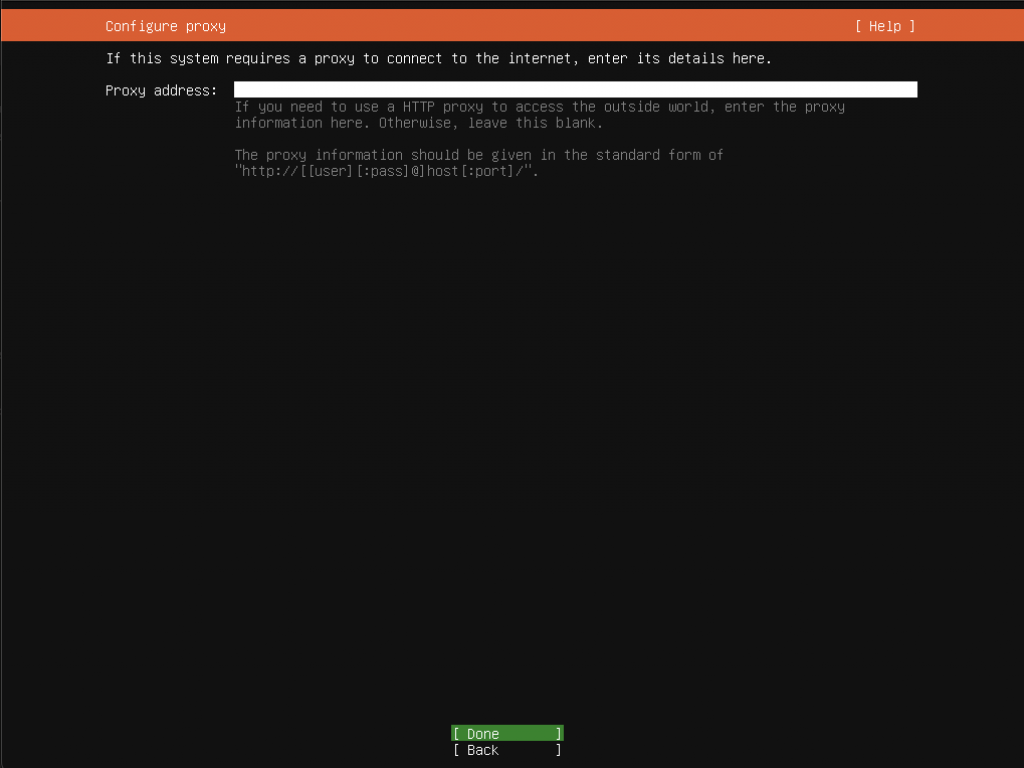
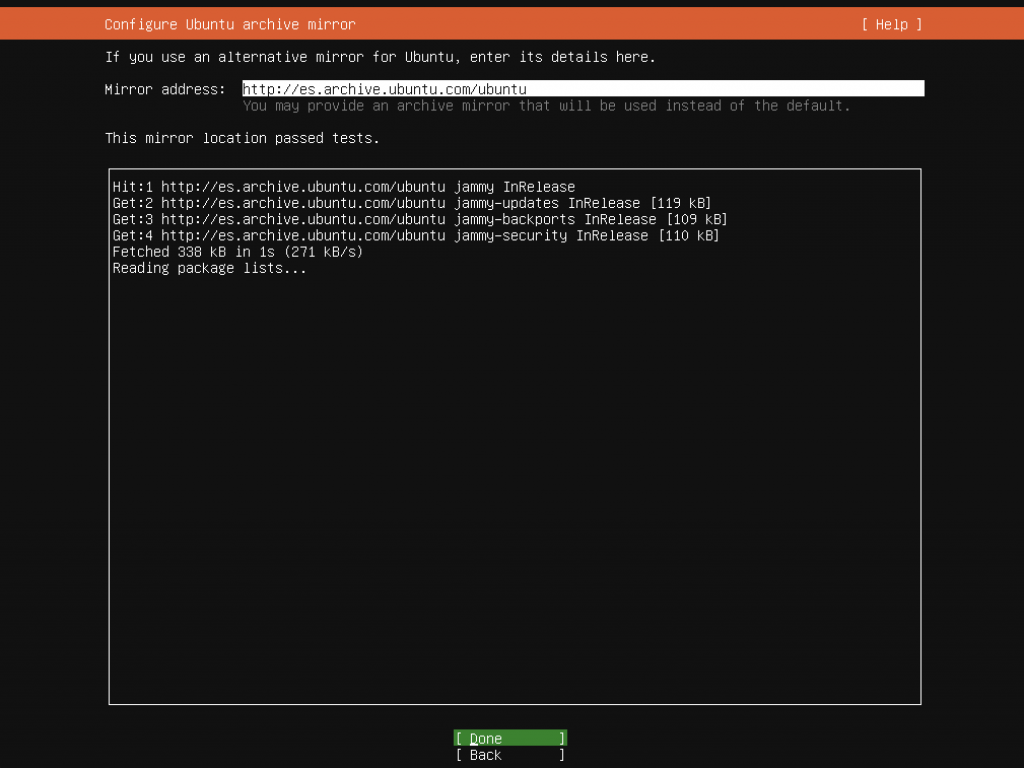
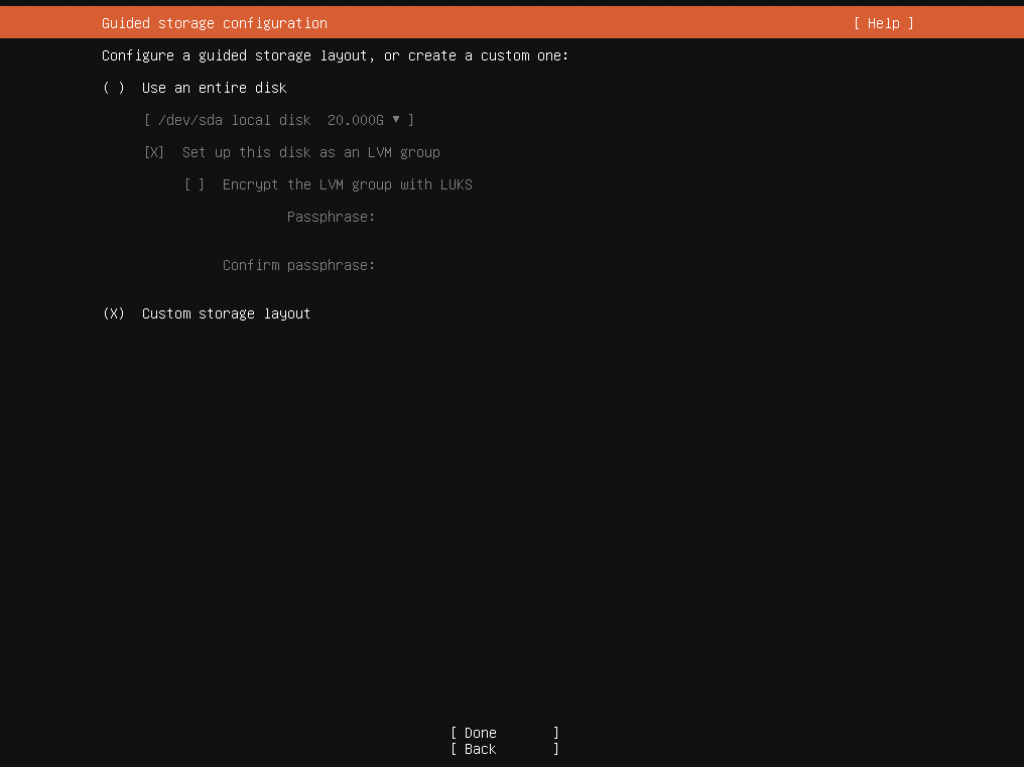
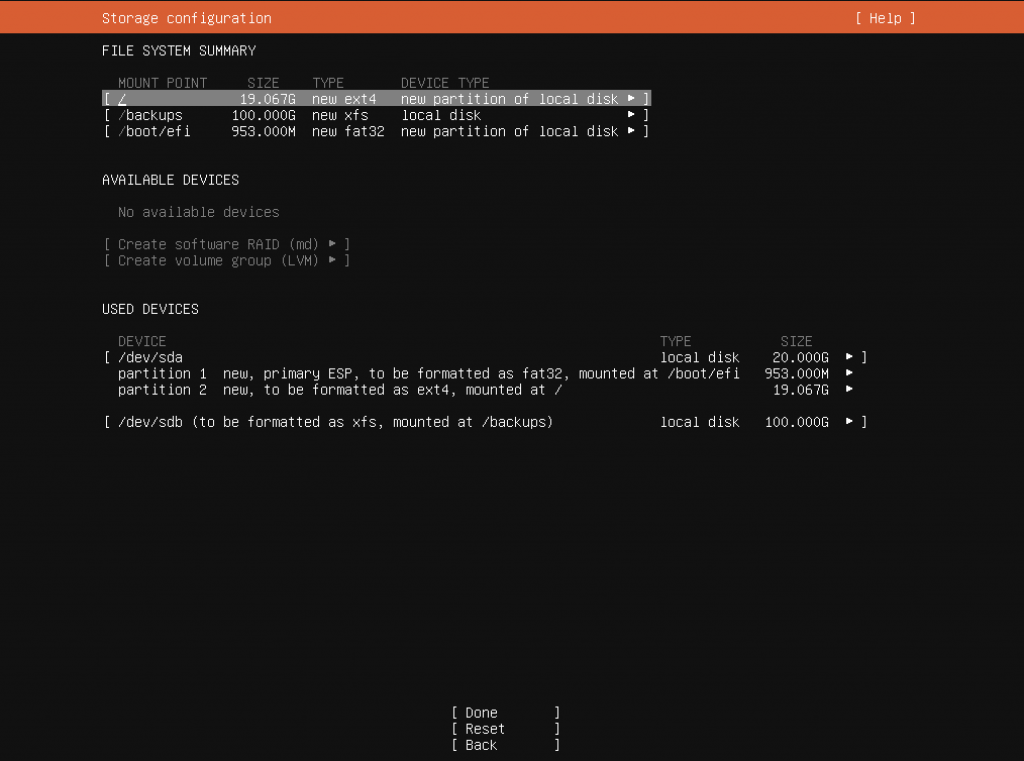
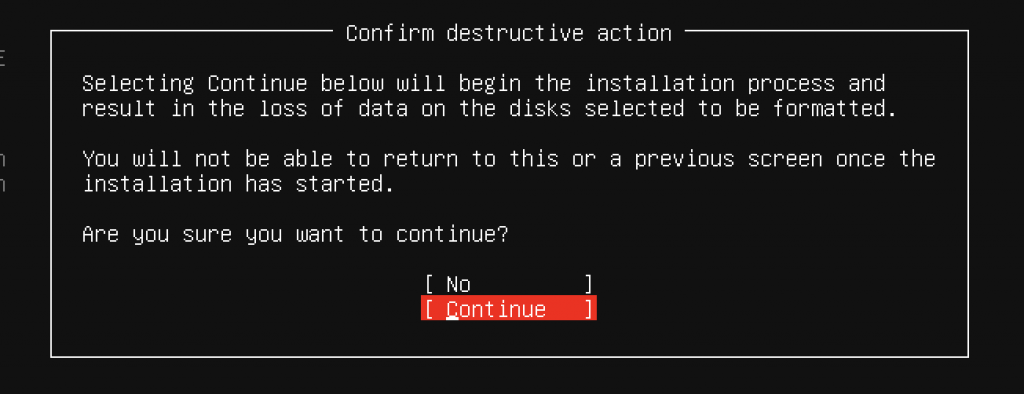
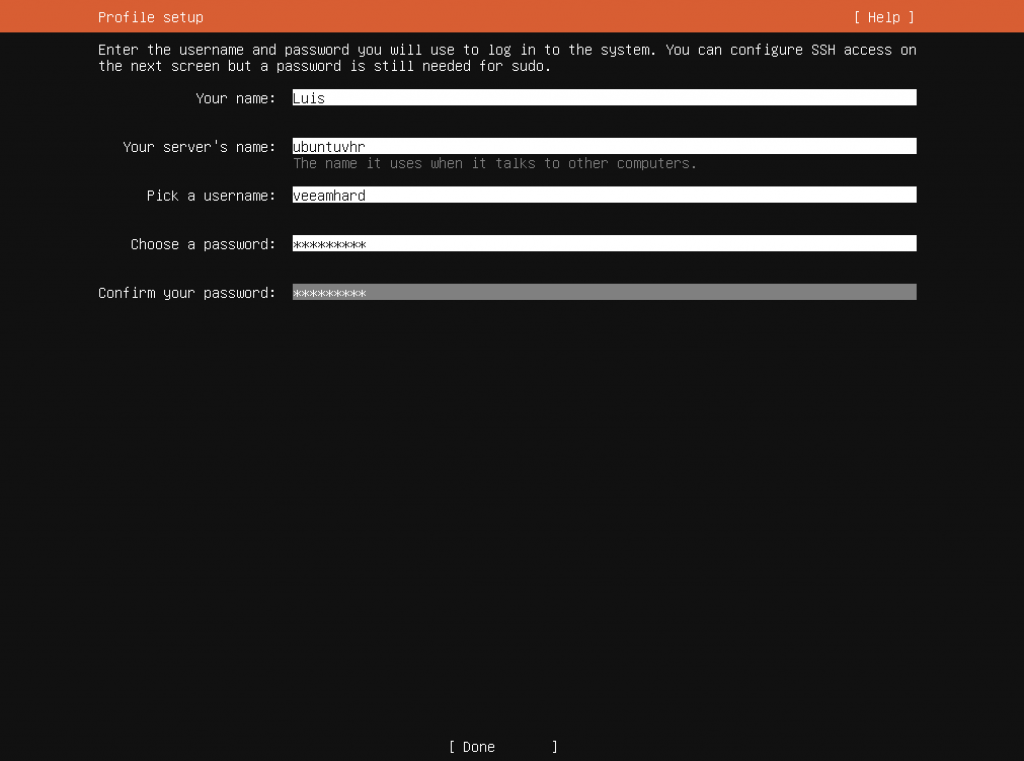
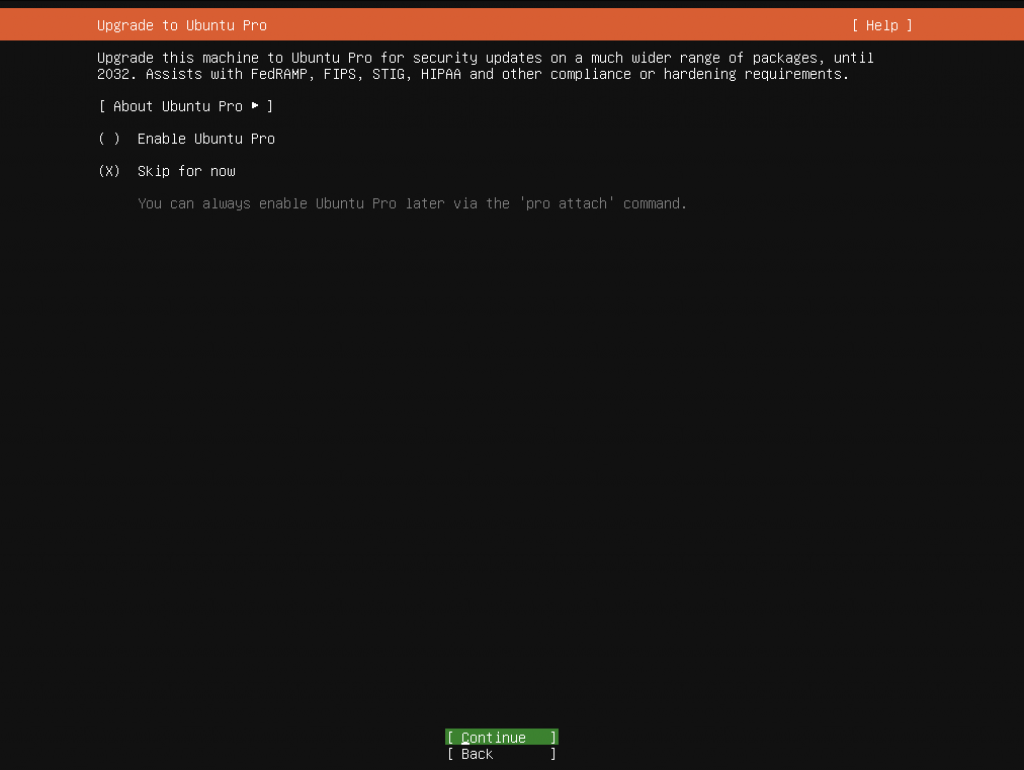
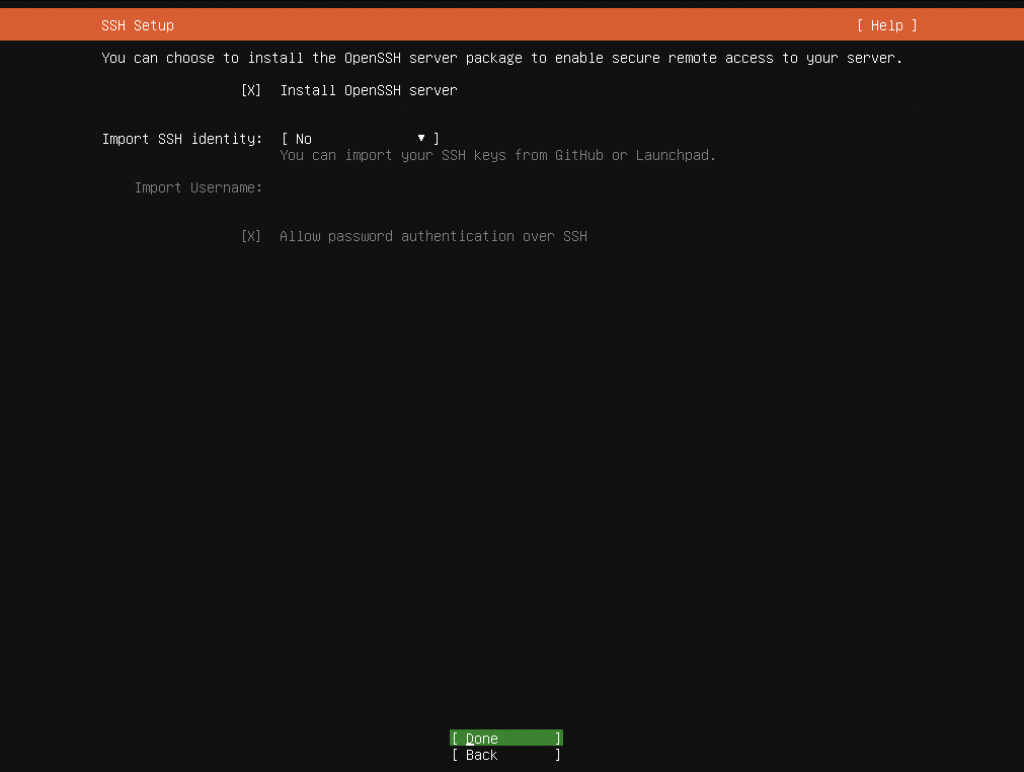
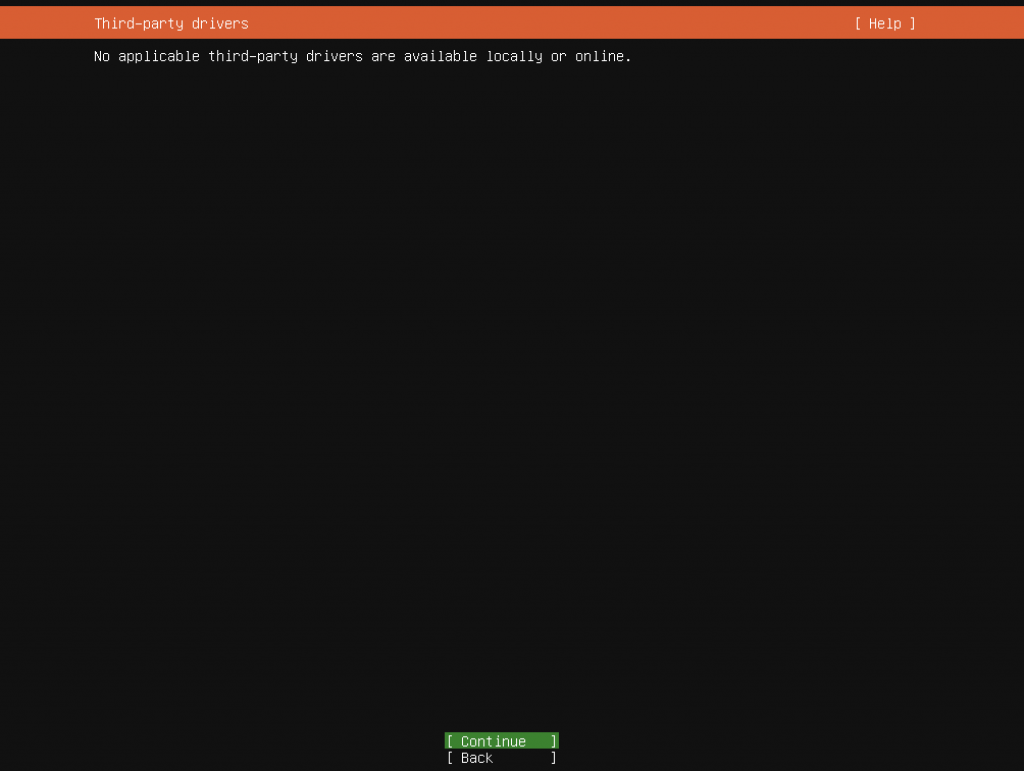
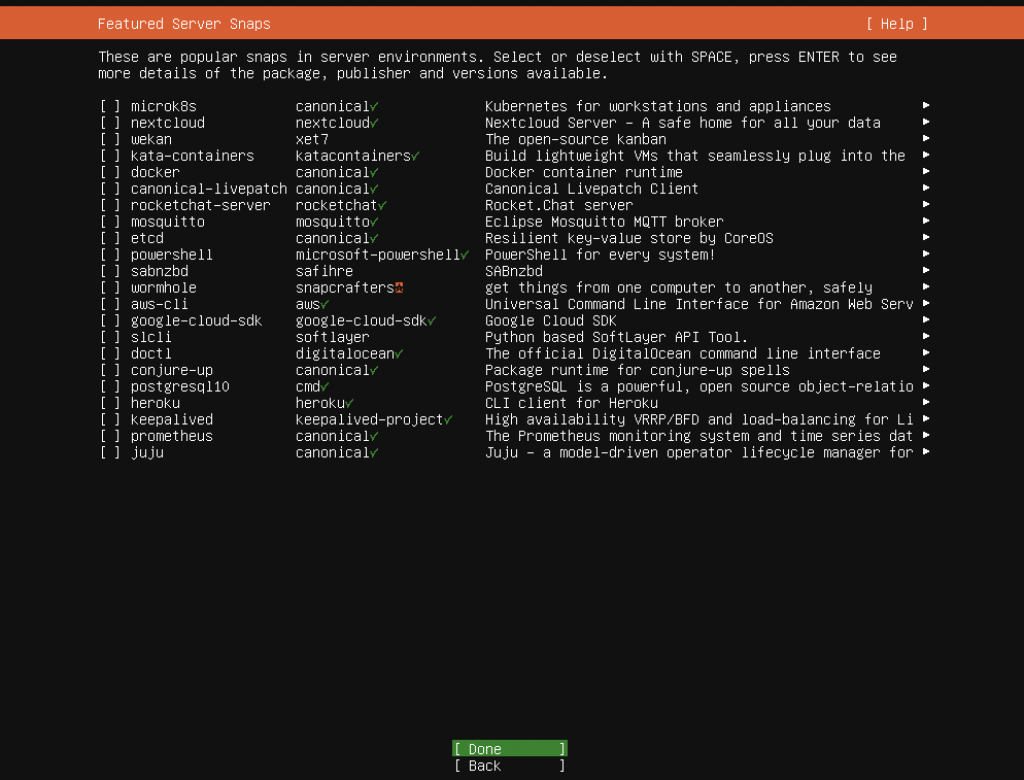
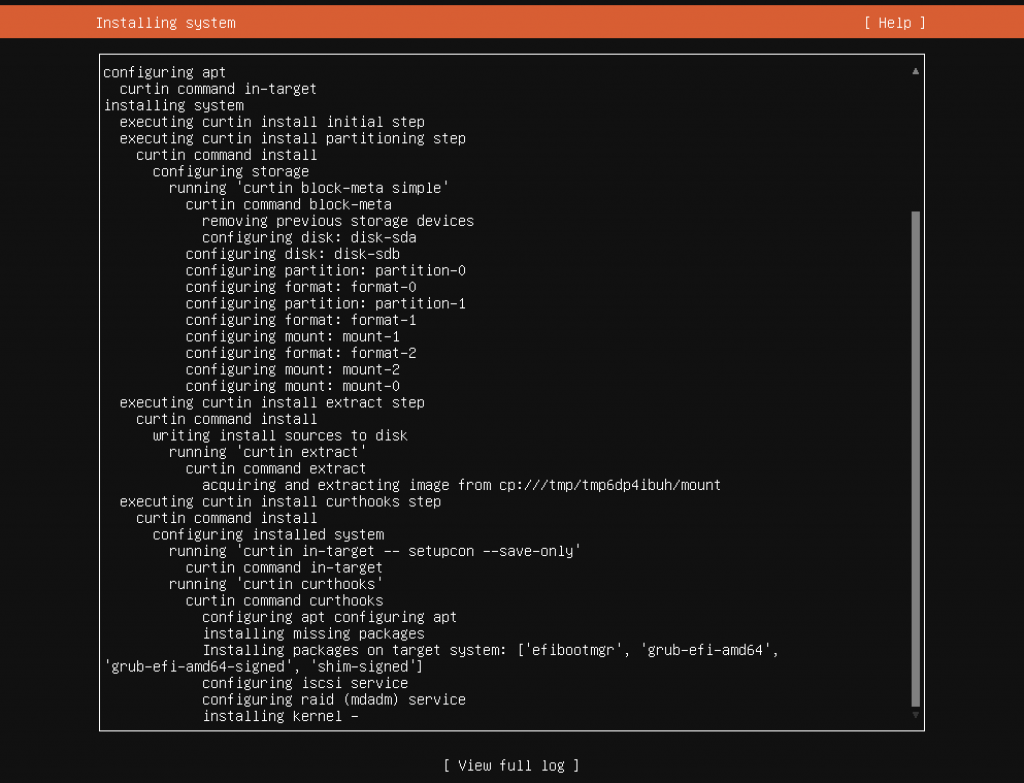
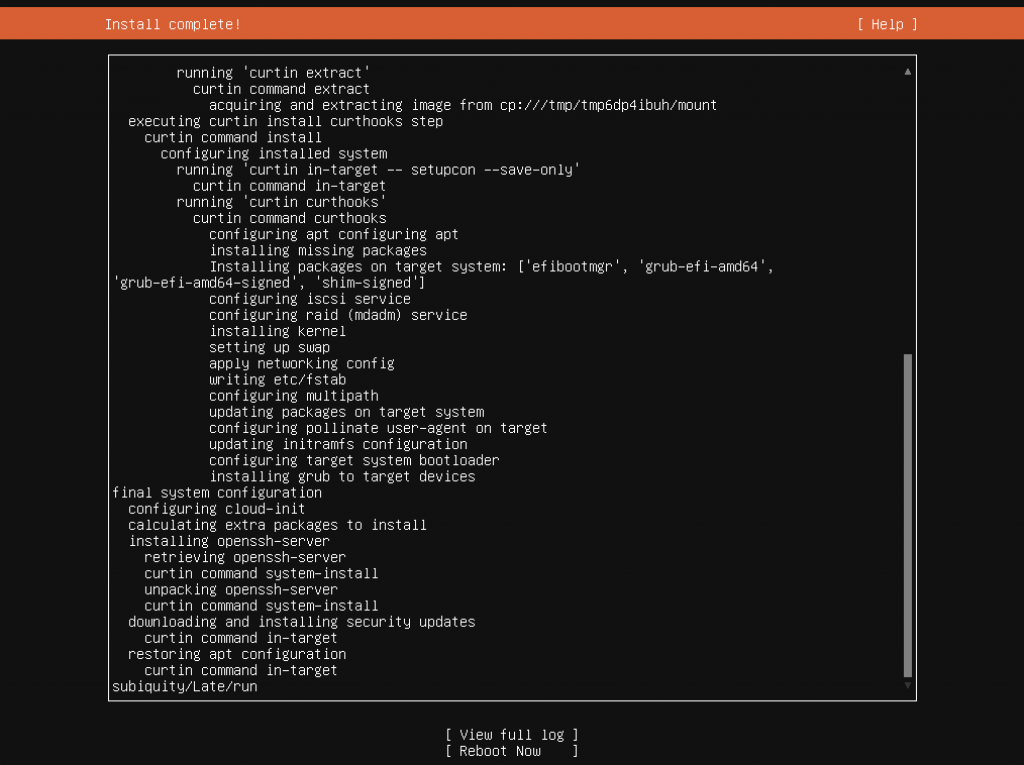
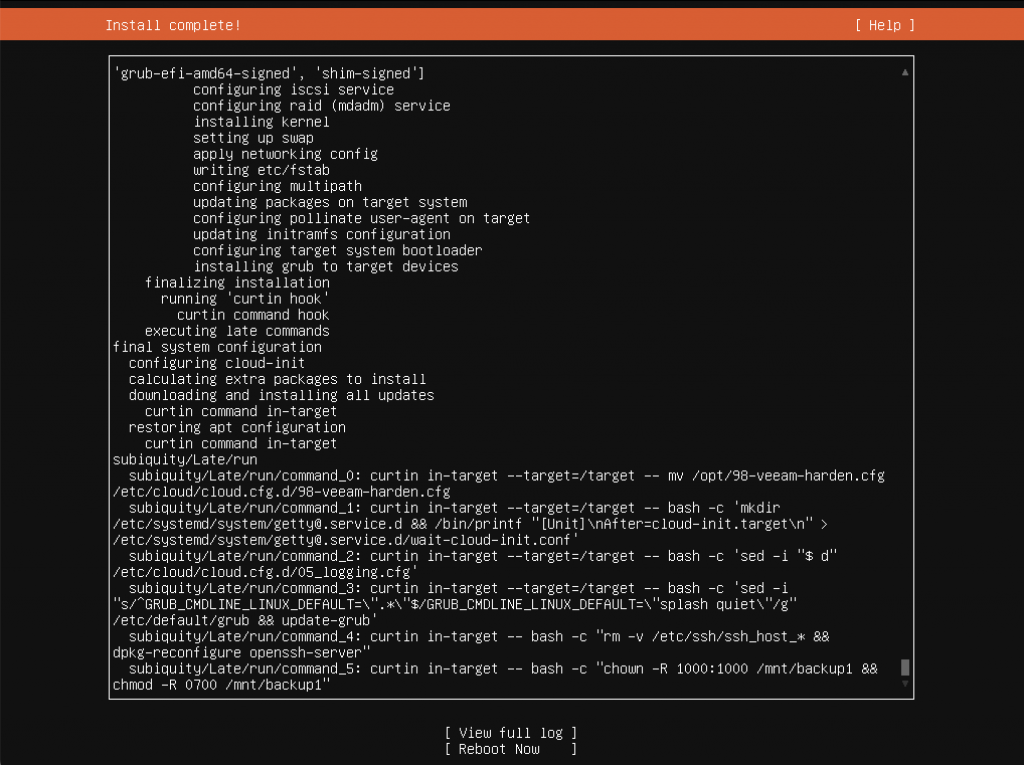
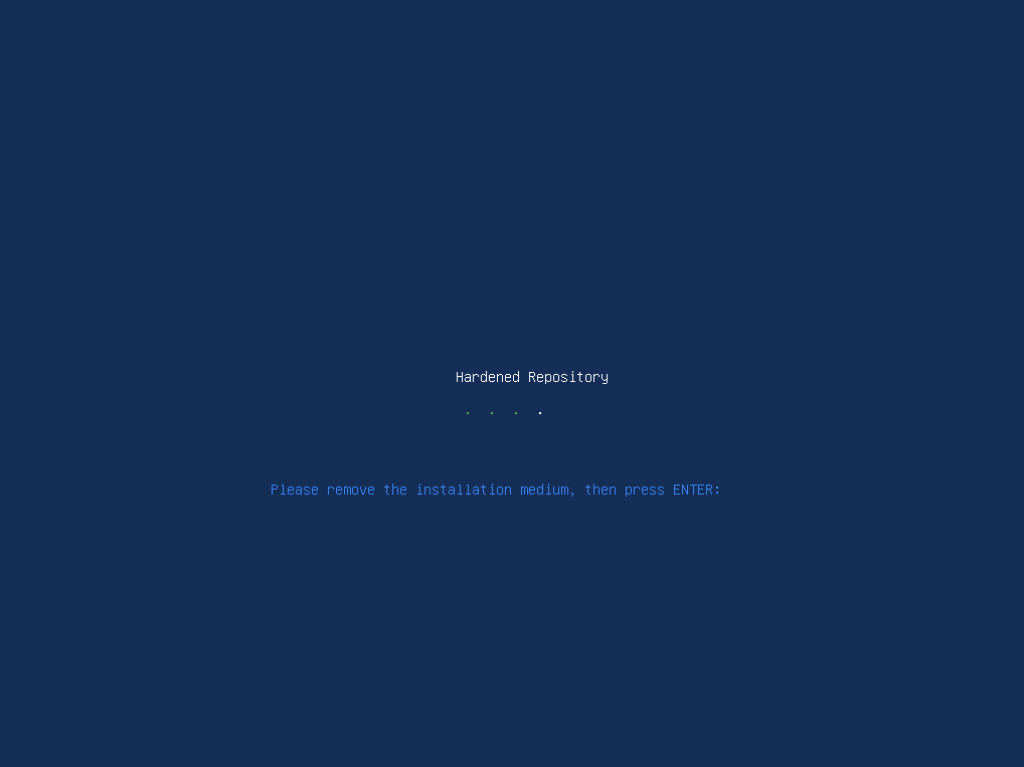
If you want to install Ubuntu Server yourself and then apply the hardening, here are screenshots of a standard installation followed by the script.
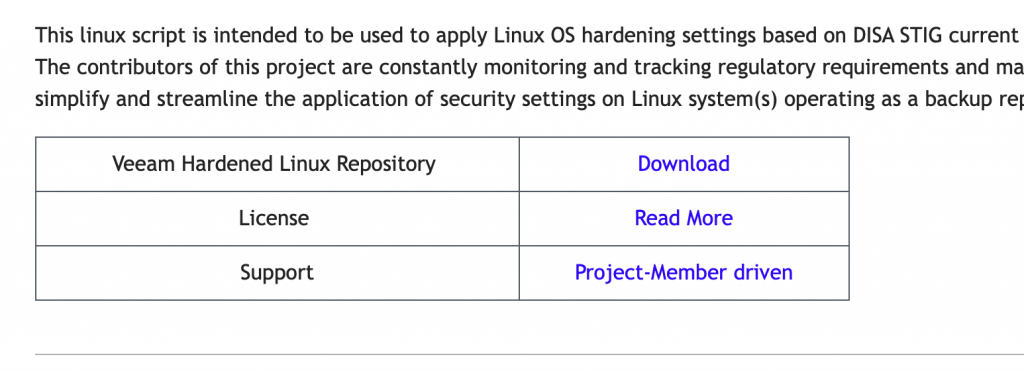
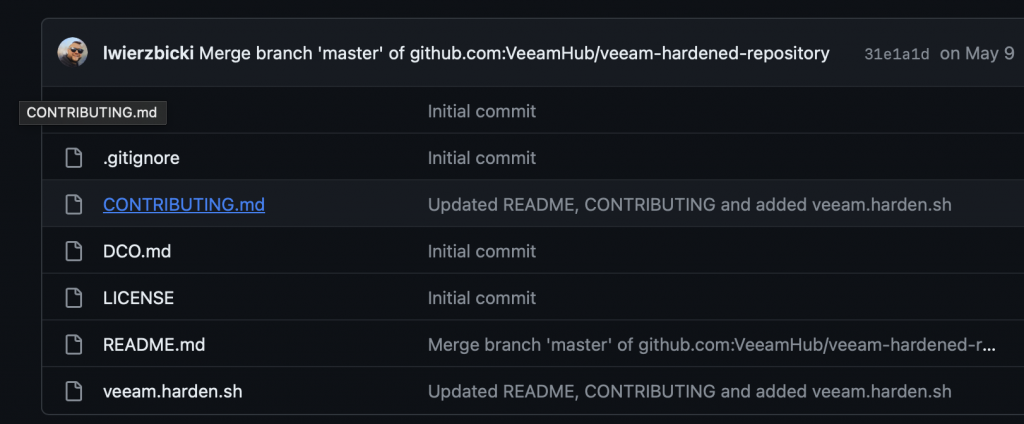
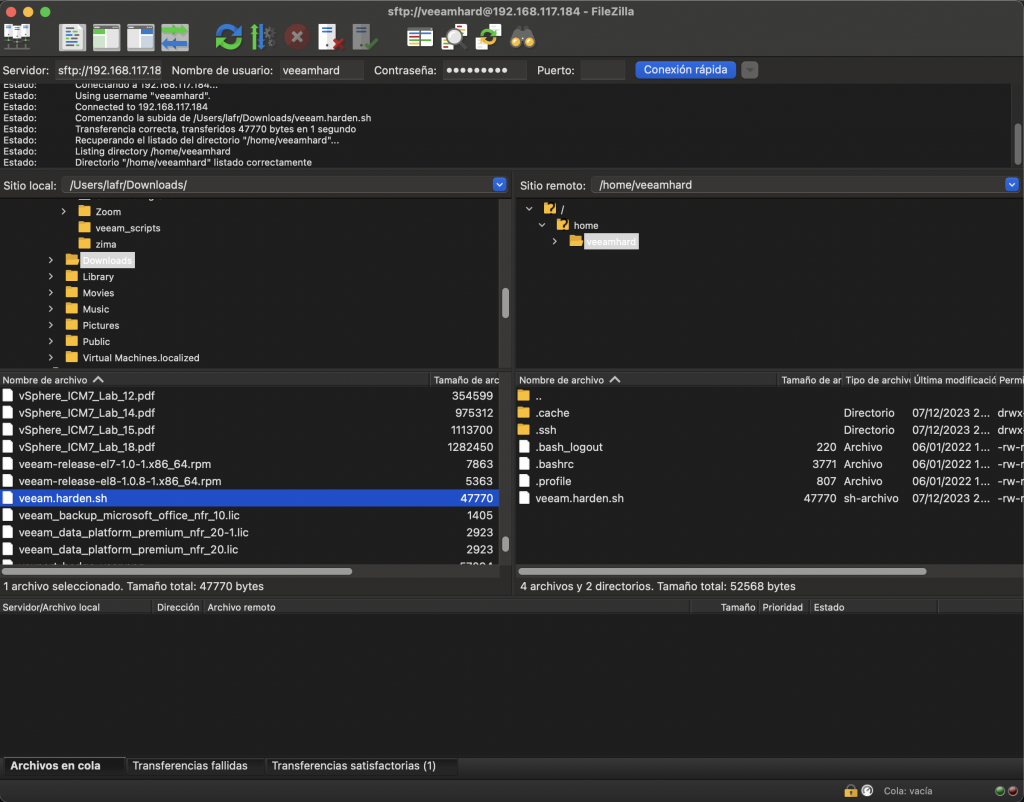
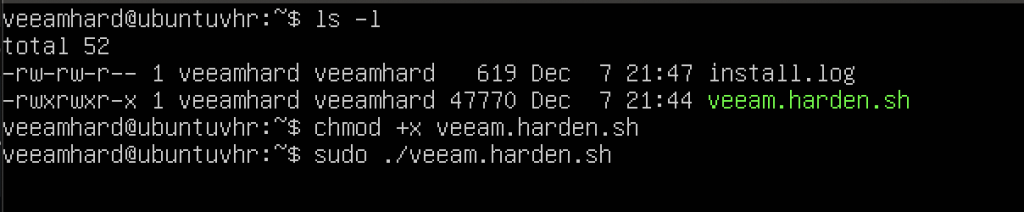
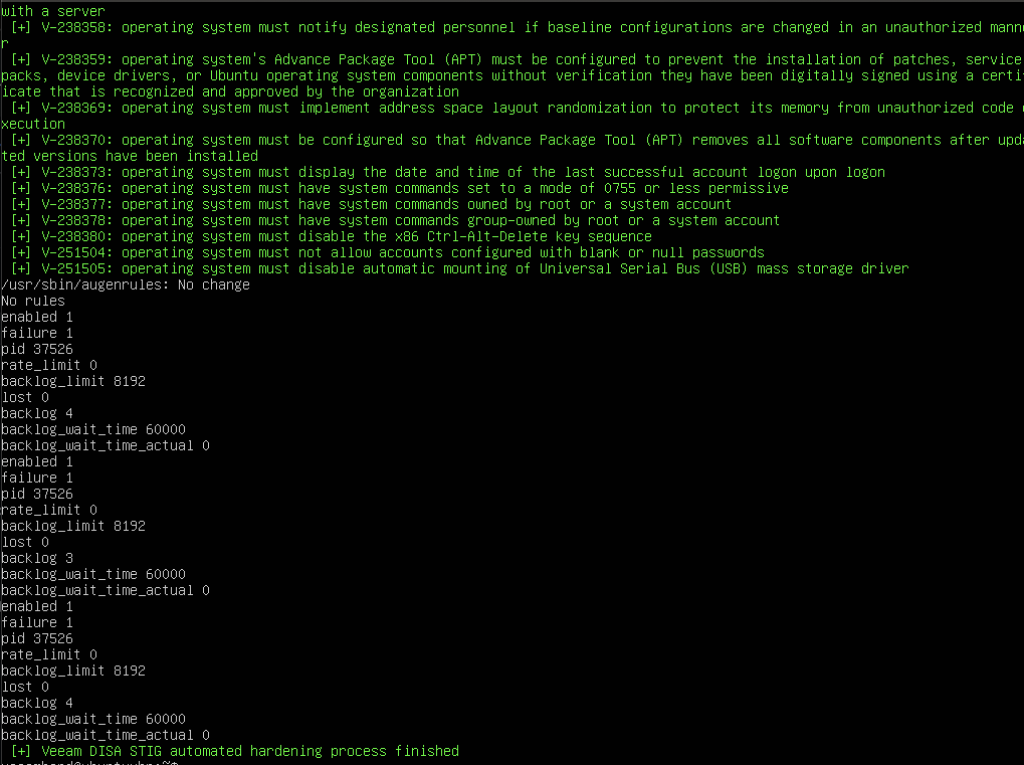
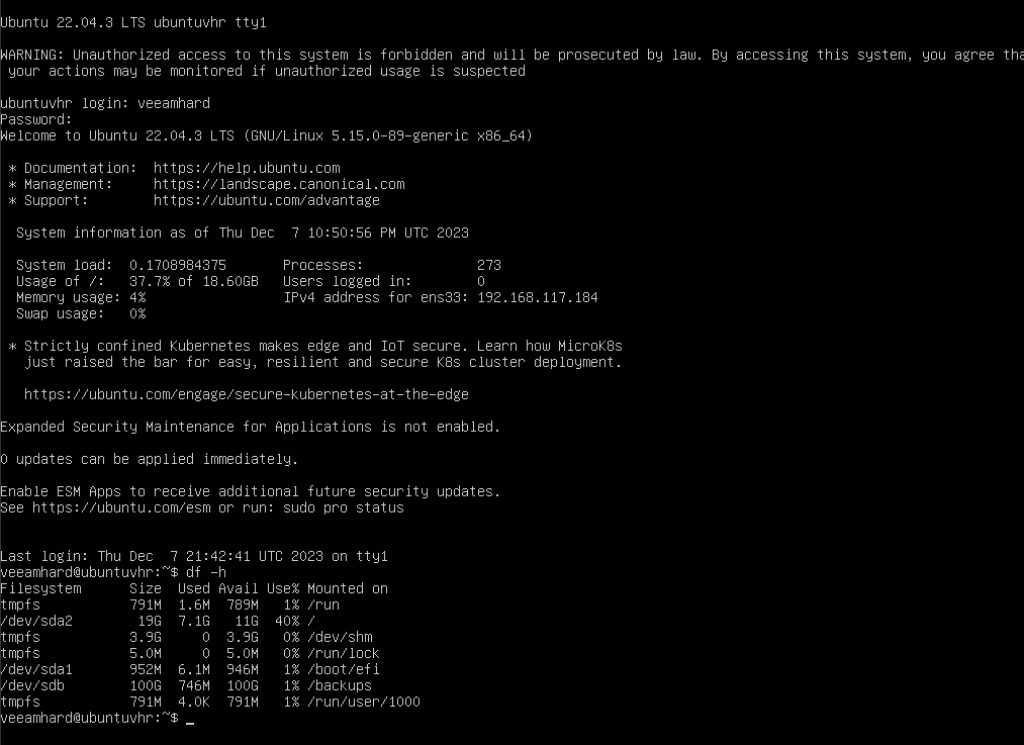
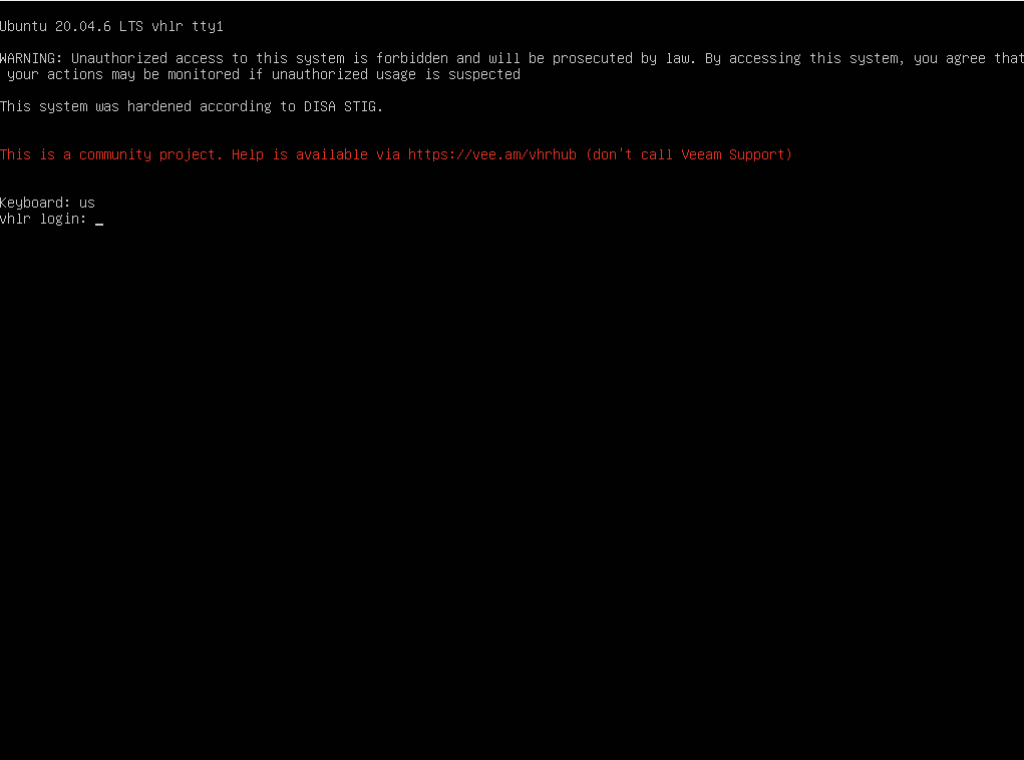
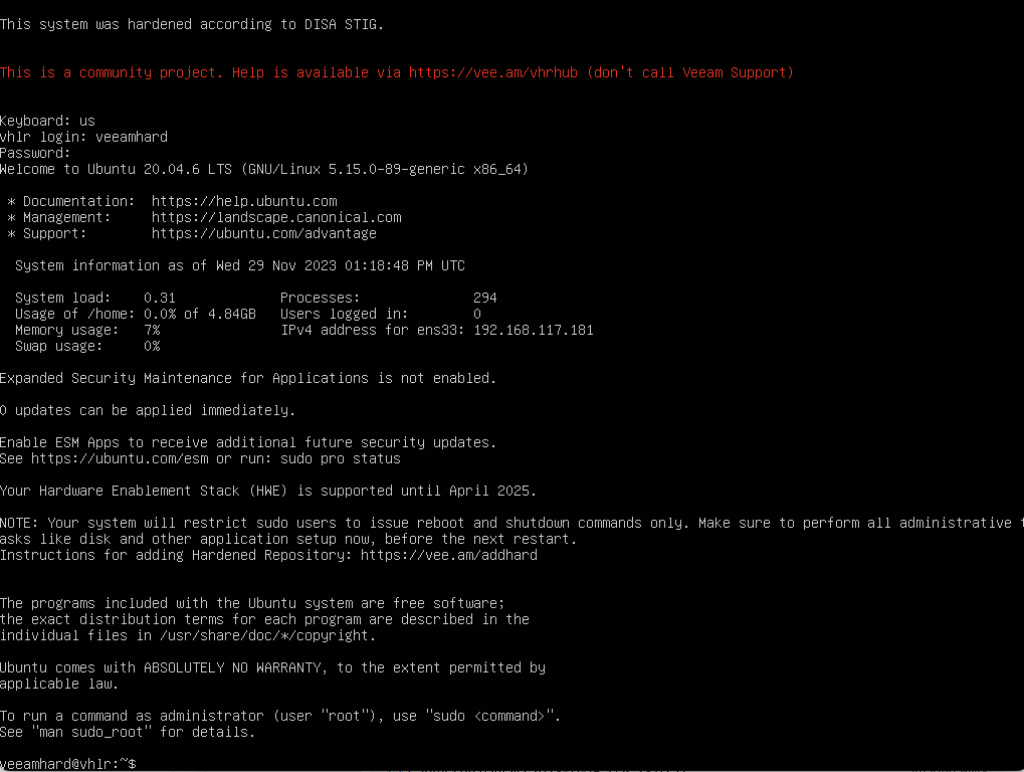
Go to the “Download” section.It takes us to a Git repository, where the script is available.I downloaded it to my computer and uploaded it to my Ubuntu server over SSH. Choose whichever method you prefer.Important: after copying the file, make it executable and run it with superuser privileges.The script is doing its thing…Done! Everything has been applied and installed.Here, after rebooting and signing in, we see the familiar “Disclaimer” message at the top. We can also see the mount points: the system and /backups, where we’ll store immutable backups later.
Done!
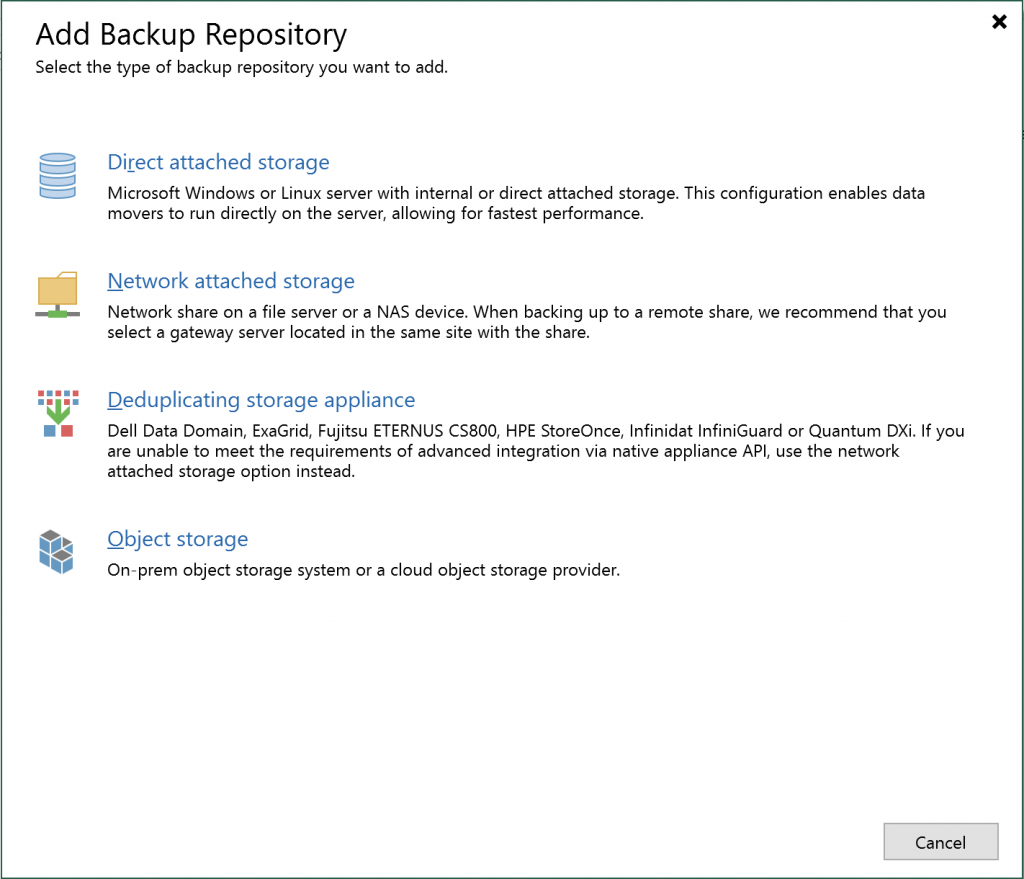
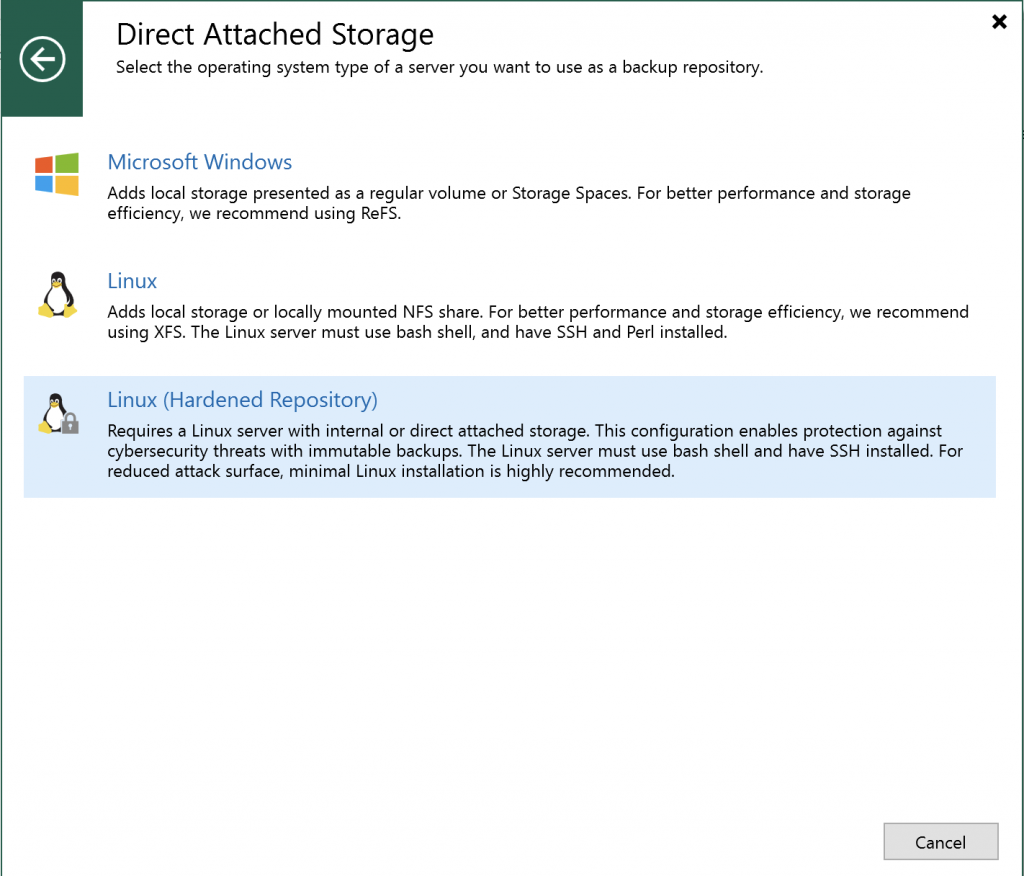
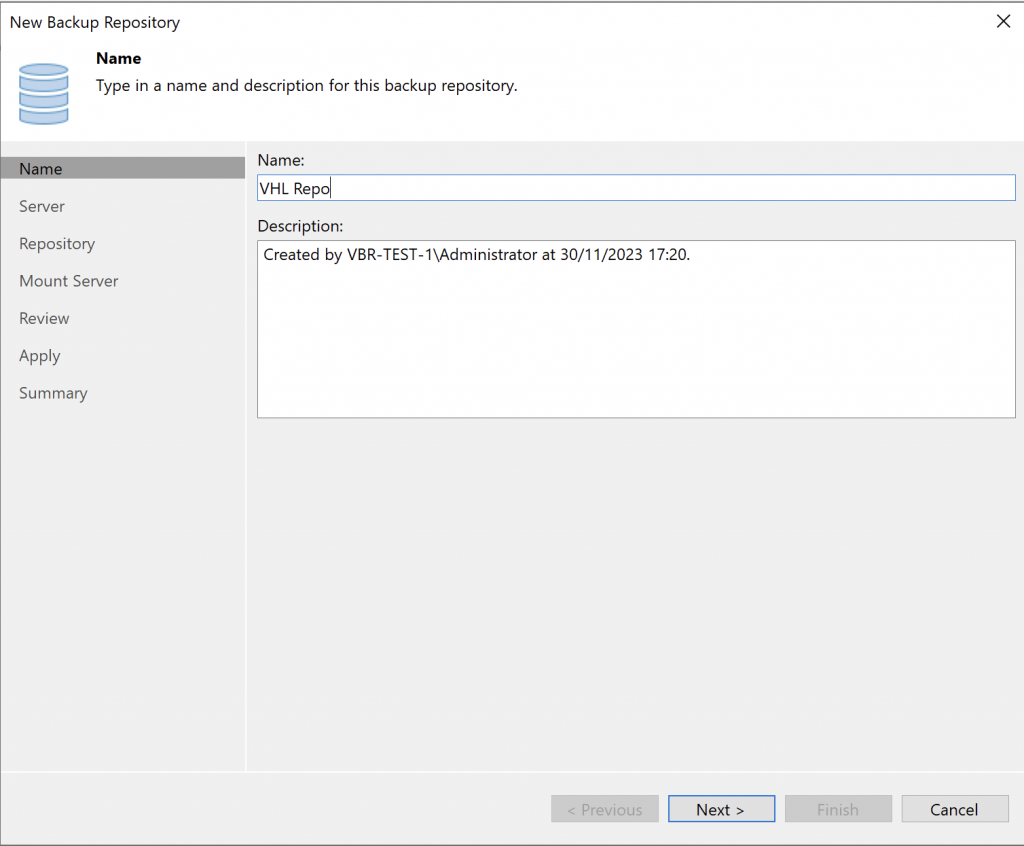
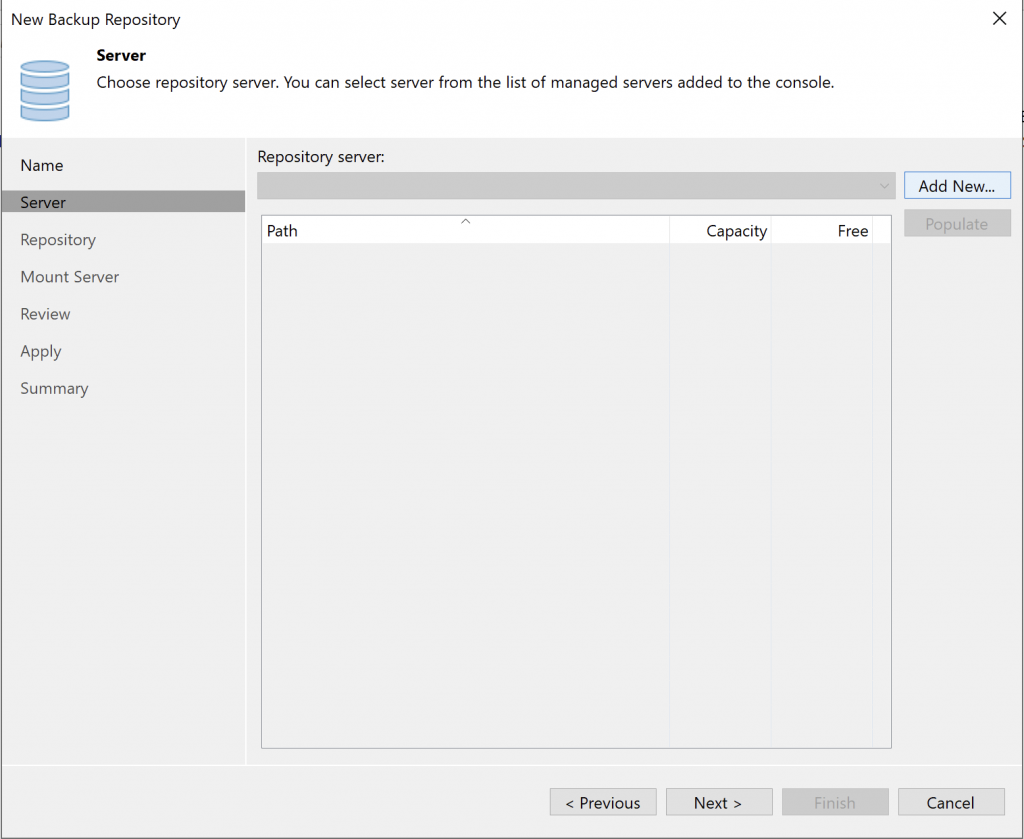
Our Ubuntu Server has been hardened, and we can now follow the next article to add the repository to Veeam B&R v12 and make it immutable, starting with adding the repository to VBR v12.
Hi! Today I finally got around to deploying and testing Veeam’s excellent VHR project, the VHR “Veeam Hardened Repository.”
It is a packaged Ubuntu Server deployment that has been hardened using DISA STIG security guidelines.
You can install the OS yourself and then run the Hardened script, but I was more interested in trying this “packaged” deployment.
I’ll share screenshots and a few comments; the process is very simple. For this test, I deployed it as a virtual machine. However, VHR is designed to run on a physical server, not a VM.
You can find all the information and downloads here!
Let’s get started:
As a prerequisite, the installer looks for the smallest disk for the OS and the largest disk for the repository. I used a 20 GB disk and a 100 GB disk, and both were detected automatically. For a physical server deployment, a RAID controller is recommended: a small RAID 1 for the OS and RAID 5 or 6 for the repository.
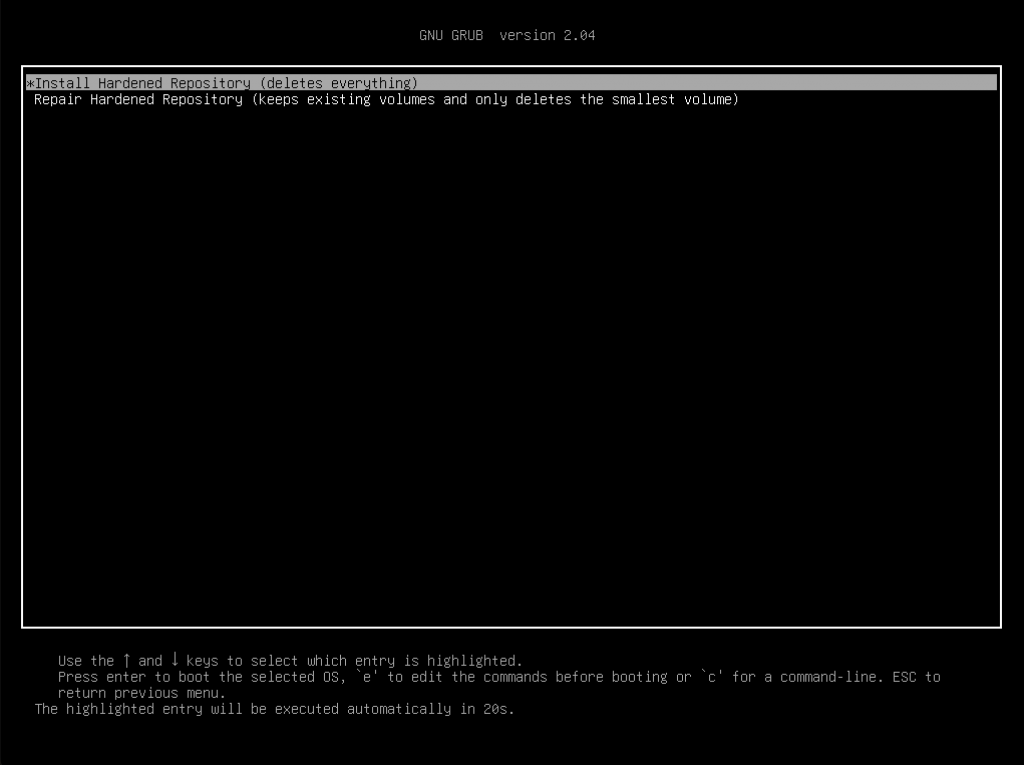
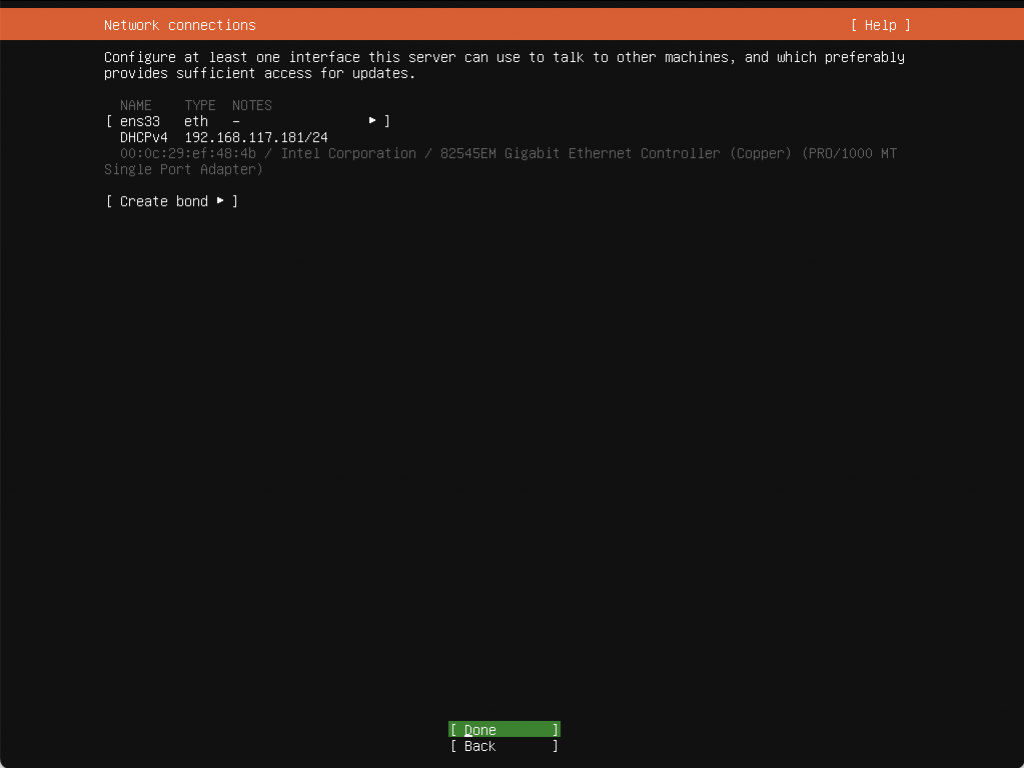
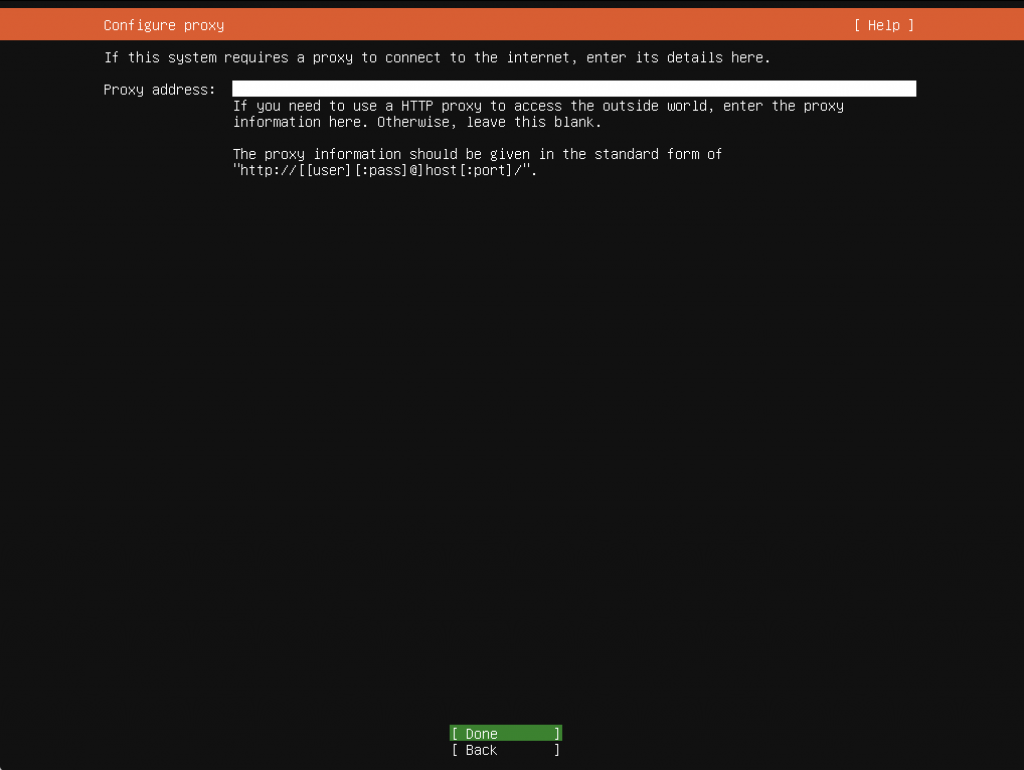
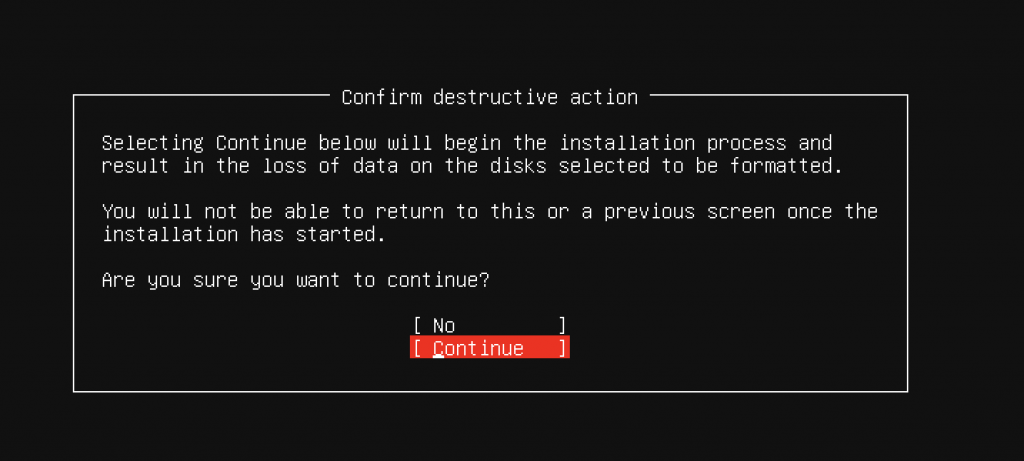
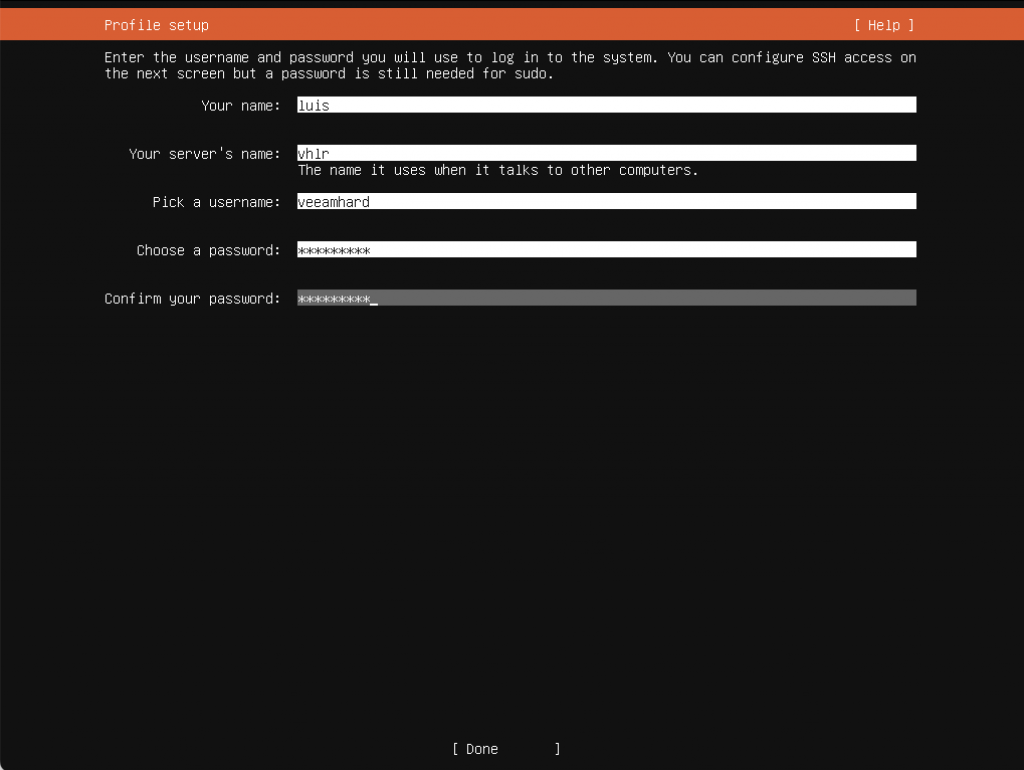
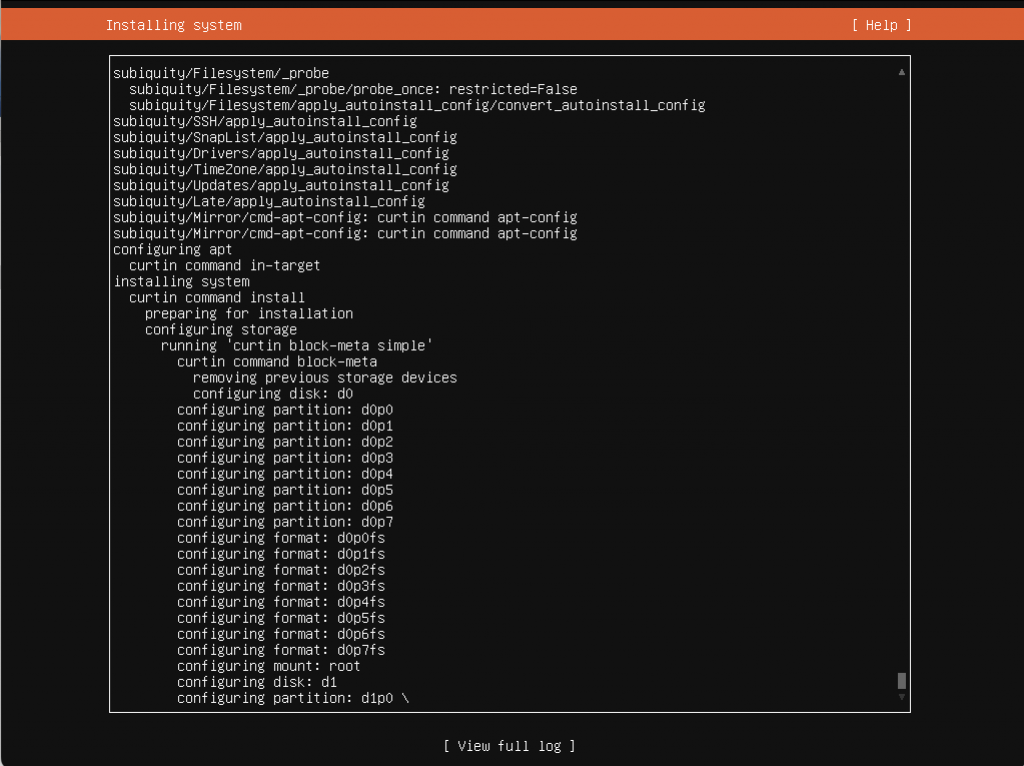
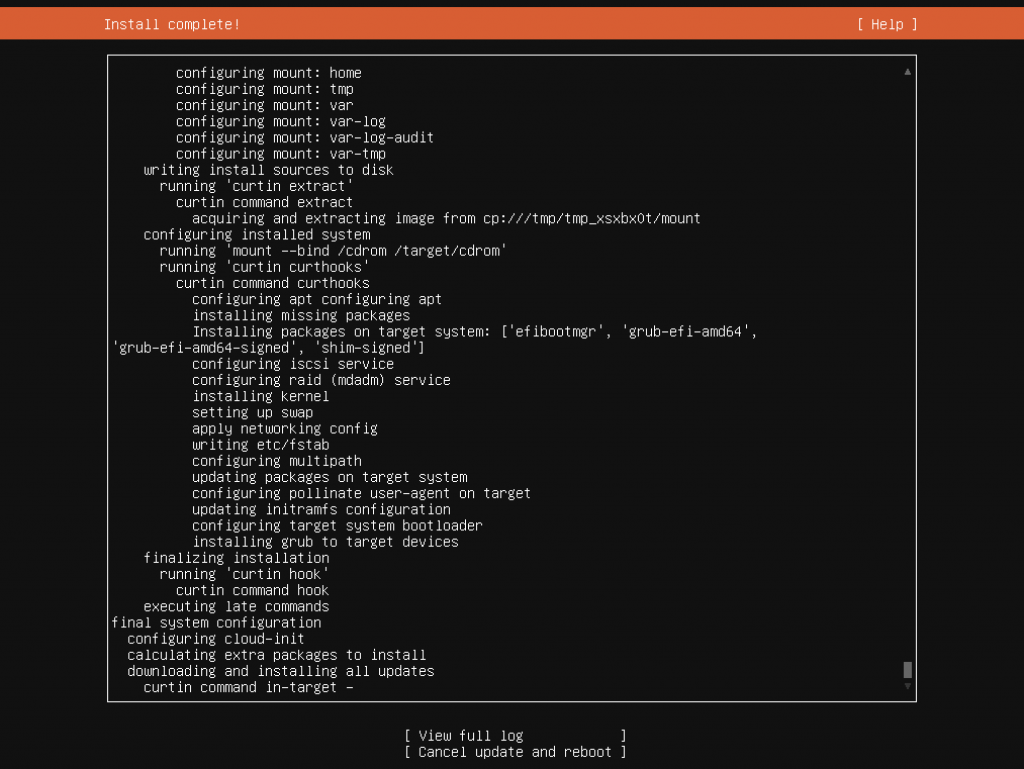
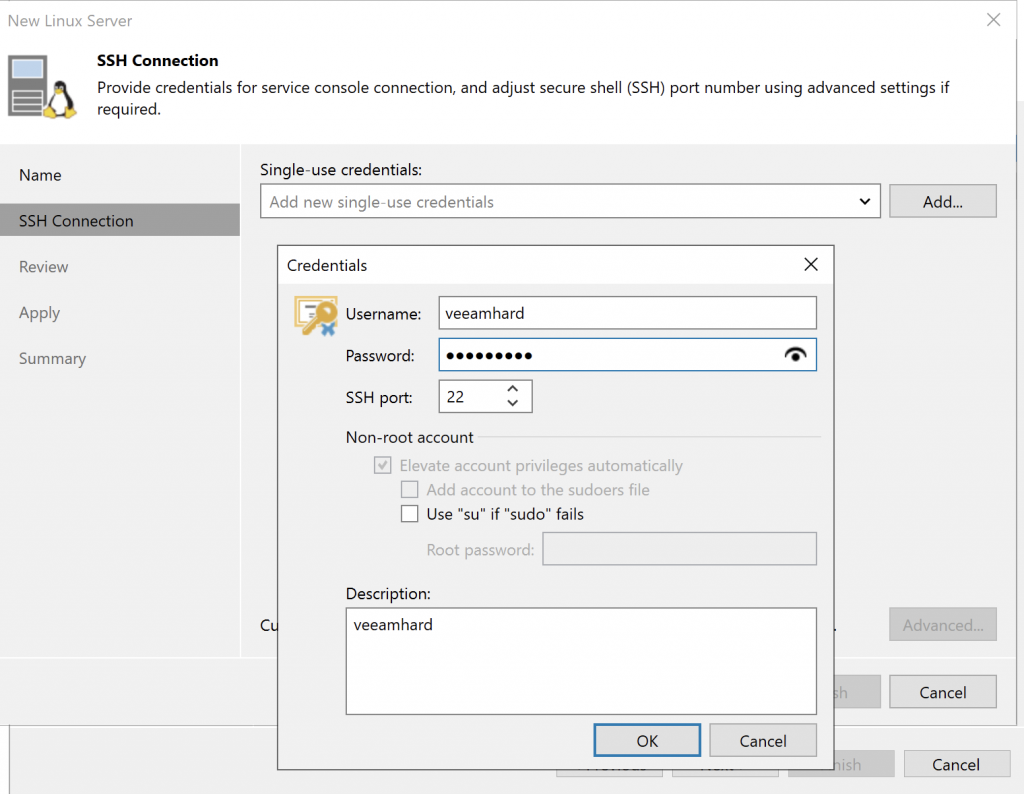
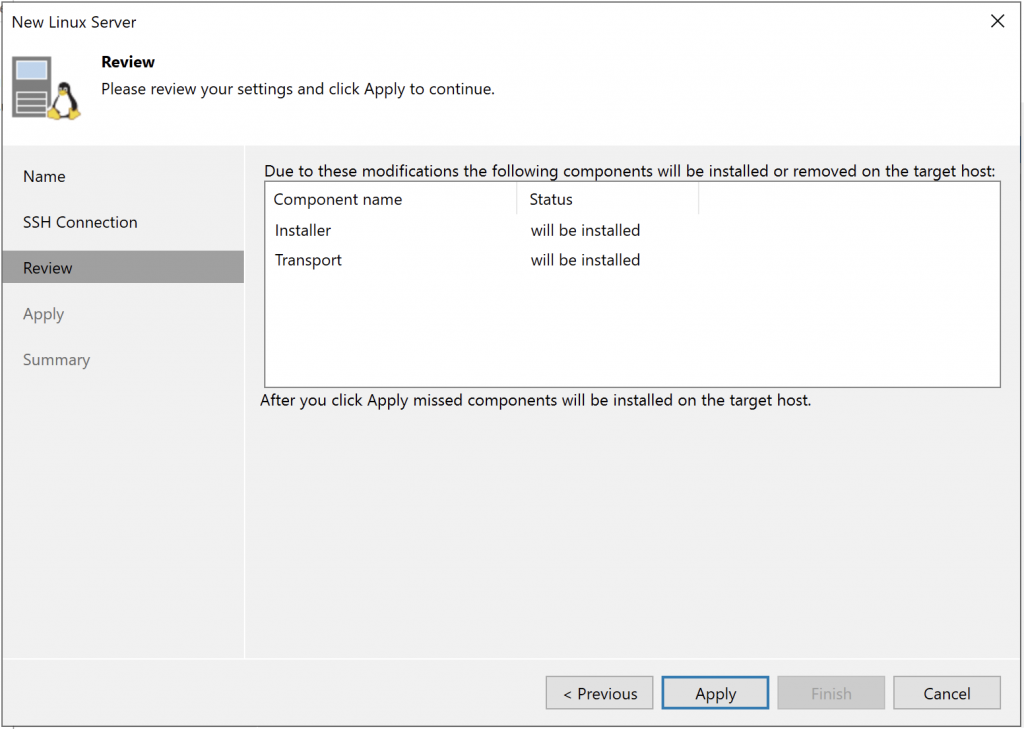
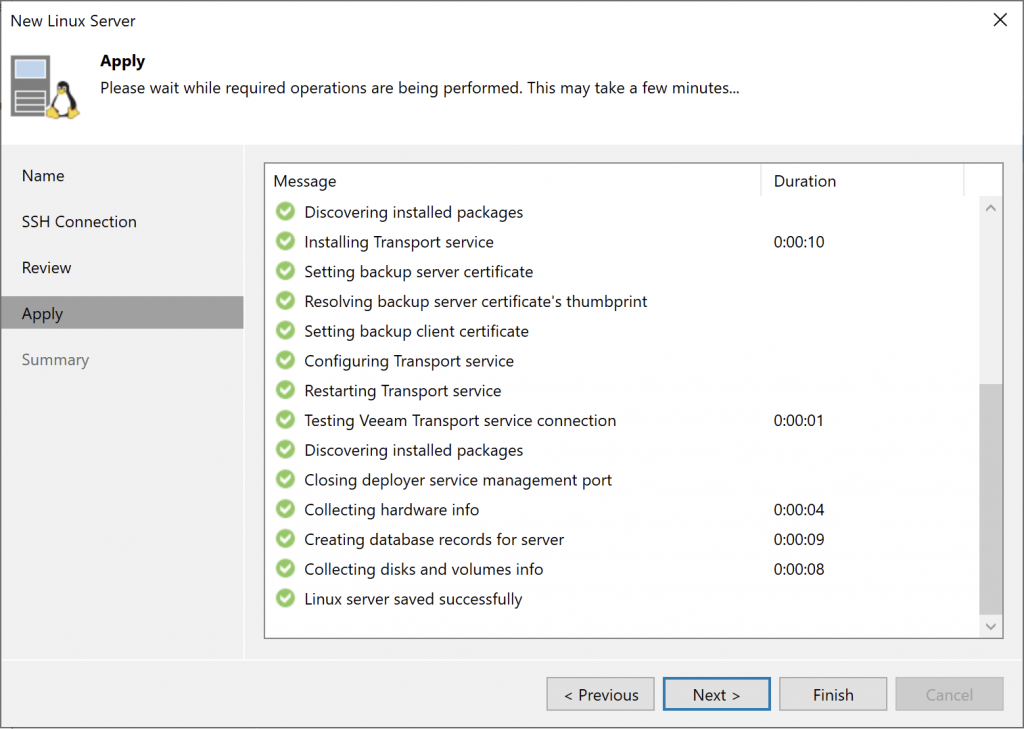
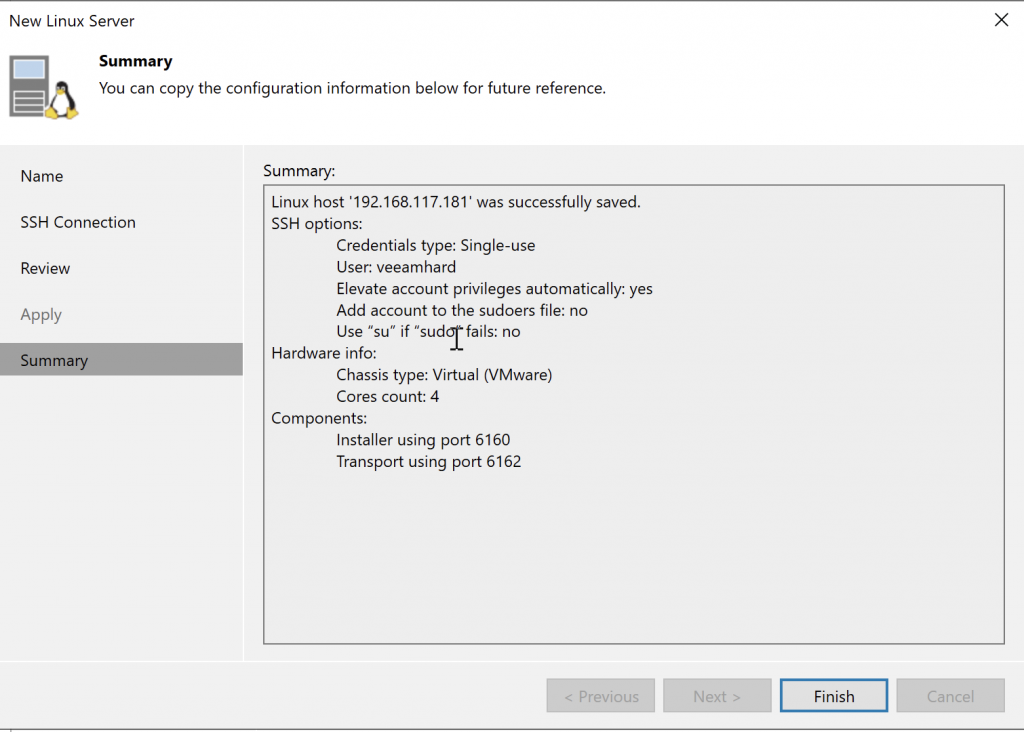
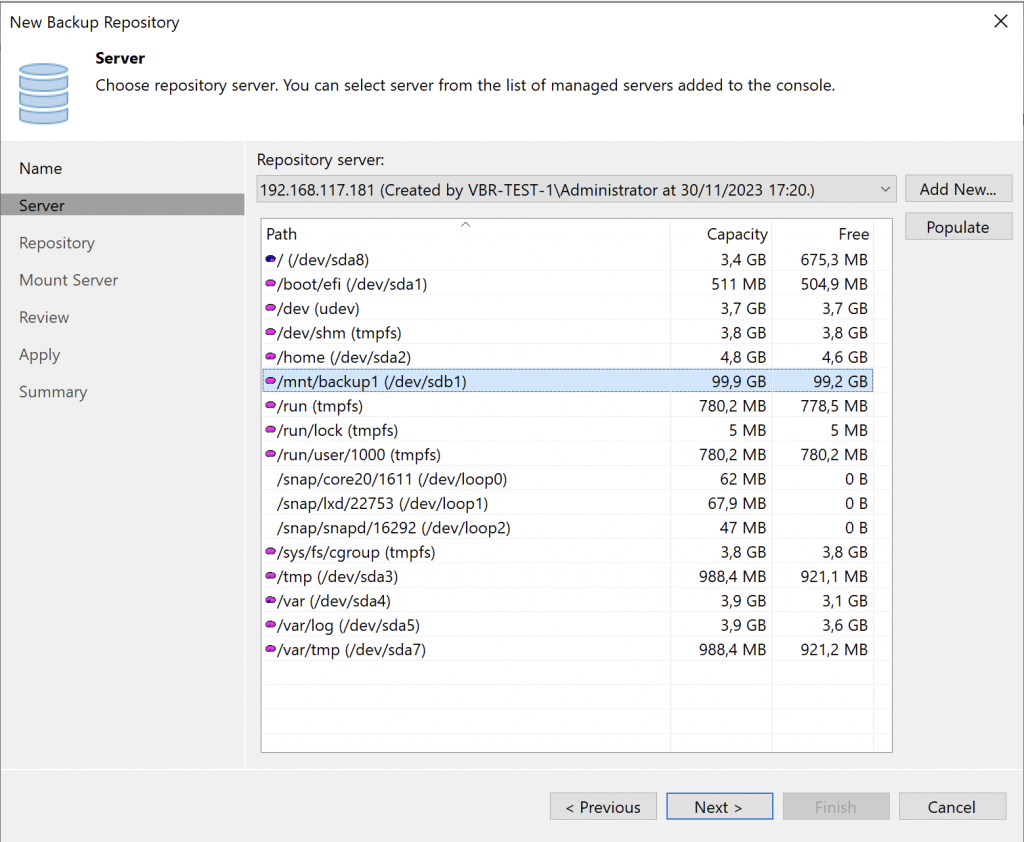
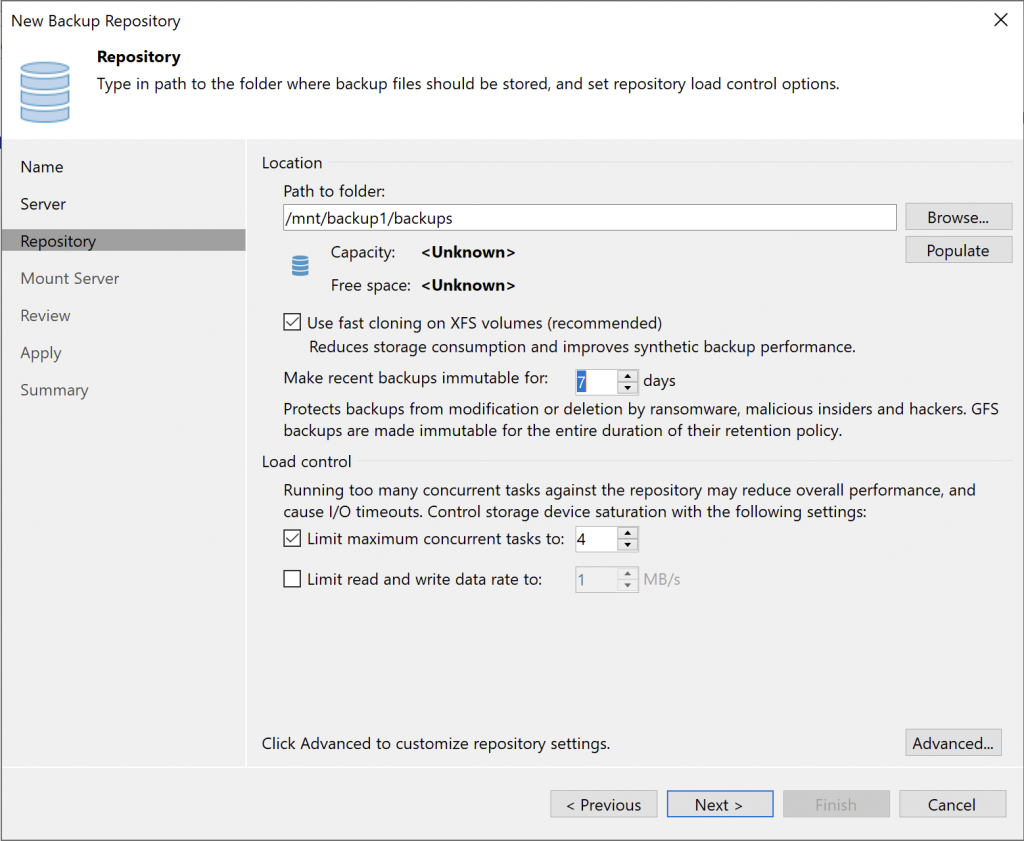
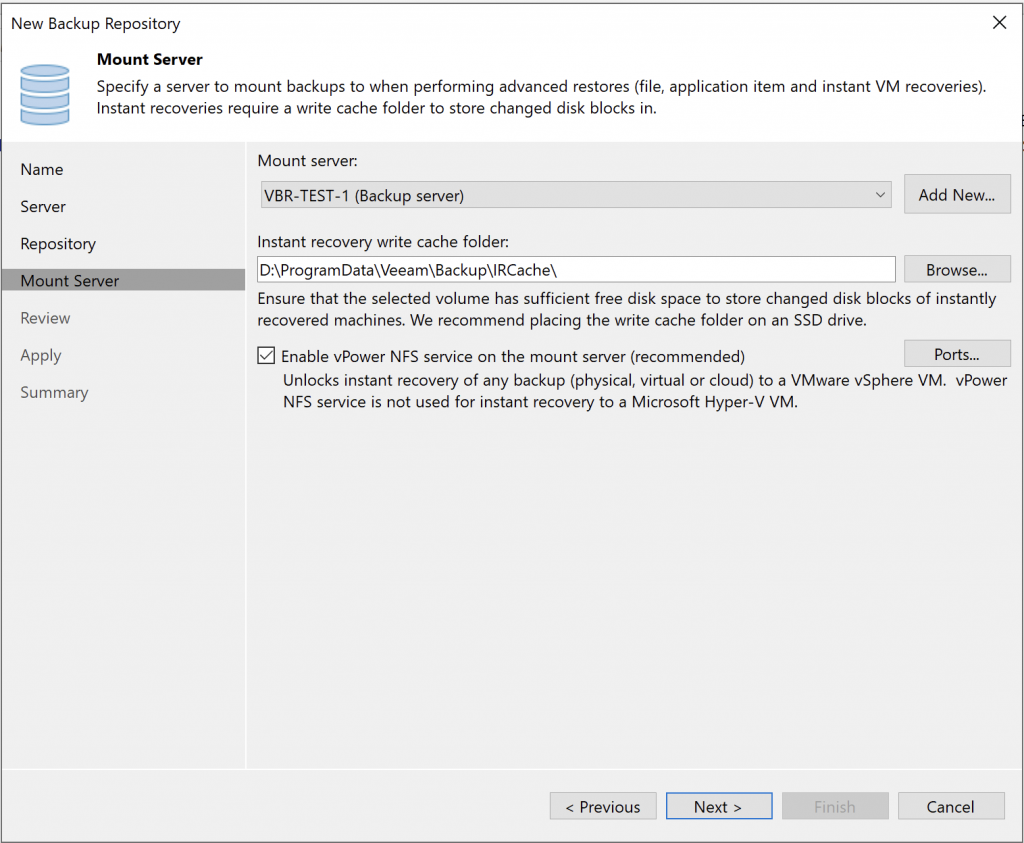
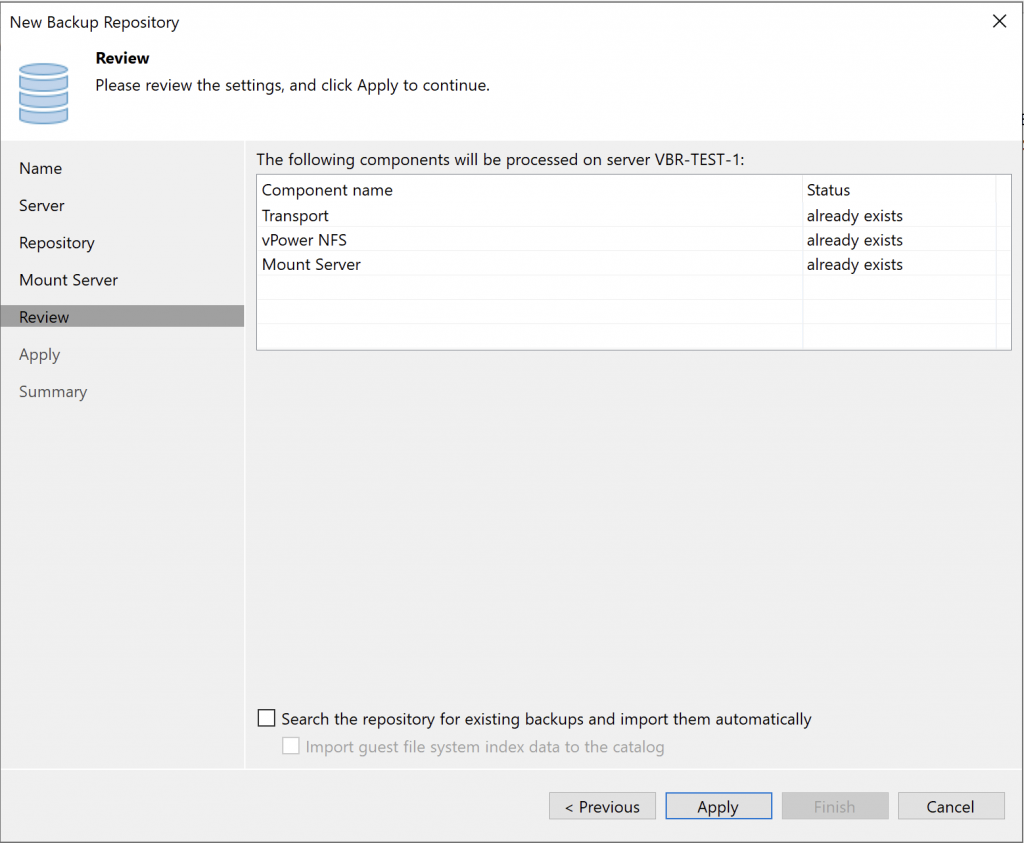
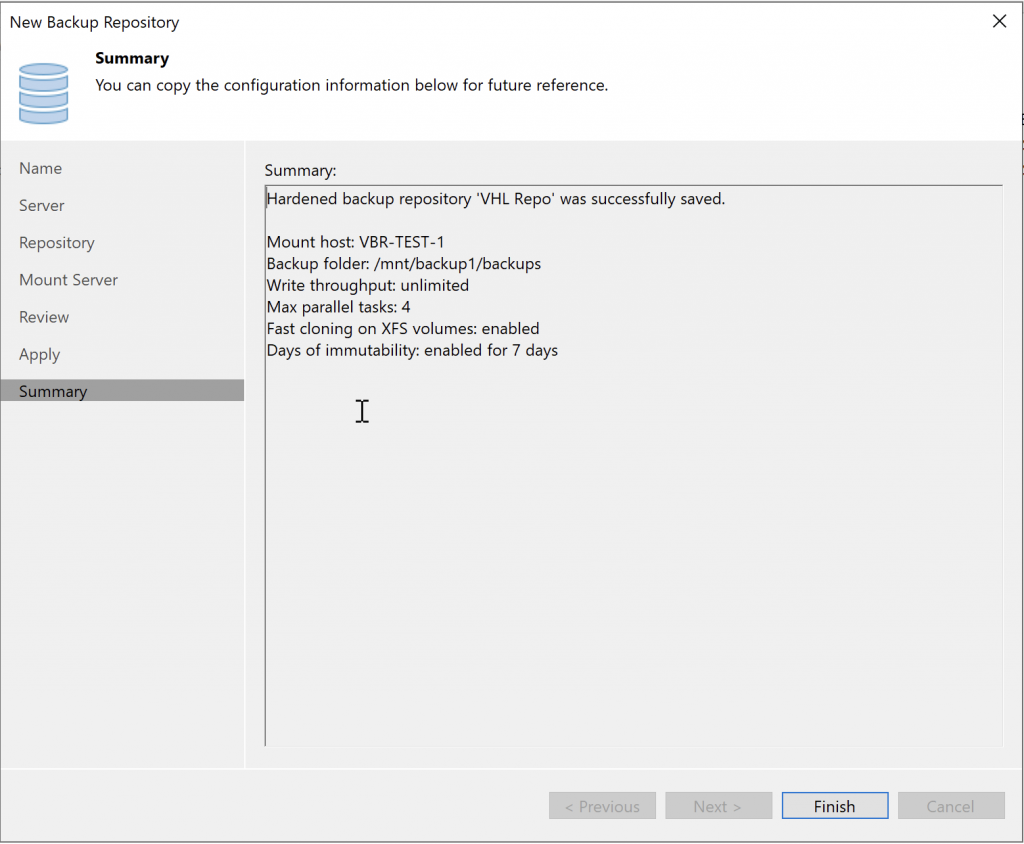
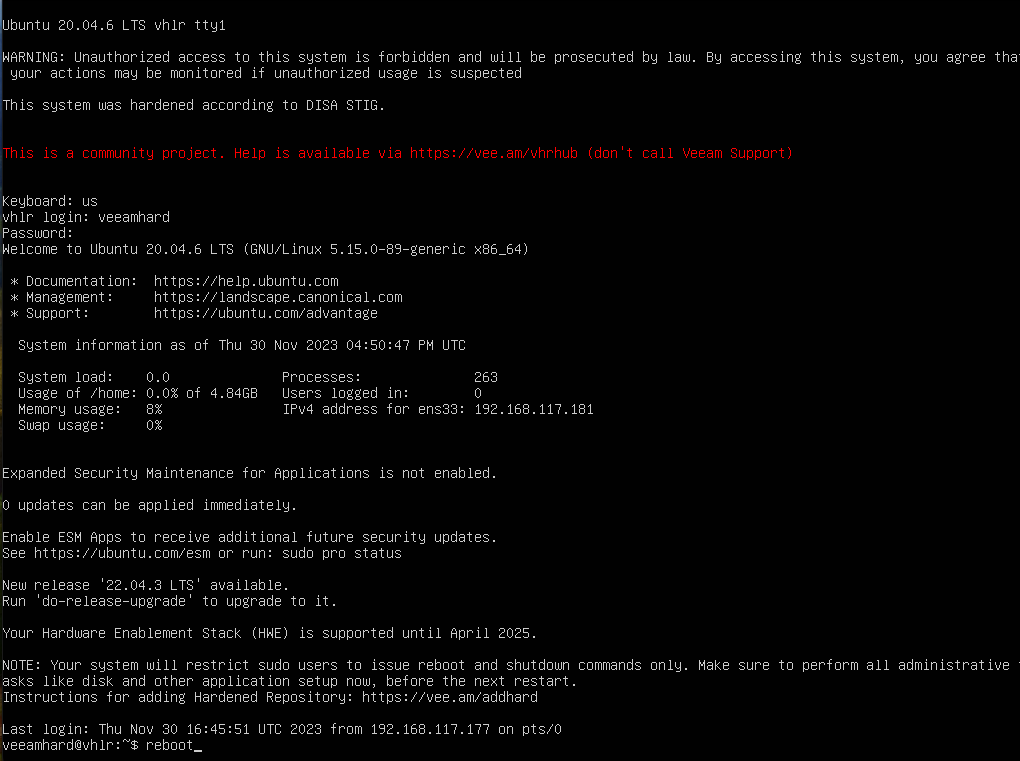
Boot the ISO.Network configuration: a bond using two network cards is recommended and easy to set up with the wizard. In my lab, I used a single DHCP-configured network card.If you use a proxy server for internet access, be sure to configure it, since the installer downloads security updates during setup.WARNING! This will erase all data on the disks and install the OS and repository. If you are reinstalling the OS because of a failure, do not do this or you will lose everything.Create a user.Here we go!The updates are running.That’s it. Now reboot.On first boot, sign in with the user you created earlier…Read the disclaimer carefully: after this initial setup and reboot, the OS will be hardened and all commands will be disabled for this user except reboot and shutdown! Make any adjustments before rebooting, and add the server to Veeam VBR first! In VBR, open the wizard to add a backup repository.HARDENED!!!Add the VHR server you just deployed.Use single-use credentials; otherwise, the connection will fail. This is a hardened repository, so every detail should be as secure as possible!Continue through the wizard. Select the drive where you want to store the backups: the repository drive!Set the immutability period in days. I left the default at 7 days!Continue with the usual repository configuration.Done!Here is our immutable repository, ready to use independently, as a SORB, and so on…
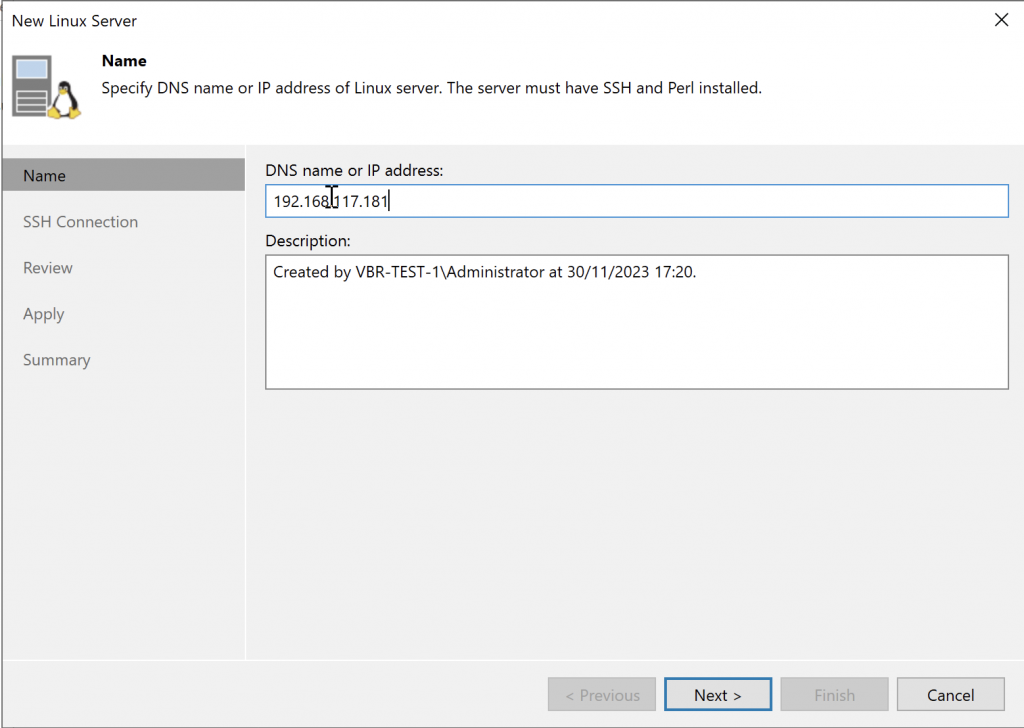
Now return to the VHR server we deployed to finish hardening it!
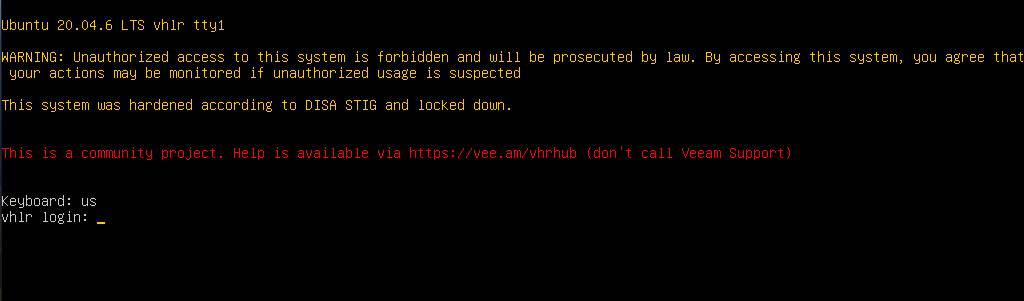
As you can see, we’ve added it to VBR. Now reboot the server. The hardening script will run, leaving the user with only the shutdown and reboot options.Done! The disclaimer confirms that hardening has been completed. Everything is ready to use the repository on our secure server.
To troubleshoot, reboot and sign in to the server as root in standalone mode from the GRUB boot menu, since root is disabled and our user only has reboot and shutdown permissions.
I hope you found this useful and that it helps you deploy this great option. I run it in my lab. As the documentation says, use it at your own discretion. It is unsupported, so you cannot open a support ticket for it!
To monitor the disks for failures, configure your server’s ILO, IPMI, DRAC, or equivalent, since the VHR OS does not send notifications.
In the previous post, we saw how to create a replica in Veeam B&R v12. Now I’ll briefly show you how to bring that replica into production if needed, and we’ll discuss a few use cases.
Let’s go!
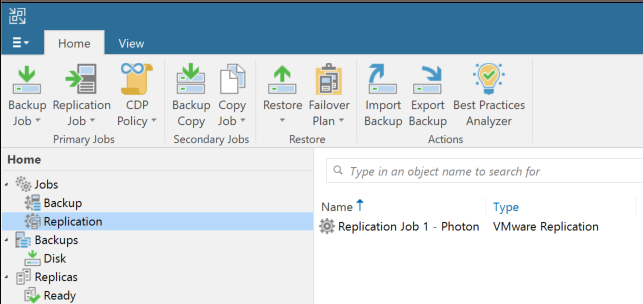
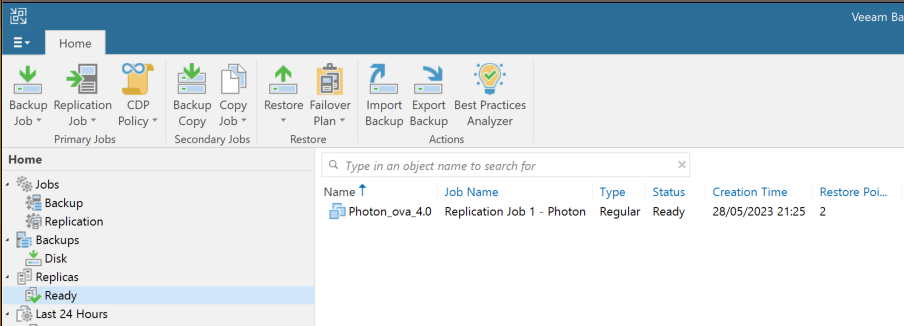
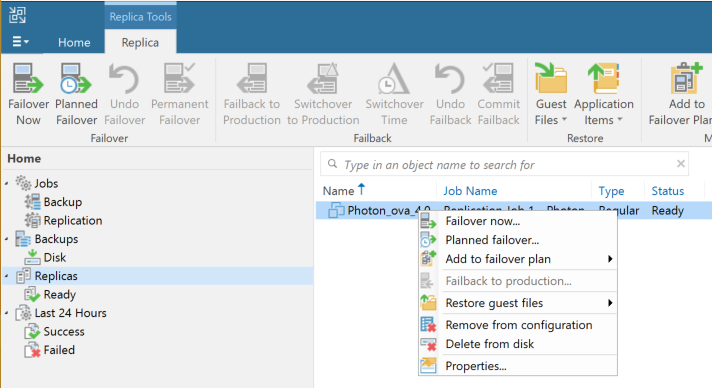
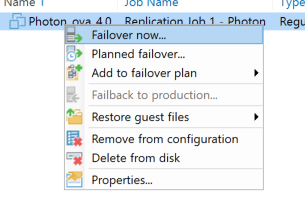
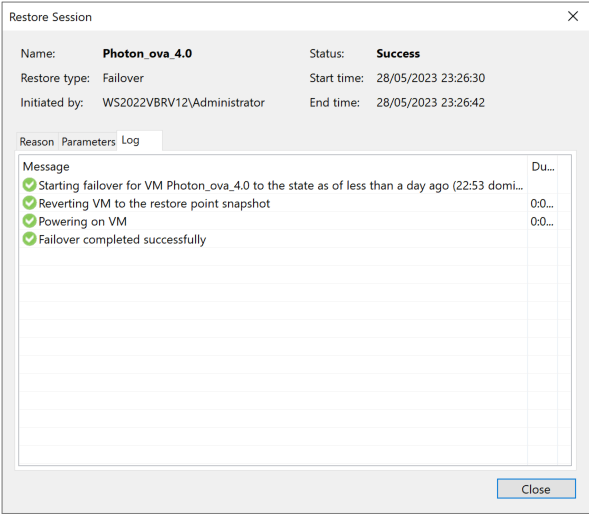
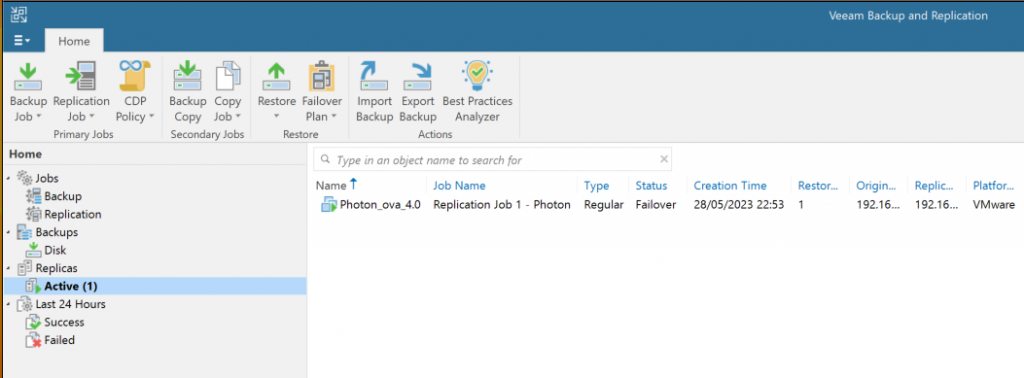
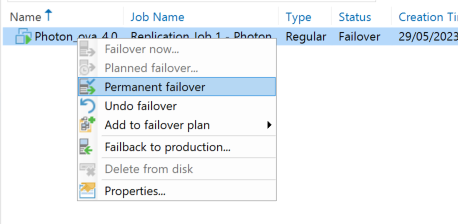
In the Veeam B&R v12 console, we can see the replication job.Under Replicas, we have one ready to use or start.Right-click the replica you want, and you’ll see these options:
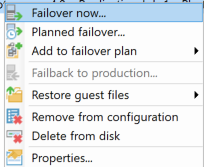
Let’s briefly explain the two features I use most. Failover now ->: Veeam starts the replica on the host we configured. This is the usual option if production is lost or stopped. Planned failover ->: Safely shuts down the source and starts the replica without data loss, although there is an outage while the source powers off and the replica powers on. You can use it to test replicas or run a VM on another host if you don’t have vMotion or something similar.
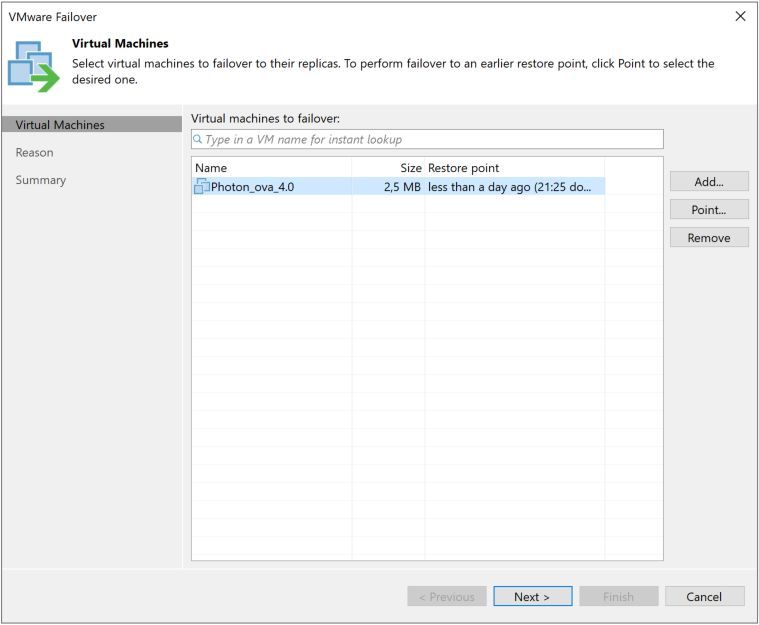
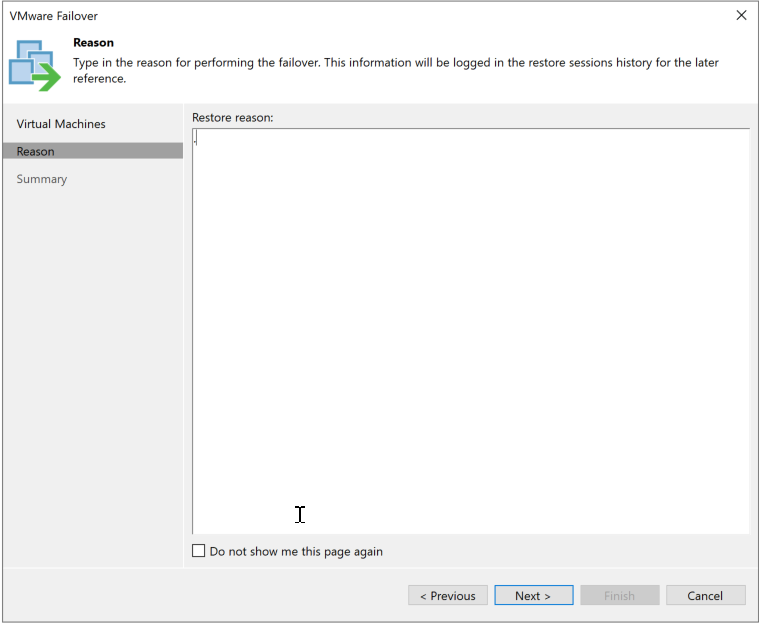
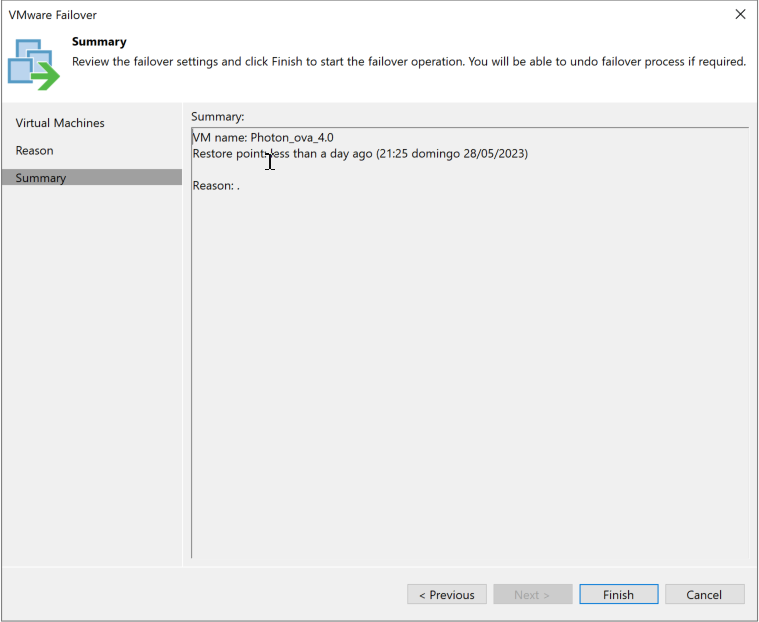
In our example, we’ll simulate a production outage, so choose “Failover now” and continue.
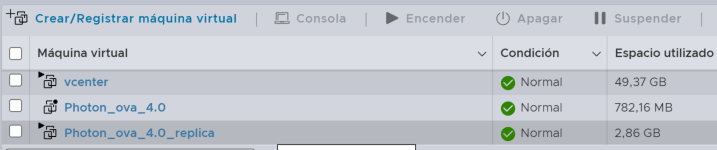
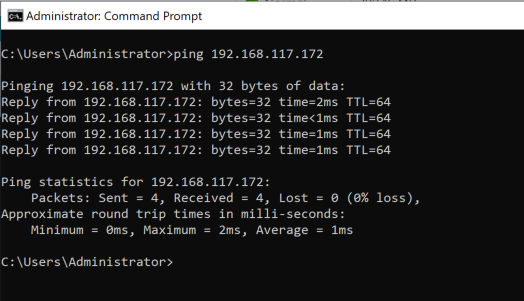
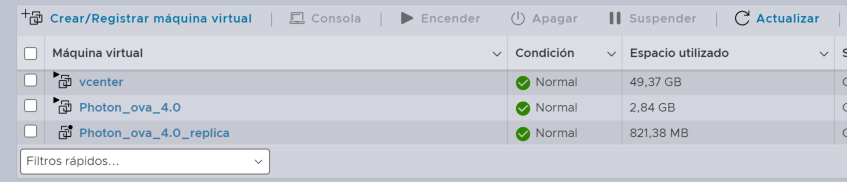
Here we can see the replica VM, Photon_ova_4.0_replica, is powered on.And we can reach the machine with a PING!
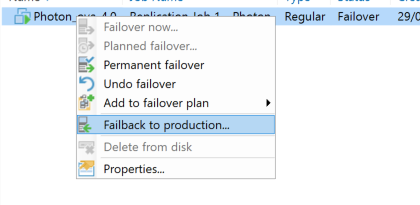
Once the machine is running as a replica, these are the final options: Permanent failover: the replica remains as the VM. Undo failover: discard all changes made to the replica and power it off. Failback to production: copy changes made to the replica back to the production VM, then power off the replica and start the “original.”
If we lost the source machine or its storage, Permanent Failover is the better option. If we only lost connectivity to the storage array, we can use Failback to Production once connectivity is restored, copy over the changes, and continue as usual.
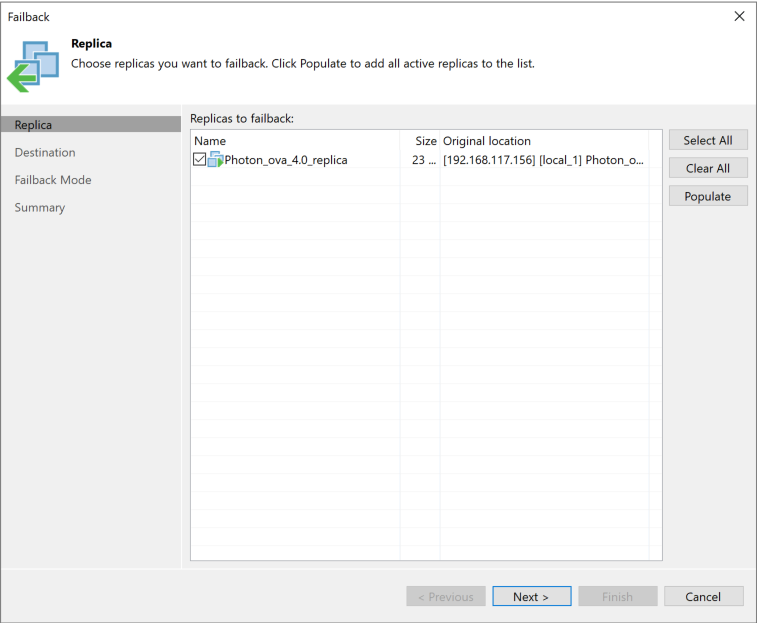
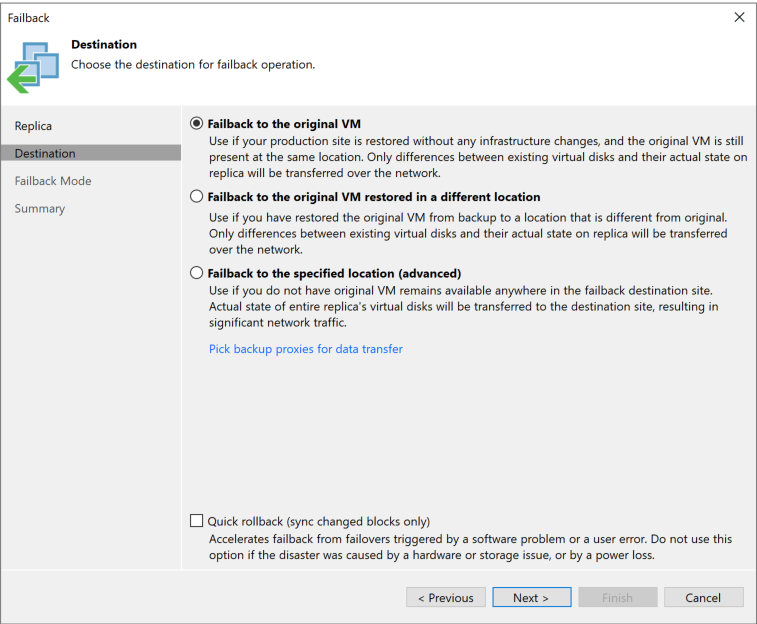
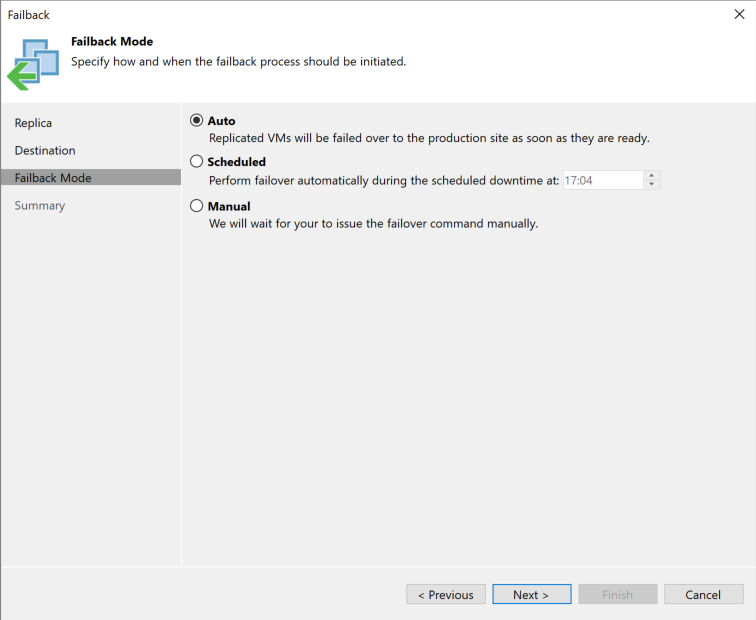
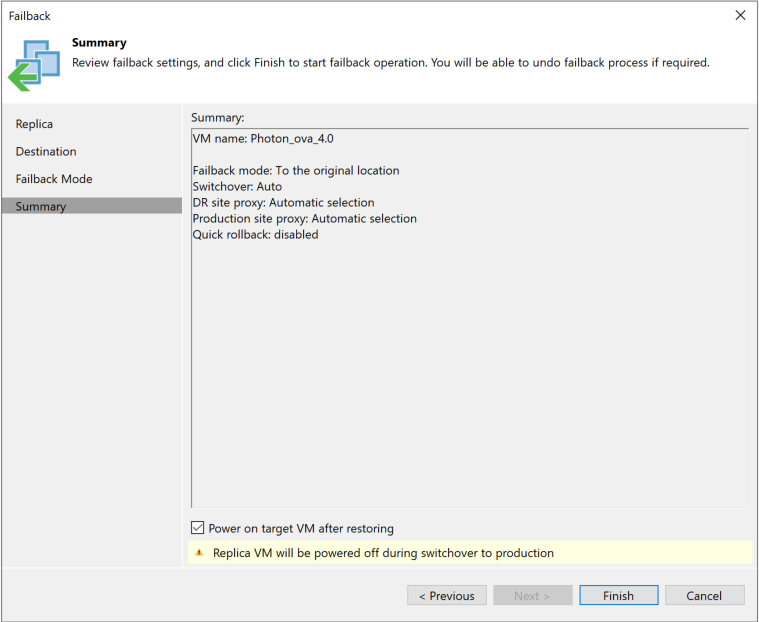
Let’s run Failback to Production to restore the original setup, copy changes from the replica back to production, and resume normal operations.
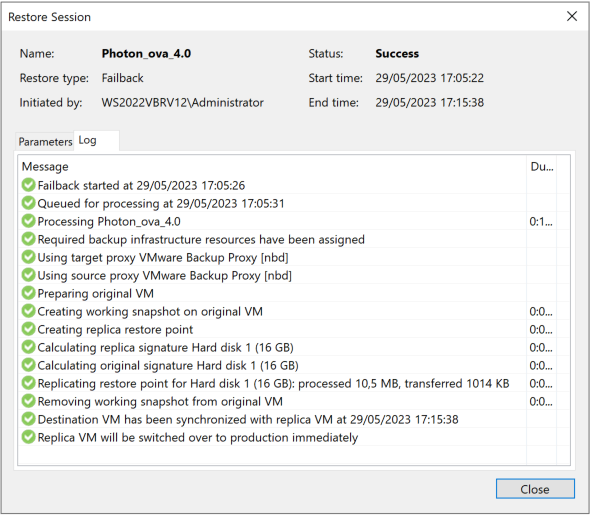
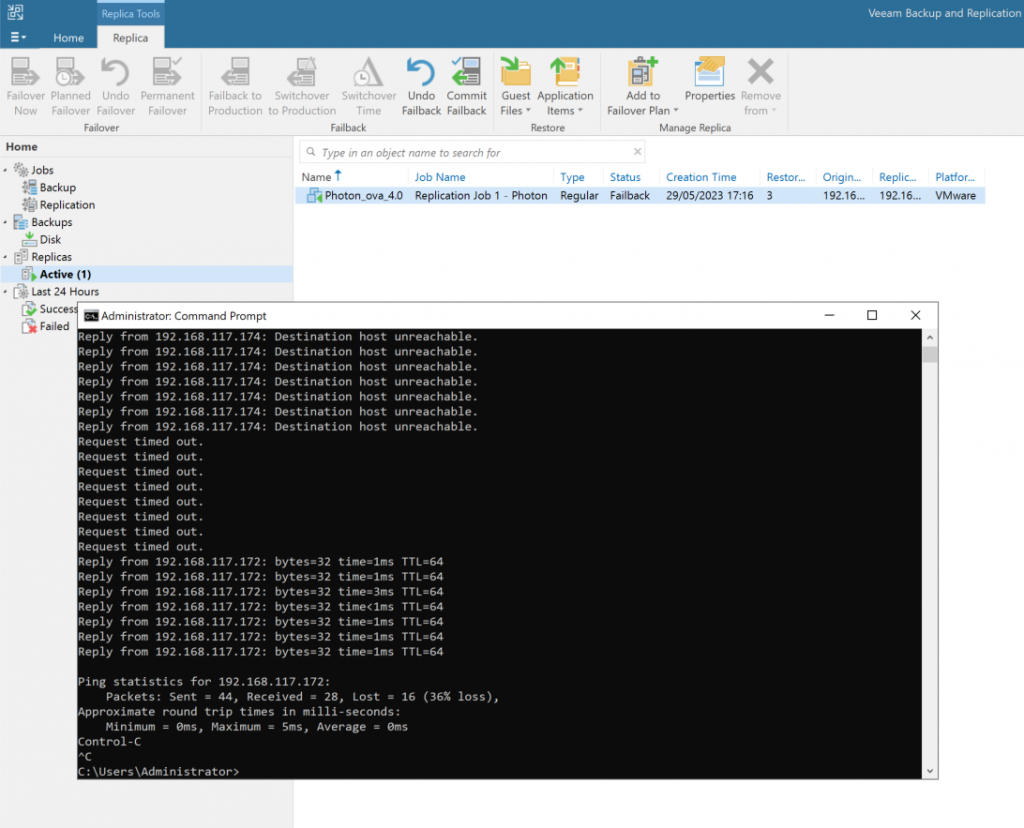
NOTE: I selected the option to power on the destination after the data transfer.Here we can see the transition: the original machine was unreachable and is now back online.
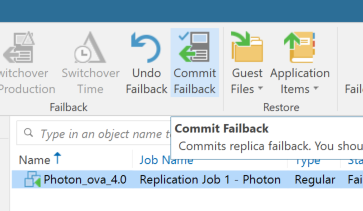
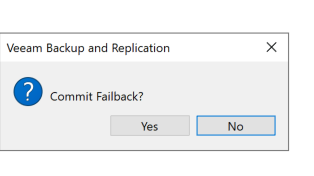
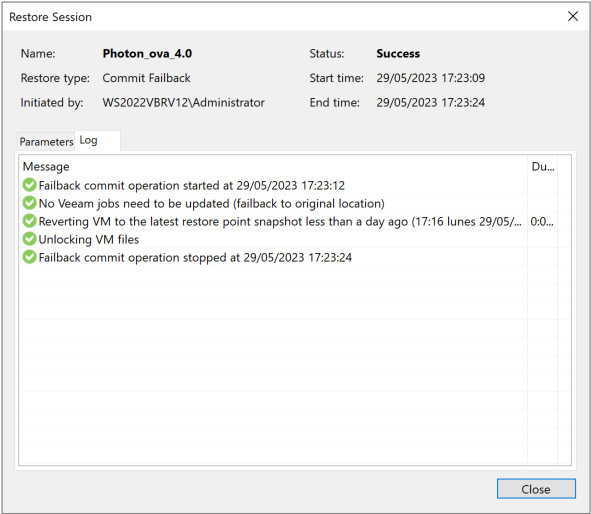
As a final step, after failing back the replica to production, we need to commit the operation. This completes the process, applies all changes, and returns the machines to their production and replica states.
Join us for this session with Jose Maria, Senior Systems Engineer at Veeam. We’ll focus on protecting Kubernetes workloads with Kasten 10, along with a brief introduction to the community and a demo!
First, this is just for fun and was set up in my lab for testing.
I’d been thinking about this for a while. Email notifications are fine, but when your inbox is full and you receive 100 or more messages a day, important ones can get missed. I wanted a way to receive important alerts outside of email, which is how I came up with the idea of getting Veeam notifications through Telegram!
Let’s take it step by step. First, we’ll create a Telegram bot to receive messages, then route them to a group chat or somewhere else:
In Telegram:
Type @BotFather in the Telegram search bar.
Choose the first option, marked with a red verification check (this confirms it is Telegram’s official bot).
Click START
Type the command /newbot or click it in the list of commands shown in the chat.
Next, enter a name for your bot and press Enter (for example, Telegram_Notifier).
You’ll now be asked to set a username, which must end in “bot” (for example, telegramnotifierBot).
Done! Save the token somewhere safe; we’ll need it for authentication later. Click the link to your new bot to open its chat.
Now we need our Telegram ID, so we’ll use another bot: Open IDbot and enter the /getid command. It will reply with your ID: … Make a note of it too.
In Windows, I created a PowerShell file called telegram.ps1 with the following content:
Save it wherever you like. Edit it to include your TOKEN and ID!
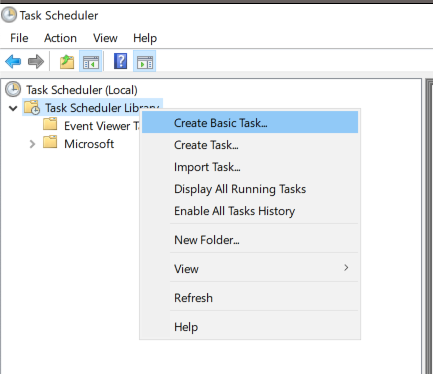
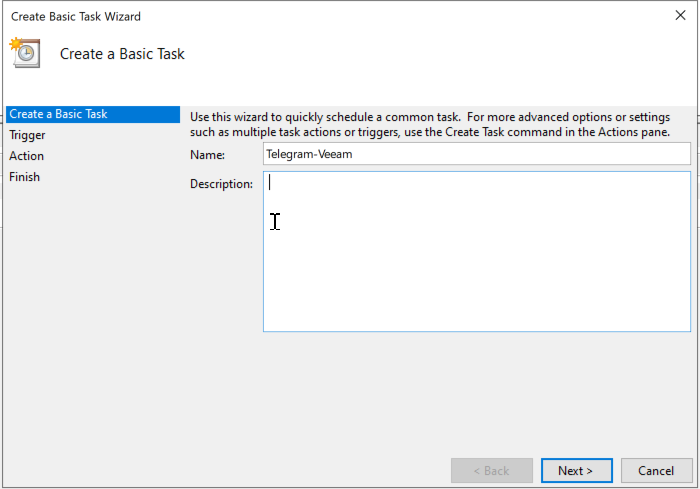
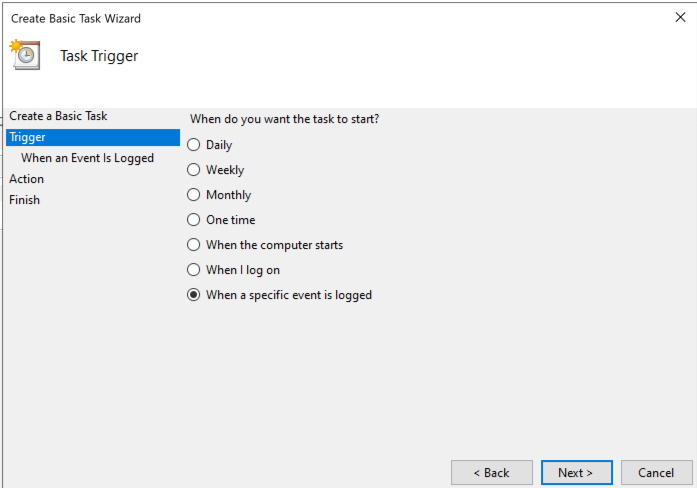
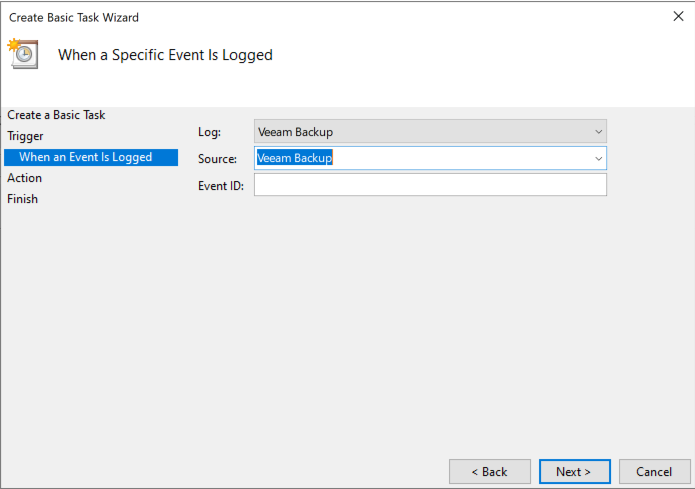
Next, we’ll use Windows Task Scheduler. I’ll include screenshots to make it easier.
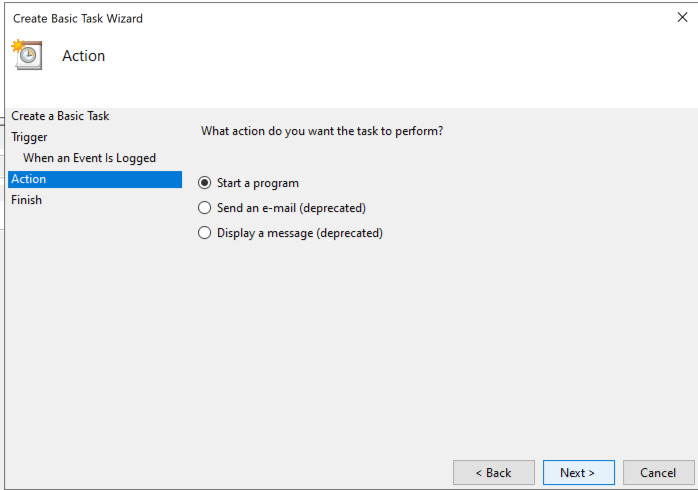
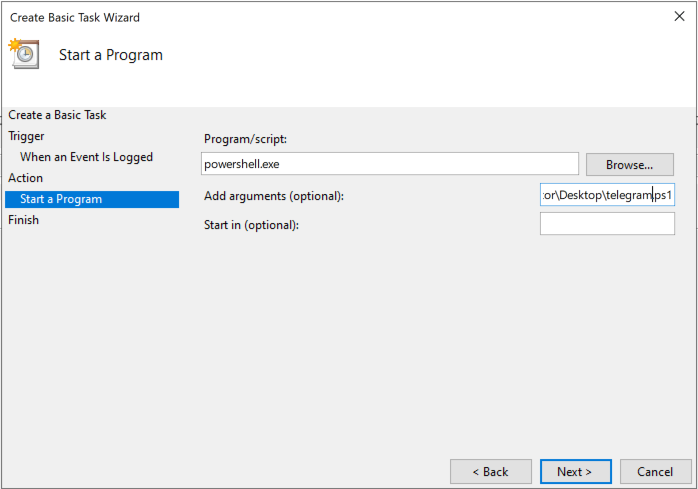
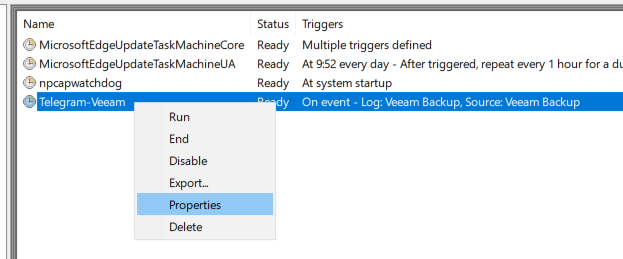
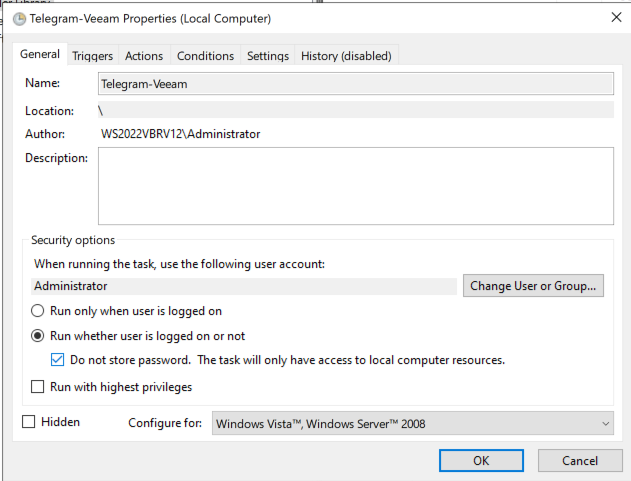
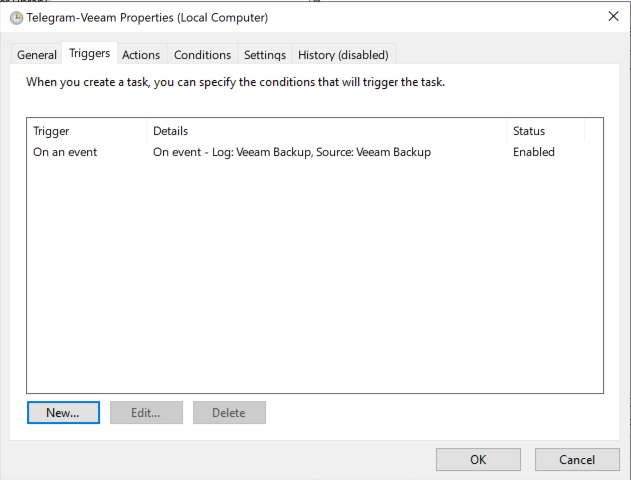
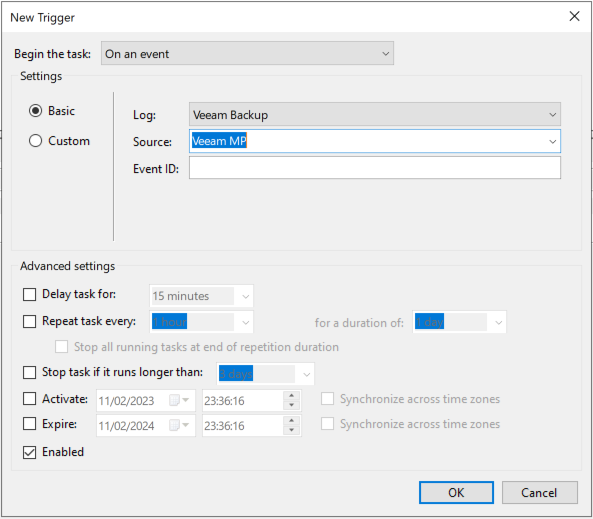
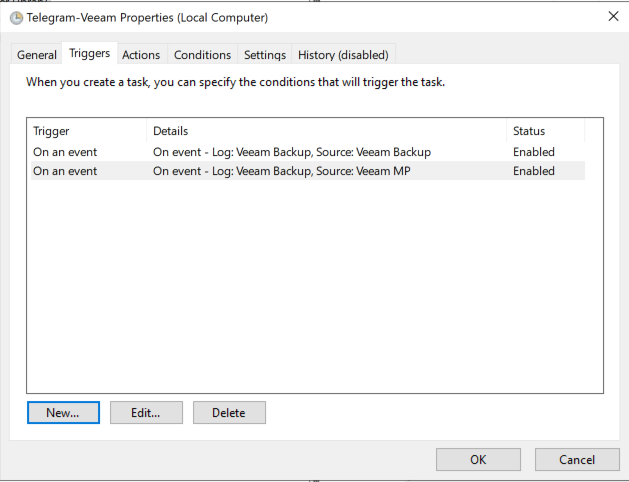
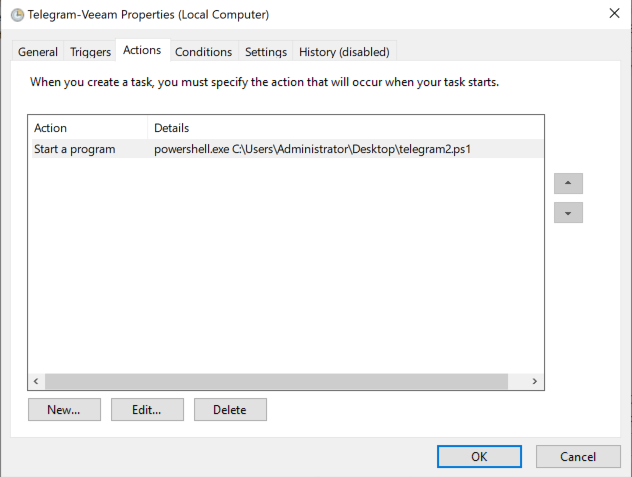
Open Windows Task Scheduler.Follow the wizard.Continue.In the list, select the event log source Veeam Backup. Under Source, select Veeam Backup; we’ll add a second source later.Choose to start a program.IMPORTANT: The program is PowerShell! For the argument, enter the full path to the PowerShell .ps1 file you saved earlier.Finish.Now edit the task’s properties.Set the options as shown in the screenshot: run it continuously and do not store a password.Here we choose which events trigger the task. Add Veeam Backup; we’ll add the other one next.Check that everything looks right.The scheduled task is ready!
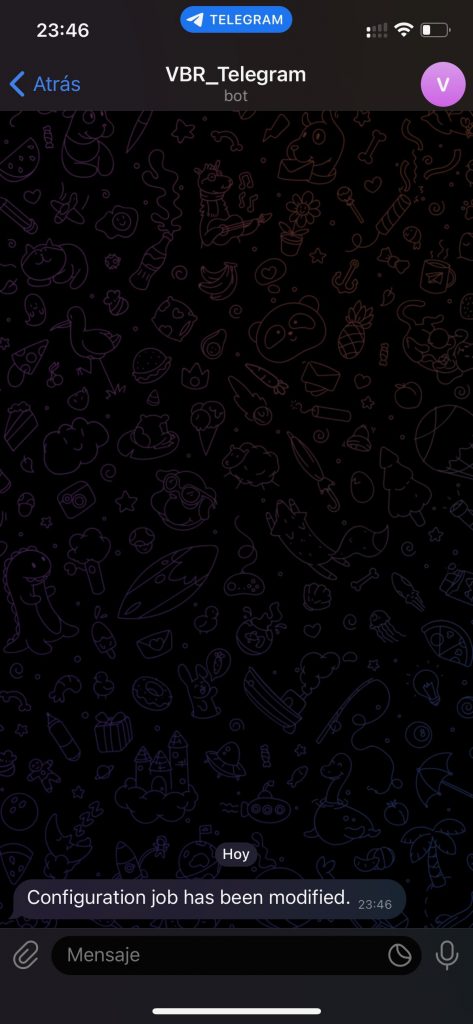
Everything is configured. Let’s run a quick test. Open Veeam B&R, if it isn’t already open, go to Configuration Backup, and increase the configuration backup retention by one day. You should receive a notification in Telegram:
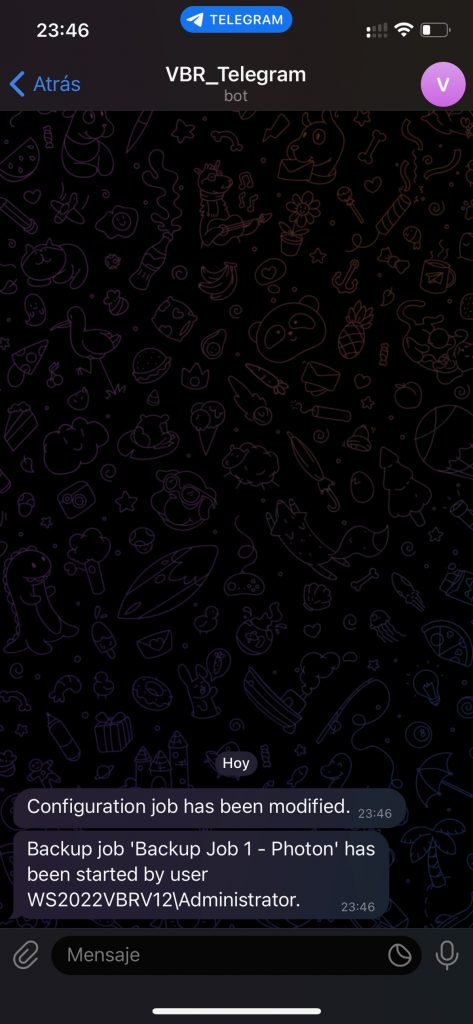
Configuration job has been modified.
If you start a backup job, you’ll receive a notification like this:
From here, fine-tune the events you want to receive from Veeam B&R through Telegram in Task Scheduler.
I hope this is useful. I’m no programmer, so if you improve it (which I’m sure you will), get in touch so we can update the post and make the Telegram notifications even better!
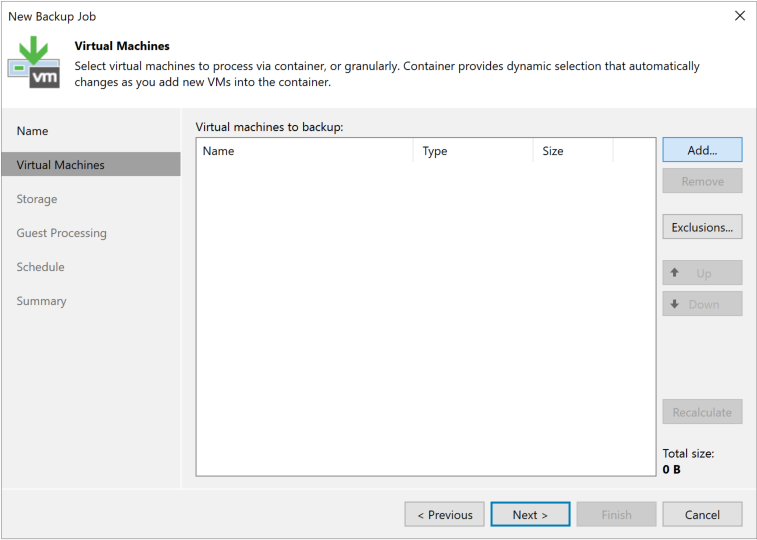
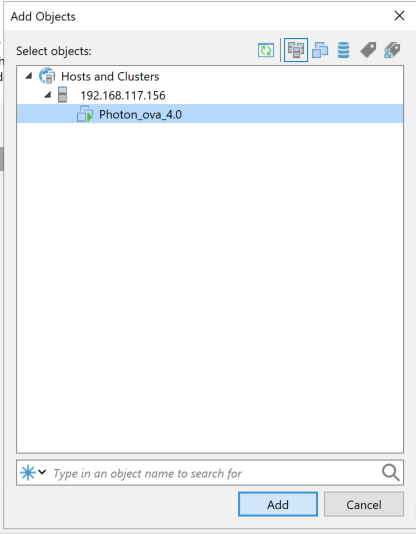
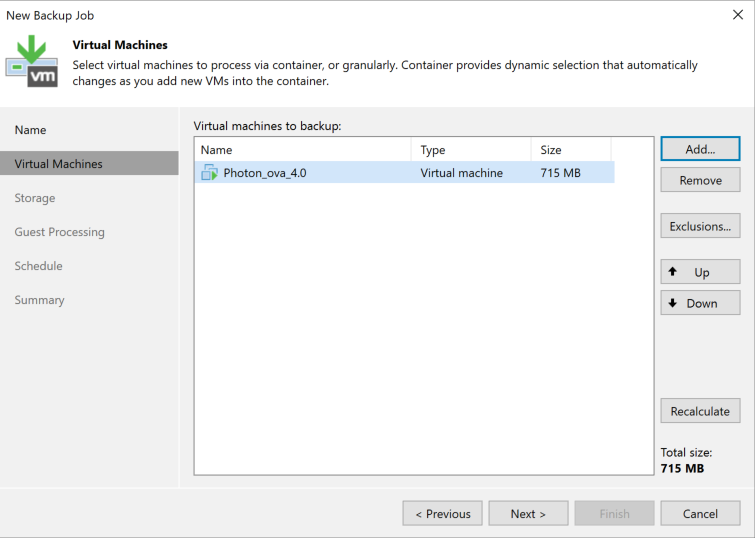
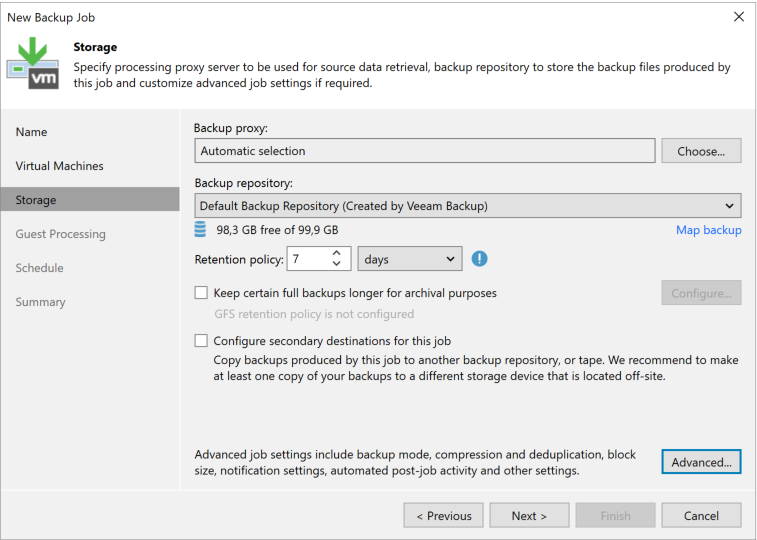
We’ll use screenshots to create our first backup job for a virtual machine, and then continue exploring.
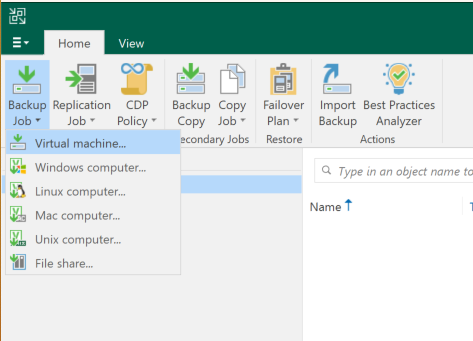
Open the Veeam console home screen and go to Backup Job > Virtual machine (since we’ve already added the ESXi server).
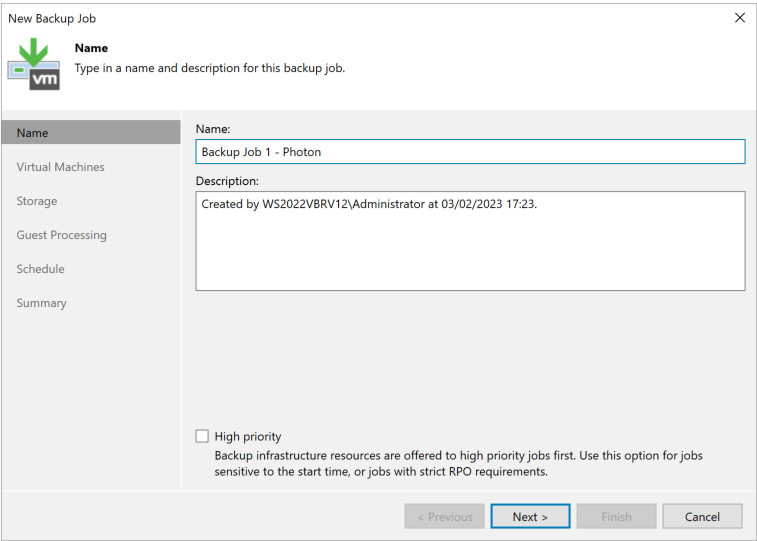
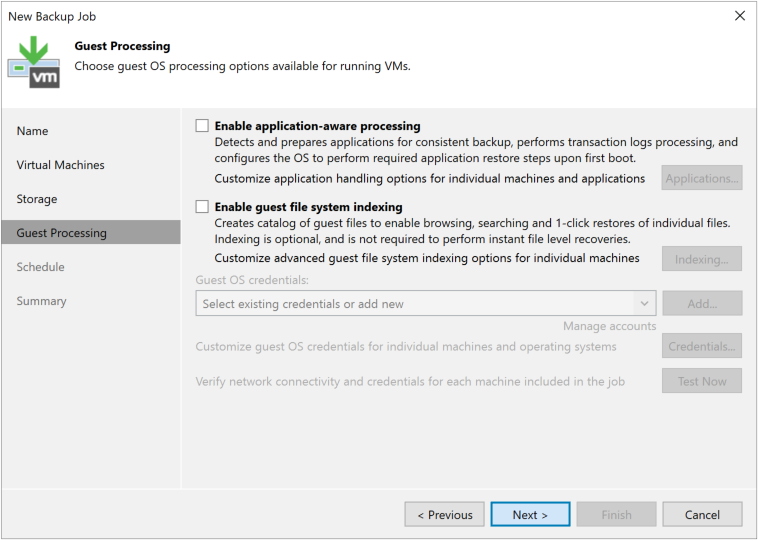
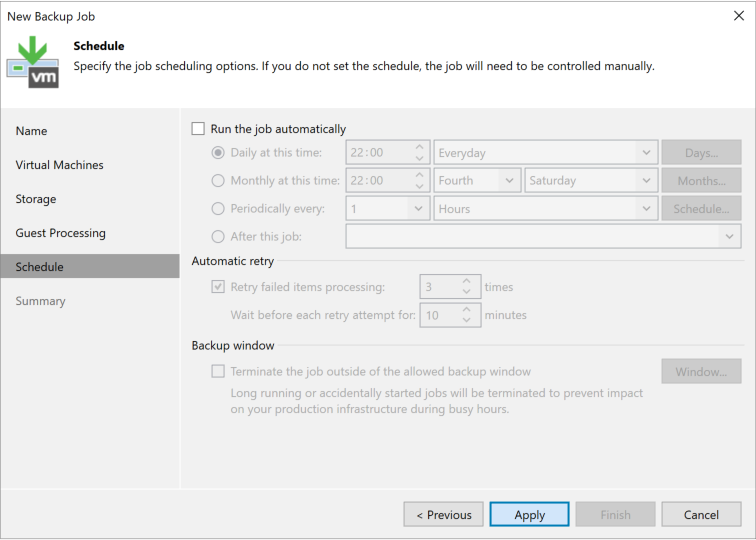
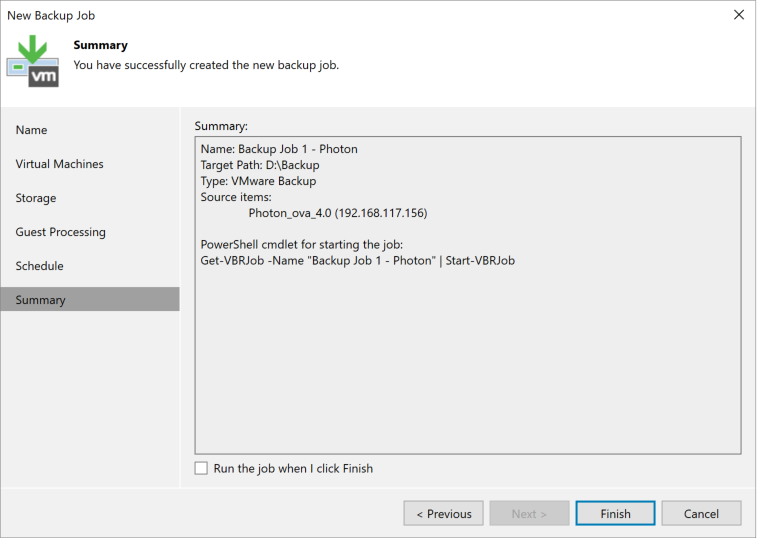
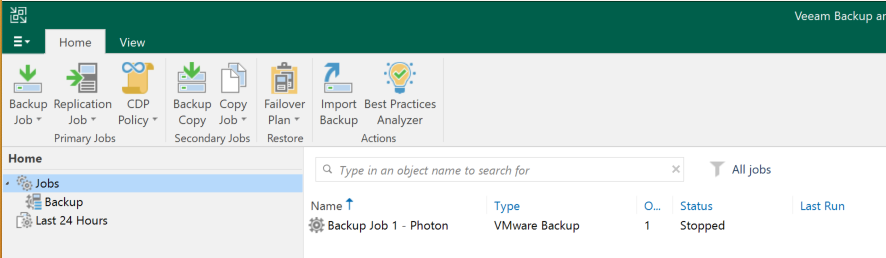
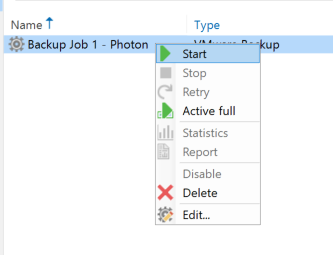
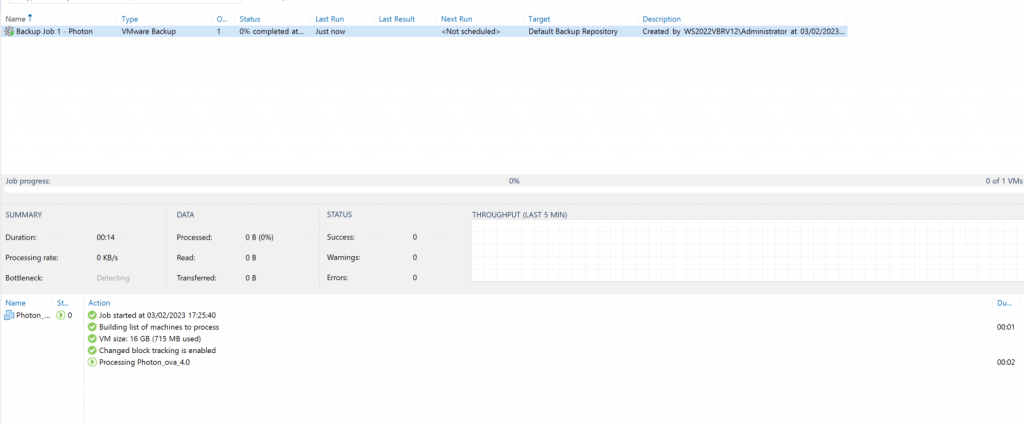
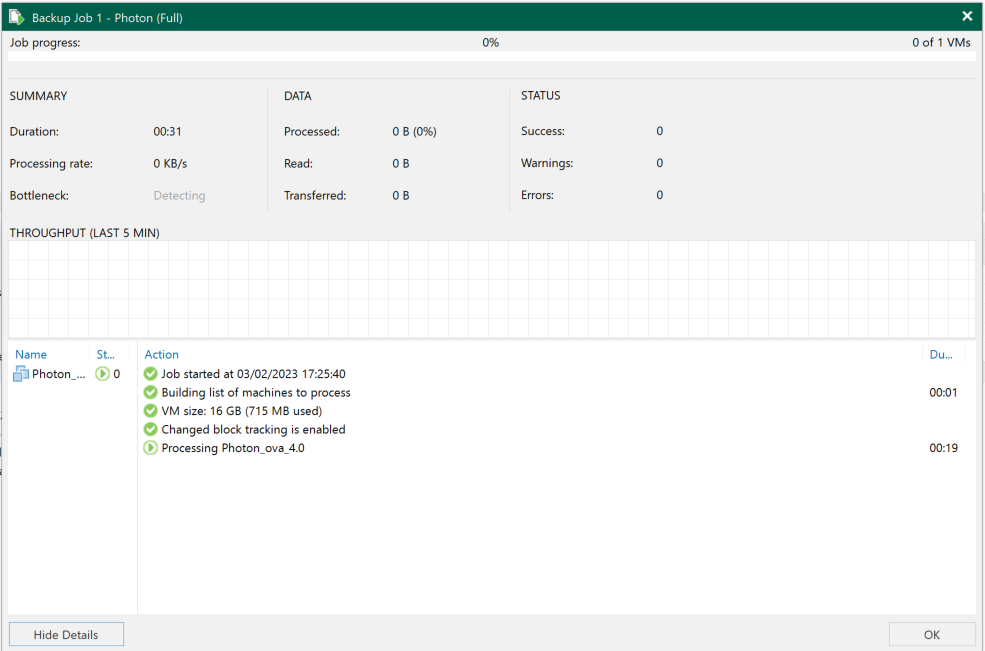
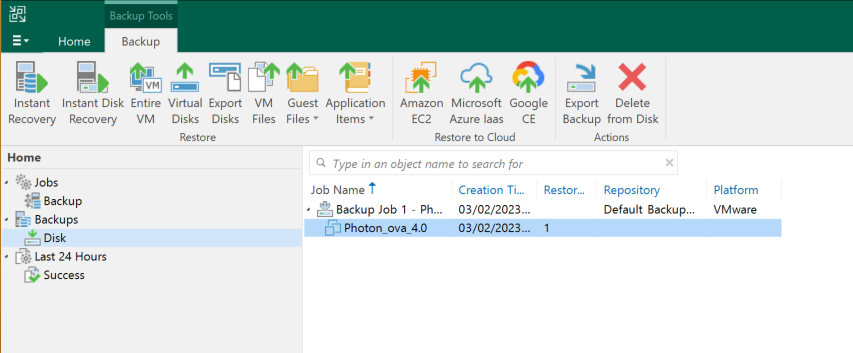
Give the job a name that will make sense to you later. You can add multiple machines to the same job.Click Add, then select the machine you want to back up.As you can see, our Photon VM is listed. Select it. Later, we’ll look at other ways to organize backups using tags and more.Here you can add more machines or continue to the next step.Here’s some useful information: the minimum retention is seven days, which means we’ll keep at least seven daily restore points.We’ll look at this in more detail. This is a great feature that helps make applications consistent in the backup, not just the machine.Job scheduling is very flexible: every few days or hours, on a periodic schedule, and more, depending on what you need. A daily backup outside production hours is common.Here’s a summary of our configuration.There it is: our first backup job!Right-click it to start the backup.Here’s the backup in progress.The backup completed successfully. We can access the backup file created by Veeam, which contains our machine and its restore points.
Next time, we’ll look at restoring data from a Veeam backup: both a full machine restore and recovery of a single deleted file.
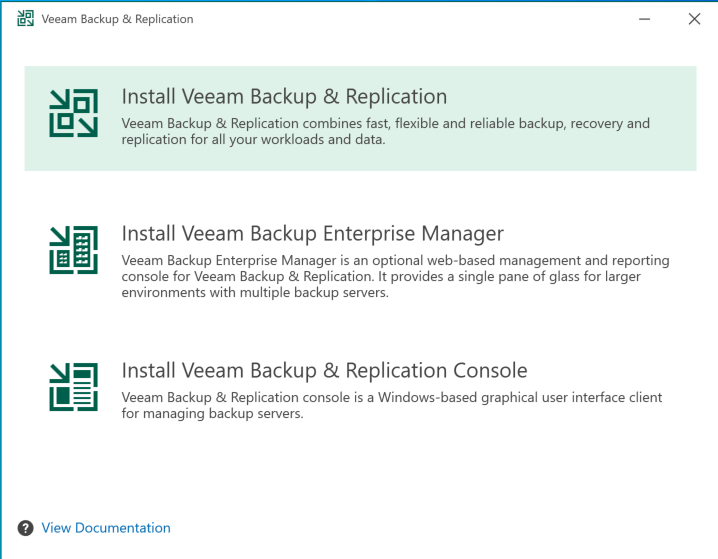
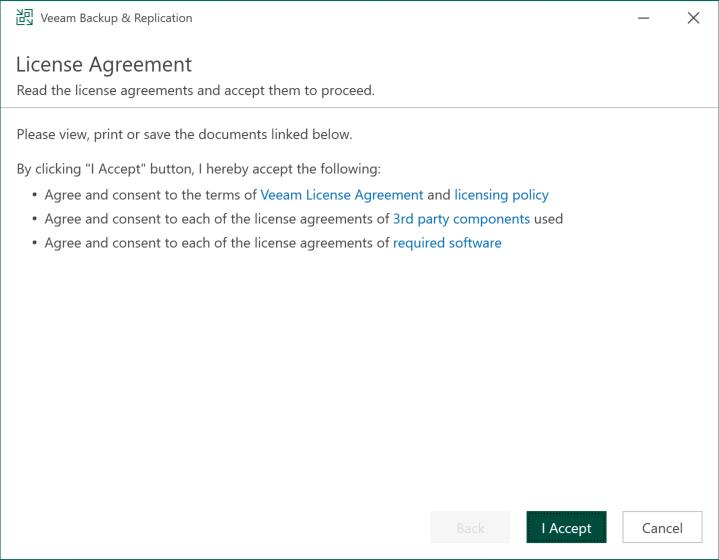
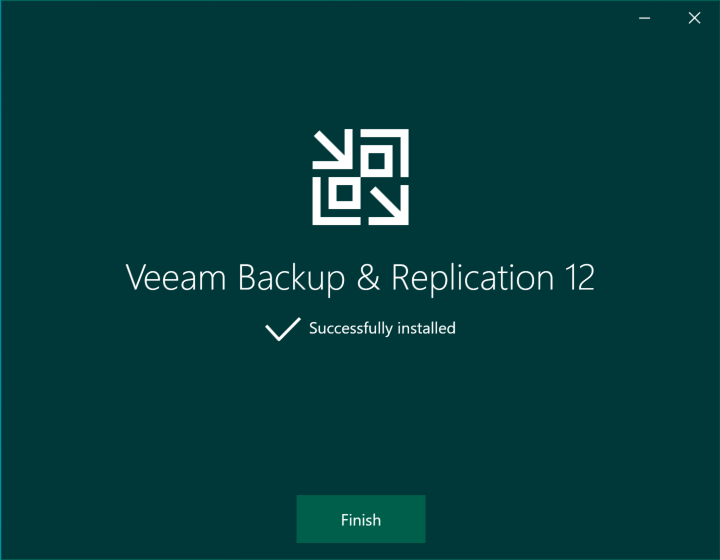
Here are a few screenshots of the new installer for VBR 12.0.0.1402.
I have to say, they’ve made it look great and made installation easier than before…
Once the ISO is downloaded, open it and start the installation. Let’s follow the screenshots…
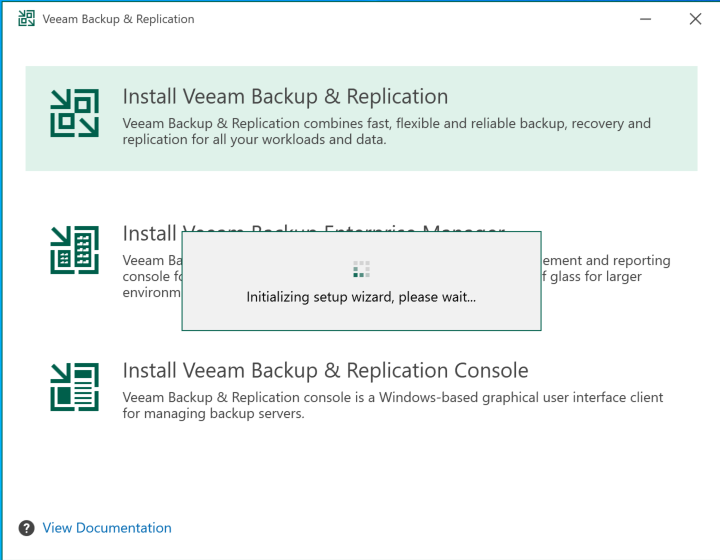
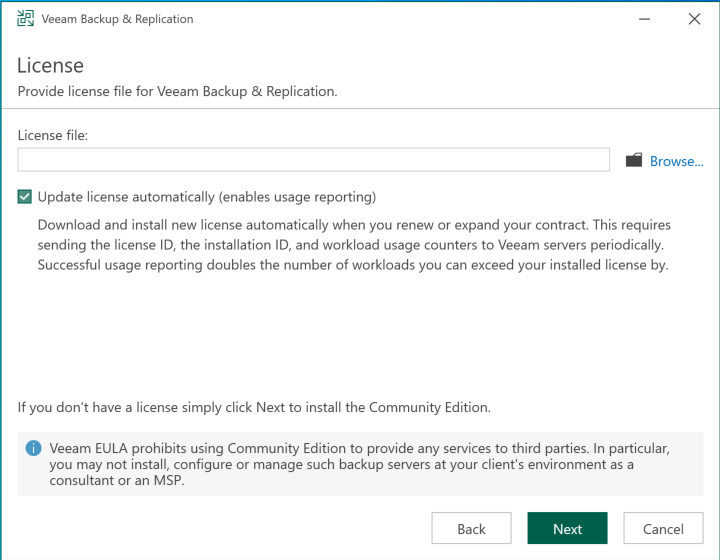
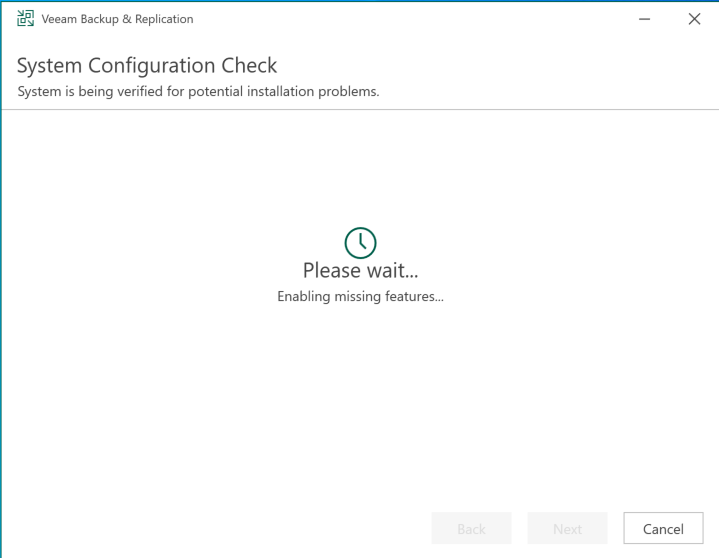
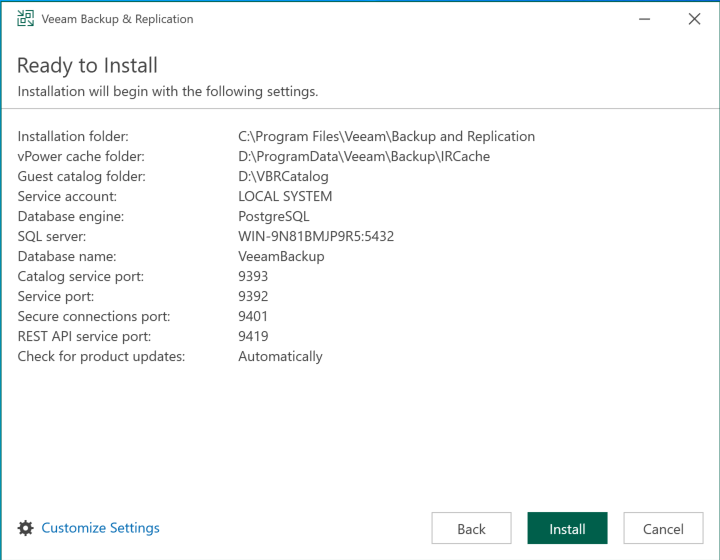
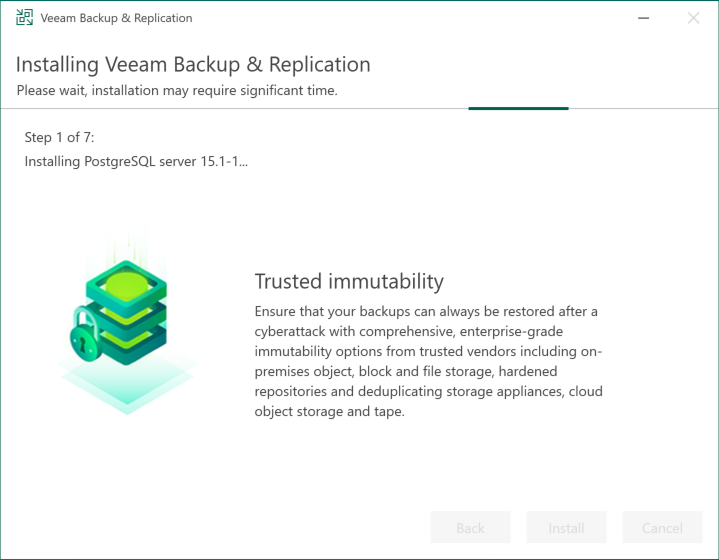
Initial installation screenSelect the first option: VBR v12.Here we go.If you have a license or support, enter it here. Otherwise, continue with the Community Edition; we’ll explain that later.The installer checks that everything is ready to continue.It shows a summary of the installation locations. Look at PostgreSQL—what a great addition!Let it work in the background.Ready! That’s how simple it is.
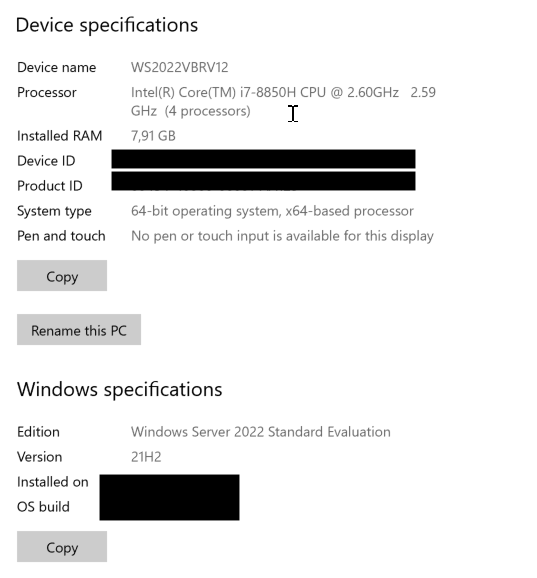
Here are a couple of screenshots showing the specifications of the machine where I installed Veeam v12, for your reference.
I usually create two partitions: one for the OS and Veeam database, and another for Veeam’s indexes, metadata, and local repository. The installer assigns the partitions automatically. I like to keep them separate so space issues on one volume don’t affect the OS, and vice versa.
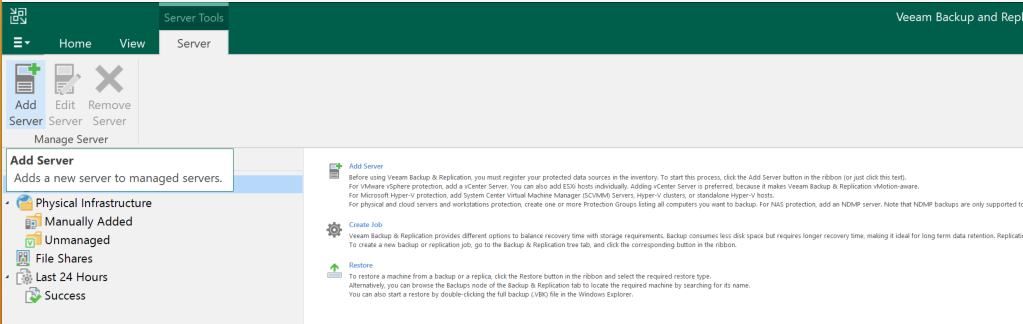
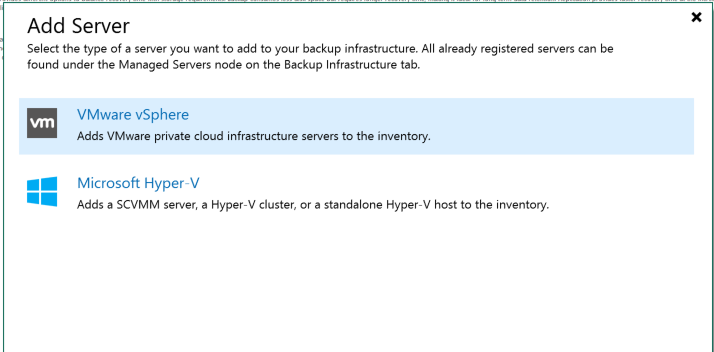
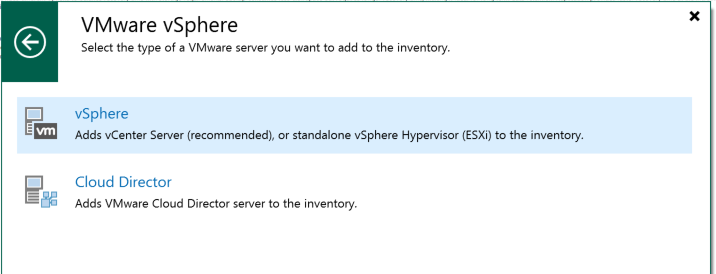
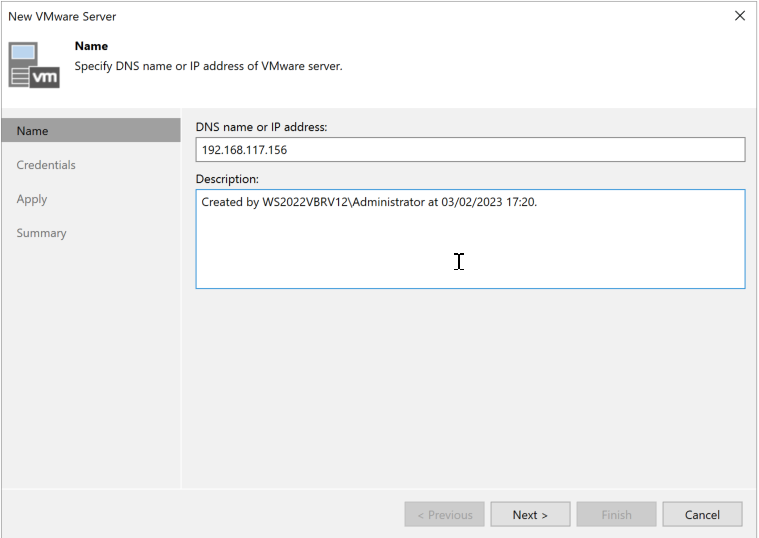
Here’s a simple screenshot walkthrough showing how to add an ESXi server to Veeam B&R v12 so we can back up its virtual machines. We’ve completed the initial configuration. Now let’s add a source to back up:
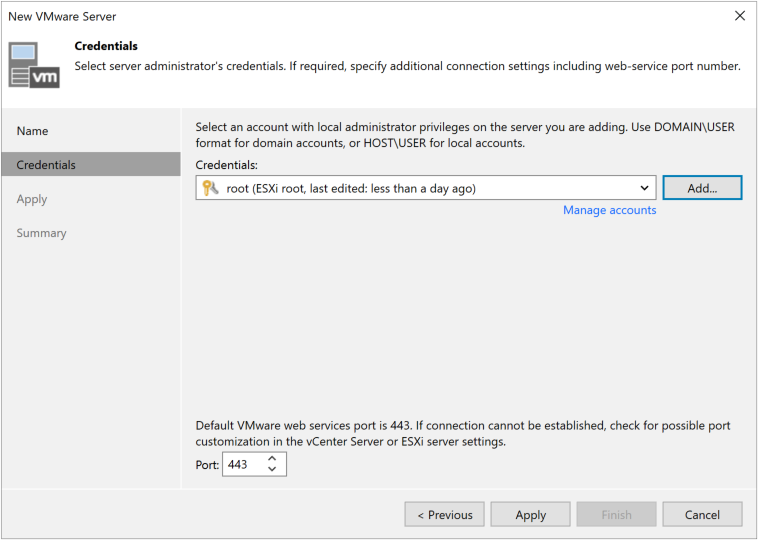
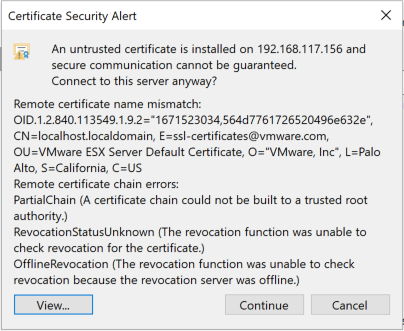
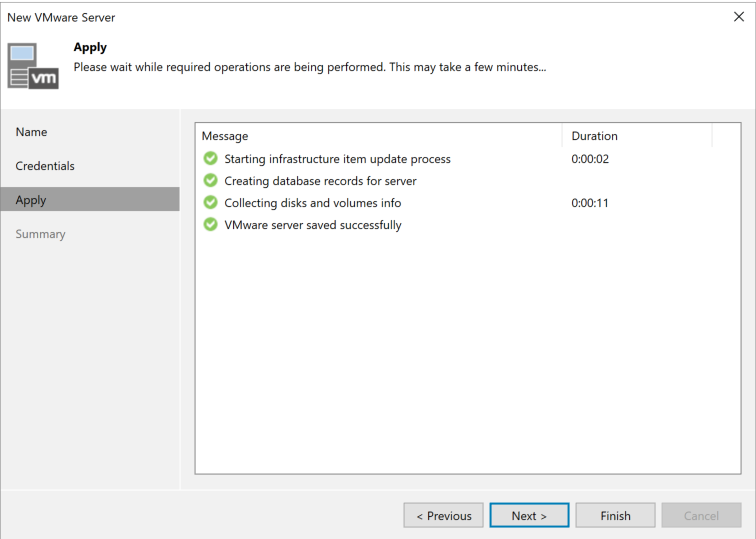
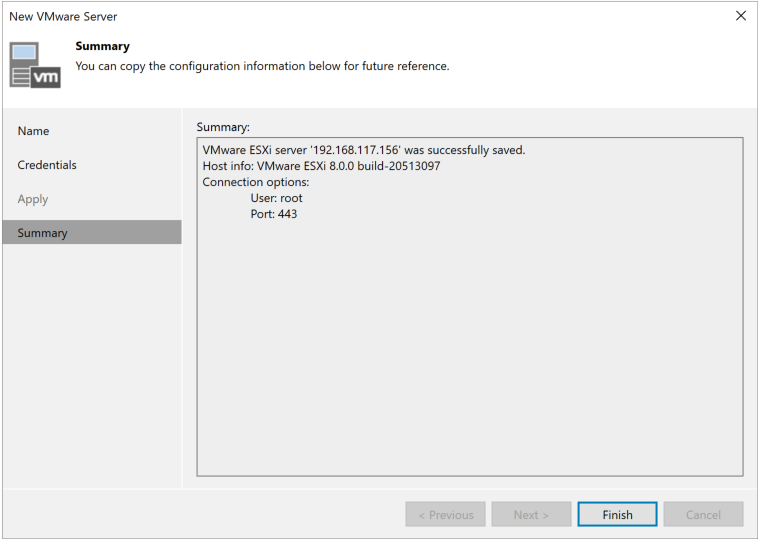
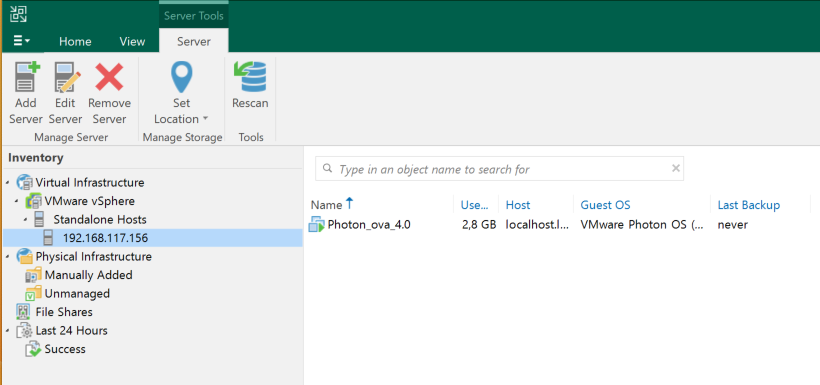
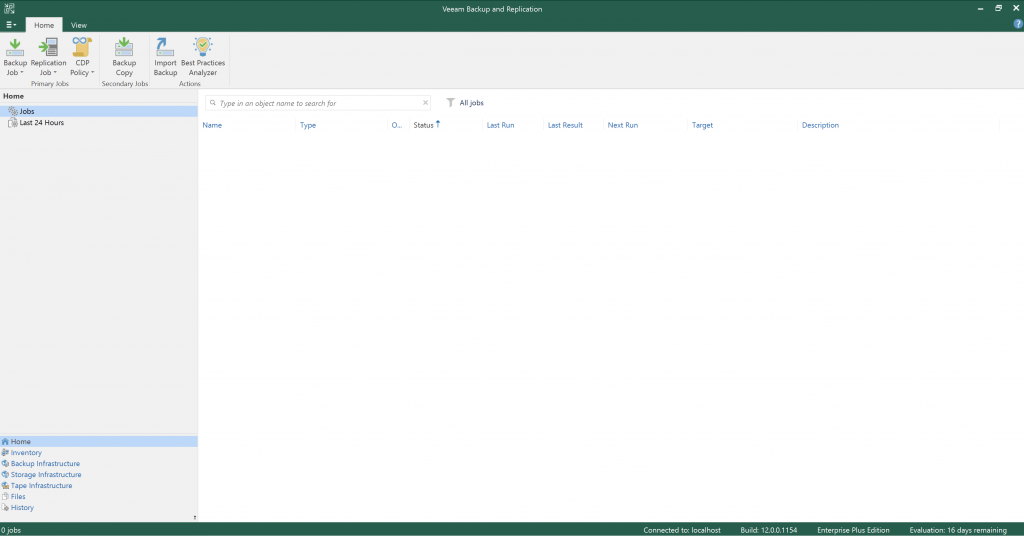
Open the Veeam B&R v12 console.Home screenIn the Inventory menu at the bottom left, select Servers, then click Add Server at the top.Follow the wizard.If the password hasn’t been added yet, click Add, enter the username and password, and continue through the wizard.It will ask you to add the certificate. Continue.Here it is. In the Inventory menu, under Standalone Hosts, you can see the added host. Click it to view the virtual machines it contains!
Now we can start creating backups, replicas, and more.
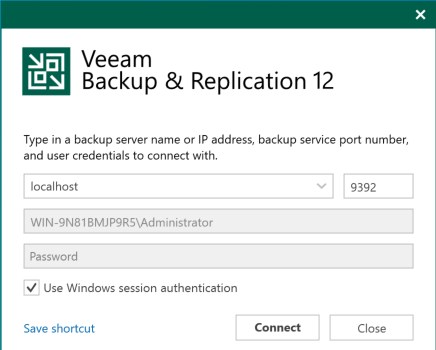
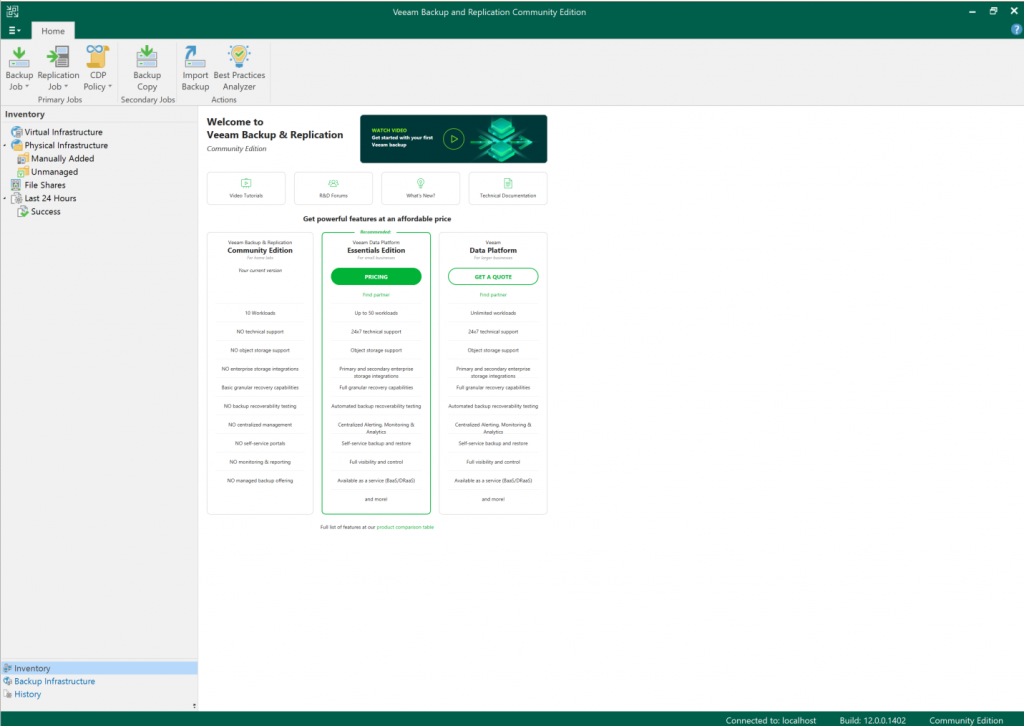
Now let’s go through the initial setup and review the general options before moving on to more advanced topics, such as backup and replication jobs.
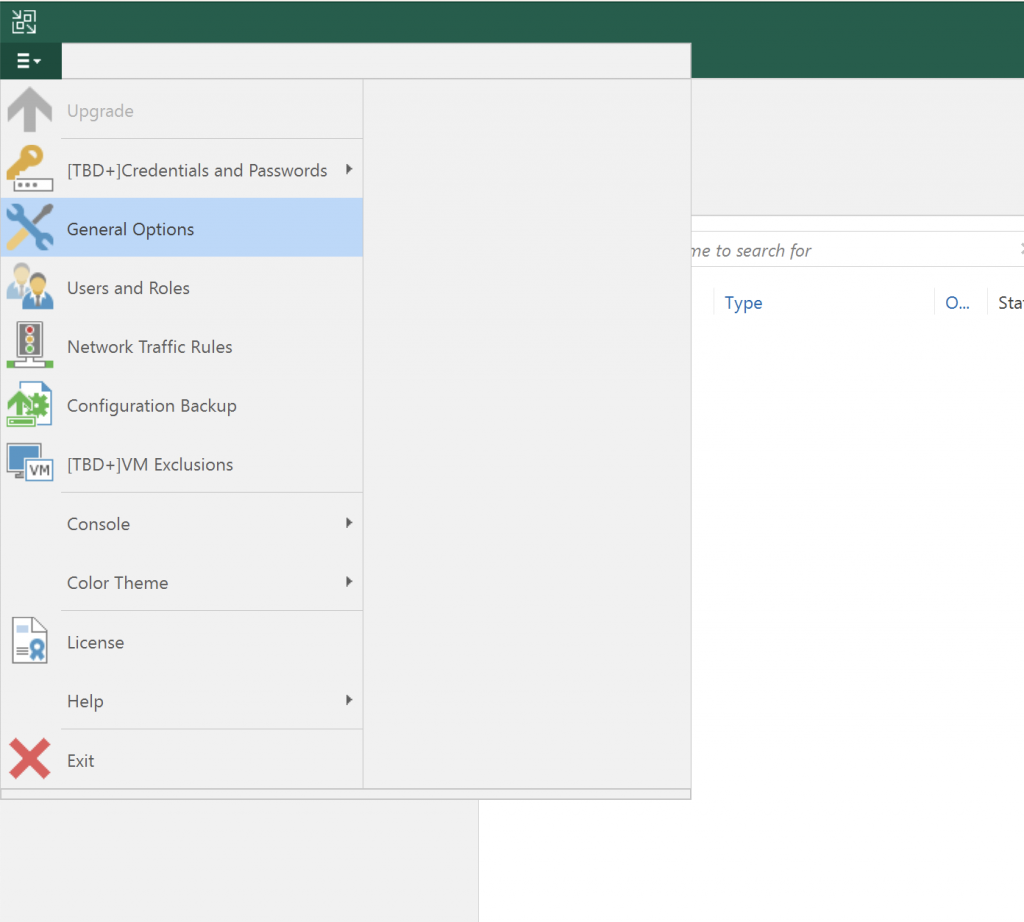
Let’s start with General Options.
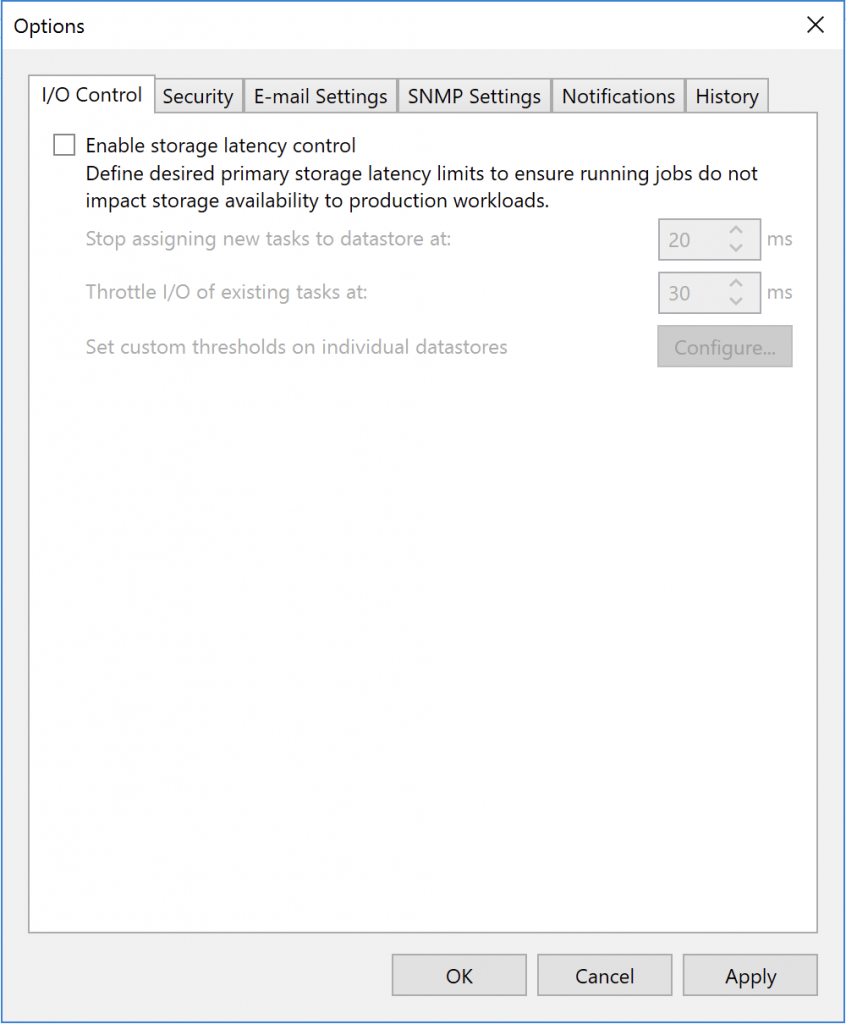
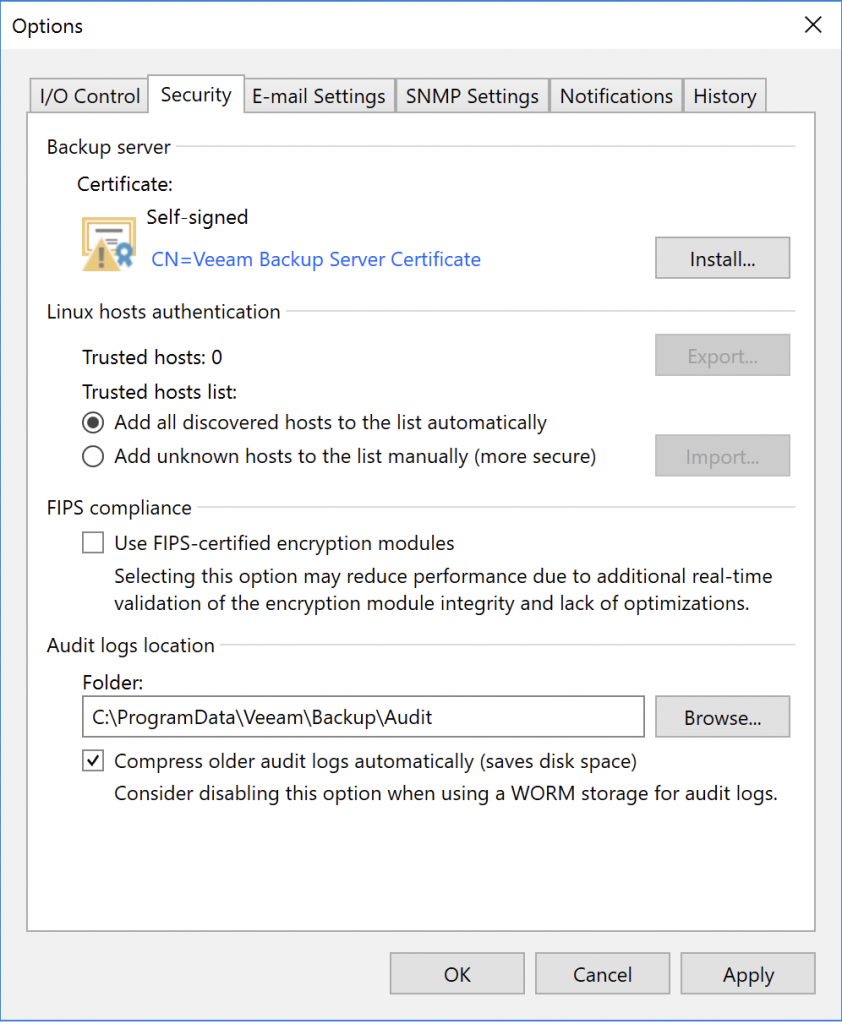
Let’s review the options and I’ll explain what I usually change.
I usually leave this disabled because the storage I use for backups is fast enough.I usually leave this at the default too. If you use your own certificates, this is where you configure them!
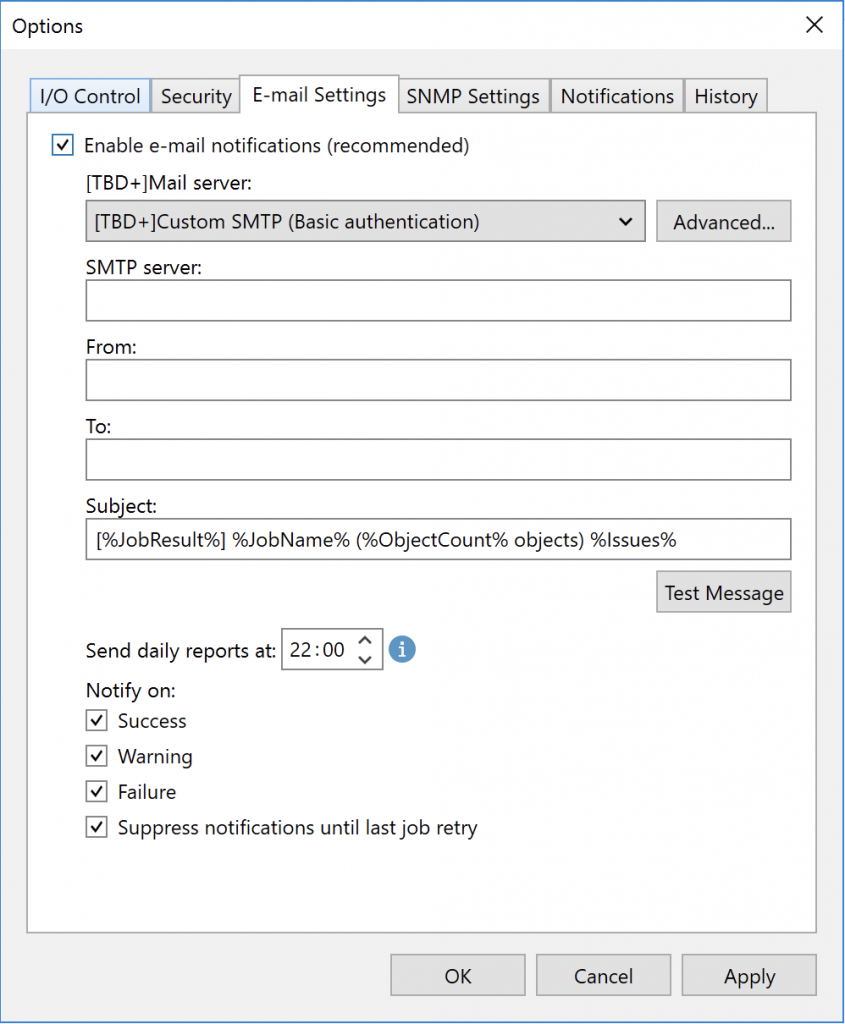
This is where things get interesting: email settings for notifications and reports.
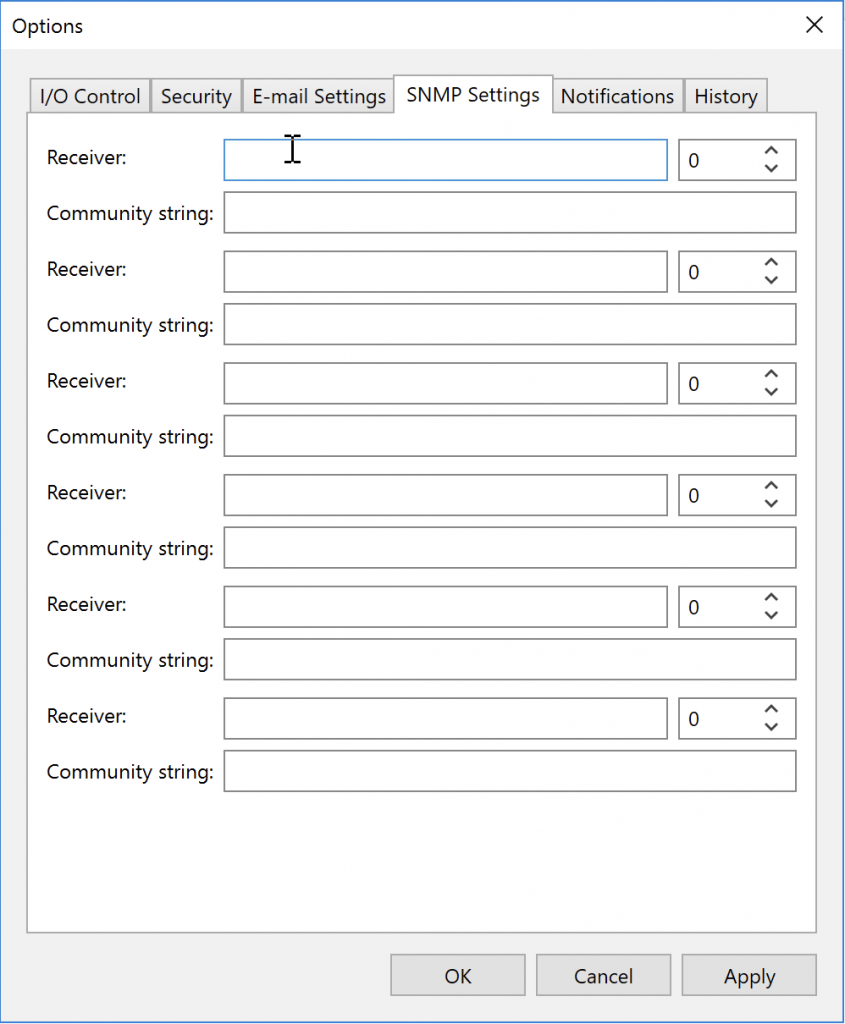
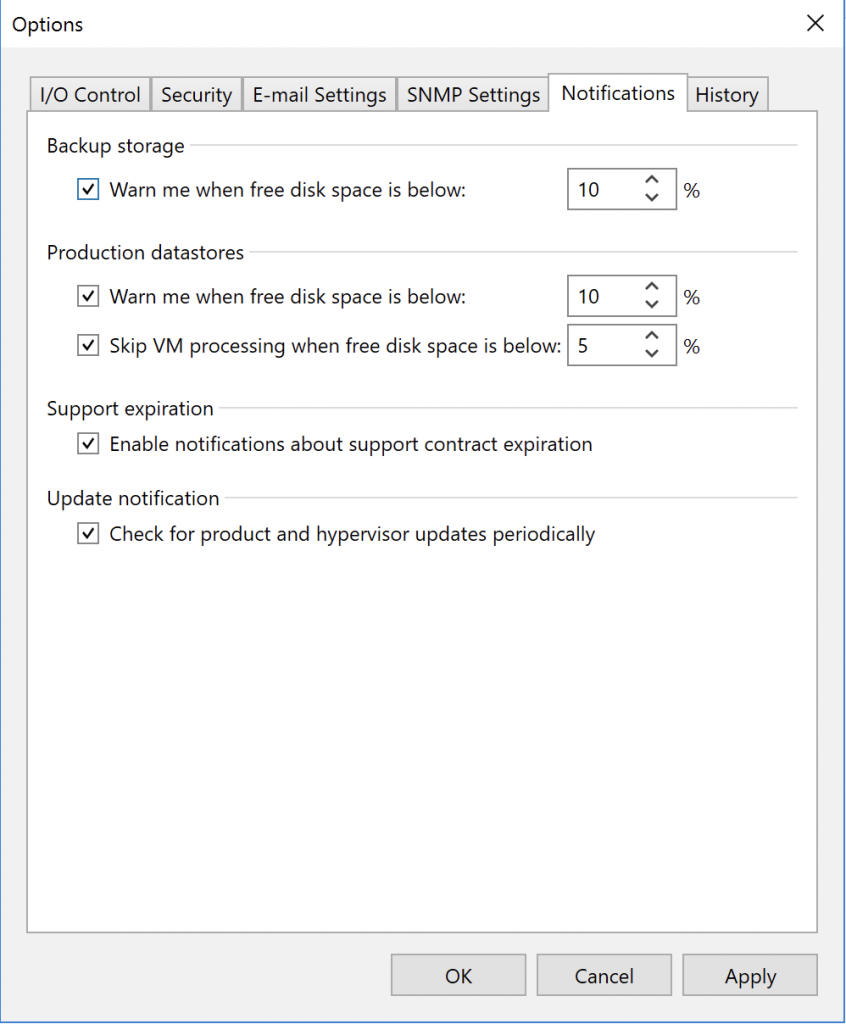
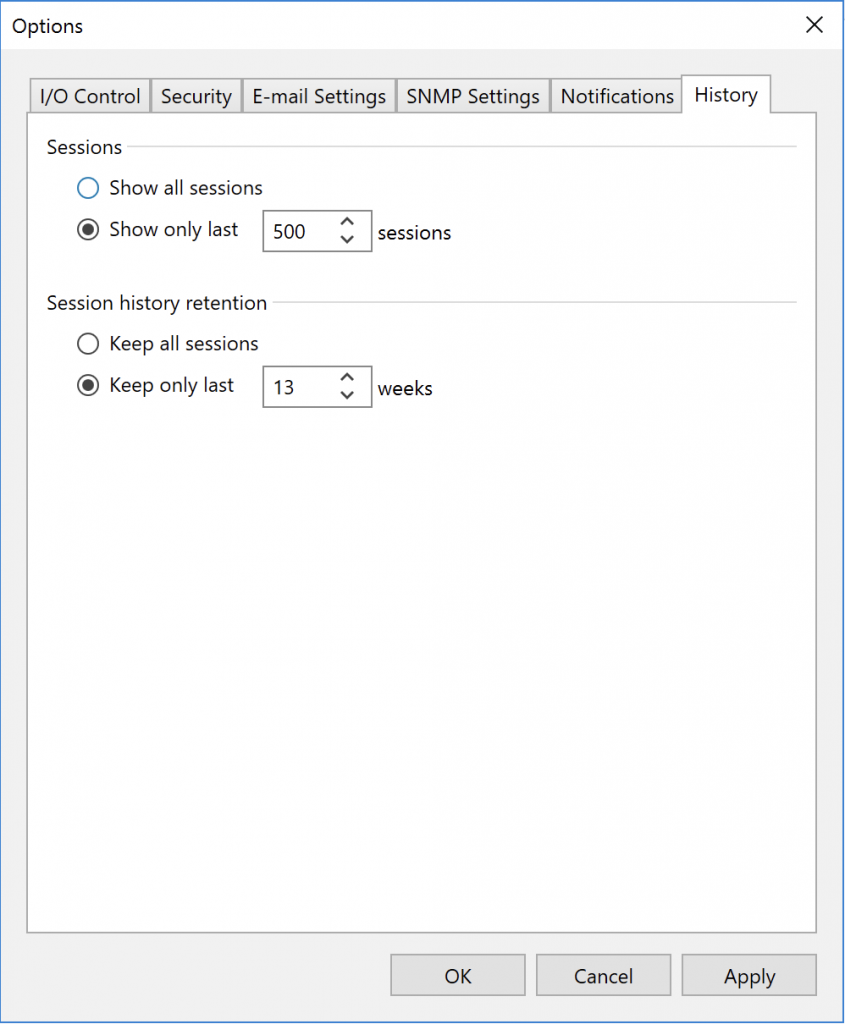
It’s easy to configure. I like receiving the daily summary report; you can change the time if you prefer. When you configure email notifications, you’ll receive messages for all jobs with the statuses selected below. You can also configure email alerts for each job individually—for example, to add recipients or include more details.If you integrate Veeam B&R with an event monitoring tool such as Nagios, Checkmk, or PRTG…I usually leave these settings at their defaults. They’re convenient, and this information is valuable for troubleshooting—especially the available disk space.This one is a matter of preference. I usually leave it as shown, but if you want to retain more history or see more or less historical information, this is where you change it.
Now let’s move on to Configuration Backup.
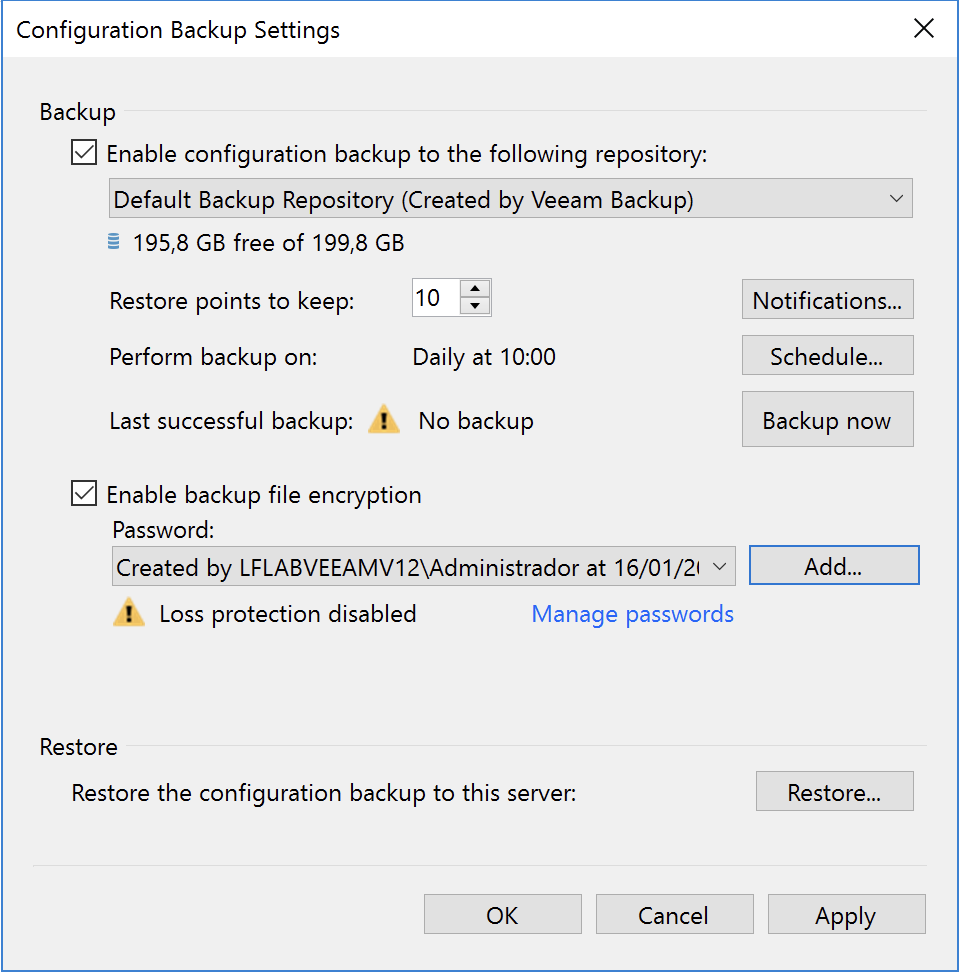
An important point: for now, we’ll configure it to use the local repository, though we can change that later. We’ll also enable encryption for this backup and set a password so that the credentials we add later are saved in the backup:
Select the checkboxes, then click Add next to Password. Create the password, apply the settings, and you’re done.
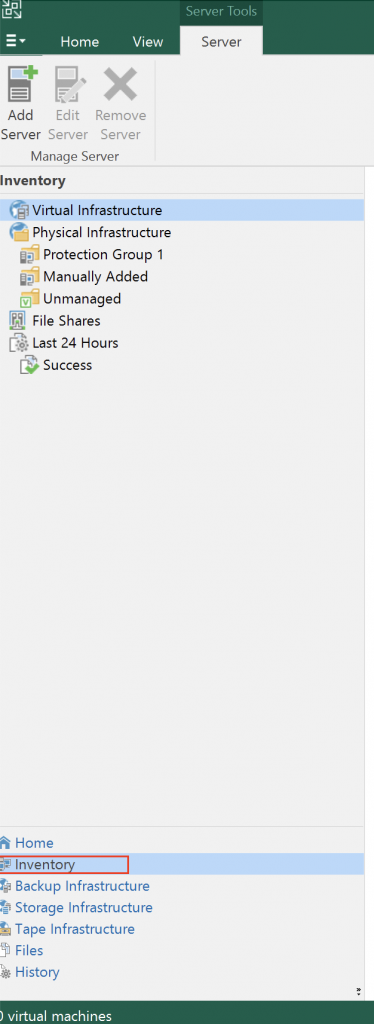
Now let’s look at the Inventory tab, where we’ll add the machines to protect with our backup and replication jobs.
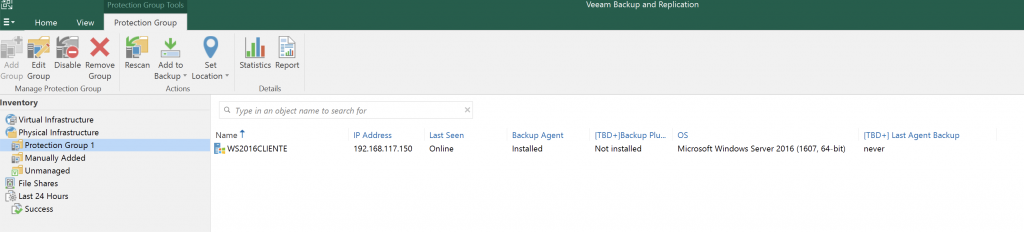
Here we can see both virtual machines and physical machines with the Veeam Agent installed and connected to this server.
For example, here’s a physical machine with the agent installed.
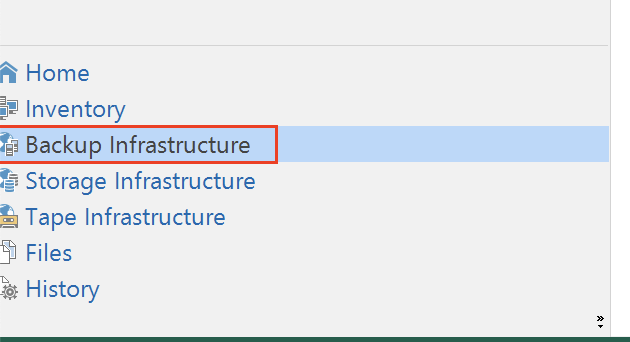
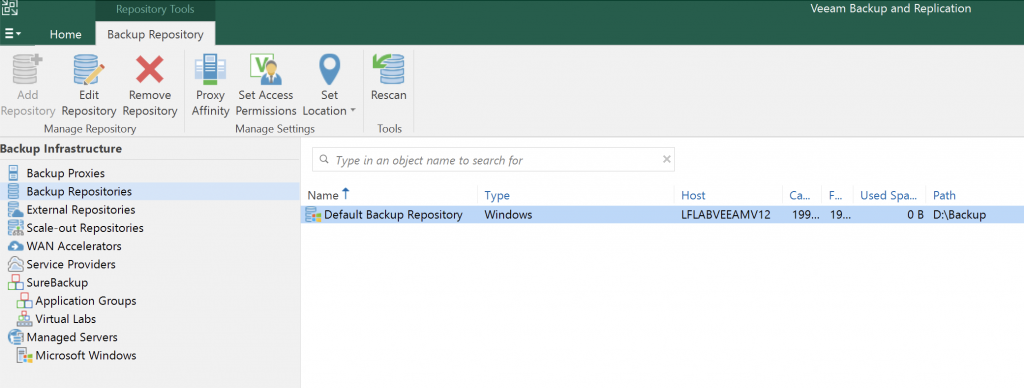
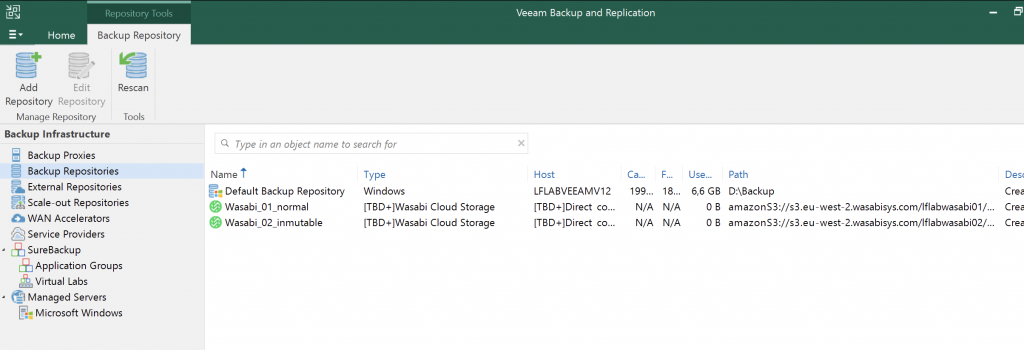
Next, go to Backup Infrastructure. You’ll see the local repository and can add backup repositories. I also have a post showing how to create an S3 cloud repository with Wasabi; adding it is straightforward.
Here is the initial Veeam repository, which is created automatically during installation.
In future posts, we’ll look in more detail at adding local, CIFS, NFS, and S3 cloud repositories.
For now, we’re ready to create our first SIMPLE backup job.
Here’s a screenshot walkthrough showing how to add Wasabi S3 storage to VBR v12.
Important: v12 supports backing up directly to cloud S3. You don’t need intermediate storage to upload backups to S3.
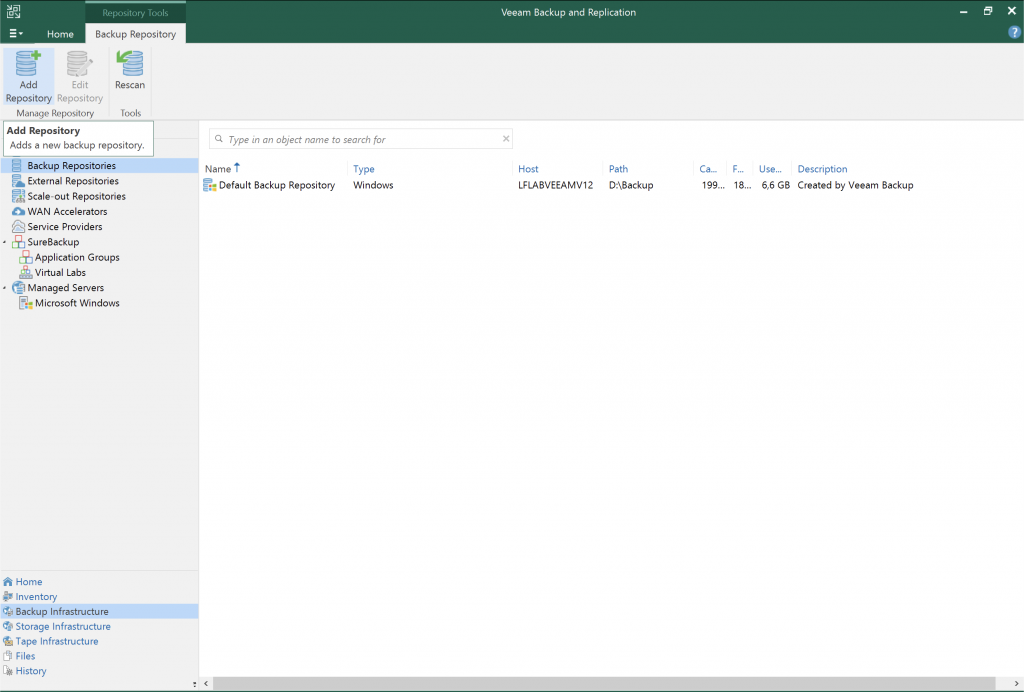
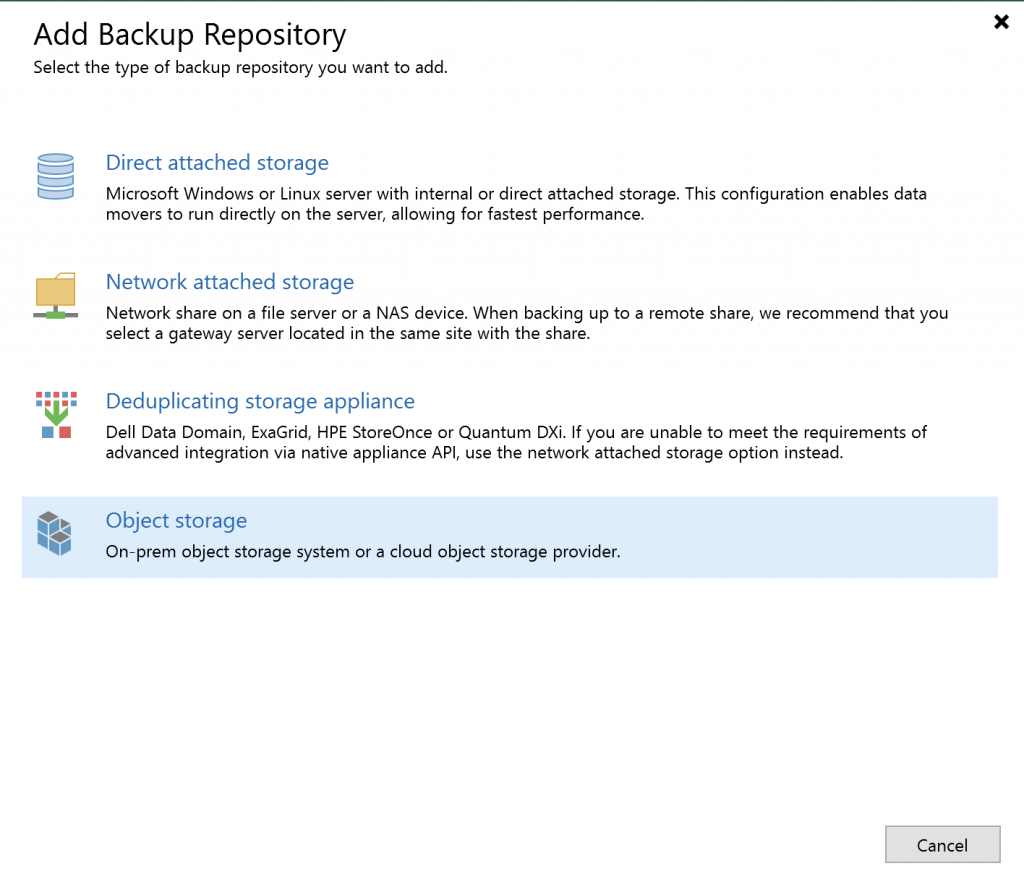
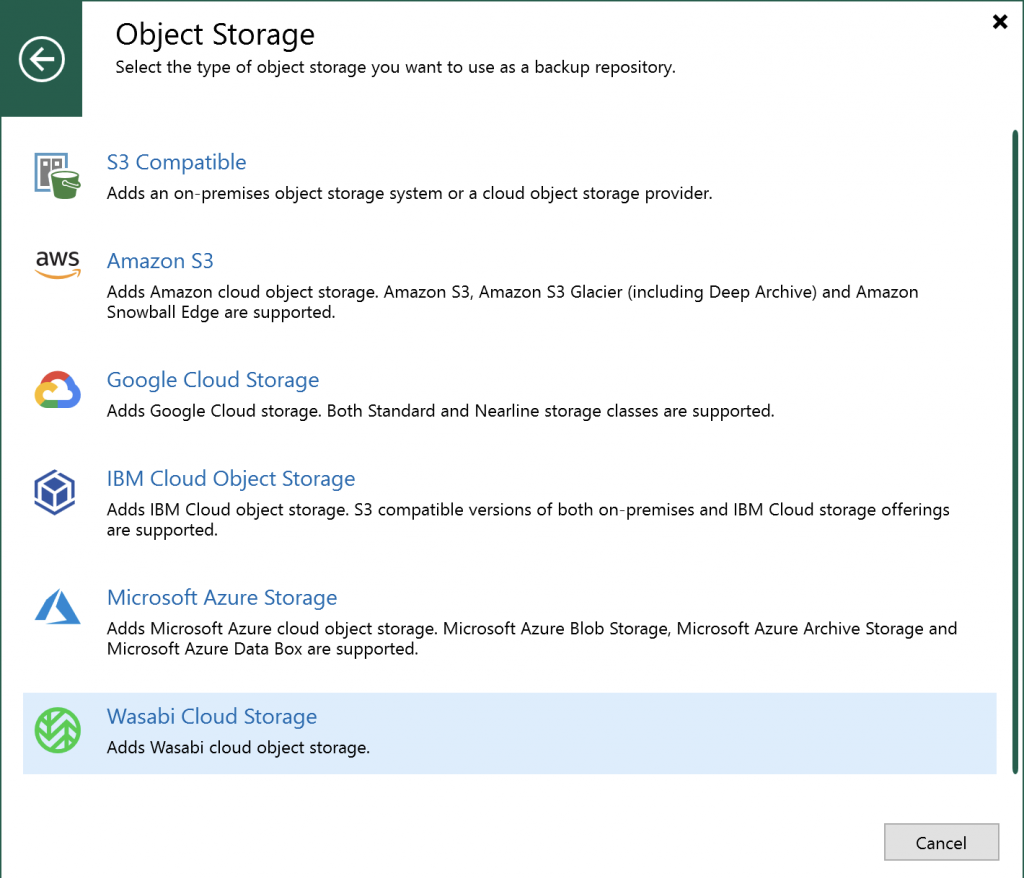
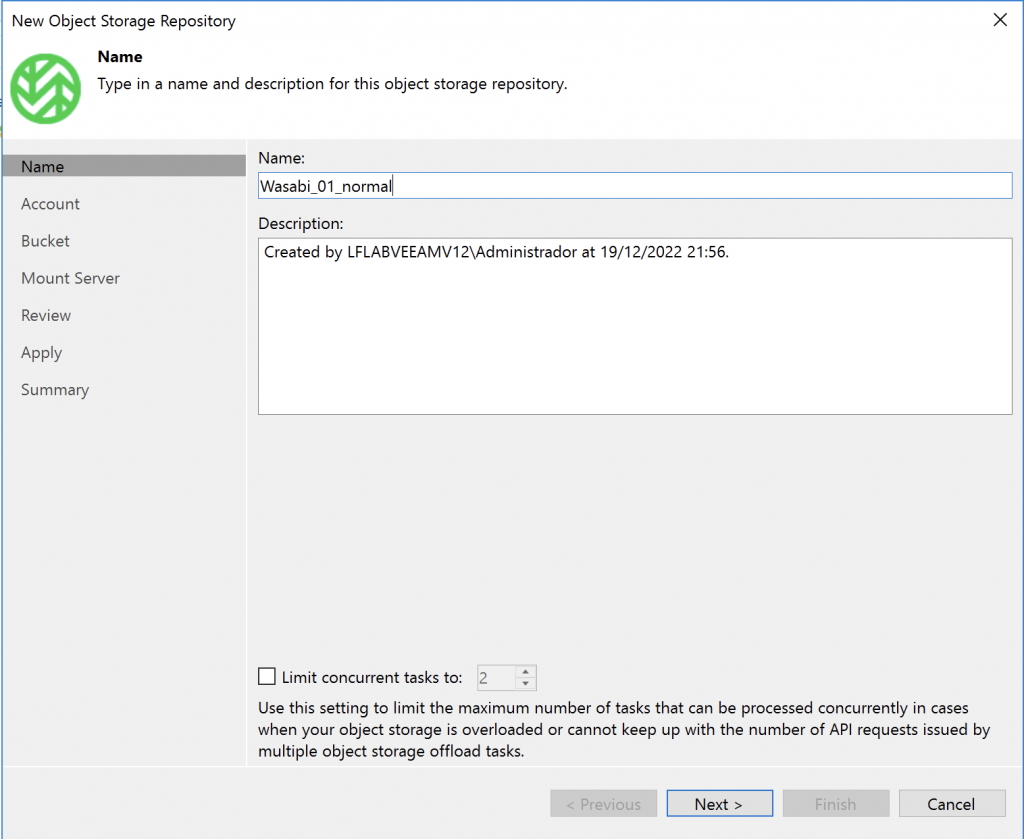
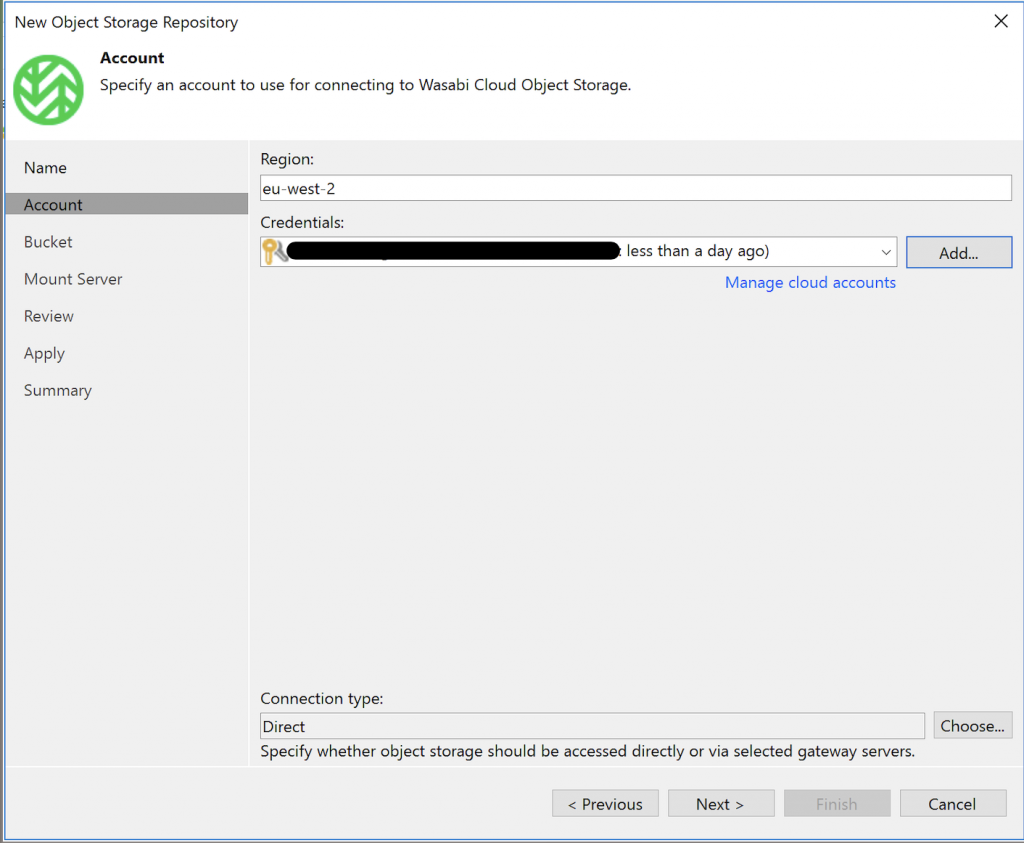
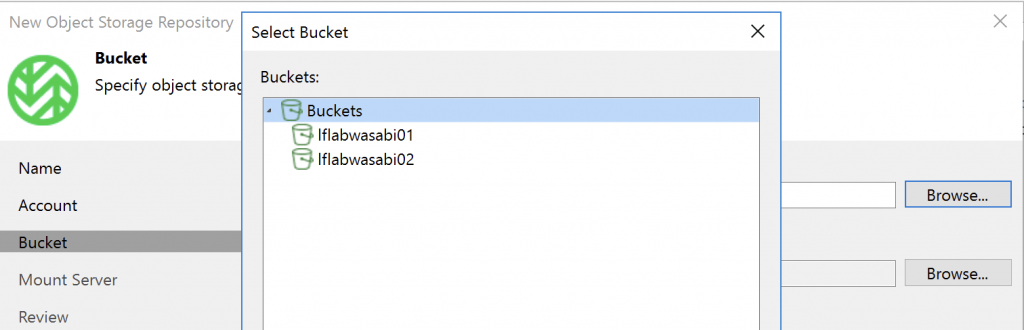
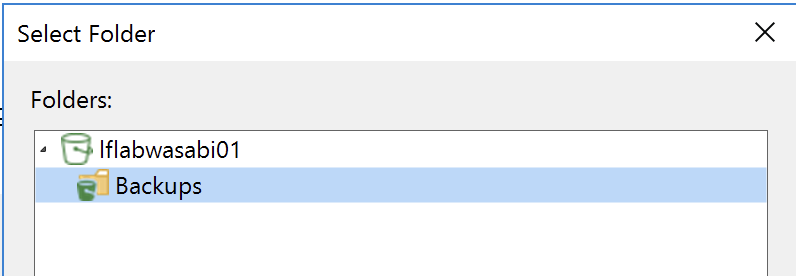
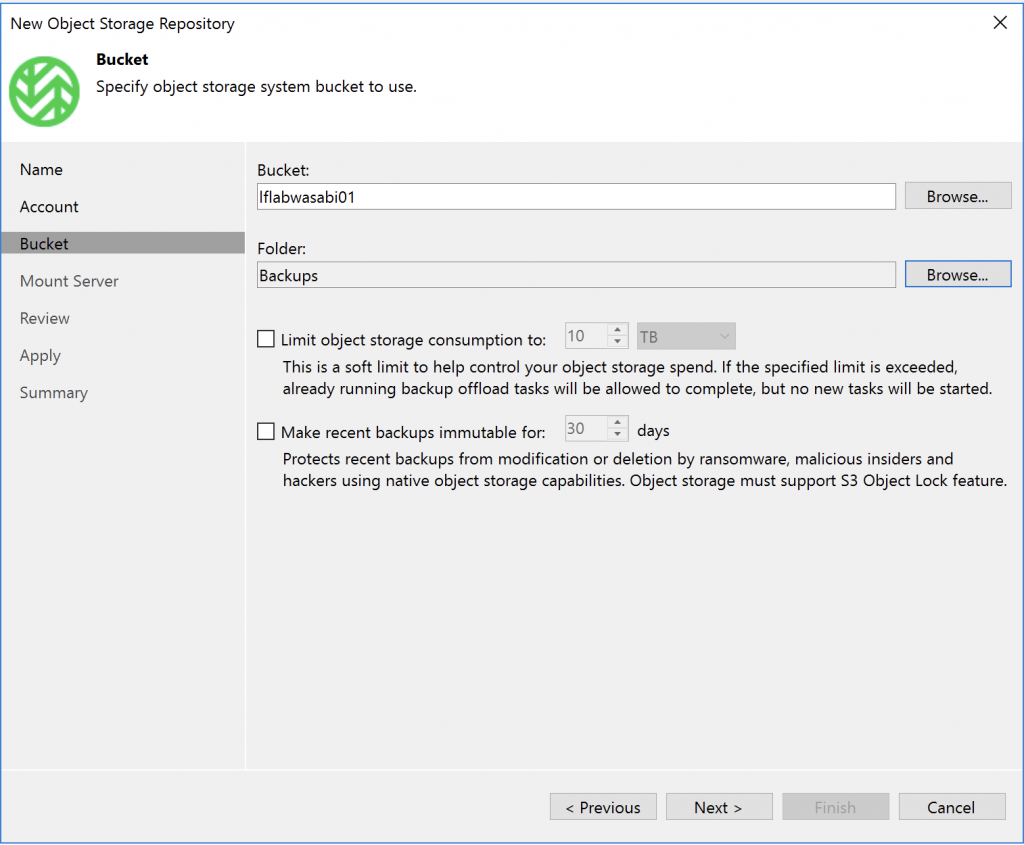
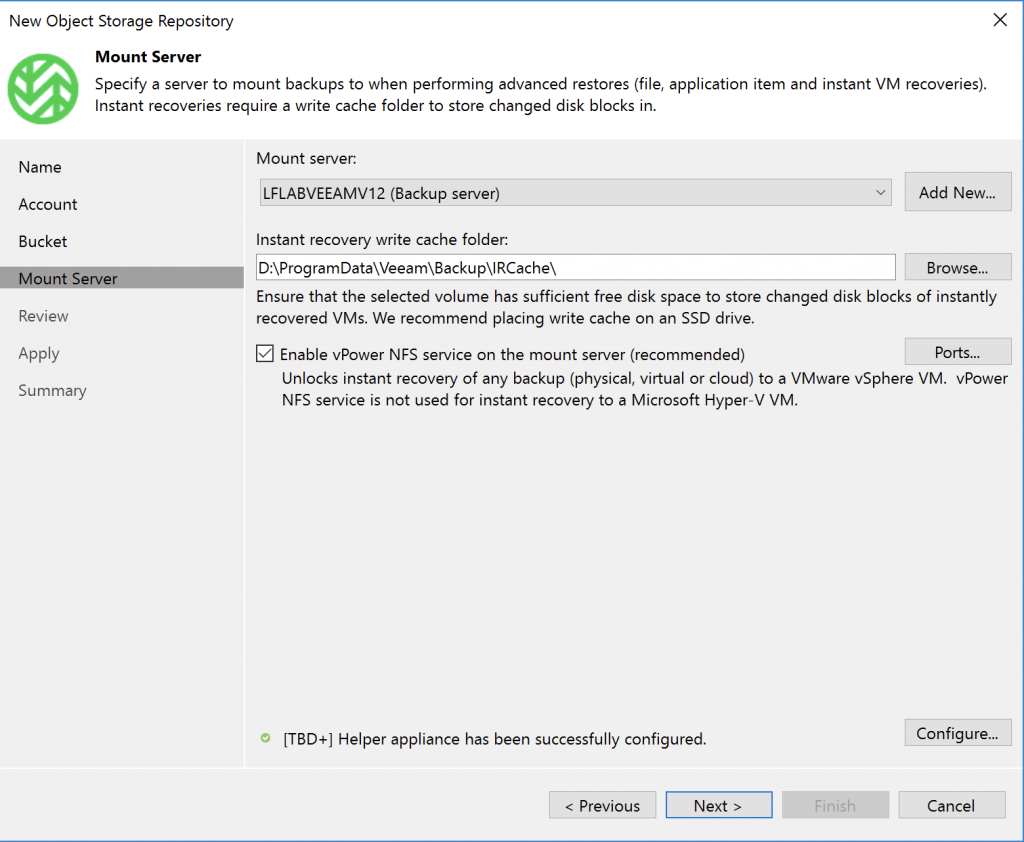
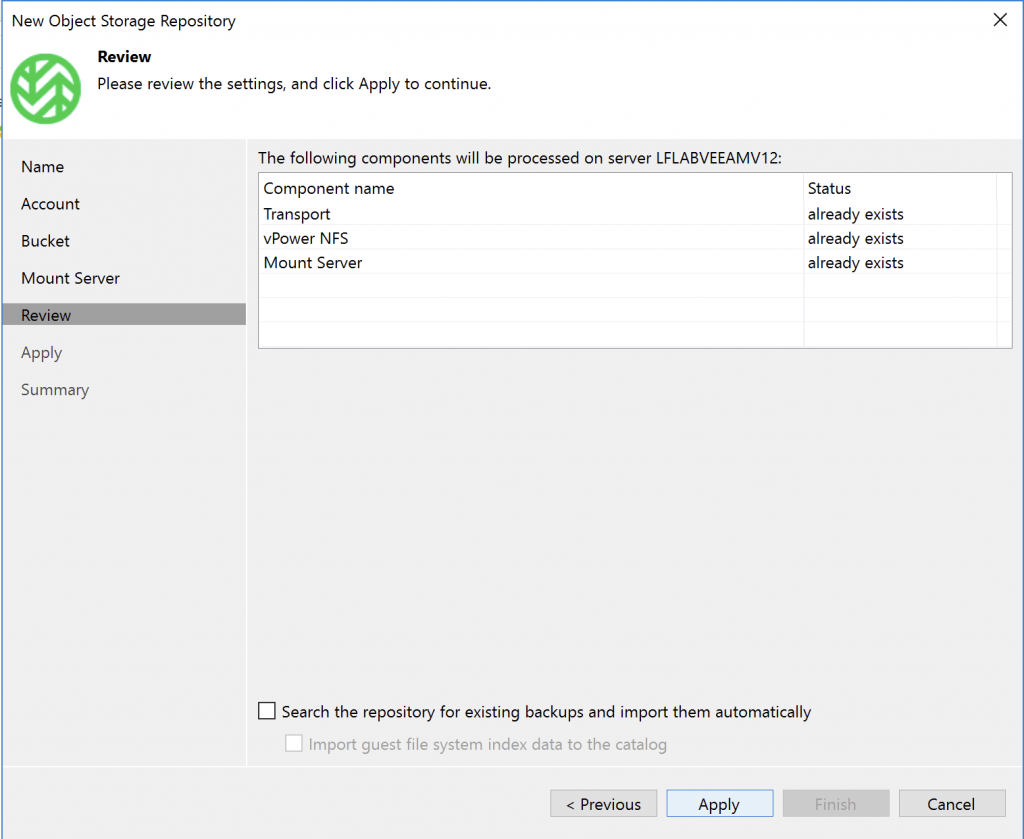
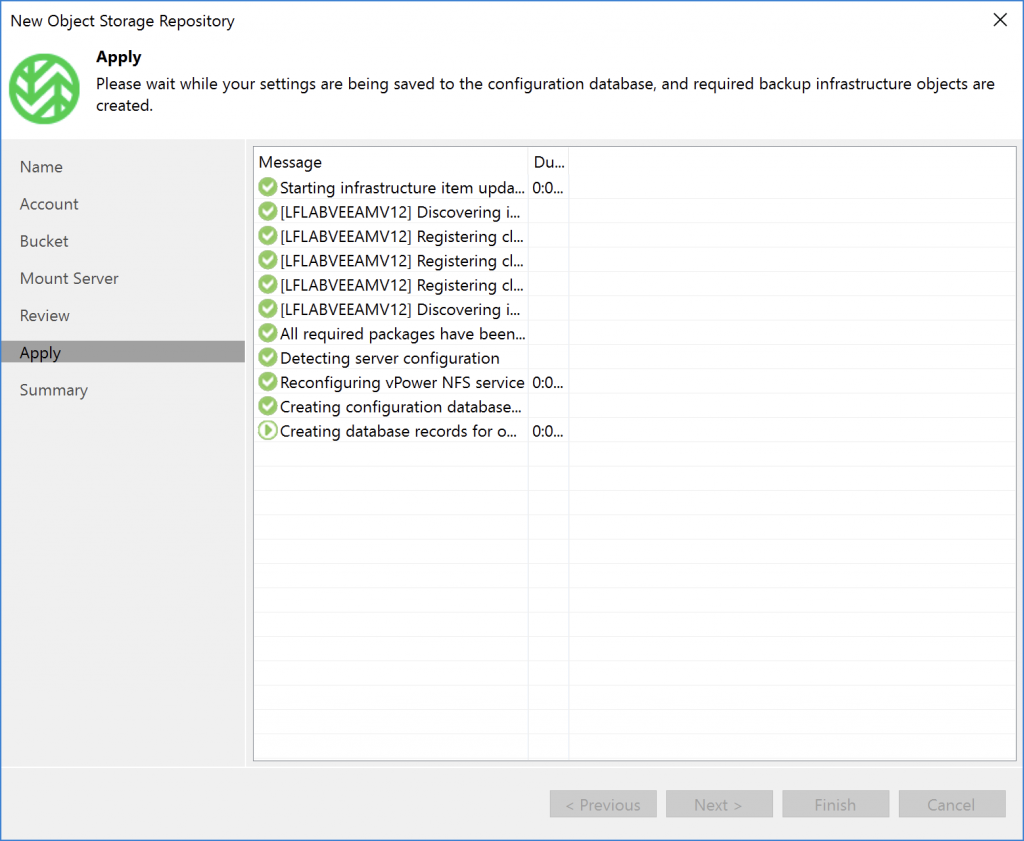
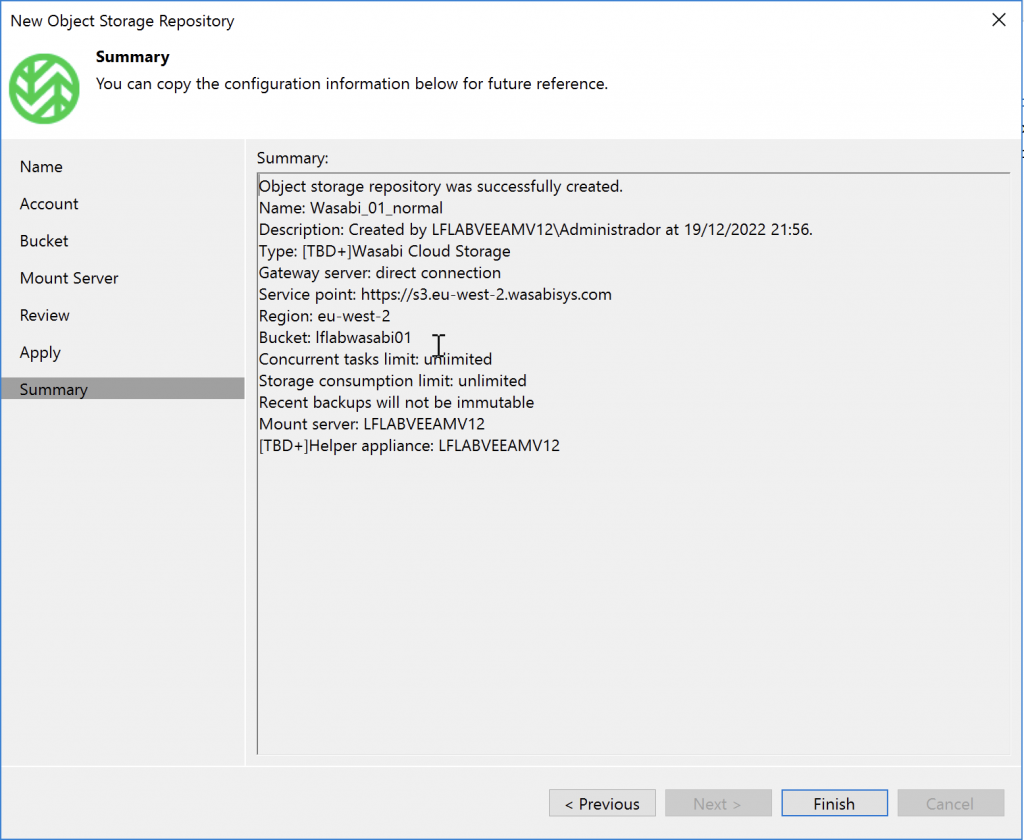
Backup Infrastructure > Backup Repositories > Add RepositoryObject StorageWasabi Cloud StorageGive the repository a name.Select the region where you created the bucket. This is very important! Enter or select your Wasabi credentials.Our buckets appear. Select bucket 01.Create a folder inside the bucket.Remember, this bucket does not have immutability enabled, so we’ll leave it as is.The usual options.Review and apply the configuration.…Done!
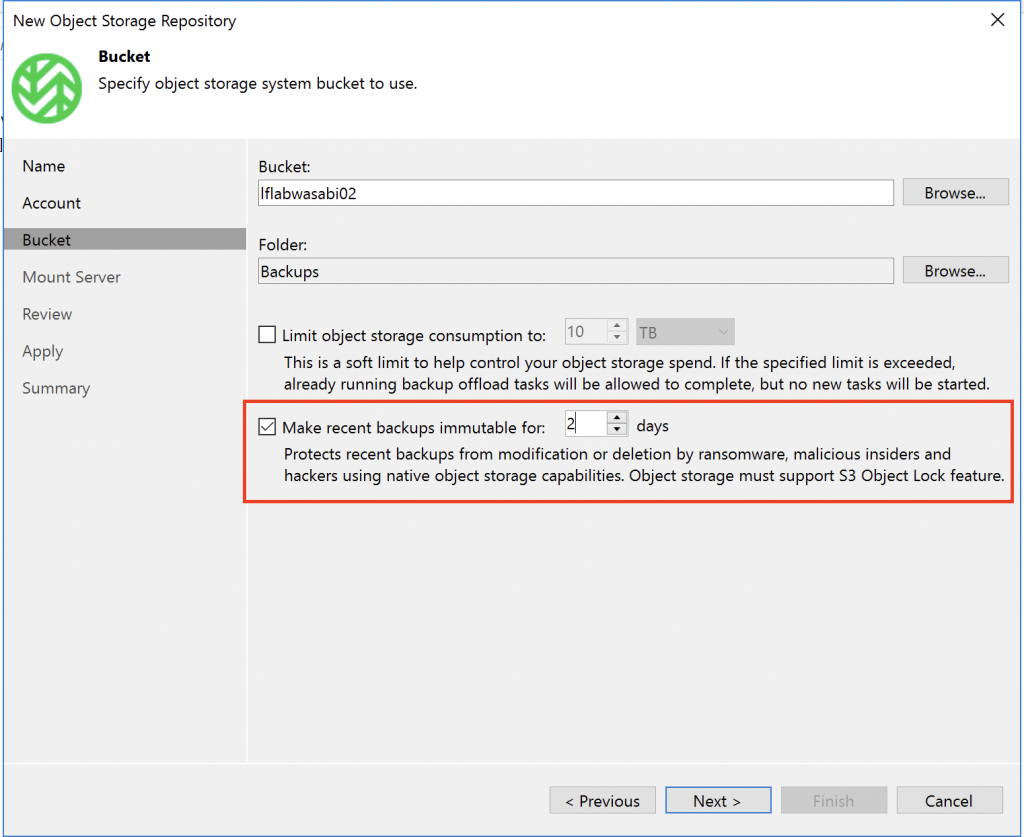
For the immutable bucket, follow the same steps, then enable the option when prompted…