En el panorama actual, el concepto de «backup» ha dejado de ser una simple tarea de mantenimiento para convertirse en la columna vertebral de la continuidad del negocio. Con el lanzamiento de Veeam Backup & Replication v13.1, la compañía no solo ofrece una herramienta para copiar datos, sino una plataforma integral de resiliencia cibernética diseñada para enfrentar las amenazas más sofisticadas del siglo XXI.
Más allá del Backup: La era de la Resiliencia
Durante décadas, el objetivo era el RPO (punto de recuperación) y el RTO (tiempo de recuperación). Hoy, el objetivo es la supervivencia. El ransomware moderno no solo cifra datos; intenta destruir los respaldos para dejar a las empresas sin opciones.
Veeam v13.1 aborda este problema mediante tres pilares fundamentales: Inmutabilidad, Visibilidad e Inteligencia.
1. Inmutabilidad de Datos como Estándar
Una de las grandes novedades y mejoras en la versión 13.1 es el fortalecimiento de la inmutabilidad. Esto significa que, una vez que los datos se escriben en el repositorio, no pueden ser modificados ni eliminados por nadie —ni siquiera por un administrador con privilegios comprometidos—.
Veeam facilita esto a través de:
- Object Lock en almacenamiento en la nube (S3, Azure Blob).
- Hardened Repositories basados en Linux, que protegen los datos contra ataques internos y externos.
- Air-gapping lógico, permitiendo aislar copias críticas de la red principal de forma automática.
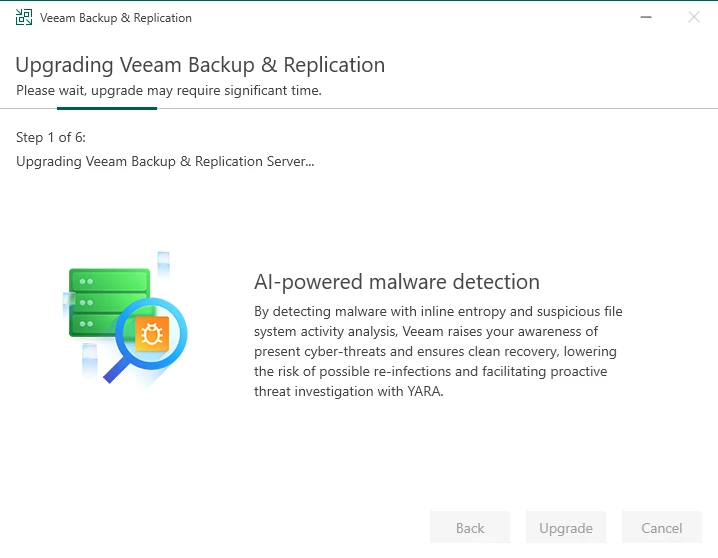
2. Integración de Inteligencia Artificial (AI)
La versión 13.1 profundiza en la integración de analíticas avanzadas. La IA no viene a reemplazar al administrador, sino a darle «superpoderes». La plataforma puede ayudar a:
- Detectar anomalías: Identificar patrones de cifrado inusuales o comportamientos sospechosos en los datos antes de que el ataque se propague.
- Optimización de almacenamiento: Sugerir políticas de retención y deduplicación más eficientes para reducir costes en la nube.
- Simplificación de la recuperación: Guiar al usuario a través de procesos complejos de recuperación ante desastres mediante asistentes inteligentes.
3. Gestión Multi-Cloud y Híbrida unificada
Las empresas ya no viven en un solo lugar. Tienen servidores locales, máquinas virtuales en VMware, contenedores en Kubernetes y cargas de trabajo en AWS, Azure o Google Cloud.
Veeam v13.1 ofrece una experiencia de «Single Pane of Glass» (un solo panel de control). Esto permite gestionar toda la infraestructura desde una consola única, garantizando que las políticas de seguridad sean consistentes, ya sea que los datos residan en el sótano de la empresa o en un centro de datos en otro continente.
Rendimiento y Eficiencia Operativa
Para el equipo de IT, la eficiencia es clave. La versión 13.1 introduce mejoras significativas en el rendimiento de la ingesta de datos y en la velocidad de restauración. Con la capacidad de manejar volúmenes de datos masivos (Petabytes) de manera fluida, Veeam permite que las empresas ejecuten planes de recuperación ante desastres (DRP) mucho más rápidos, minimizando el tiempo de inactividad que puede costar millones en pérdidas económicas.
Conclusión: Una inversión en tranquilidad
Veeam Backup & Replication v13.1 no es solo una actualización de software; es una respuesta evolutiva a un mundo digital hostil. Al combinar la robustez de la inmutabilidad con la agilidad del multi-cloud y la potencia de la IA, Veeam permite que las organizaciones dejen de preocuparse por el «si» de un ataque y se concentren en el «cómo» de su crecimiento.
En última instancia, la versión 13.1 reafirma una verdad fundamental: en la era digital, la disponibilidad de los datos es la disponibilidad del negocio.
Puntos clave para recordar:
- Protección contra Ransomware: Fuerte enfoque en inmutabilidad y detección de anomalías.
- Flexibilidad: Soporte nativo para entornos híbridos y multi-cloud.
- Simplicidad: Consola unificada para reducir la carga de trabajo del personal de IT.
- Escalabilidad: Preparado para las demandas de almacenamiento masivo actual.