I then wrote it to a USB Thumb drive to boot and Install, I use a Mac, so I did it with BalenaEtcher.
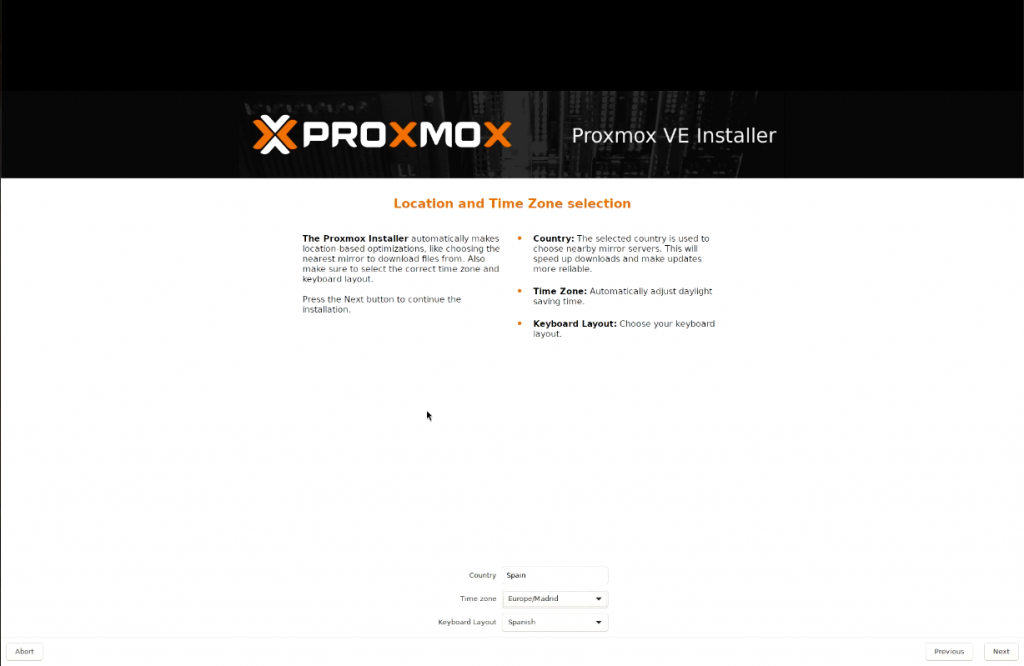
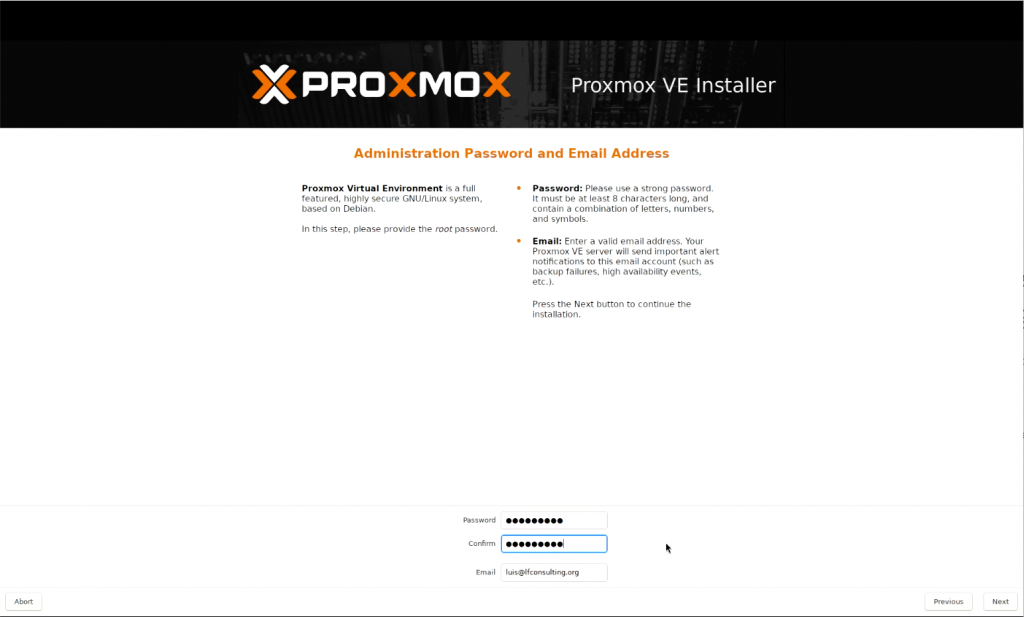
Now, I will post a few screenshots of the installation process.
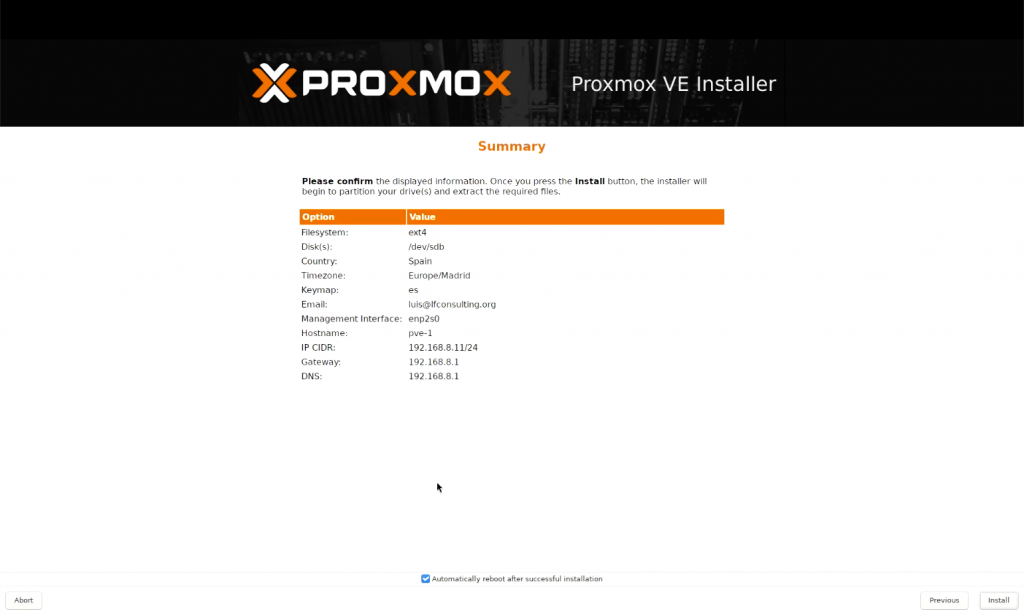
I did the same steps on the three nodes, just changing the managing IP address and hostname, the rest, the same:
Here, IP Adress and hostname!!the other two hosts look the same, different IP address and hostname.
The OS installation is super simple, Now, in the next entry, we will get into details with the console, initial configurations and shared CEPH storage.
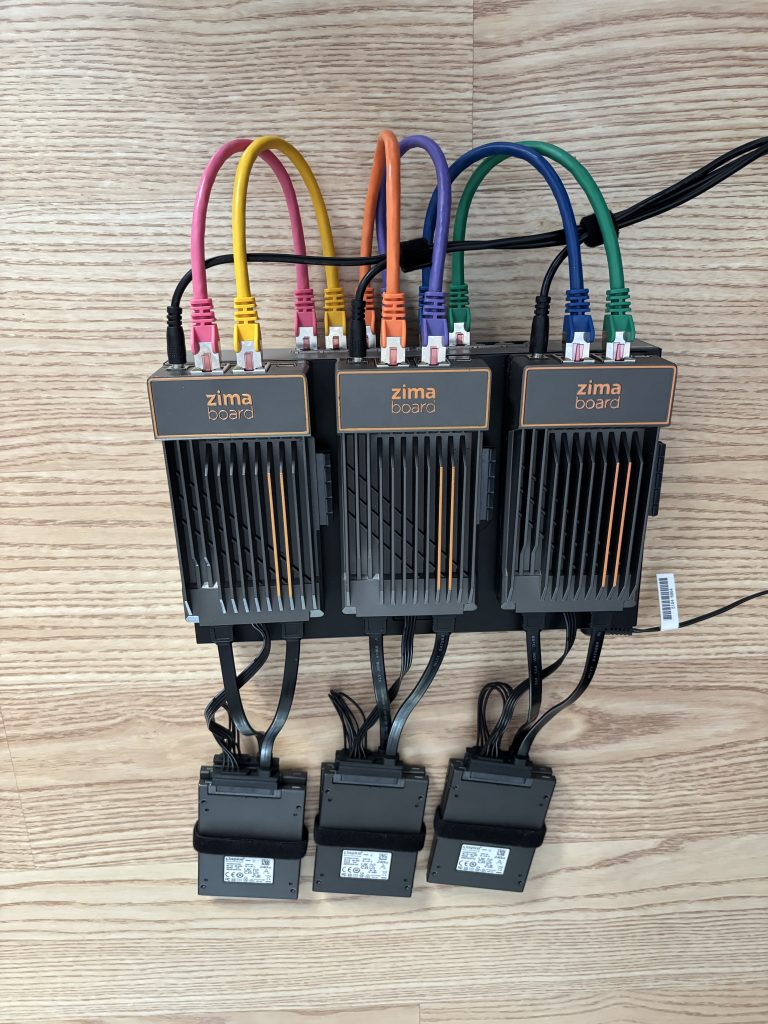
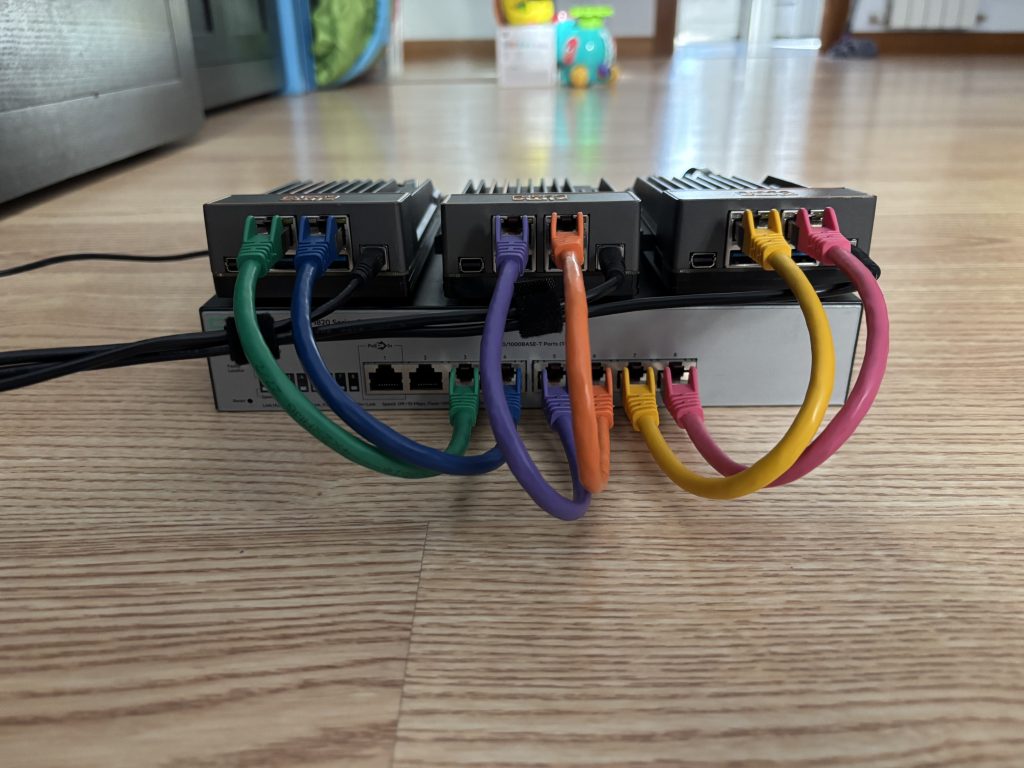
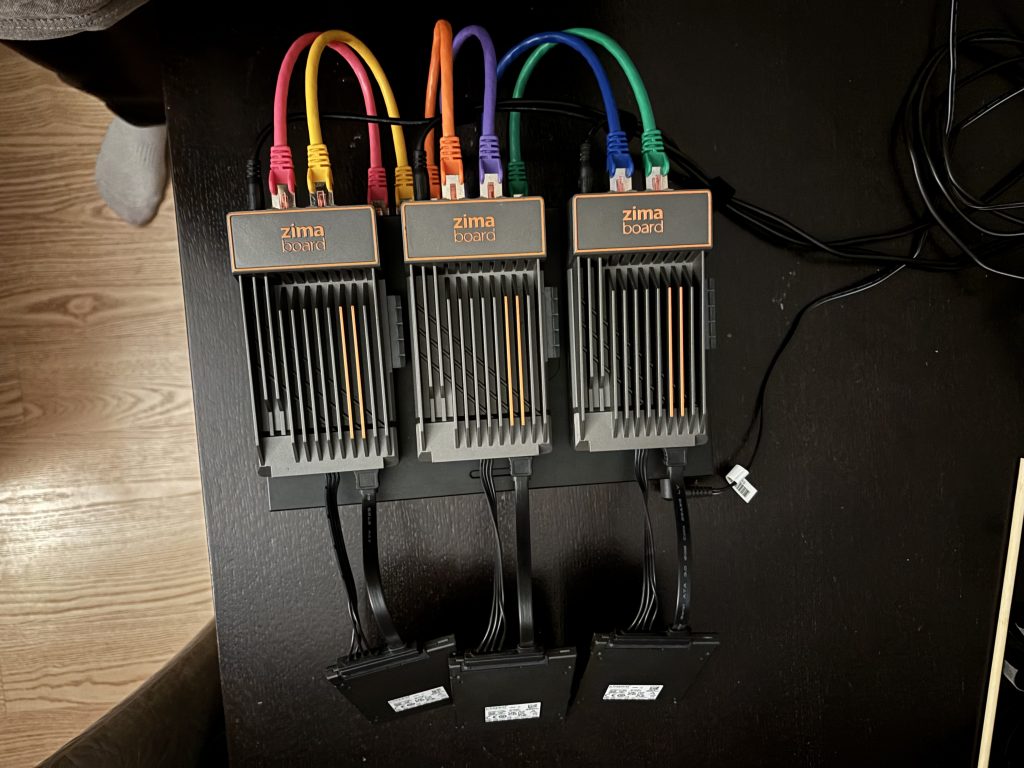
Hi there: After months of thinking, I took the step to switch my lab to Proxmox, I’ve been a Vmware «guy» for many years, but I knew the time came to give it a try, after many companies switching to it.
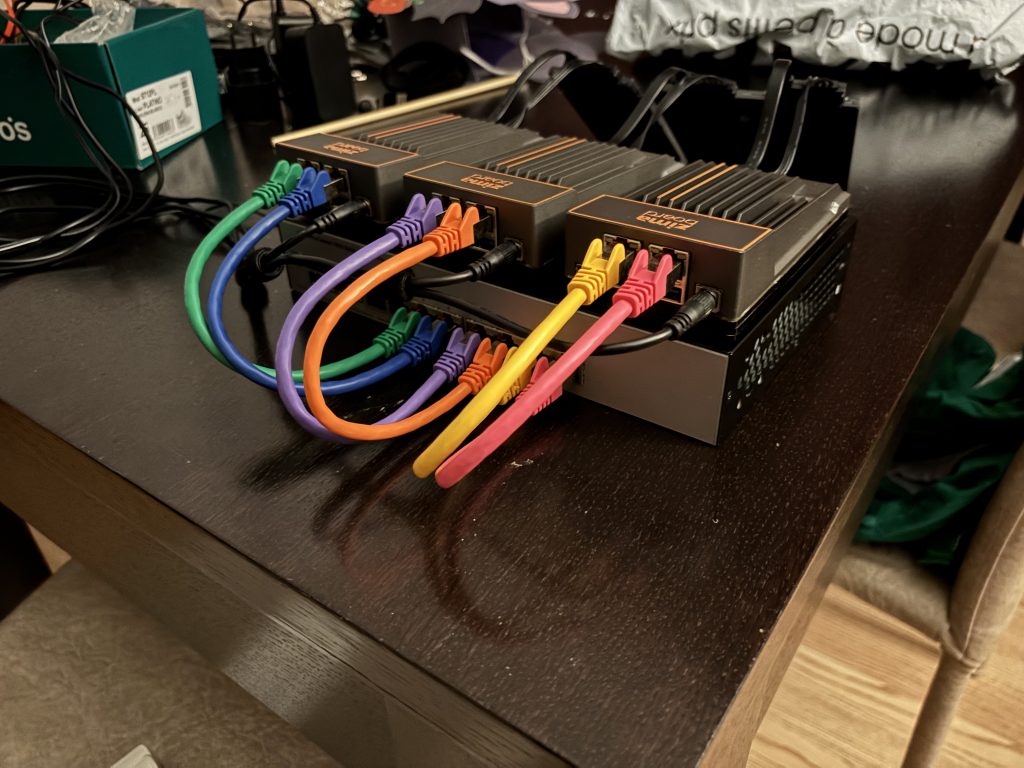
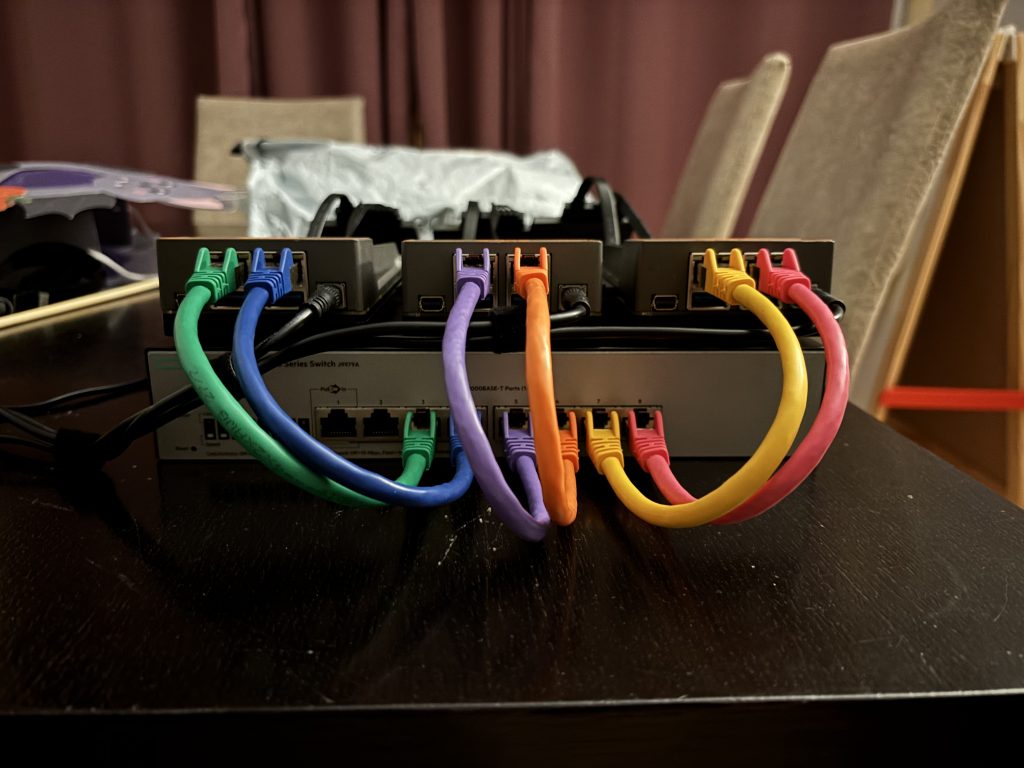
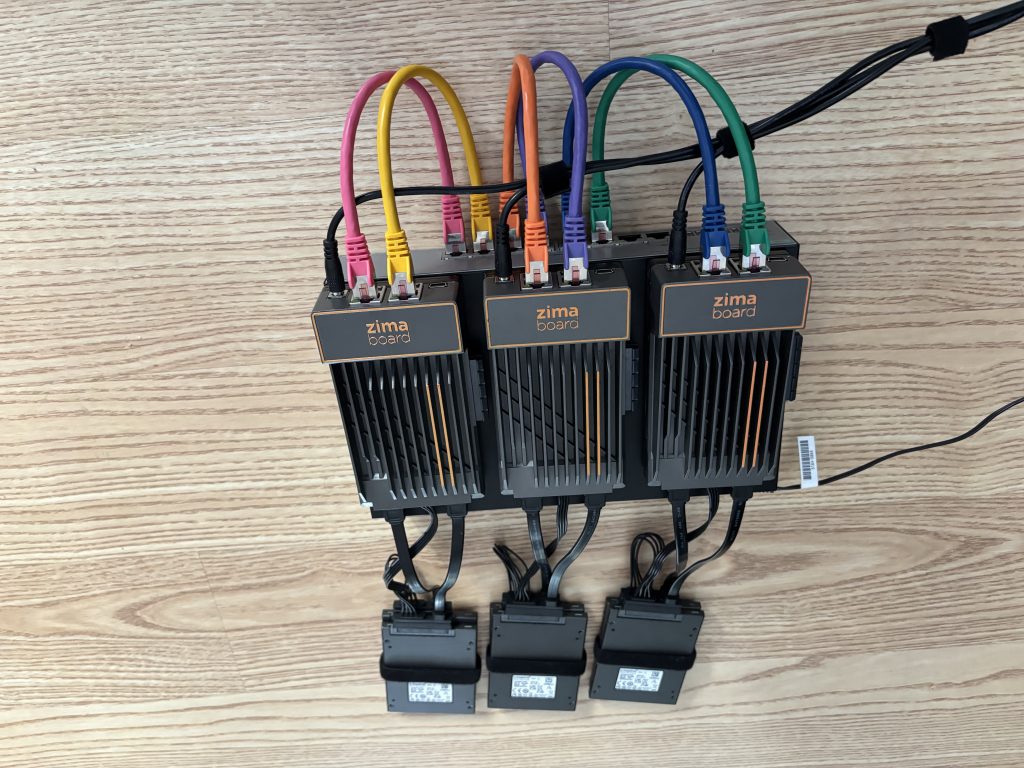
I decided to re-use the hardware I had from previous projects, to see the capabilities and «how tiny» the setup could be.
Hi there Today, I want to share with you all a technology/partner that caught my eye at VeeamOn 2025 in San Diego, CA.
Have you ever wondered how to «enforce» or «protect» your Veeam Windows Setup, with local / presented Storage, without modifying or adding Appliances/devices to your Infrastructure?
Here is where Blocky comes into Play.
The Only Ransomware Protection That Runs on the Veeam Windows Server.
Blocky installs and runs directly on Windows-based Veeam Backup & Replication (VBR) servers—securing backup jobs at the source without requiring added hardware, Linux, or infrastructure changes. Blocky hardens the Windows VBR against ransomware threats by transforming the ReFS and NTFS volumes into a zero-trust, Write Once Read Many (WORM) volume. This creates robust ransomware protection for Veeam backup volumes without disrupting operations.
Another important aspect is that the learning curve is relatively easy to learn/manage. No extra Hardware/tech needed, and no modifications (or big mods) on your existing setup.
Key Capabilities
WORM Shield – Ensures data protection on ReFS and NTFS volumes to prevent ransomware from altering backups
Zero Trust Architecture – Only explicitly authorized processes can interact with protected backup data
Disk Protection – Prevents physical disk tampering—adding protection beneath the file system layer
Real-Time Alerting – Detects and records access attempts, supporting incident response
Centralized Control – Enables uniform protection policies across multi-site or distributed environments
How Blocky Works
When installed, Blocky:
Transforms standard NTFS and ReFS volumes into hardened WORM volumes
Creates a zero-trust environment where only authorized Veeam processes can modify data
Stops all unauthorized access for write, delete, and encryption to the backup volumes
Provides real-time detection and alerts for unauthorized access attempts
Delivers disk-level protection to prevent physical tampering with storage media
Enables centralized policy control for unified security across multiple locations
I see Blocky as super useful in many different scenarios, What quickly comes to my mind, SMBs without deep IT Skills, or no Linux Skills, Windows fully dependent setups, and of course, companies looking to enforce their local backup volumes, as an extra layer of security.
Stay tuned, next entry, Installation and first look into the Blocky console.
I was updating my Lab, and came to this little issue I would like to share with y’all.
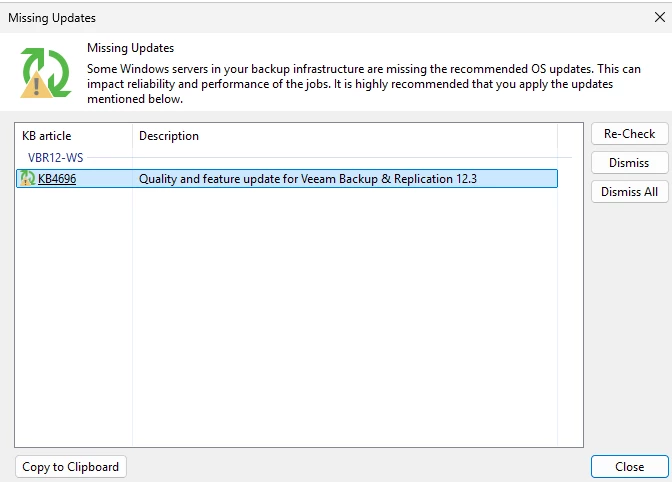
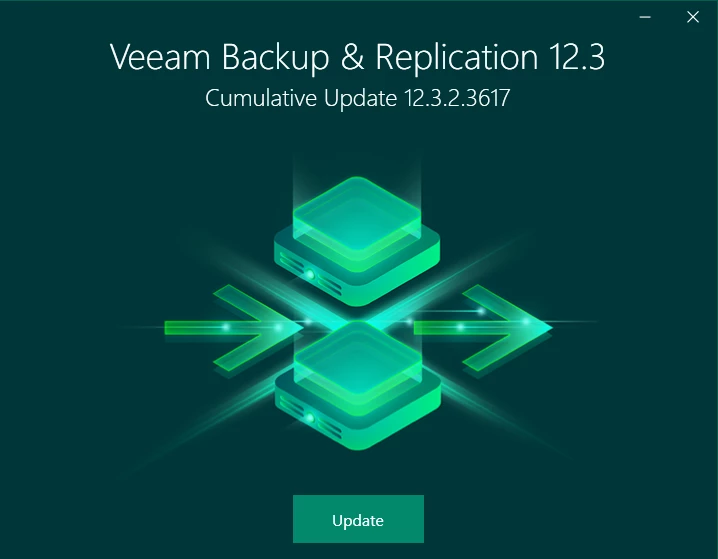
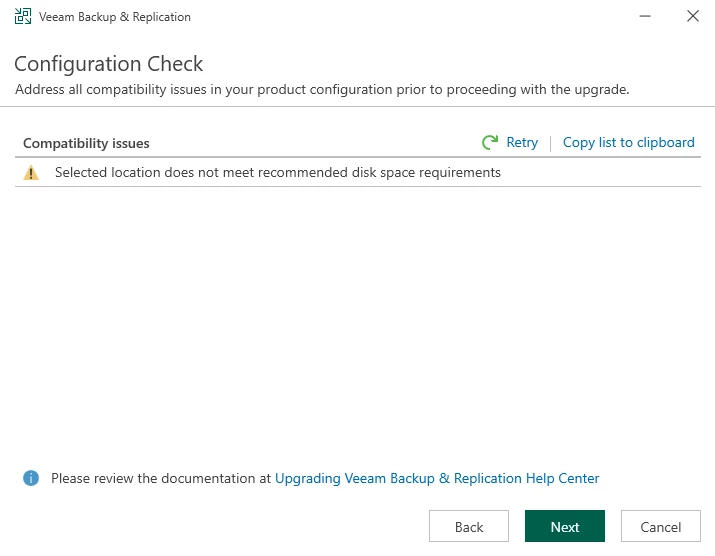
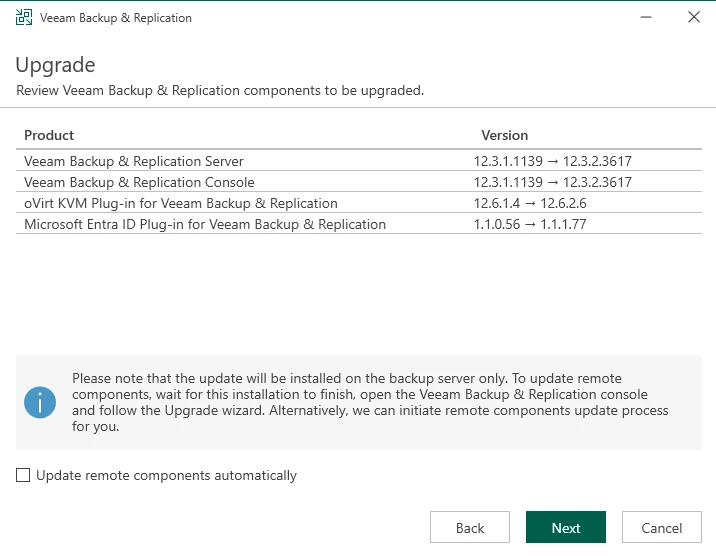
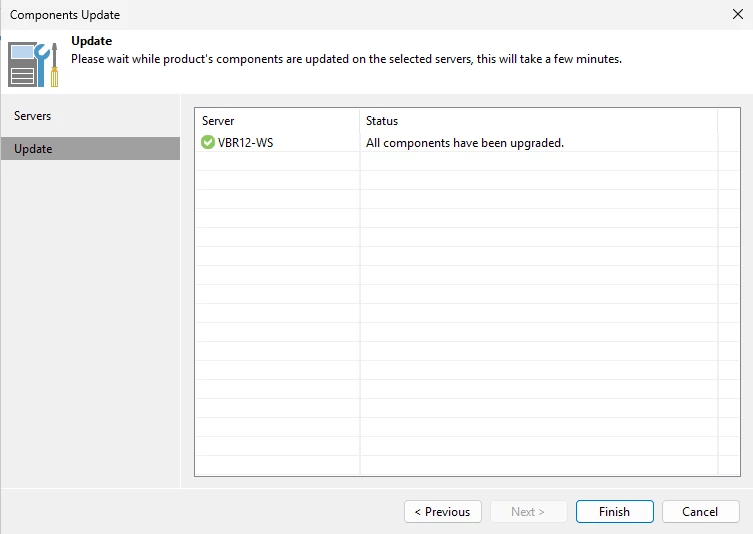
I was applying the patch for KB4696 to ensure my 12.3 was fully patched, but then I noticed my free space on the C drive was insufficient. First thought: easy… let’s enlarge the drive (it’s virtual), increase it, and continue… The recovery partition didn’t allow me to do so.
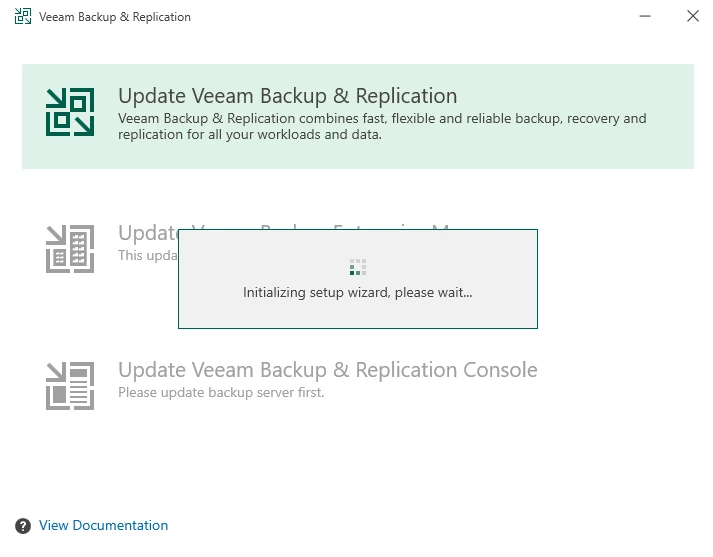
Find below the screenshot of the patch installation + steps for being able to extend your drive in case you also need to.
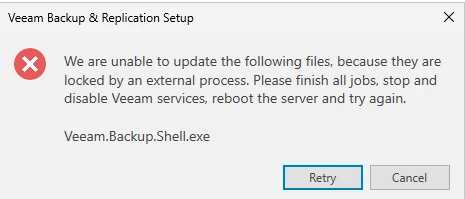
First error, close your VBR Console before continuing… (Palmface)
Oh boy, here is…
Let’s fix this issue to be able to deploy the patch, As you can imagine, we will shut down the VM, reboot, and then relaunch the install and continue.
Here’s a breakdown of the methods: Using Disk Management and Diskpart (Requires disabling and potentially deleting the recovery partition): Disable the Recovery Partition: Open an elevated command prompt and run reagentc /disable. This moves the recovery partition’s functionality into a file (Winre.wim). Delete the Recovery Partition: Use diskpart to select the disk, list partitions, select the recovery partition, and then delete it with delete partition override. Extend the C Drive: In Disk Management, right-click the C drive and select «Extend Volume». Follow the wizard to merge the now-unallocated space. Recreate the Recovery Partition: If you want the recovery partition back, you’ll need to create a new partition, format it, and then re-enable WinRE using reagentc /enable.
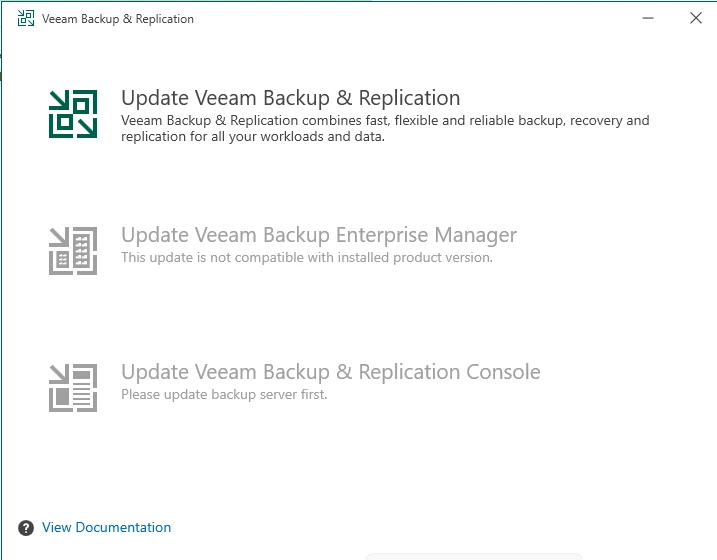
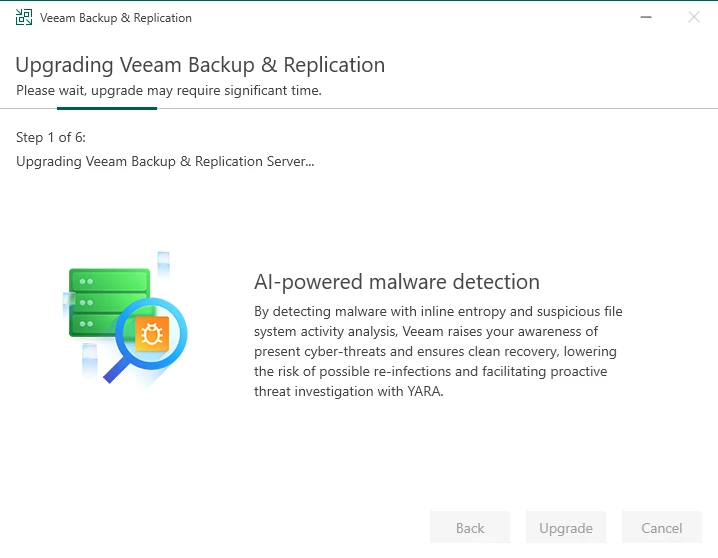
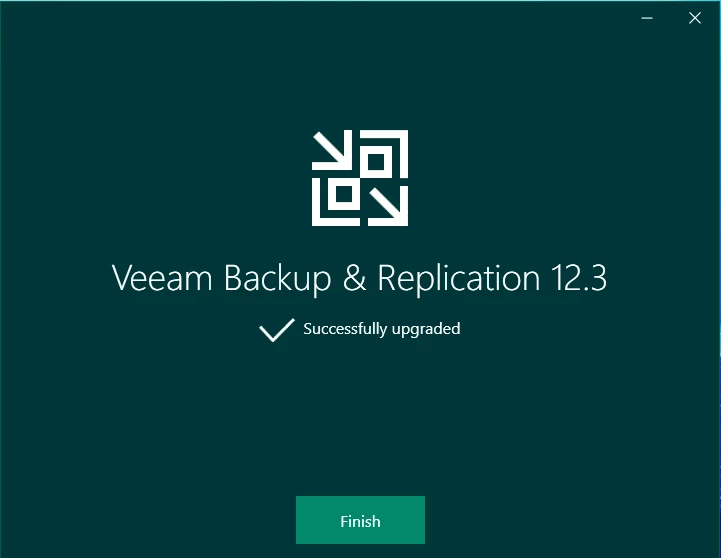
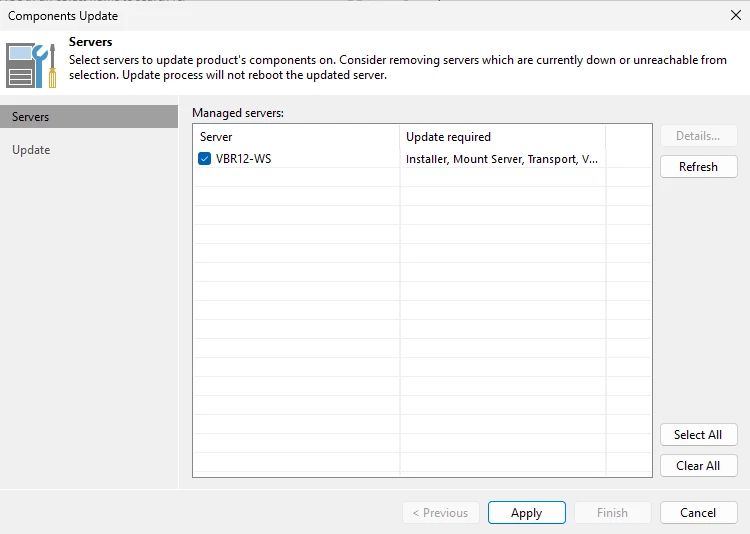
Now, let’s continue with our patching… I reboot the VM and restart the process. Here are the following steps.
In our previous post, we installed the Nutanix CE in our Supermicro E300-9D server, Now, is time to config initial aspects, to then continue running and setting up our Server.
This is how it looks right now:
Now, we are going to go to settings, top left menu, click and select Settings
Here, on the left, we can see all settings, lets navigate through them and configure some important aspects as shown on the screenshots:
I added the following details to my cluster:
We already know that the CVM is the Controller VM with takes care of all aspects of our Cluster, Storage, Compression, Dedup… etc. From here, we can choose the memory size of our CVM, for now, 20GB to keep it «light» for the lab
PulseNTPemail alerting and digest
These were the «common» settings I normally touch / check the very beginning, now, lets jump into something super important, Inventory. This means, looking for cluster updates, software, AHV, firmwares, drivers, etc. Easy to use, Simple run an Inventory, if detects anything to be updated, follow the wizard….
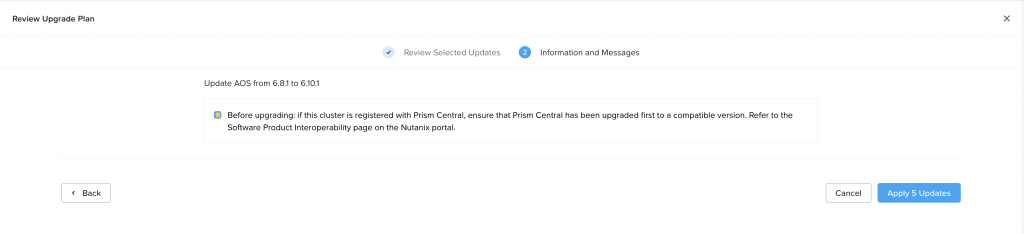
We go to the menu top left, LCM, Perform Inventory, follow the screenshots for more info:
Performing InventoryInventory done, lets check what is contains We goto Updates menu, Software, and select the software we would like to updateNextWarning before updatingwow, an error, lets check it out….OK, is telling to us to perform an NCC Update, then check, and continue with the updates, so in this particular case, we select only NCC; and proceed with the update. After the update, we come back to the LCM Menu, Pre-Upgrade check, NCC check.Now that this is done, we run a new inventory, and continue the process as described before, selecting the things to be updated, and running the shown update plan.Boom! everything has been updated successfully, without any stress or complicated procedures.This is how our main console looks after the update.
As you saw, there was an «error» in the update, Just simple as a pre requirement to continue with the rest. The menu is super user-friendly, well explained, and just with a few click, you can have your cluster updated and up and running, with no stress, no complex commands or consoles, etc.
Ah, one more thing, if you want to see your cluster status from the SSH console, simply login to the CVM, and run this command:
cluster status
We are almost there to start creating our first vm
After some time trying and playing around with the Nutanix CE in Nested mode in my lab, I finally put my hands into a little monster able to handle a Single Node Cluster, My Supermicro E300-9D!
Im going to show you the process of Installation, cluster (Single node) creation, in future posts, we will continue seeing new stuff, step by step.
Let’s get started:
First of all, as we already know, lets download the Nutanix CE from the community portal, to do so, you must be registered, and after installation, you will need your restoration to make it work properly.
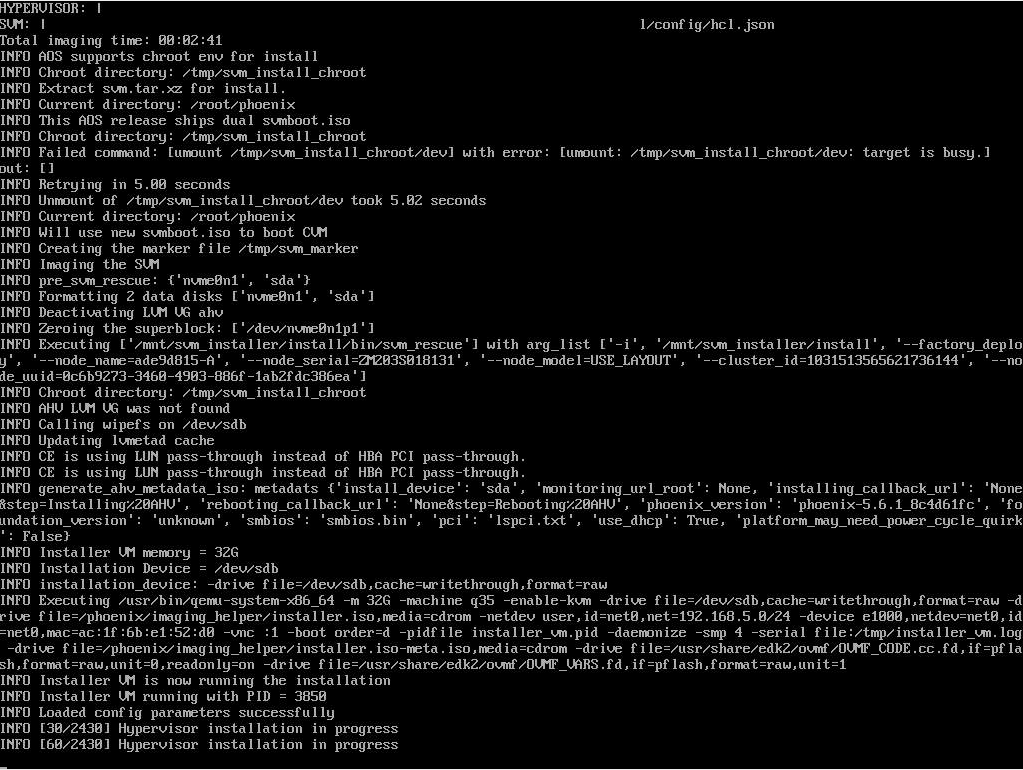
after downloading the CE ISO, lets boot from the ISO and get started…
Server SpecsBoot from USBNutanix CE BootBooting, loading the necessary filesNow is time to add some data, I havee 3 disks, Boot, CVM and Data, choose the ones you would like to use, and then, configure the IP Details as shown, You need 1 IP for the AHV Host, One for the CVM, gateway and subnet mask.EULA….Installation processafter few minutes, done! Now, is time to remove the boot media, answer with a Y, and continue…
Now, after the first boot of the server, we are going to ssh to the AHV host, with the IP we setup earlier username: root password: nutanix/4u
then, from the AHV host, we are going to ssh to the CVM to the IP we also setup earlier, in this case username: nutanix password: nutanix/4u
Now, we are into the CVM via ssh, its time to create the Cluster, in this case, Single node cluster the command I used is the following:
Cluster creation process startedCluster created successfully!!
Now, the cluster has been created successfully, lets see the server console.
Now, lets connect to the web UI to continue working on our new cluster
to connect, we will use the CVM IP Address and the port 9440
Default username: admin Default password: nutanix/4uNow, is time to change the admin password And loginHere is an important step, we need to provide our Nutanix Community credentials, as we created them before to download the ISO, if you don’t have any, its time to create an account, 😉
Done!
Here is our beautiful WebUI of our Nutanix CE Single Node Cluster!!
I hope you like it,
this setup is in a physical server, Supermicro E300-9D, 128GB RAM, 3 SSD disks.
Now, Object First has launched a new release of OOTBI, 1.6.63.10886
These are the new features described in the release:
The update process, as shown before, is super straightforward and allows you to update and reboot your cluster in a few clicks without any stress or «fancy» steps, guides, or troubleshooting.
The feature I was looking forward to getting, and finally is here, is the user’s roles, I’m super excited about these:
we will continue testing the new features, and describe them in the future.
Now, is time to update our cluster, One of the most important reasons to implement OOTBI, is the ability to get updates, improvements and upgrades straight away, keeping yourself in the important task of protecting the Infrastructure and data, Object First has you covered with the Tech and Updates.
Let’s follow up the process witha few screenshots and thoughts:
When it’s time for an update, our console will tell us, also, at any time, we can check it in the settings menu as well.
Let’s login to our web GUI, and check the events and alerts, as you can see, the system is telling us that an update is available:
We go to the menu under settings. Cluster Update and the system checks for the latest updates
The Update cluster button becomes purple, and you can see the available update, let’s hit the button and proceed
IMPORTANT!
Let’s Install!
And done! Now our cluster is up to date!
I hope you like it
as you can see, the process is super simple and straight forward, and this is the main pilars of this technology, easy to use and maintain.
We will add an extra node to the «Single Node Cluster» to become a multi-node one.
The steps are straightforward, let’s see them via screenshots with comments:
First of all, we need to deploy the OOTBI VSA which will be added to the cluster, follow the guide from the previous entry, ending after the deployment (don’t create the Cluster again).
Select the Option Join To ClusterConfigure your NICThe VSA will check for updatesUpdates found, let´s update itupdating… After the update, you will be pushed to the initial menu, go over it again, and the data (NIC config) will remain, just go forward and continueNTP / NTSOK, now, add your OOTBI CLUSTER IP ADDRESS, The one we used/created in the previous entry, and the objectfirst user password we created.BOOM! Node Added to the clusterNow you see the first two options blurry, and the cluster endpoint IP Address (Bottom left) is the same as the previous cluster.There we have it, 2 NODES, 2TB FREENodes View
IMPORTANT
Now, that our Cluster setup is done, we need to update the information in our VBR to get the space and the cluster working fine. In the picture below you can see that the S3 bucket from the cluster remains at 1TB.
If we do the rescan repository it will give us an error like so.
Please Right click into the Repo, and re-run the setup wizard, next, next, finish.
The thing that will happen is that, when extending the cluster, the certificate has changed, so now the VBR needs to grab it again from our OOTBI Cluster to work properly.
Running and ending the setup (properties) wizard again to update the certificate
Boom! As you can see, after the re-config, the VBR sees 2TB of Storage, so the cluster has been updated!
Following the guide, I will add one more node, so we will have a 3TB Cluster! Follow the same steps from before, and now, we will see the 3 Nodes and the 3TB storage!
IMPORTANT Once again, run the setup (properties) wizard for the Repo once again to get the certificate updated!
In the picture, you can see the wizard updating the cert and the bucket now shows 3TB Free instead of 2TB.
I want to share with you all my initial setup of a small Lab for the Veeam Data Platform which is installing VBR + VONE + Recovery Orchestrator.
In my case, I don’t have too many resources, so, for lab proposes, all three roles will be deployed in the same machine
The wizard takes care of installing the tools, just asking you the necessary things to get it done.
As you will see, installing the Orchestrator, includes the VBR and VONE.
If you haven’t downloaded the Veeam data platform, please do… This is the virtual specs for the VM where VDP is installed on my lab:
Let’s follow up on the screenshots and the comments on the installation.
Here ends the installation.
Now, let’s take a look into the consoles, with very high level / initial configuration:
VBR – We already know how it looks, Showing you adding a Job from a Hyper-V VM. Initial setup with Backup config, etc…
Veeam One
Recovery Orchestrator Web
Lets add our VBR server, so Veeam One can start collecting info from it, also, lets add from our infra our Hypervisors, to get more details and monitoring.
In the next entry, we will add an ESXI host to the Recovery Orchestrator and start setting up a recovery plan (a super simple, lab test).