
In our previous post, we installed the Nutanix CE in our Supermicro E300-9D server,
Now, is time to config initial aspects, to then continue running and setting up our Server.
This is how it looks right now:

Now, we are going to go to settings, top left menu, click and select Settings

Here, on the left, we can see all settings, lets navigate through them and configure some important aspects as shown on the screenshots:

I added the following details to my cluster:


We already know that the CVM is the Controller VM with takes care of all aspects of our Cluster, Storage, Compression, Dedup… etc.
From here, we can choose the memory size of our CVM, for now, 20GB to keep it «light» for the lab


These were the «common» settings I normally touch / check the very beginning, now, lets jump into something super important, Inventory.
This means, looking for cluster updates, software, AHV, firmwares, drivers, etc.
Easy to use, Simple run an Inventory, if detects anything to be updated, follow the wizard….
We go to the menu top left, LCM, Perform Inventory,
follow the screenshots for more info:


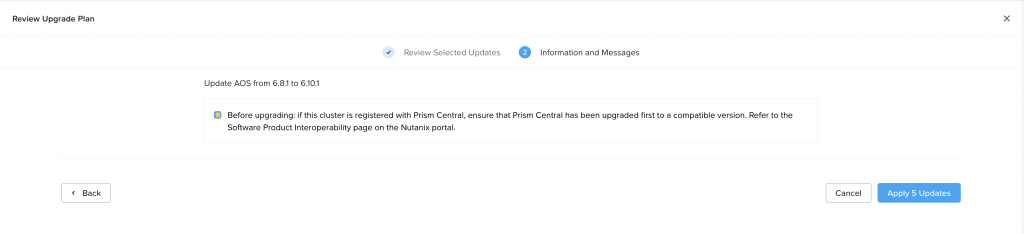


After the update, we come back to the LCM Menu, Pre-Upgrade check, NCC check.


As you saw, there was an «error» in the update,
Just simple as a pre requirement to continue with the rest.
The menu is super user-friendly, well explained, and just with a few click, you can have your cluster updated and up and running, with no stress, no complex commands or consoles, etc.
Ah, one more thing, if you want to see your cluster status from the SSH console, simply login to the CVM, and run this command:
cluster status

We are almost there to start creating our first vm
see you in the next one.