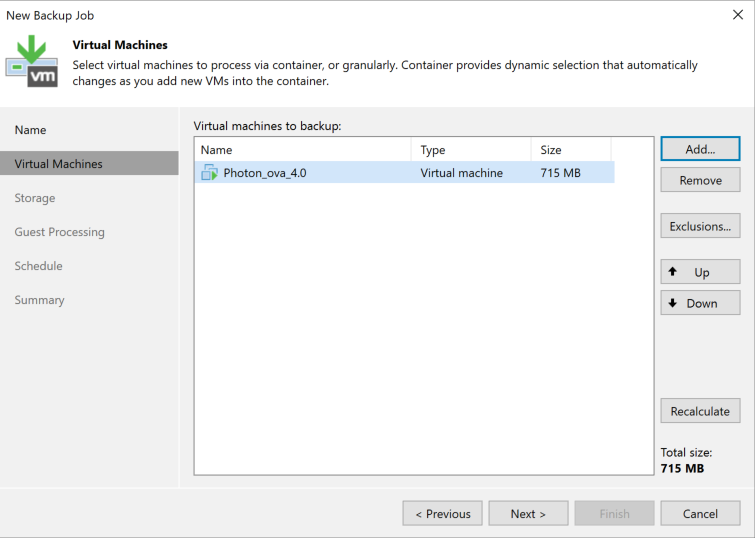
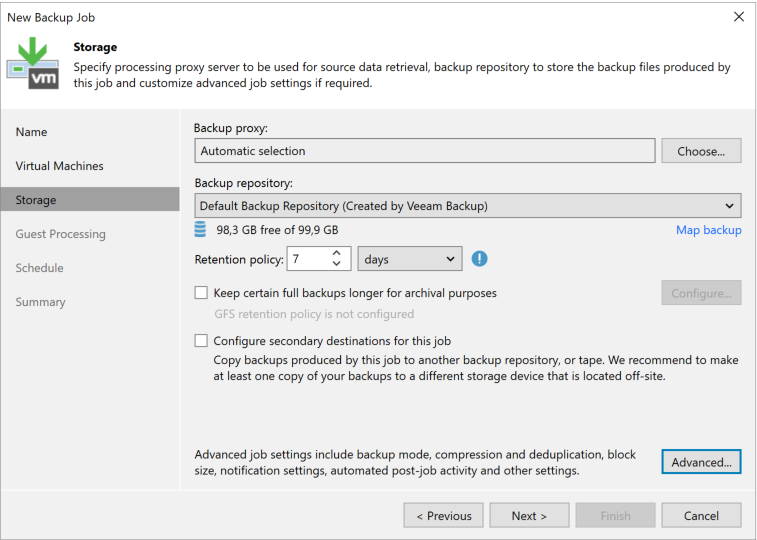
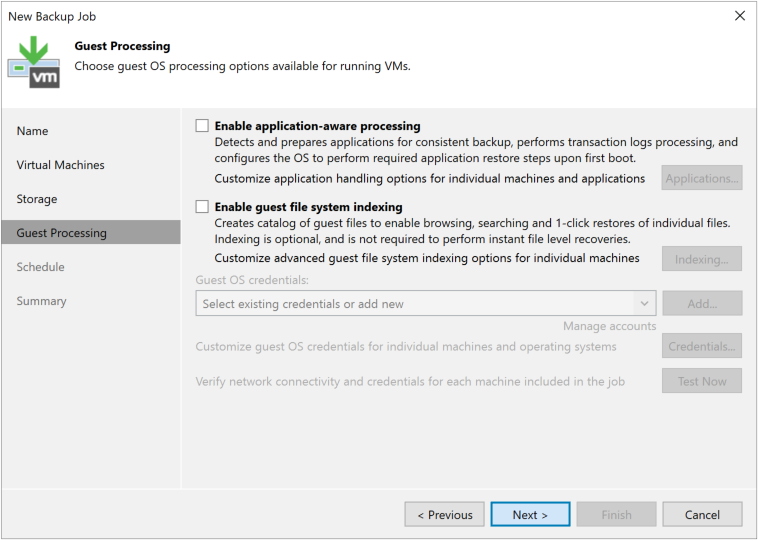
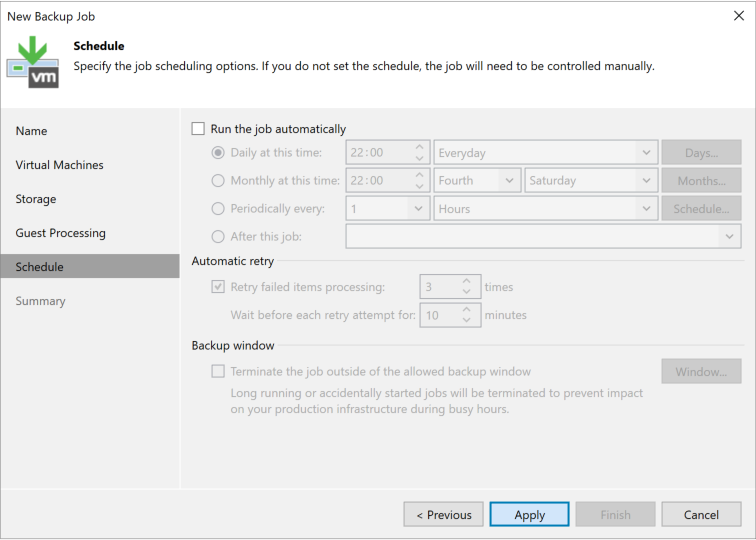
We’ll use screenshots to create our first backup job for a virtual machine, and then continue exploring.
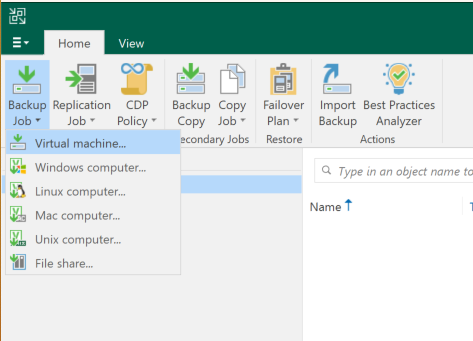
Open the Veeam console home screen and go to Backup Job > Virtual machine (since we’ve already added the ESXi server).
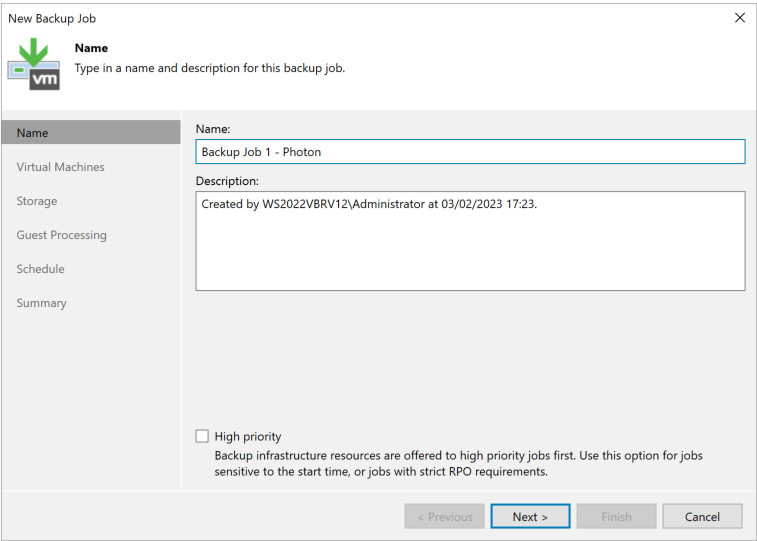
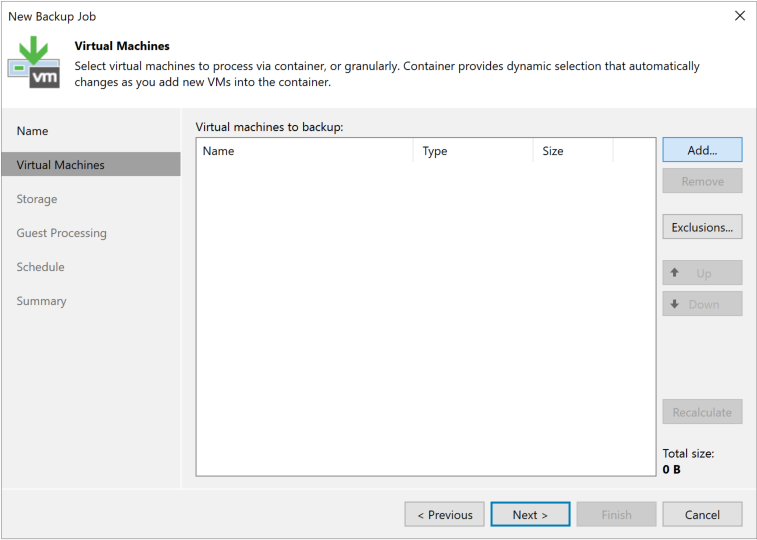
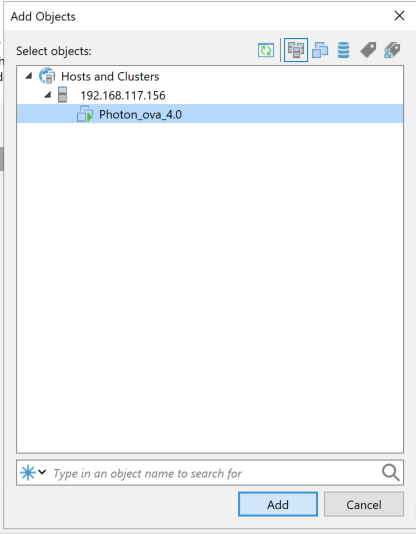
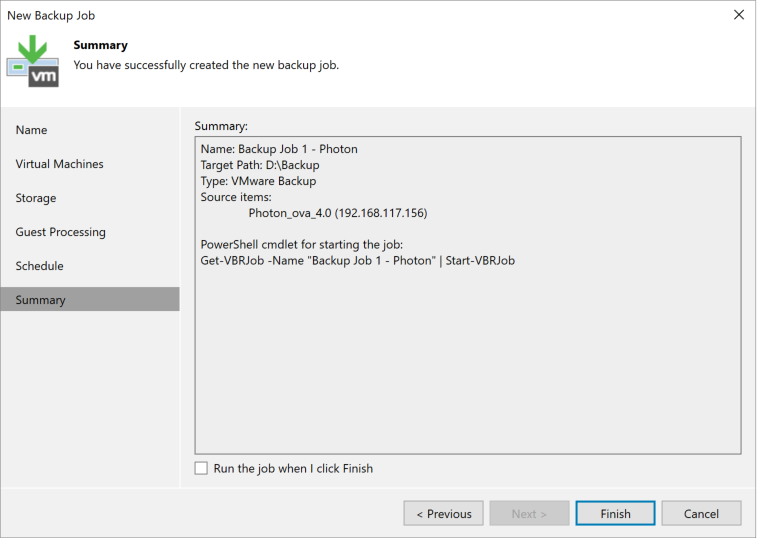
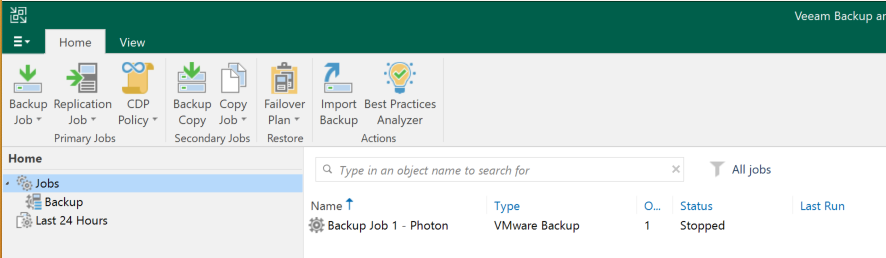
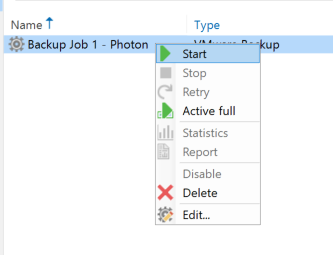
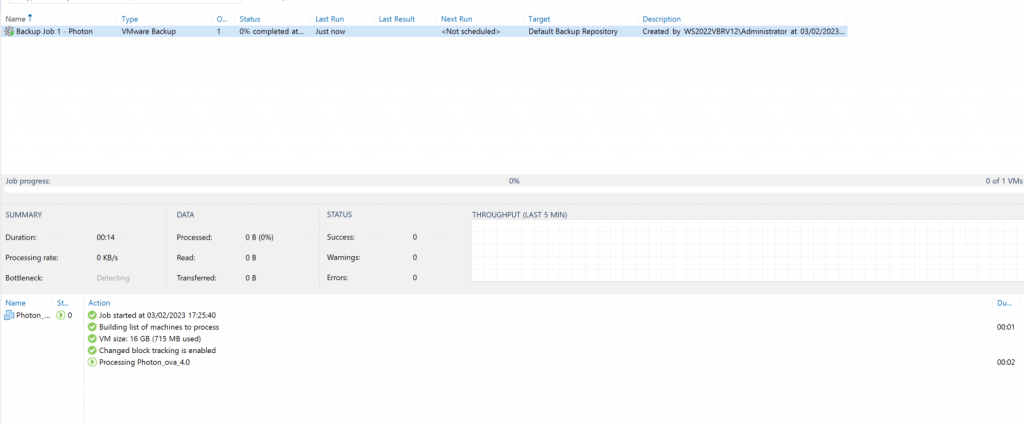
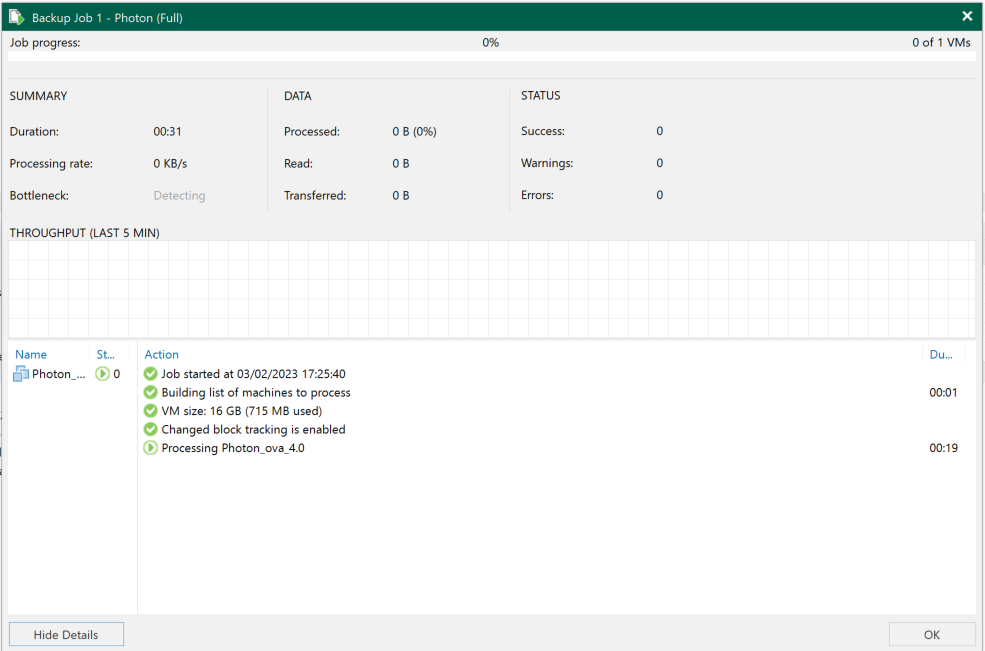
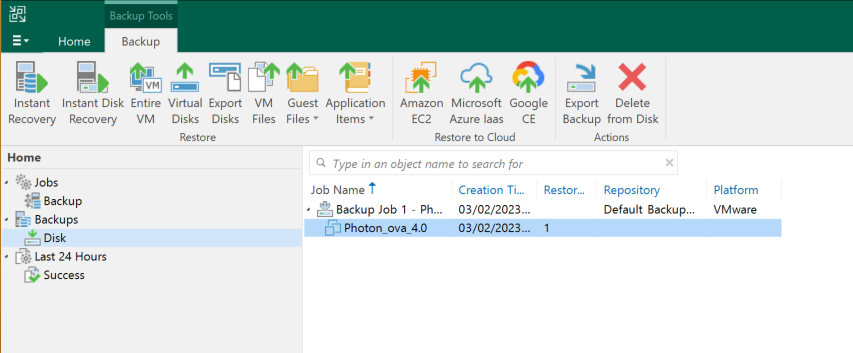
Give the job a name that will make sense to you later. You can add multiple machines to the same job.Click Add, then select the machine you want to back up.As you can see, our Photon VM is listed. Select it. Later, we’ll look at other ways to organize backups using tags and more.Here you can add more machines or continue to the next step.Here’s some useful information: the minimum retention is seven days, which means we’ll keep at least seven daily restore points.We’ll look at this in more detail. This is a great feature that helps make applications consistent in the backup, not just the machine.Job scheduling is very flexible: every few days or hours, on a periodic schedule, and more, depending on what you need. A daily backup outside production hours is common.Here’s a summary of our configuration.There it is: our first backup job!Right-click it to start the backup.Here’s the backup in progress.The backup completed successfully. We can access the backup file created by Veeam, which contains our machine and its restore points.
Next time, we’ll look at restoring data from a Veeam backup: both a full machine restore and recovery of a single deleted file.