
We’ve installed Veeam B&R v12.
Now let’s go through the initial setup and review the general options before moving on to more advanced topics, such as backup and replication jobs.
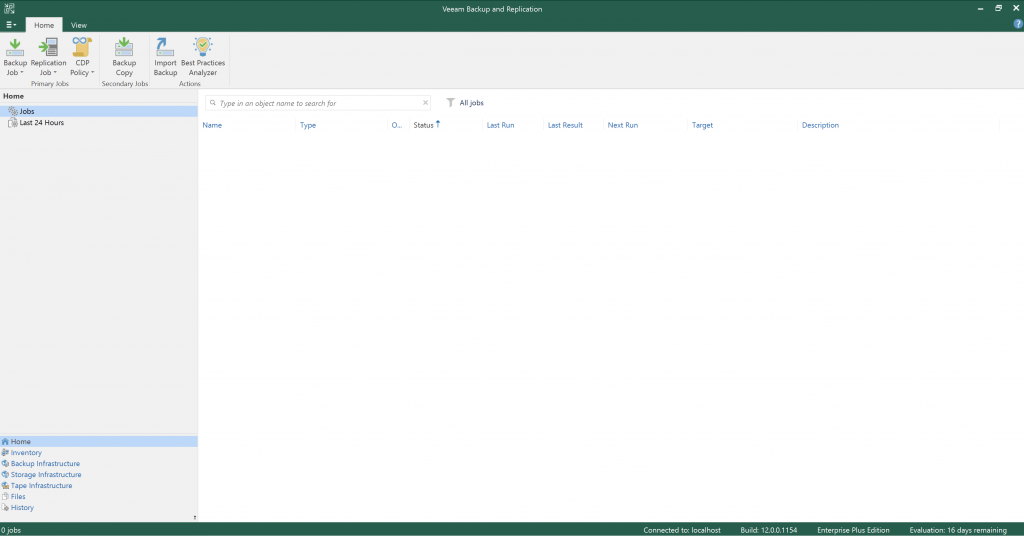
Let’s start with General Options.
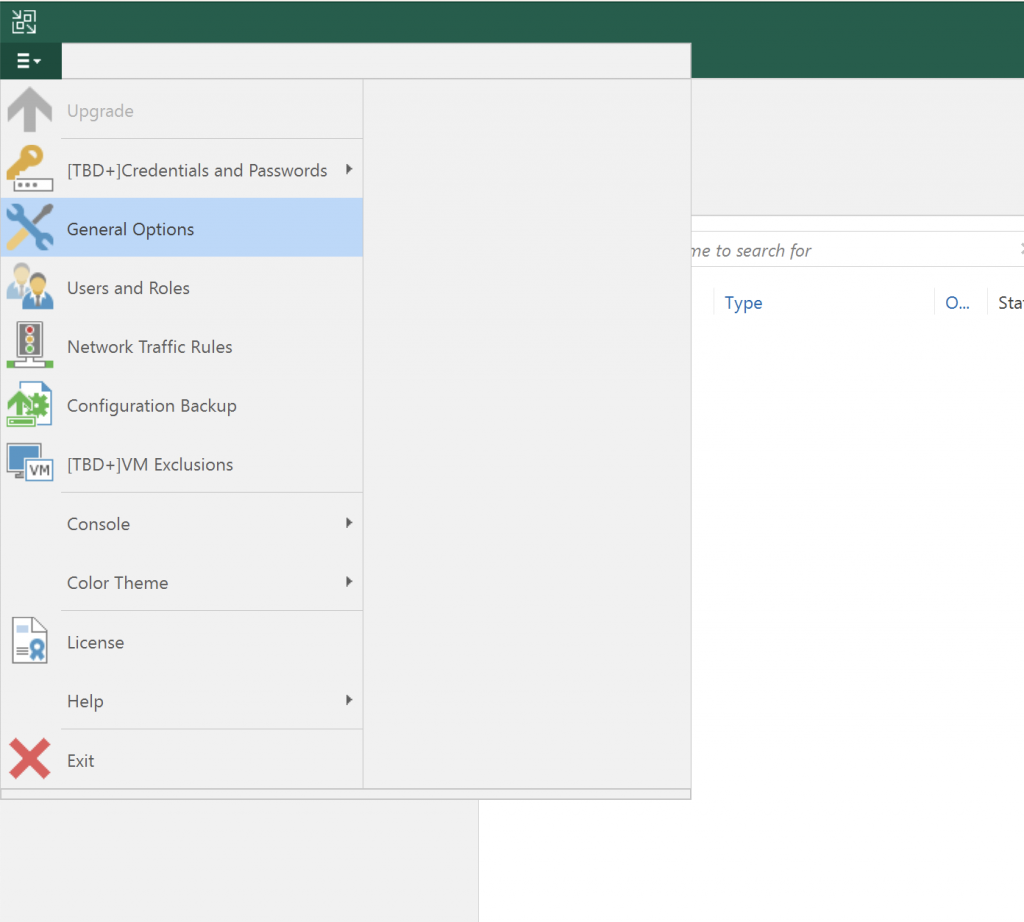
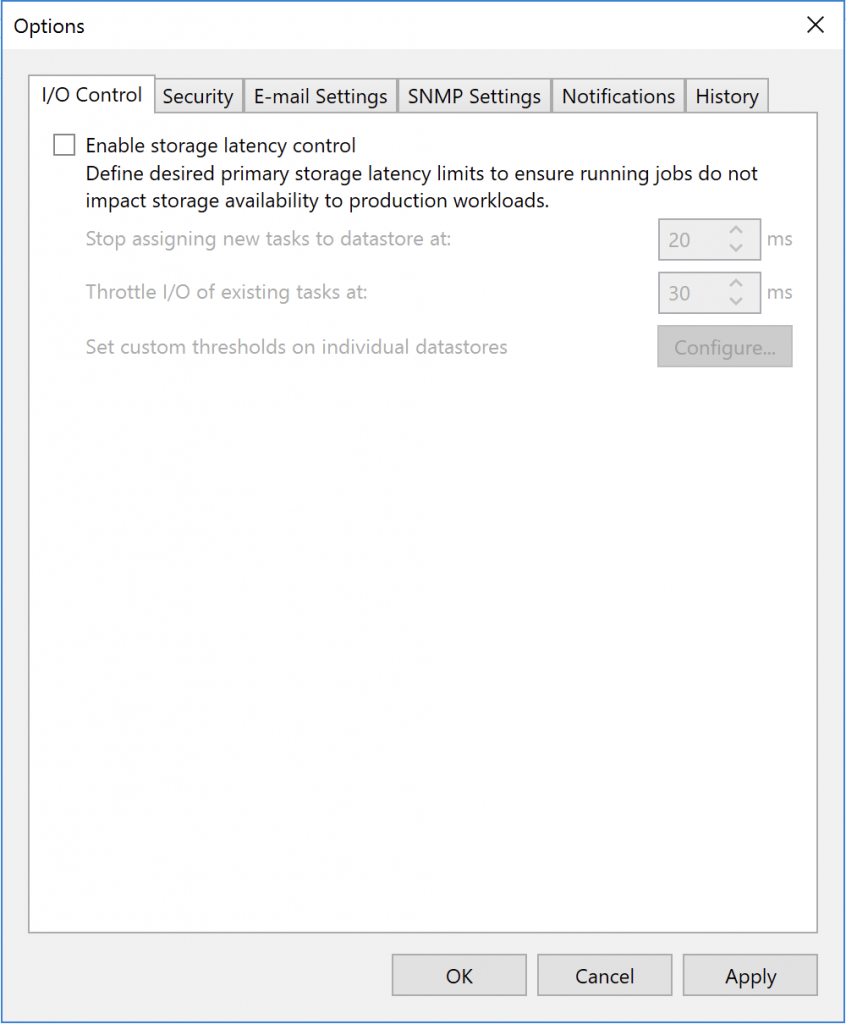
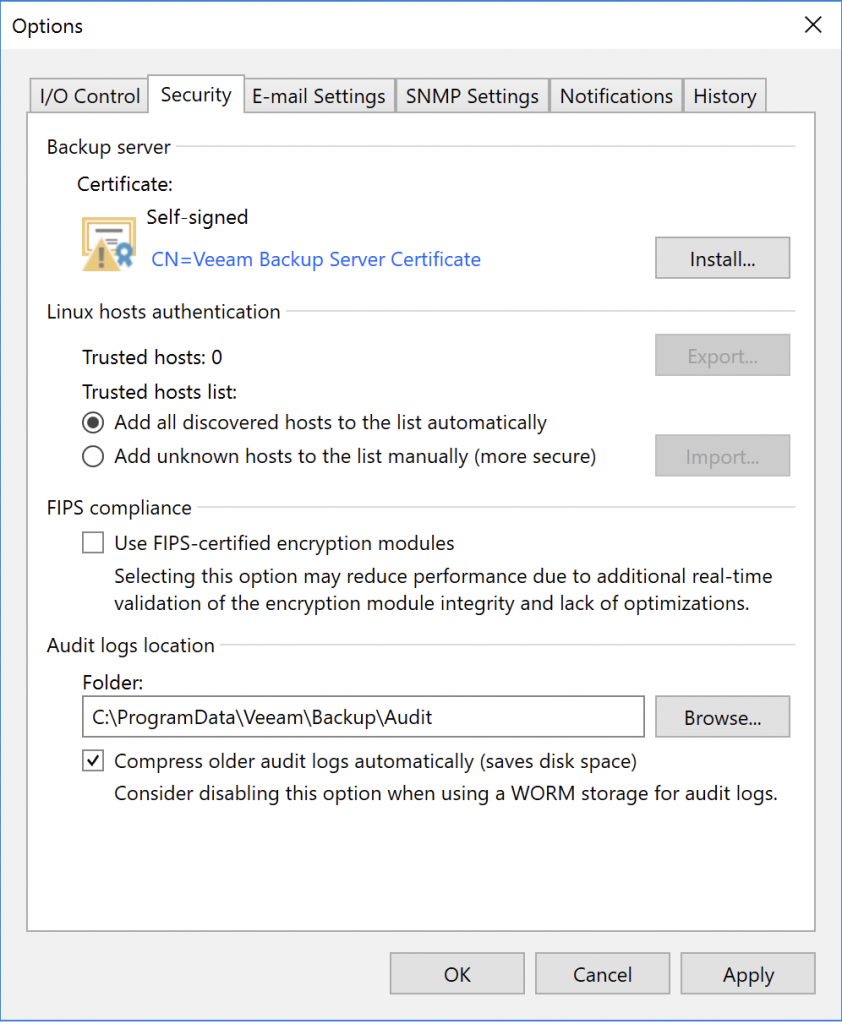
Let’s review the options and I’ll explain what I usually change.
This is where things get interesting: email settings for notifications and reports.
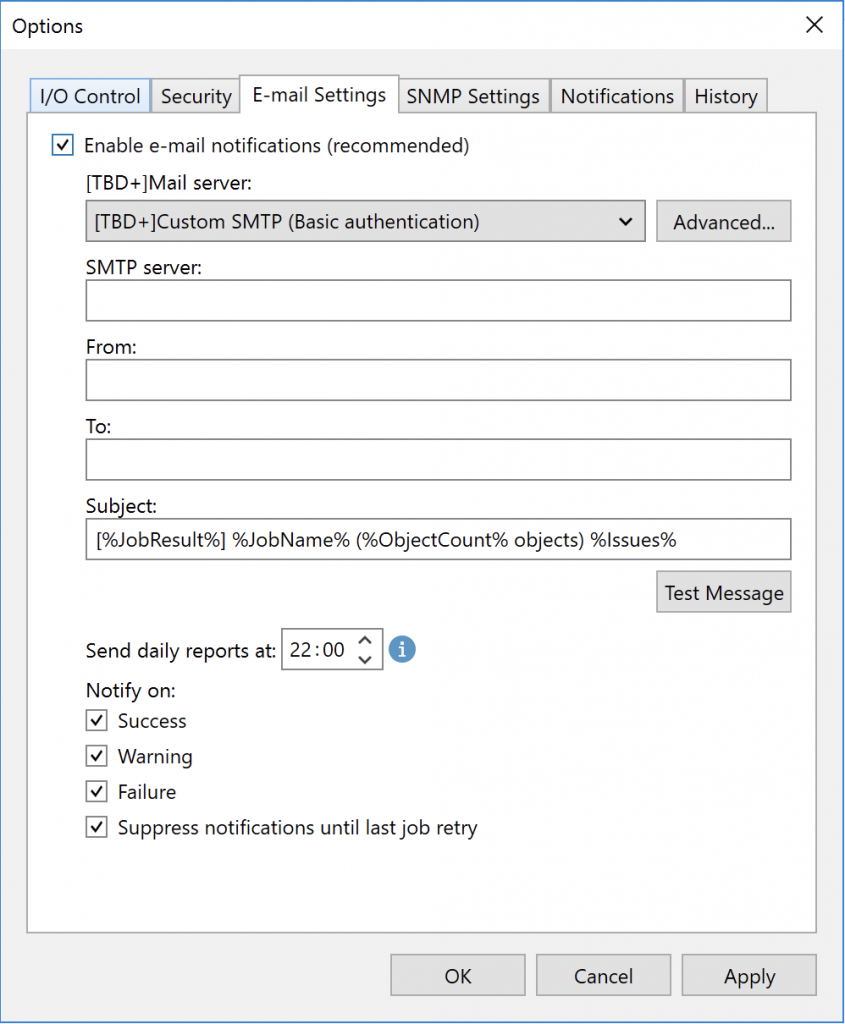
When you configure email notifications, you’ll receive messages for all jobs with the statuses selected below. You can also configure email alerts for each job individually—for example, to add recipients or include more details.
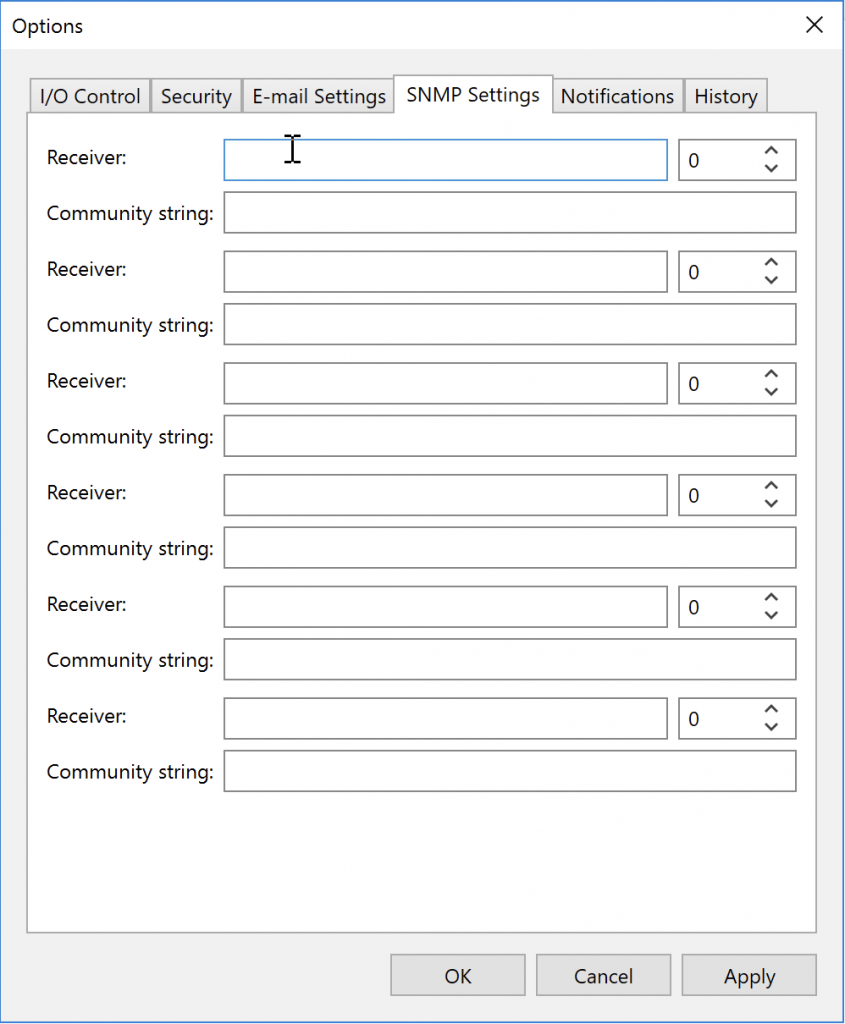
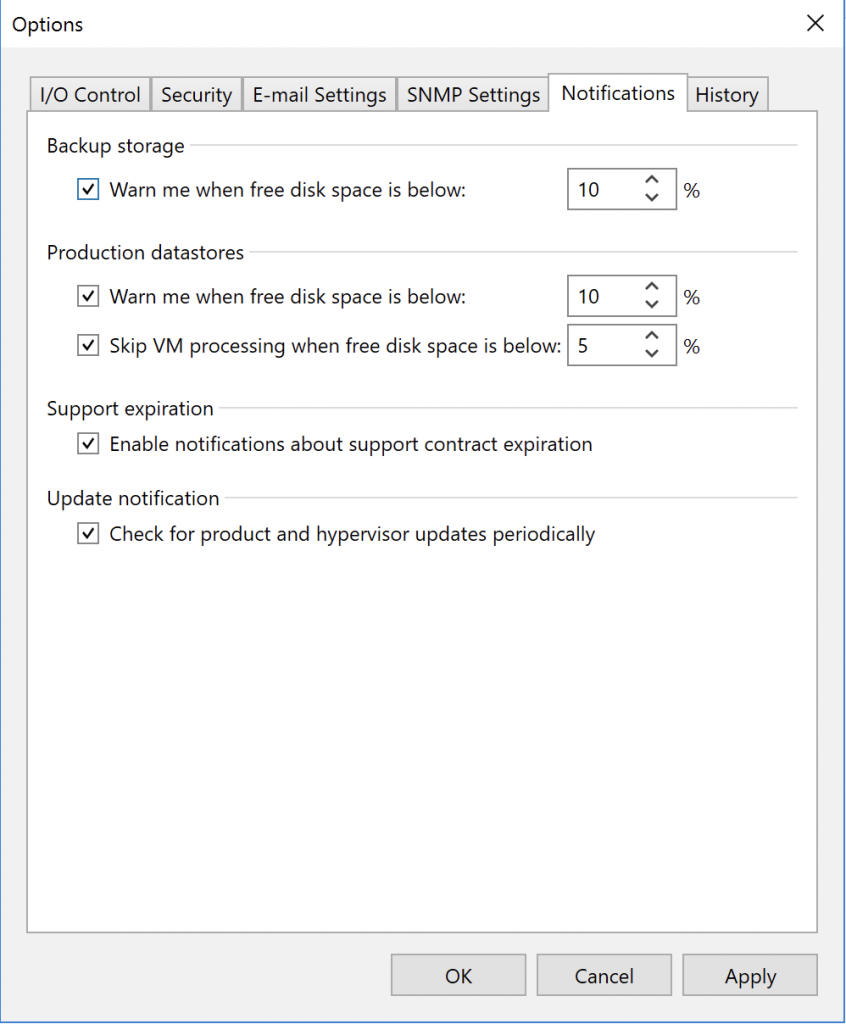
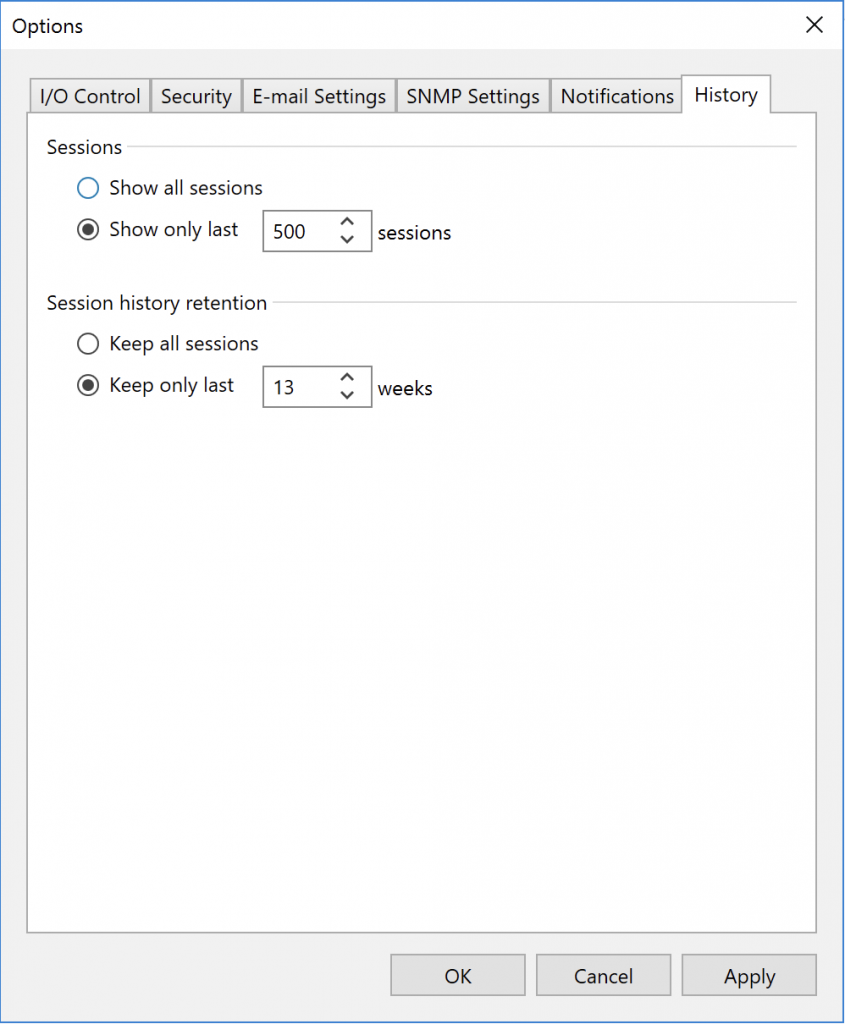
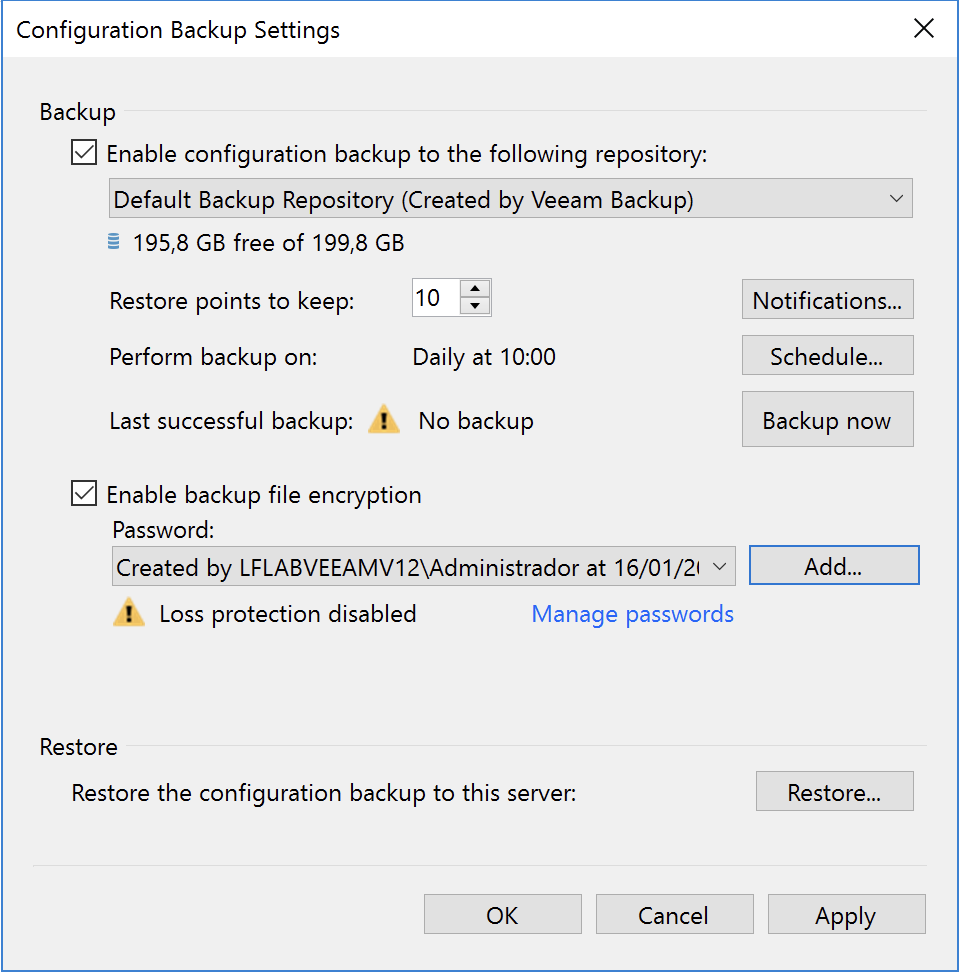
Now let’s move on to Configuration Backup.
An important point: for now, we’ll configure it to use the local repository, though we can change that later. We’ll also enable encryption for this backup and set a password so that the credentials we add later are saved in the backup:
Now let’s look at the Inventory tab, where we’ll add the machines to protect with our backup and replication jobs.
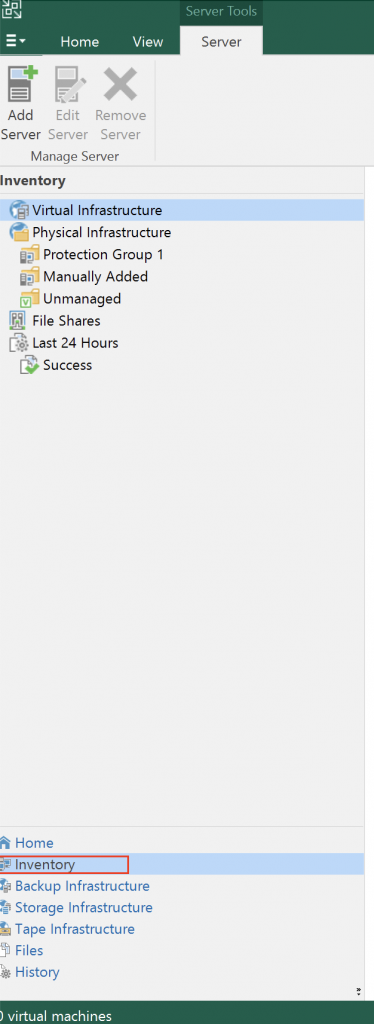
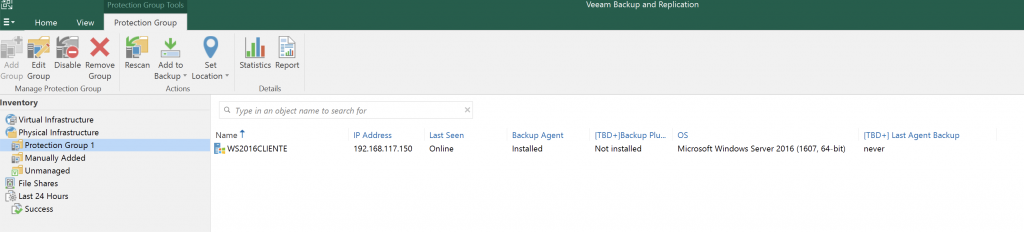
Here we can see both virtual machines and physical machines with the Veeam Agent installed and connected to this server.
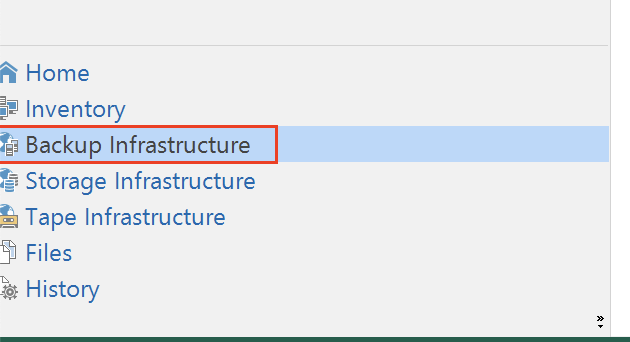
Next, go to Backup Infrastructure. You’ll see the local repository and can add backup repositories. I also have a post showing how to create an S3 cloud repository with Wasabi; adding it is straightforward.
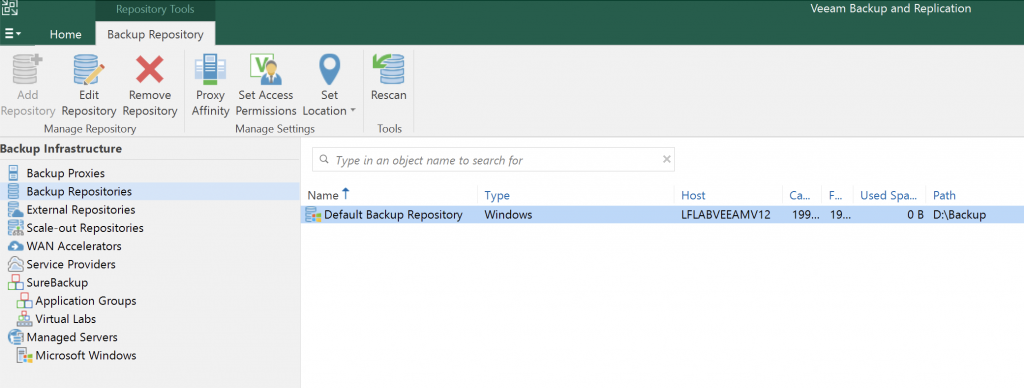
In future posts, we’ll look in more detail at adding local, CIFS, NFS, and S3 cloud repositories.
For now, we’re ready to create our first SIMPLE backup job.