
Now that we’ve completed our first backup, let’s look at how to restore data (files) and an entire virtual machine.
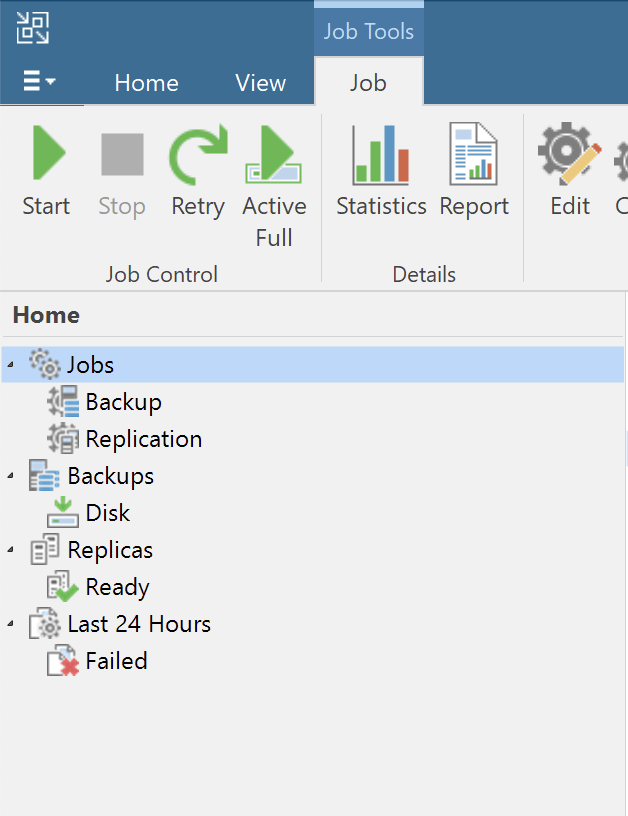
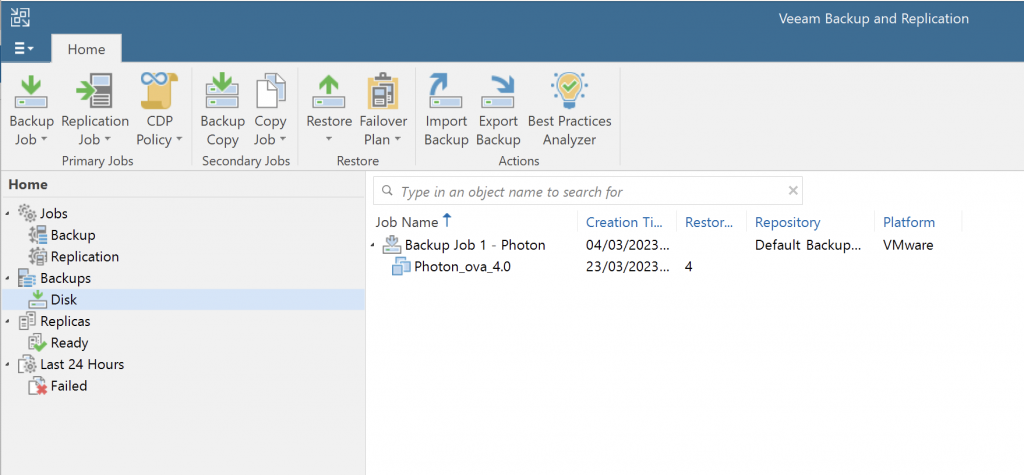
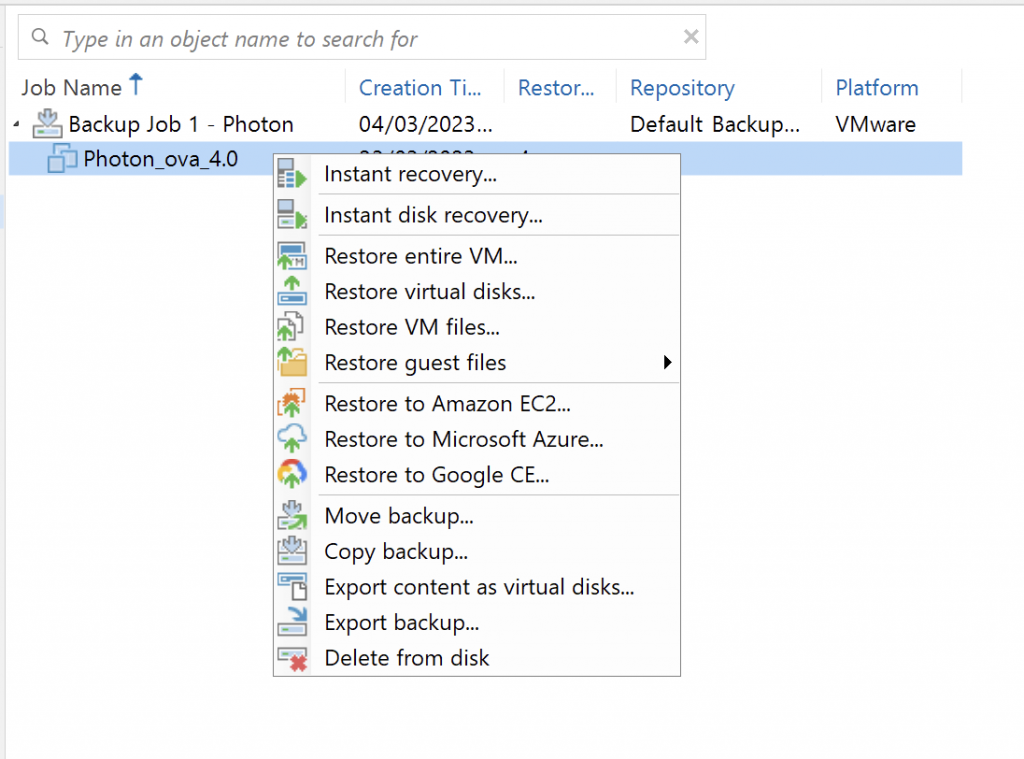
We’ll go through the recovery steps and options with screenshots.
One of Veeam’s great strengths is that backups are self-contained. We’ll cover this in another post, but as a preview, everything needed for recovery is in the backup file itself, with no unusual indexes or other dependencies.
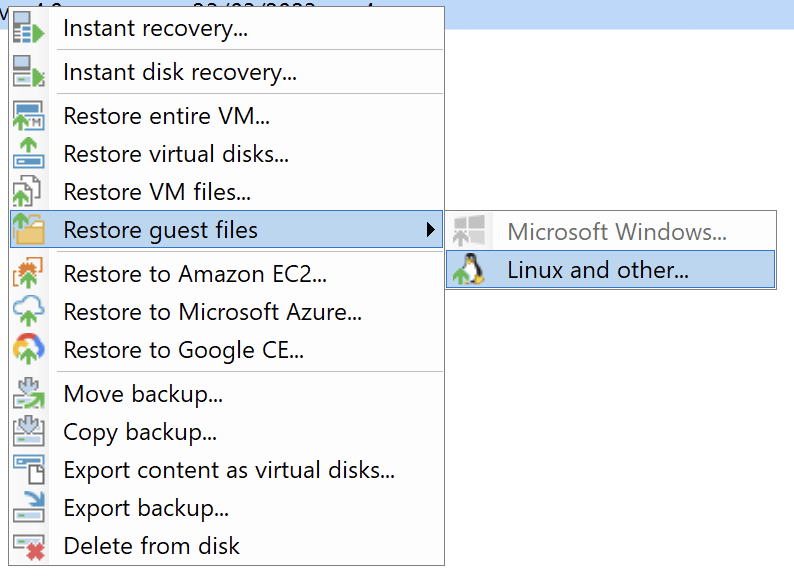
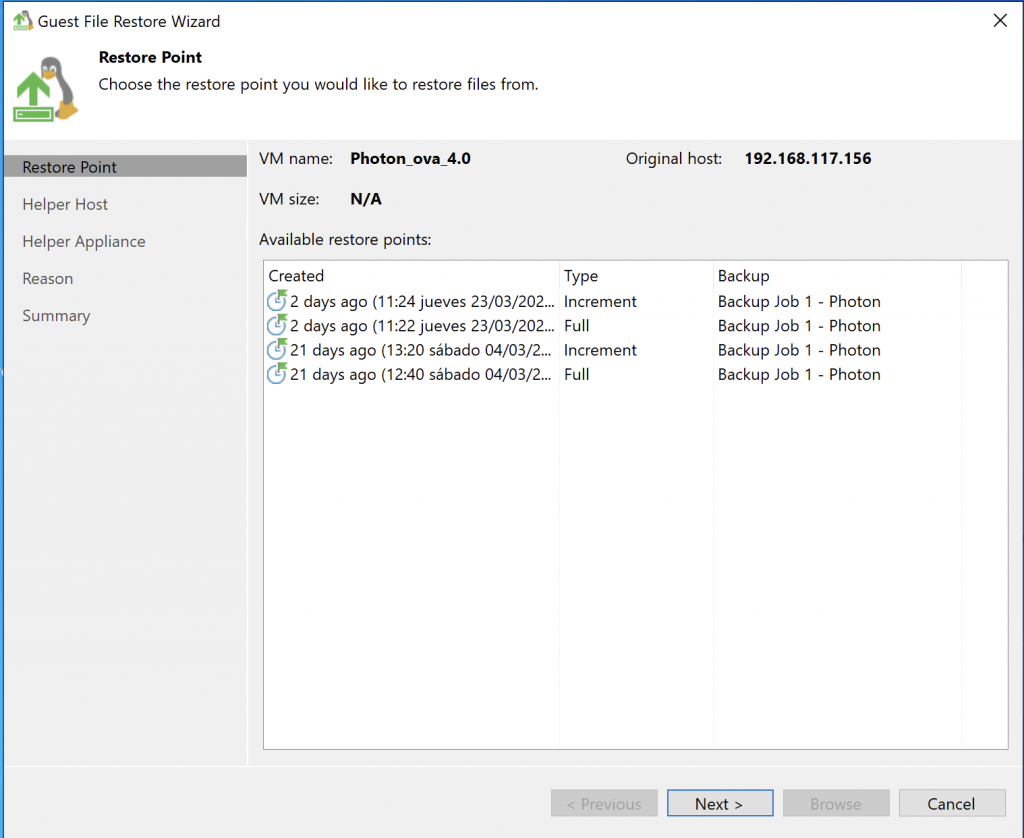
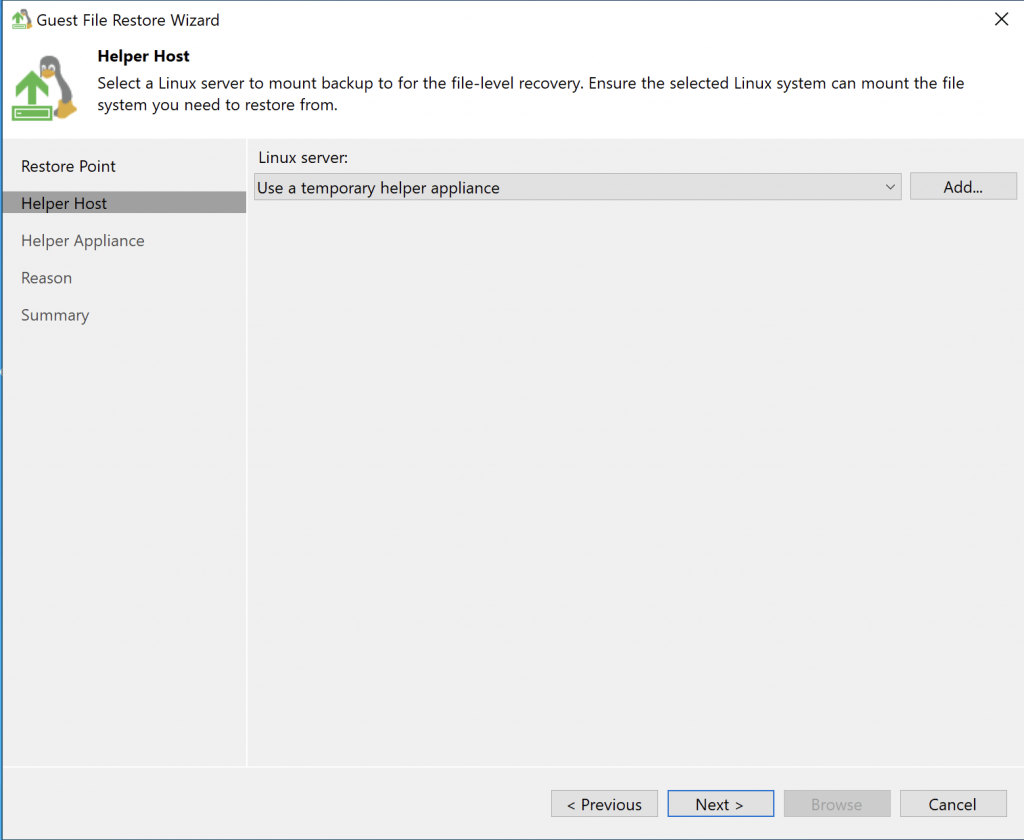
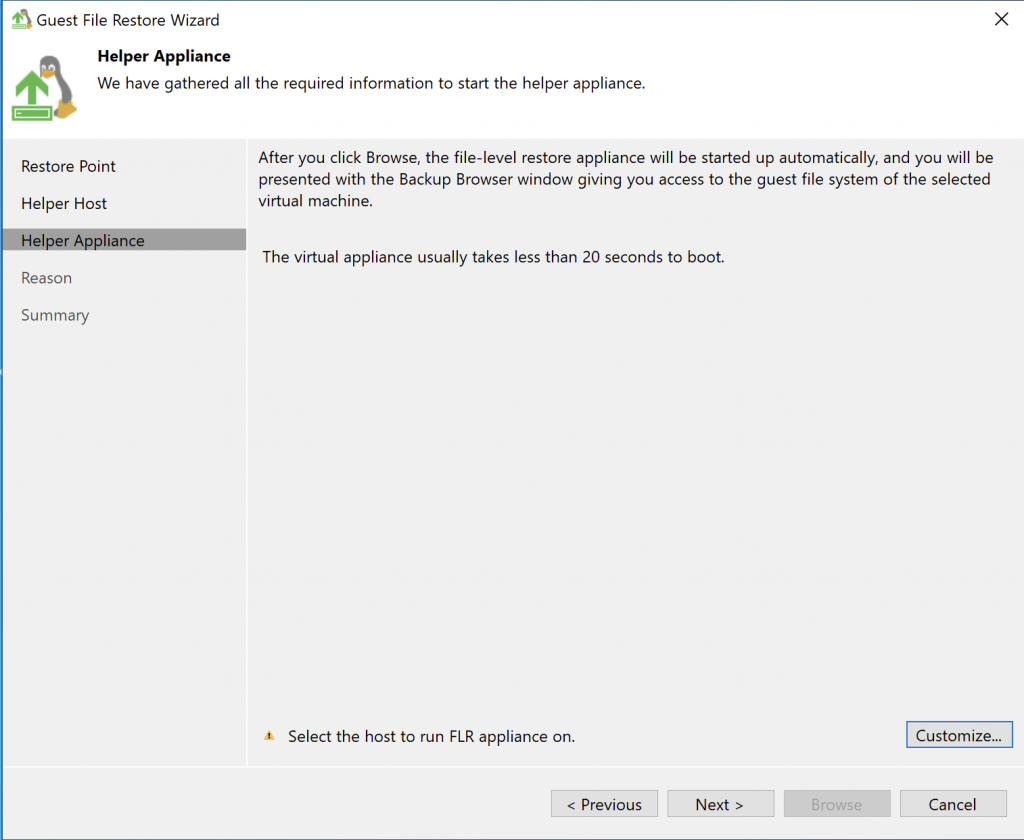
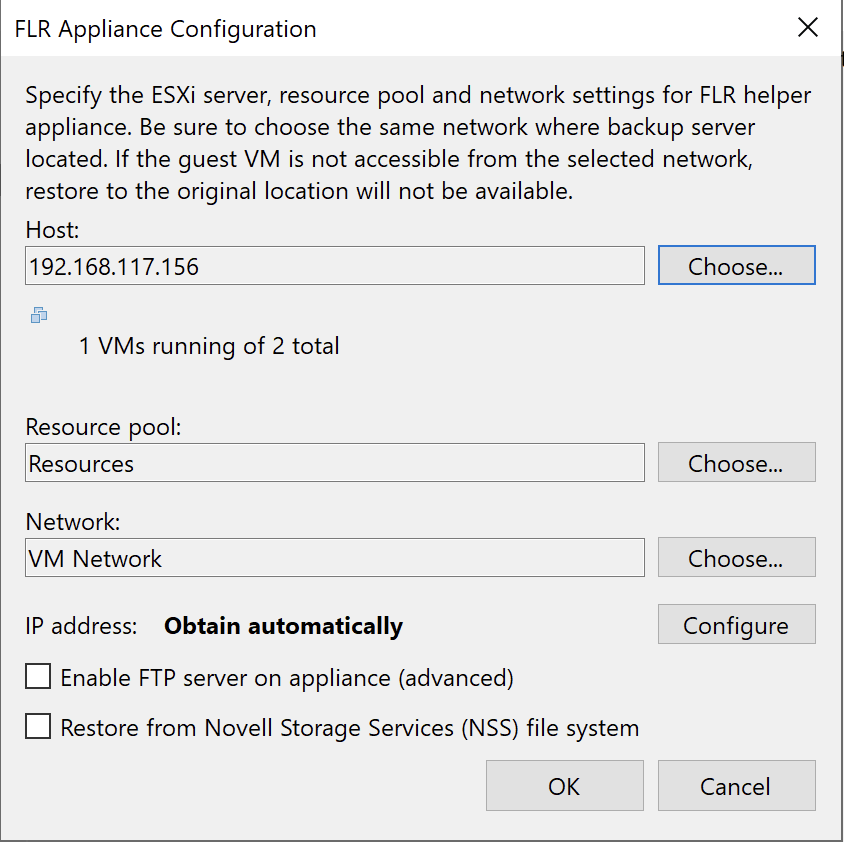
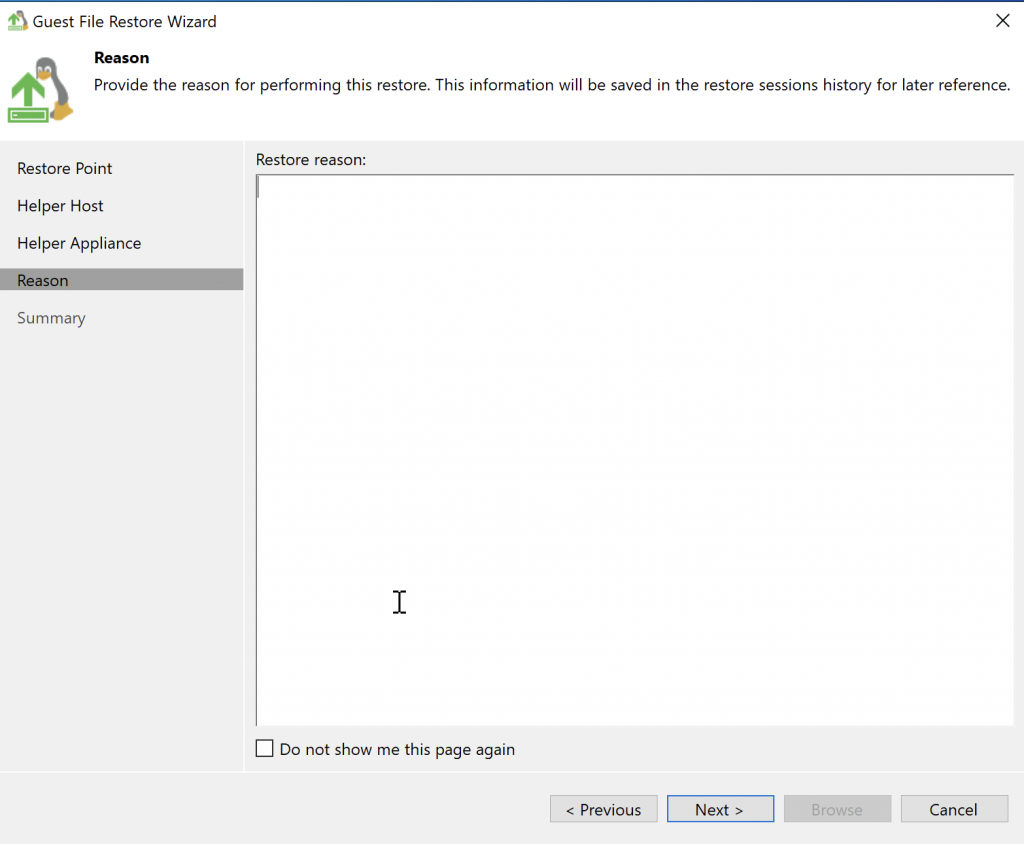
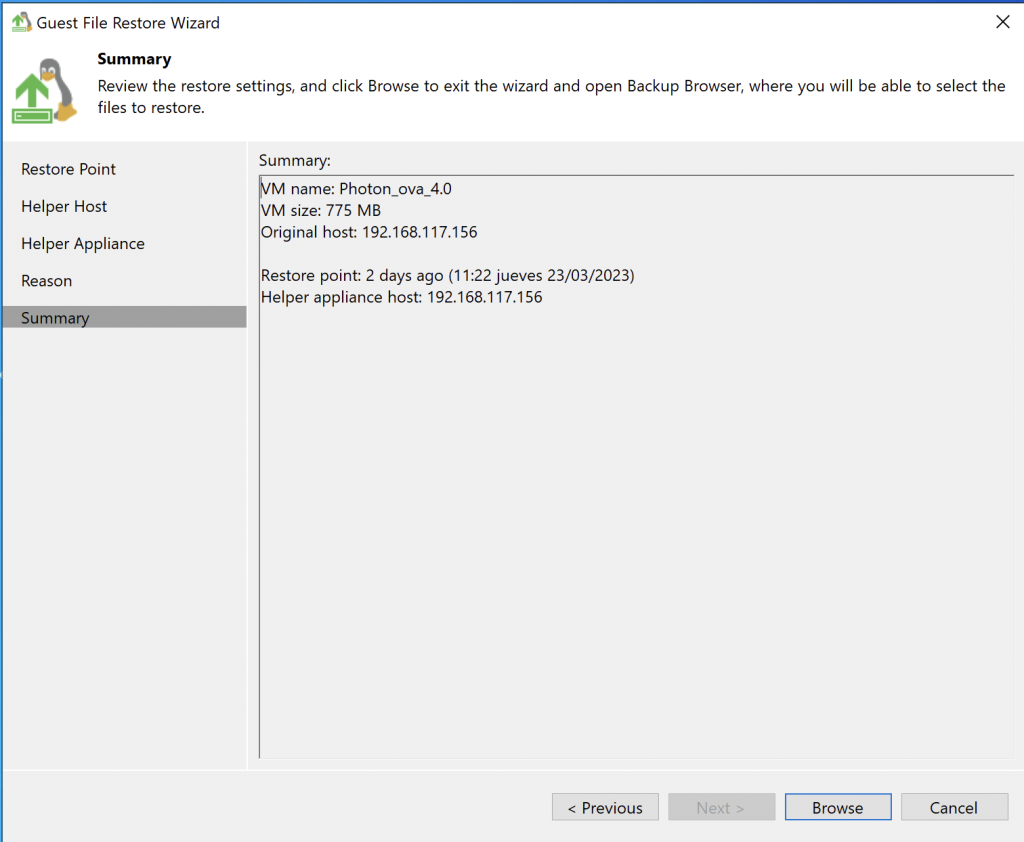
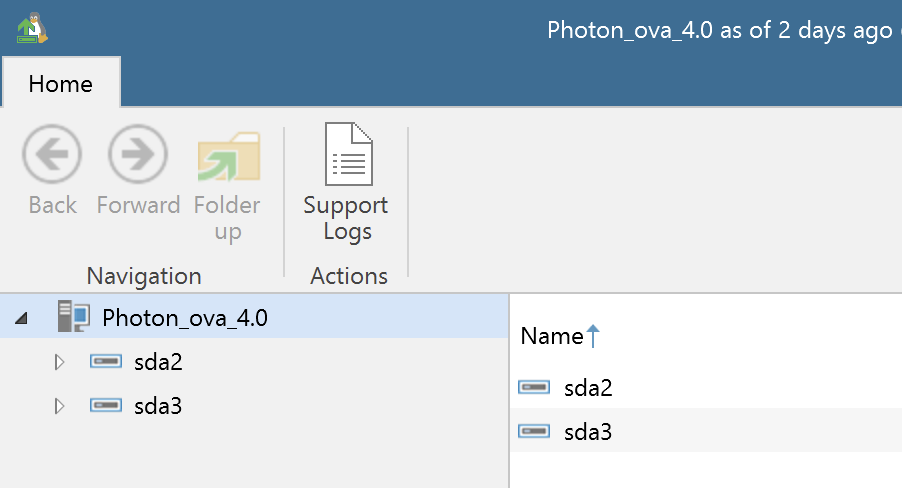
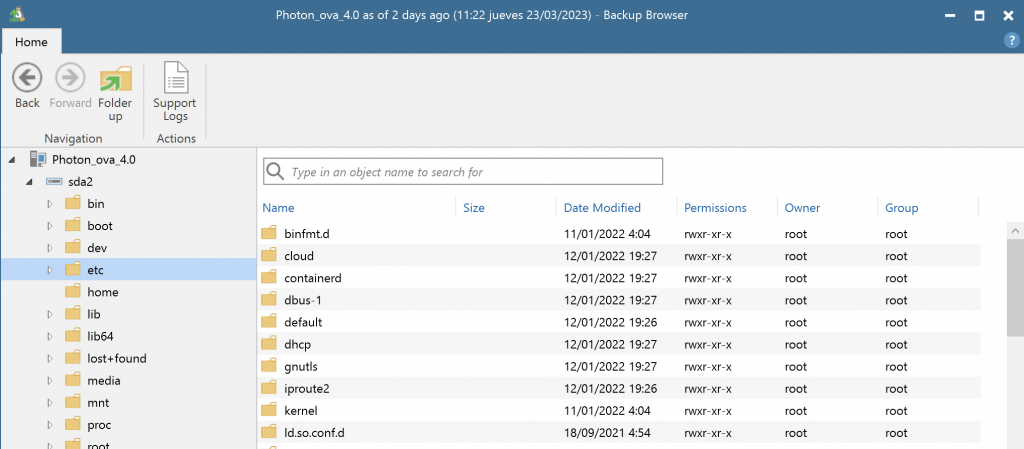
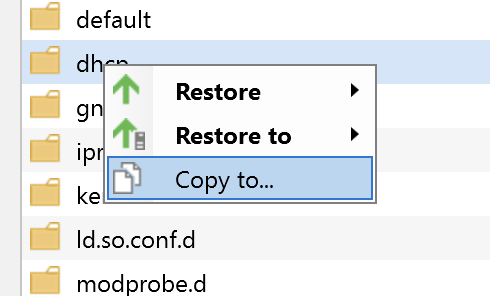
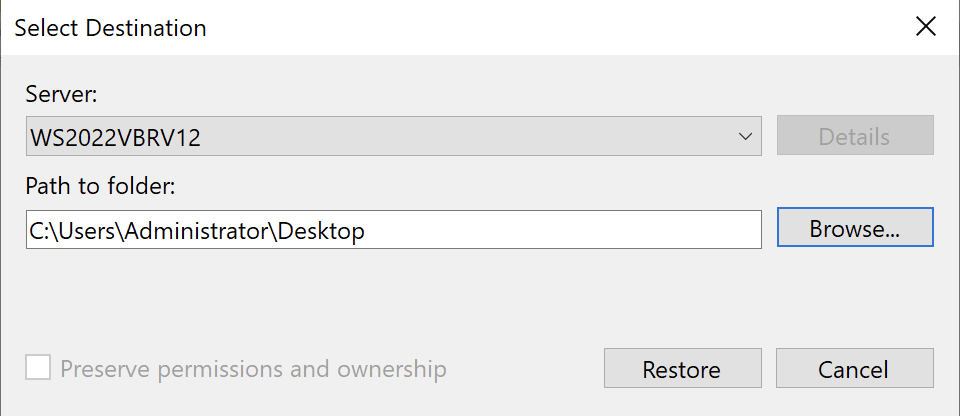
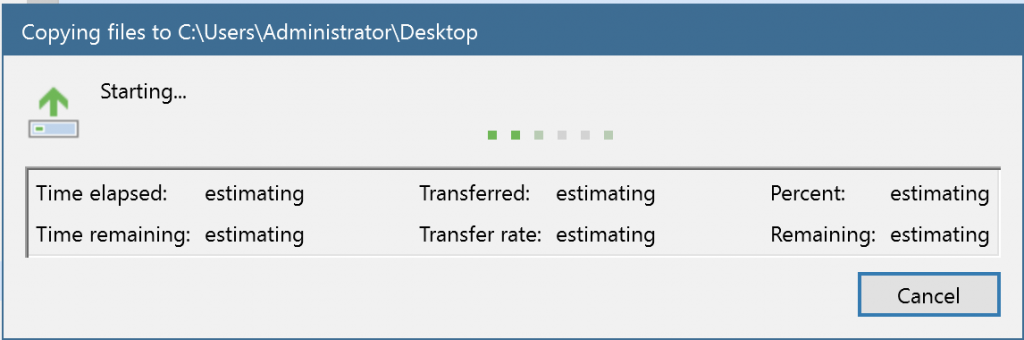
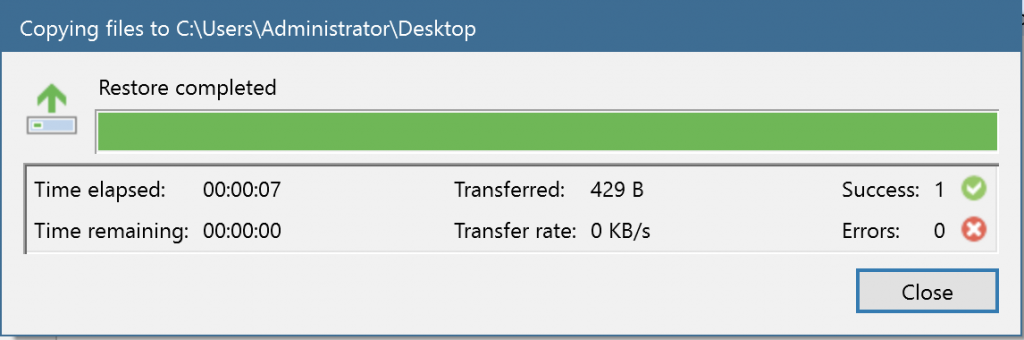


We’ve restored the example file. We’ll do another example with a Windows machine so you can see the small differences in the process.
Regards.