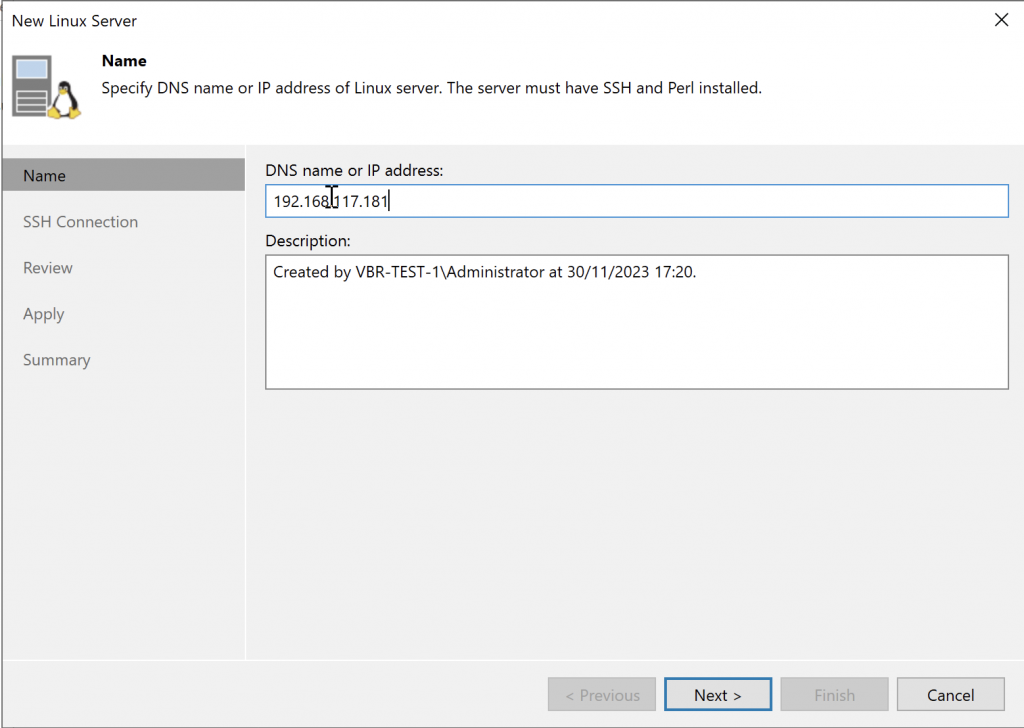
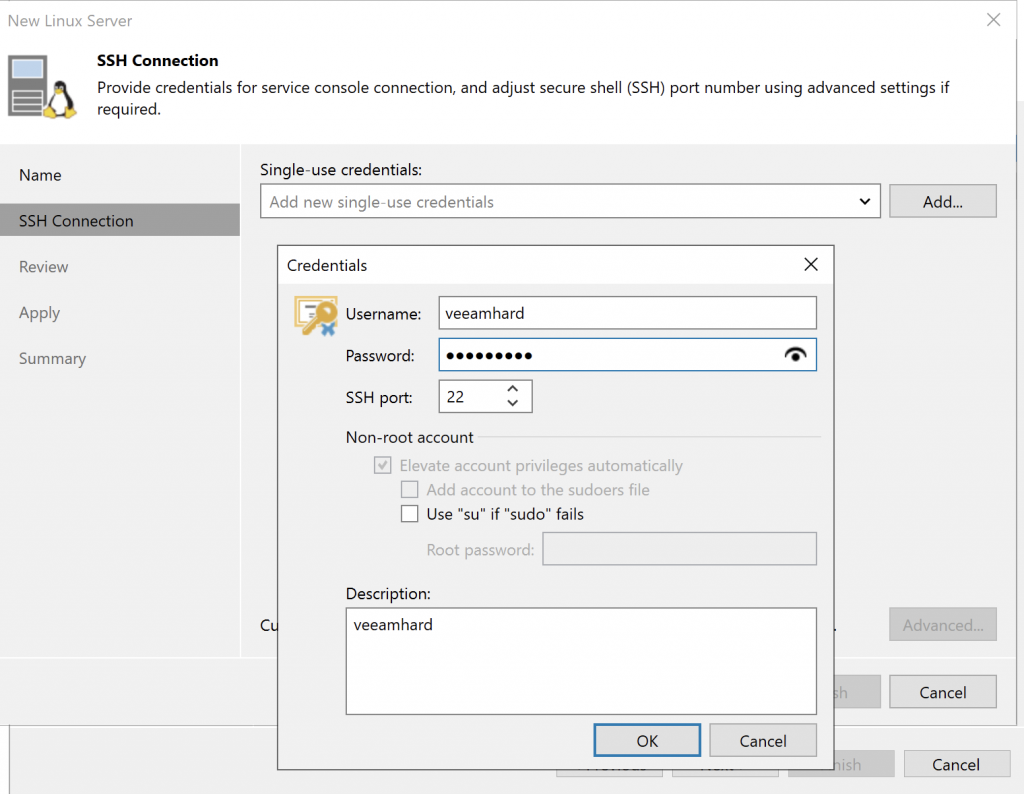
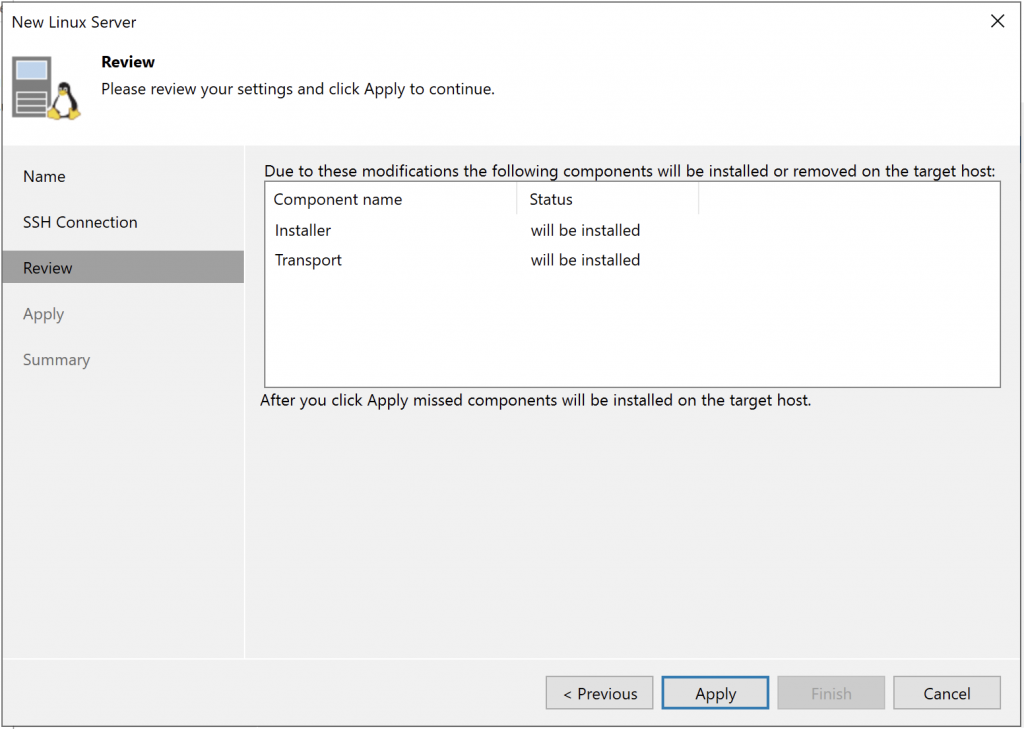
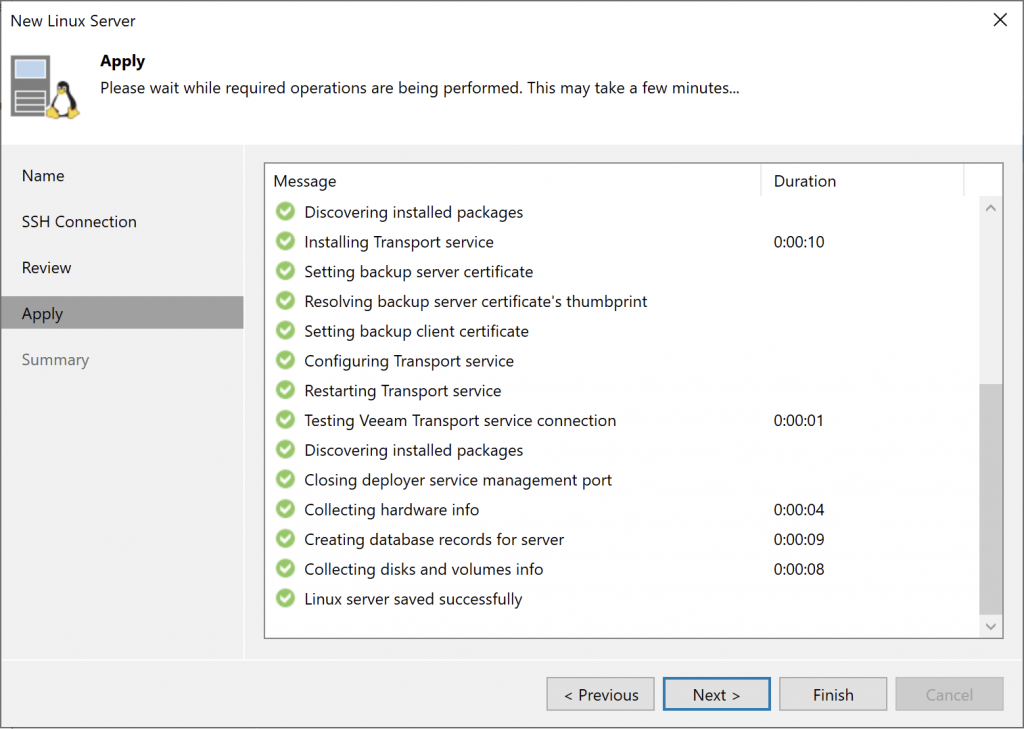
In a previous post, we saw how to deploy the packaged Ubuntu VHL, which applies the default hardening and script settings, including stronger user permissions.
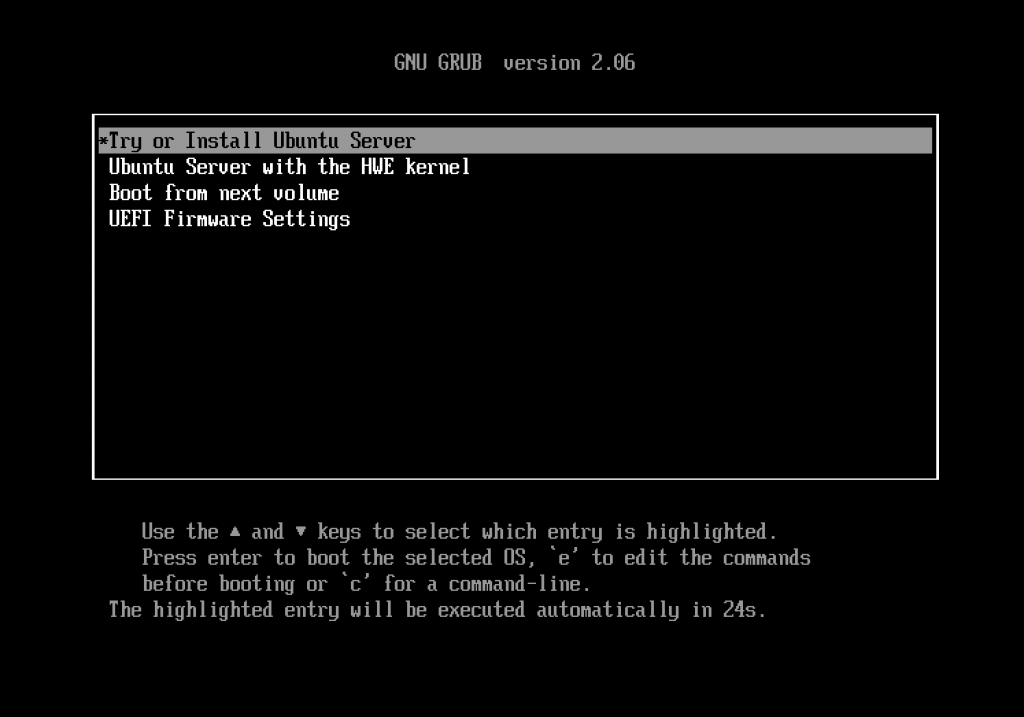
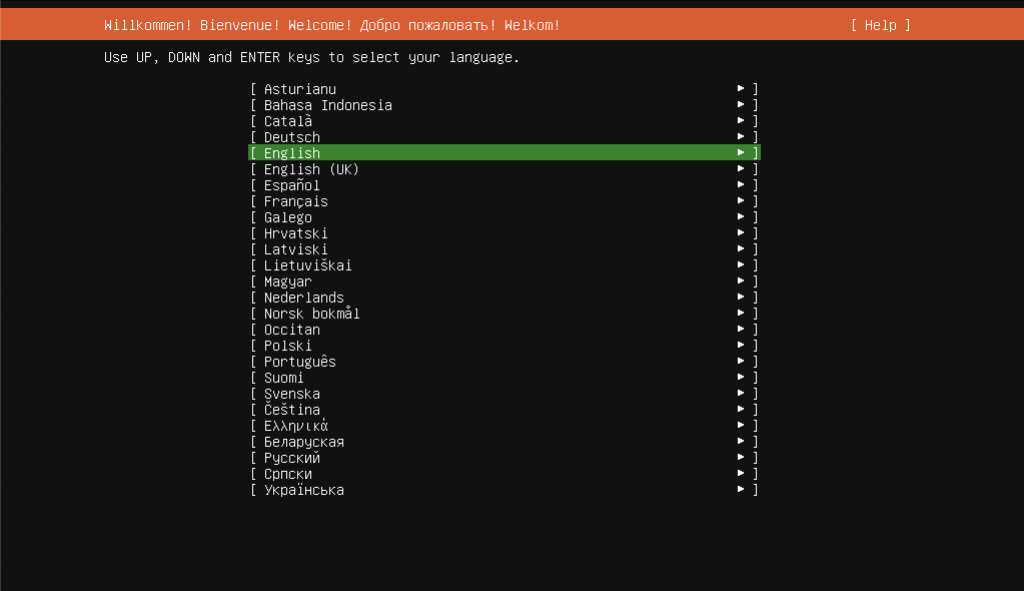
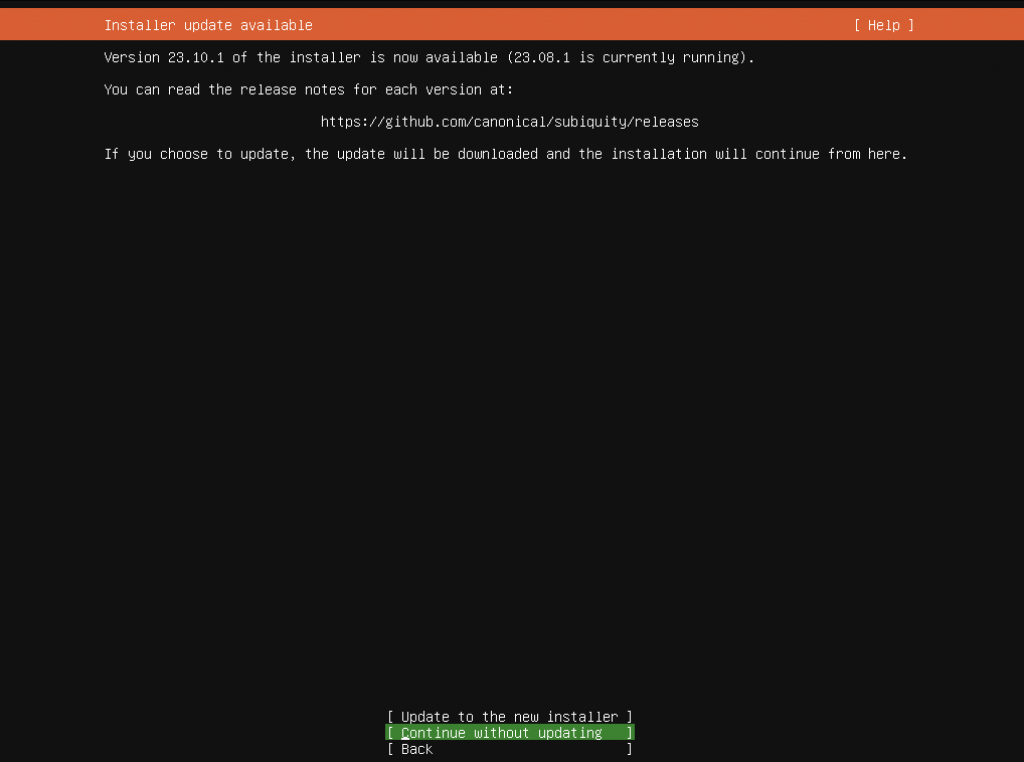
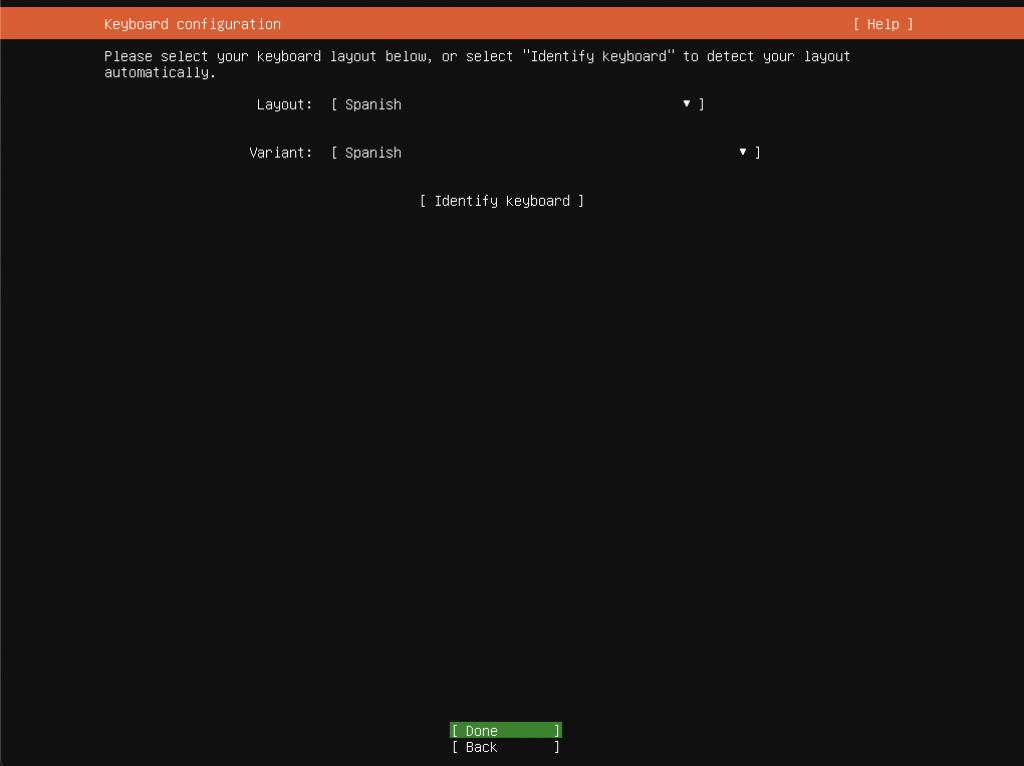
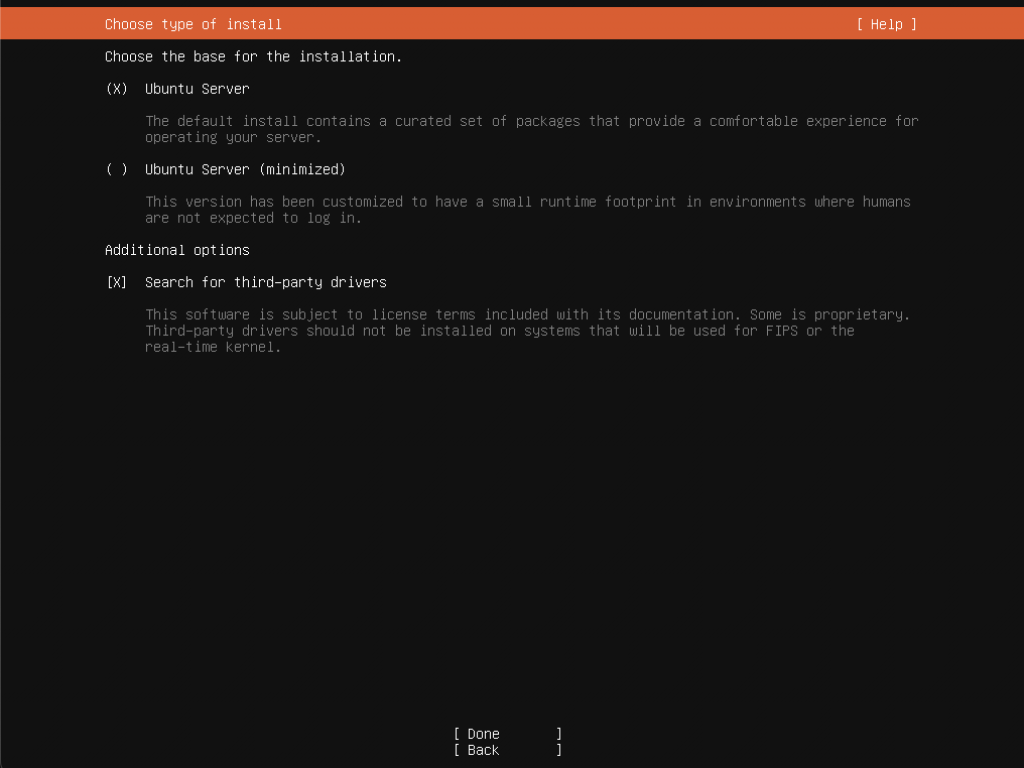
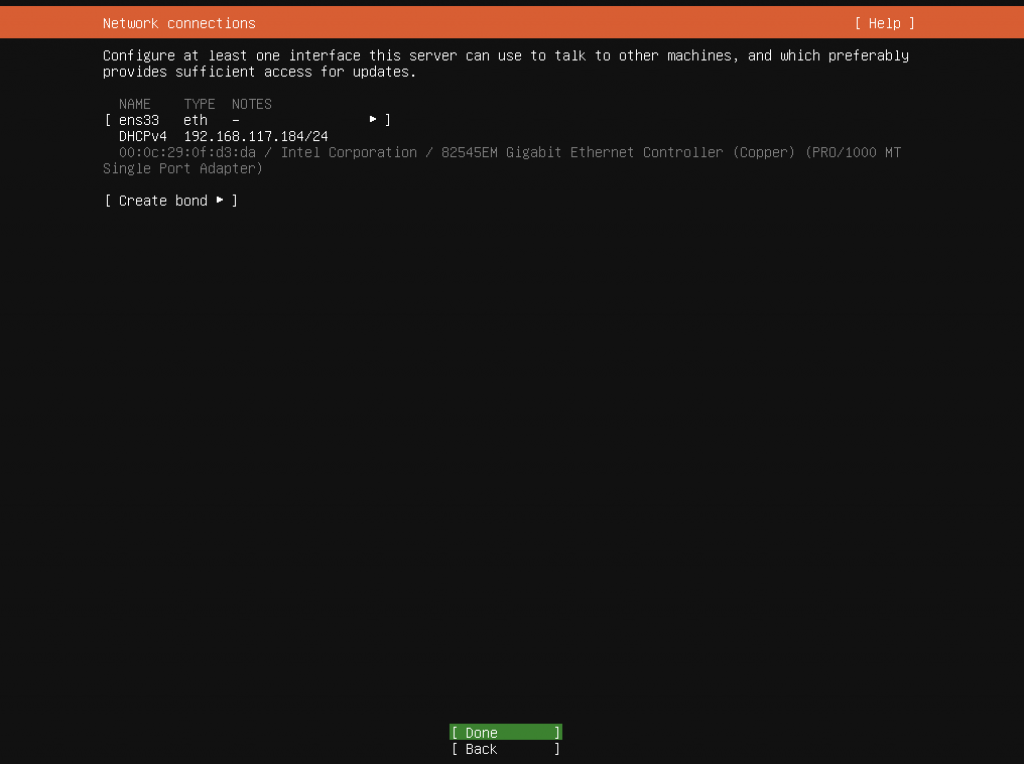
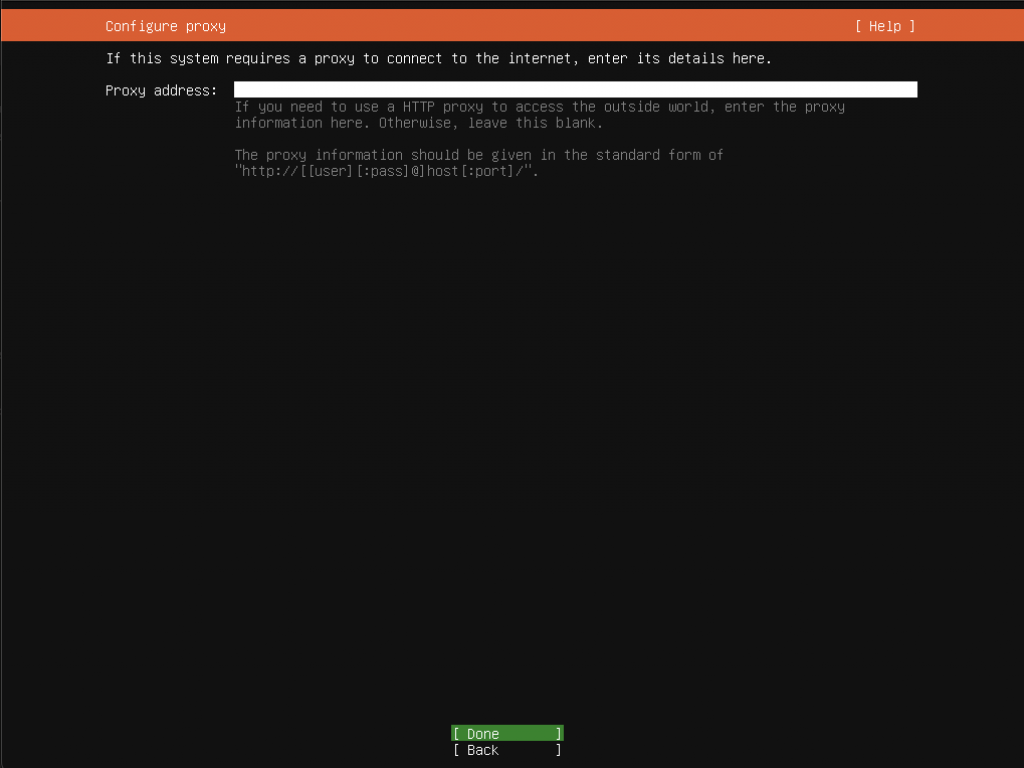
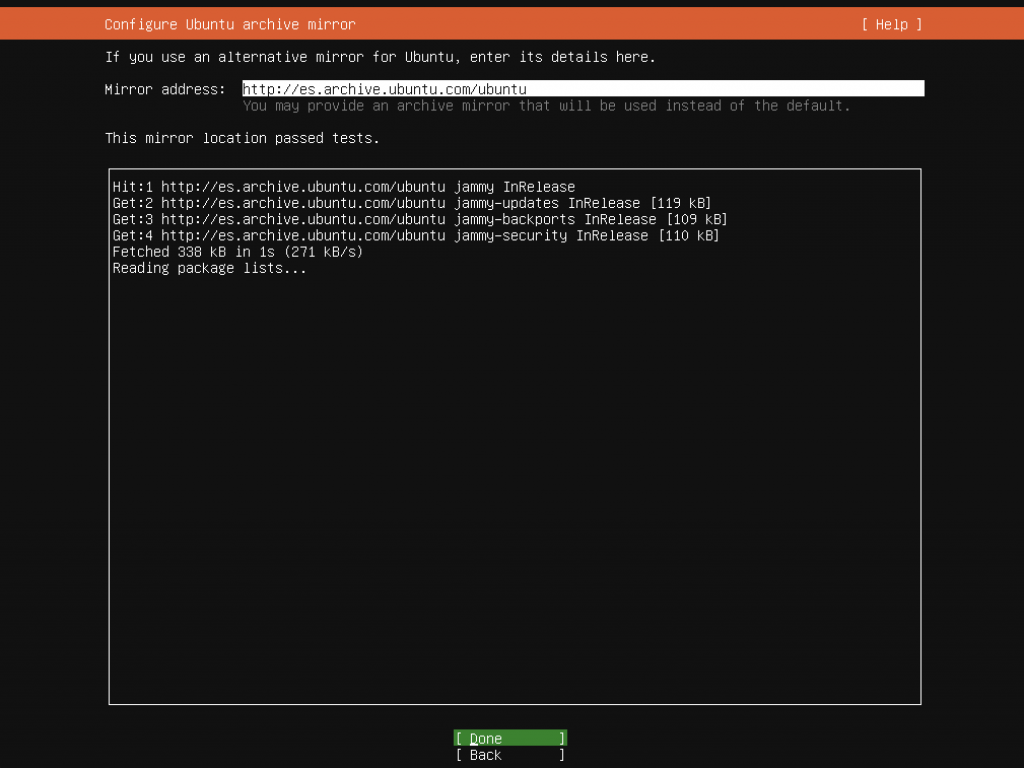
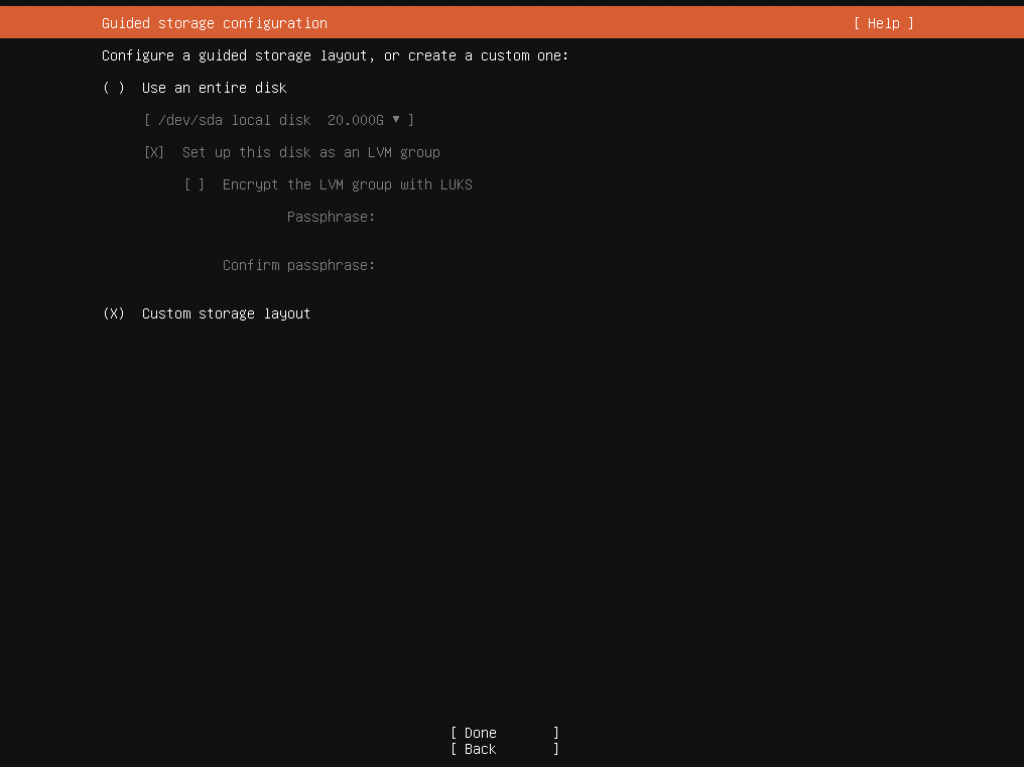
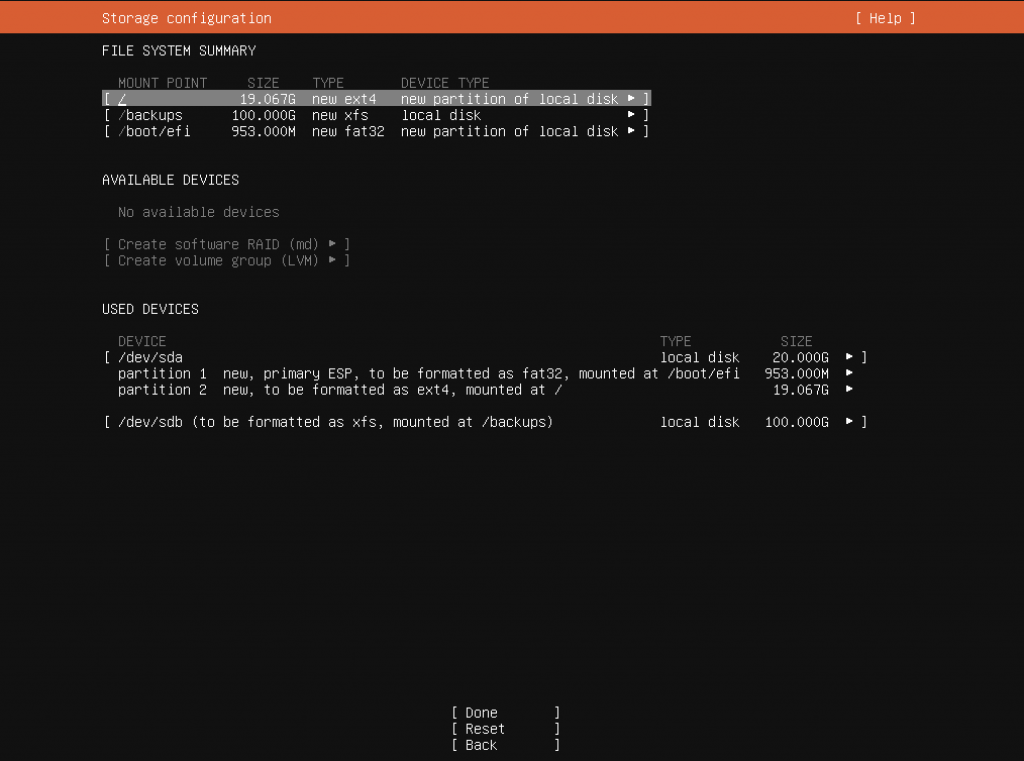
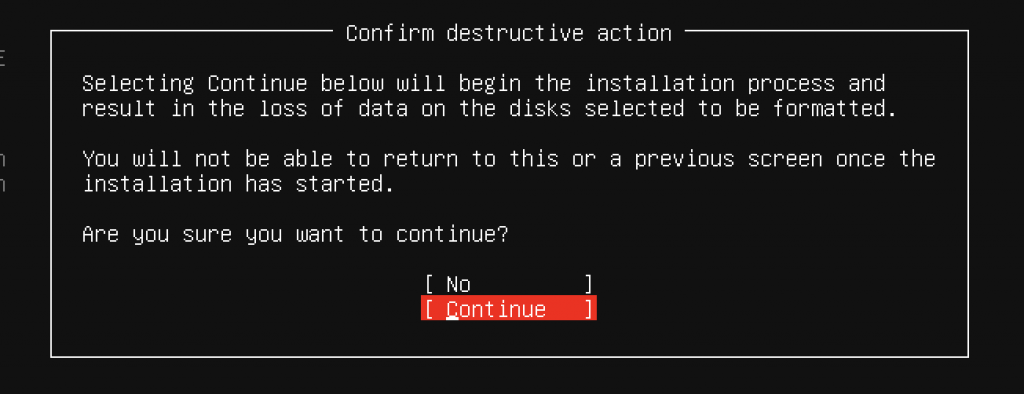
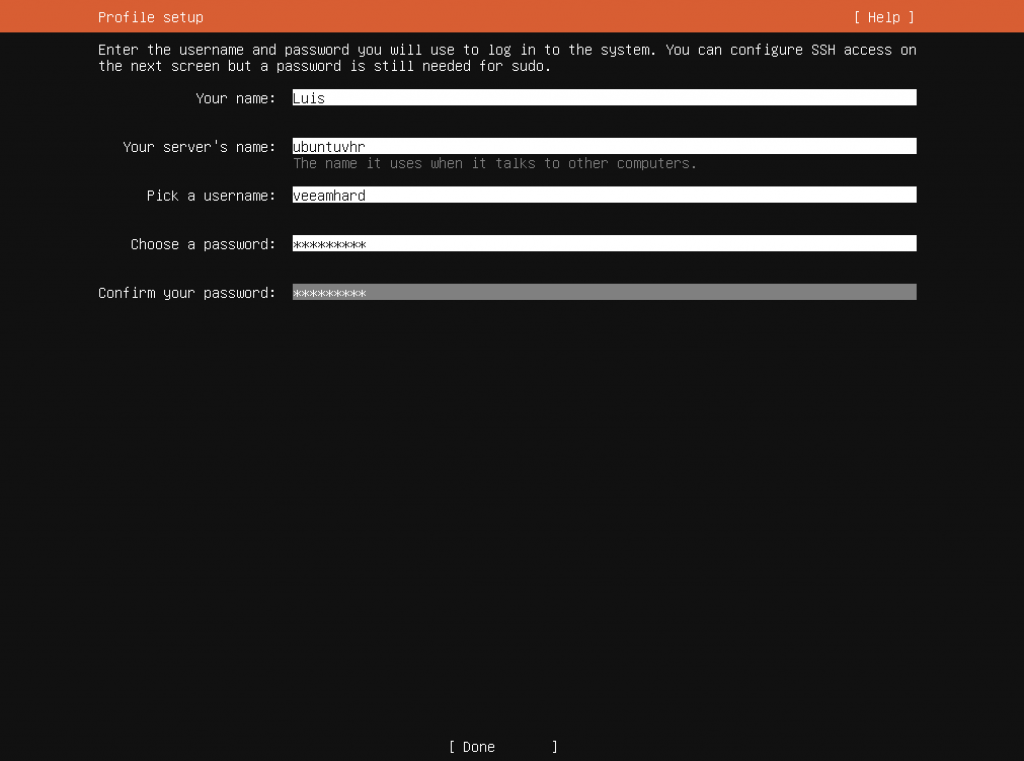
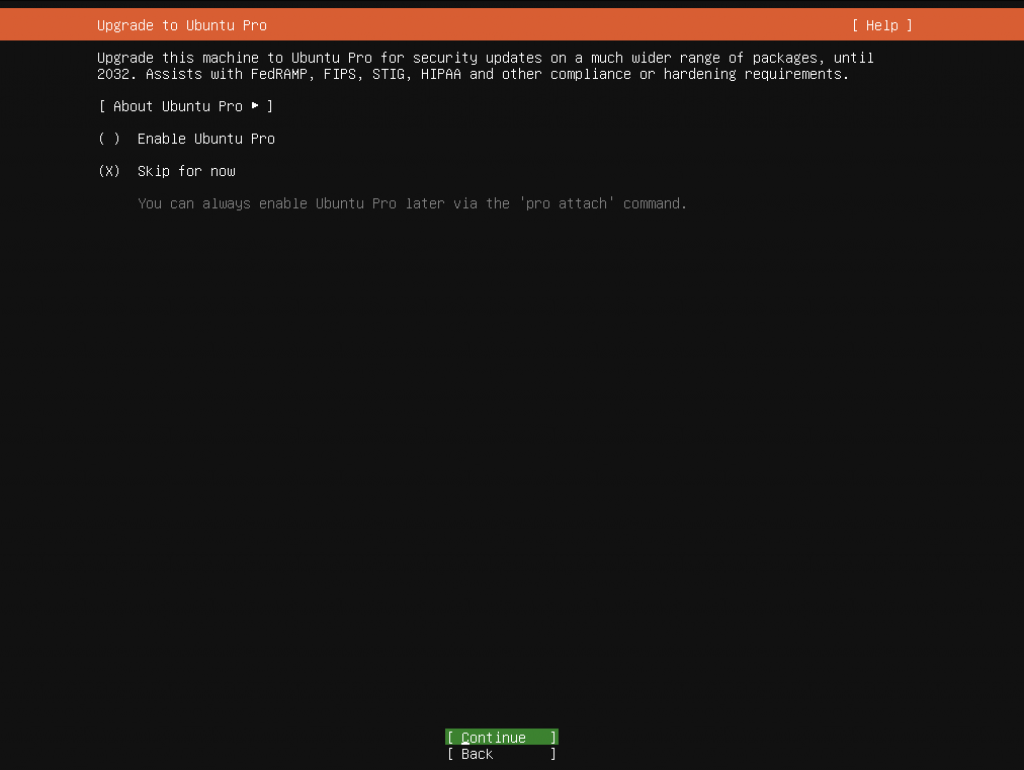
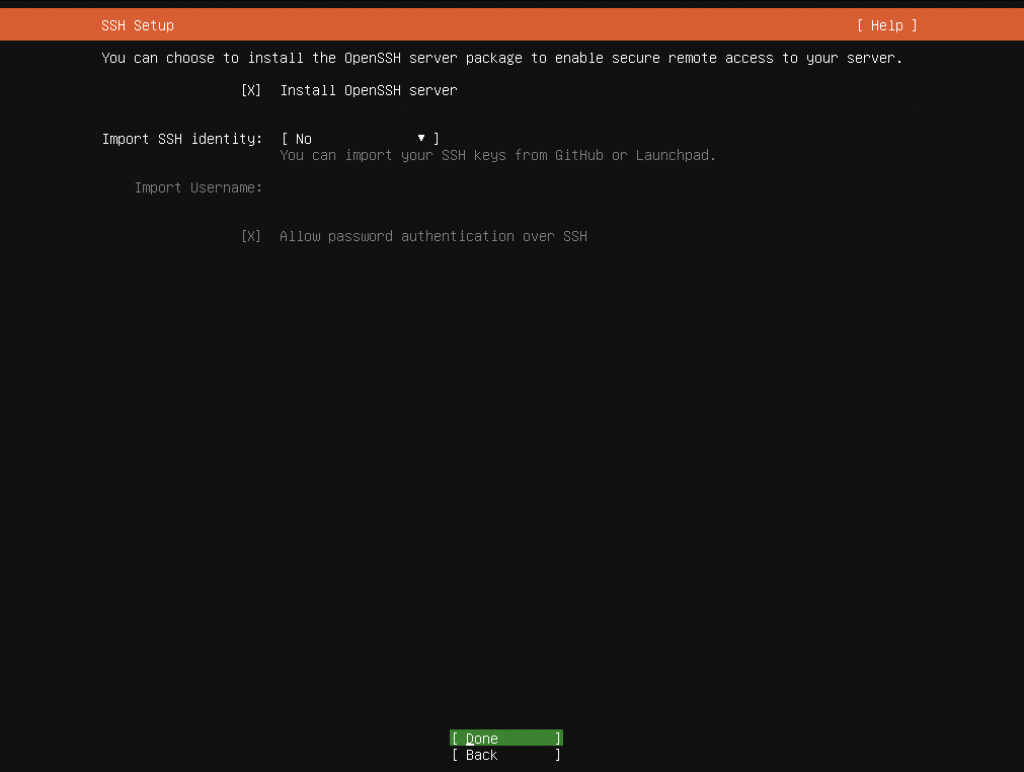
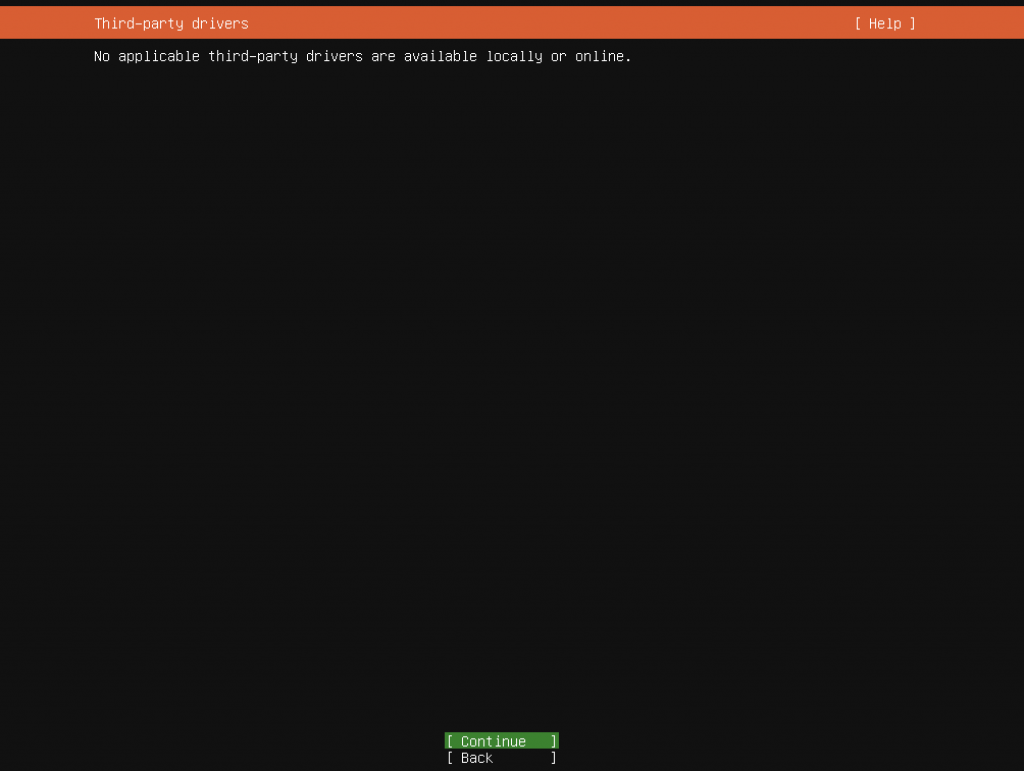
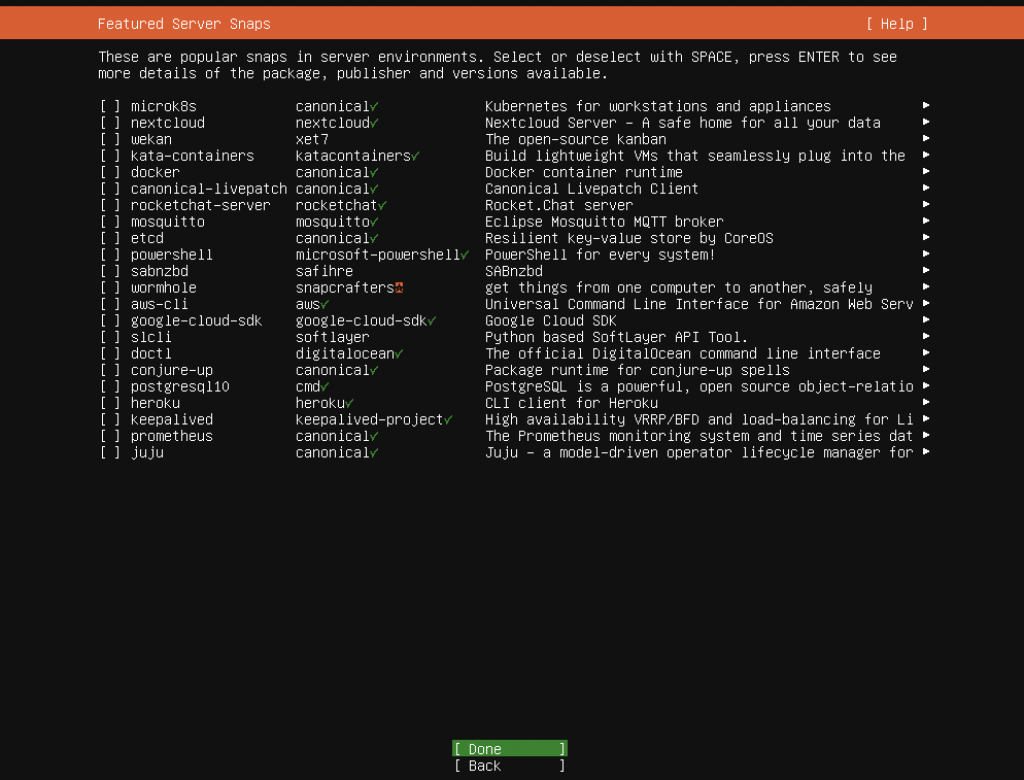
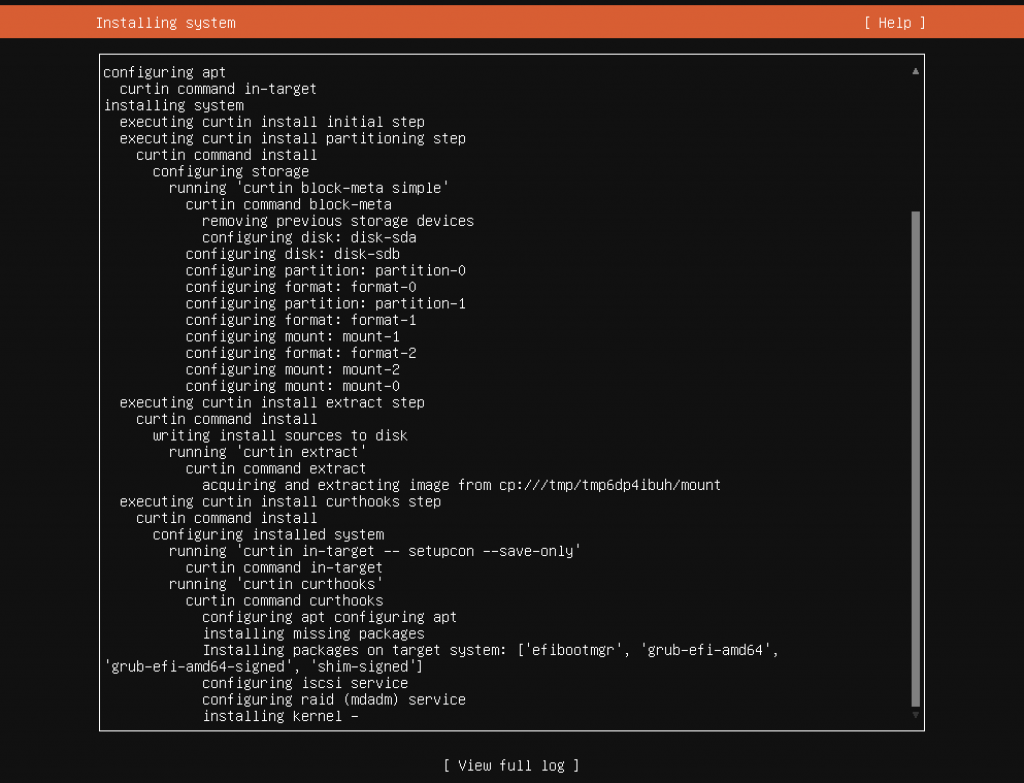
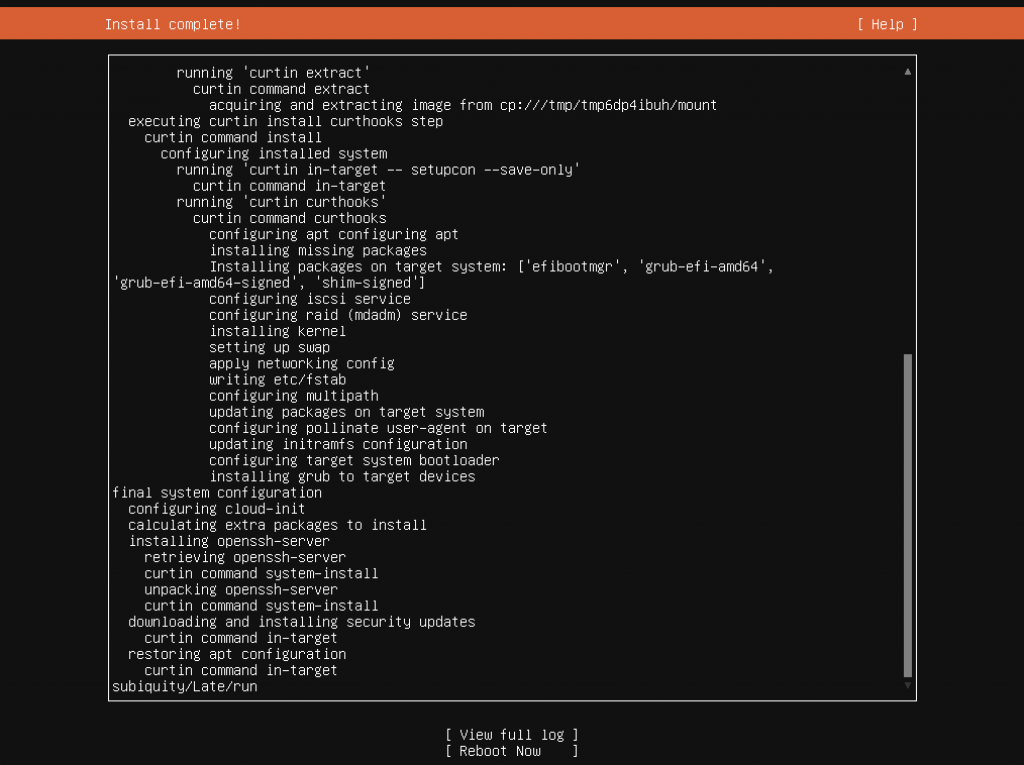
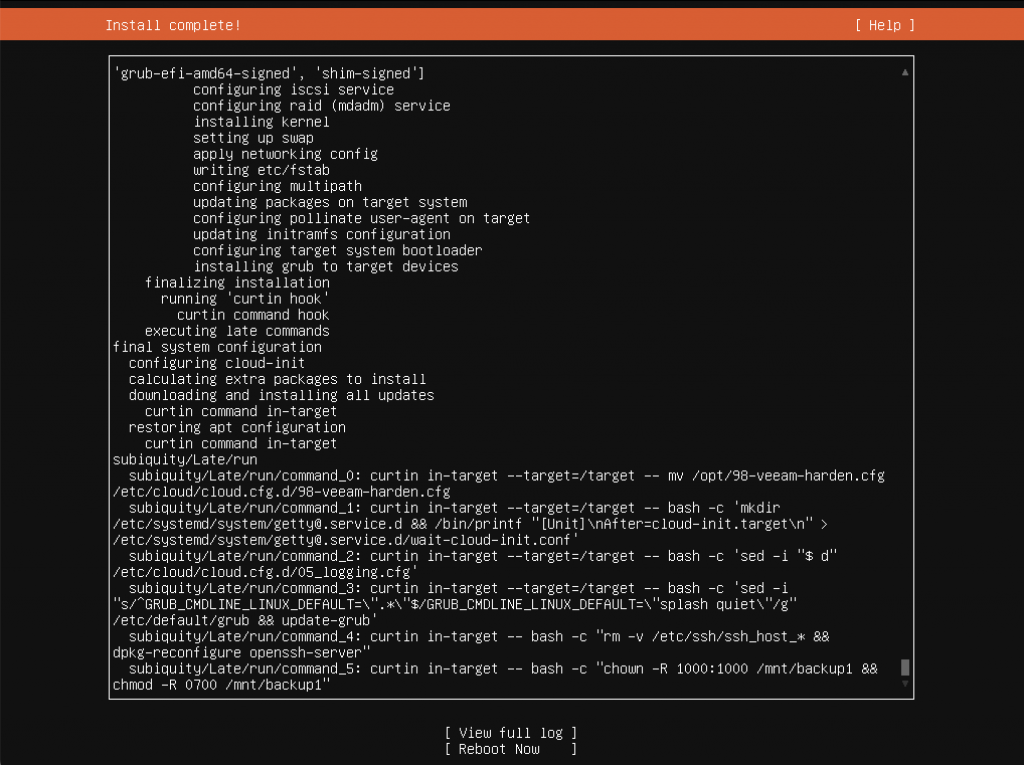
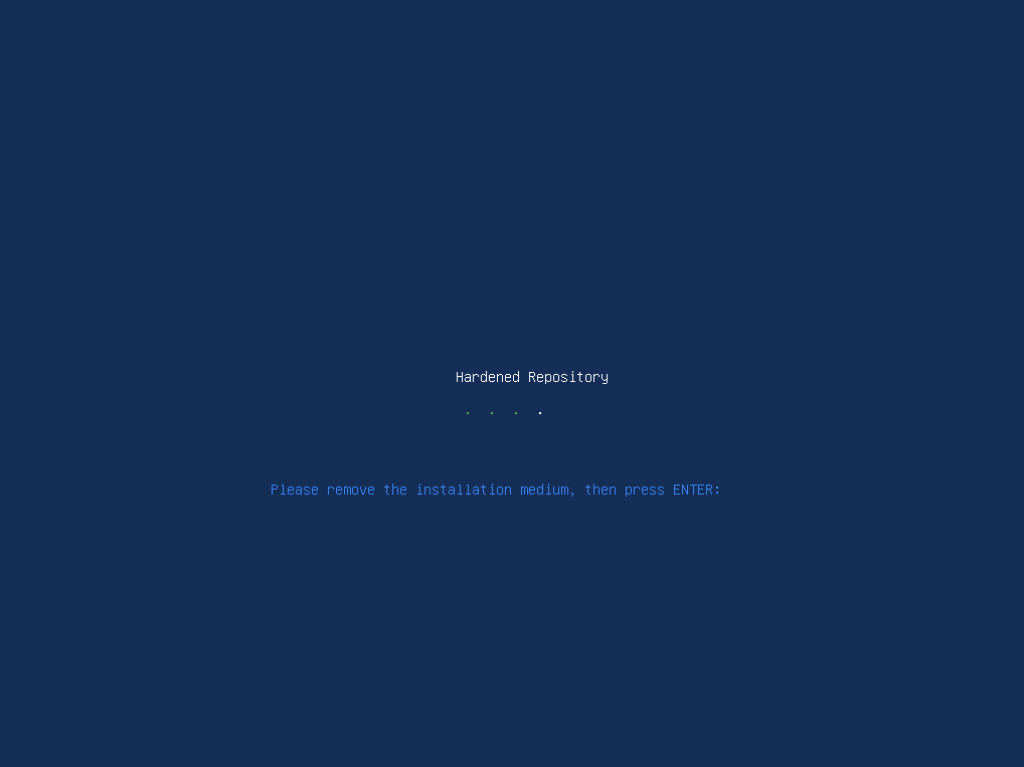
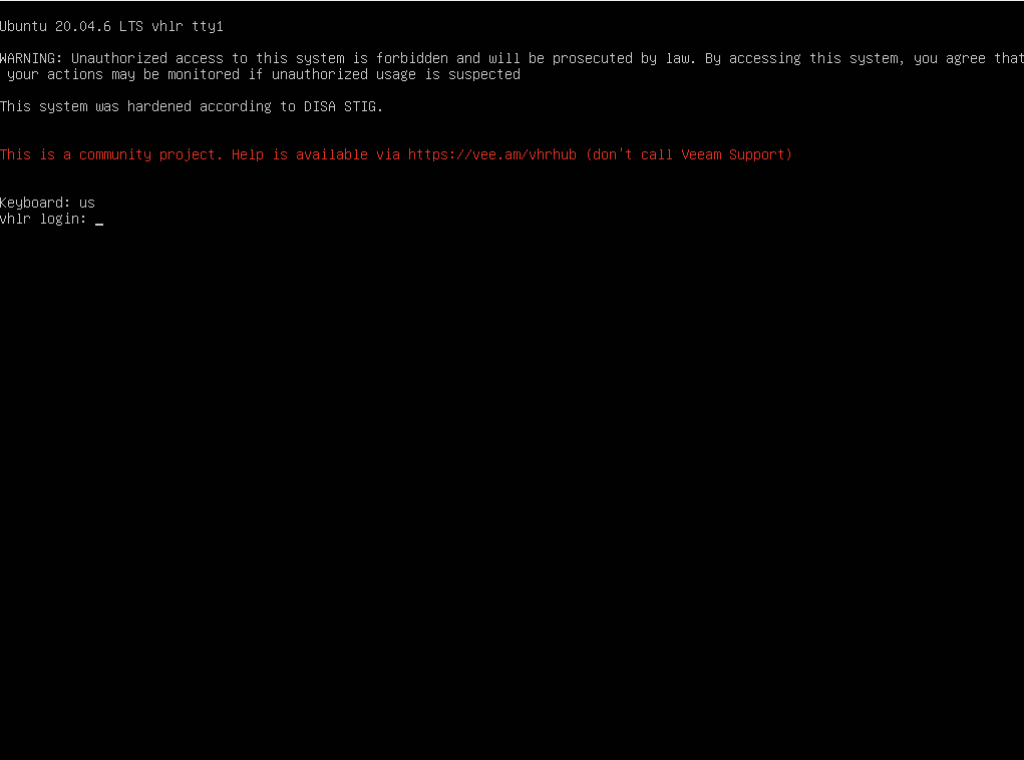
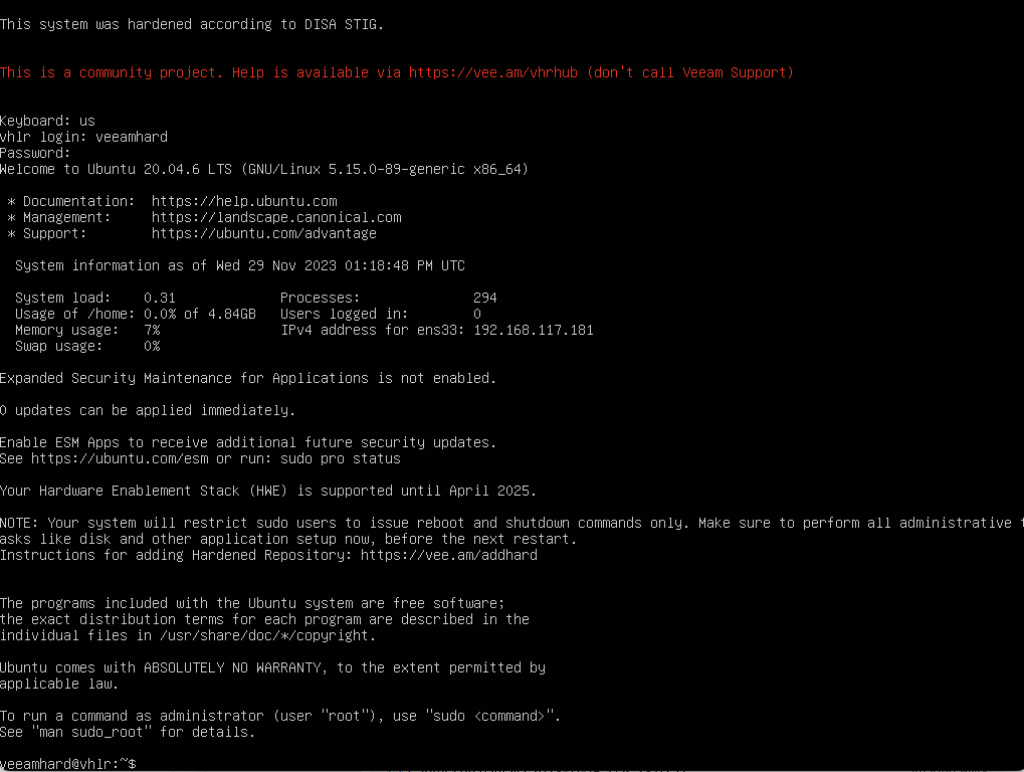
If you want to install Ubuntu Server yourself and then apply the hardening, here are screenshots of a standard installation followed by the script.
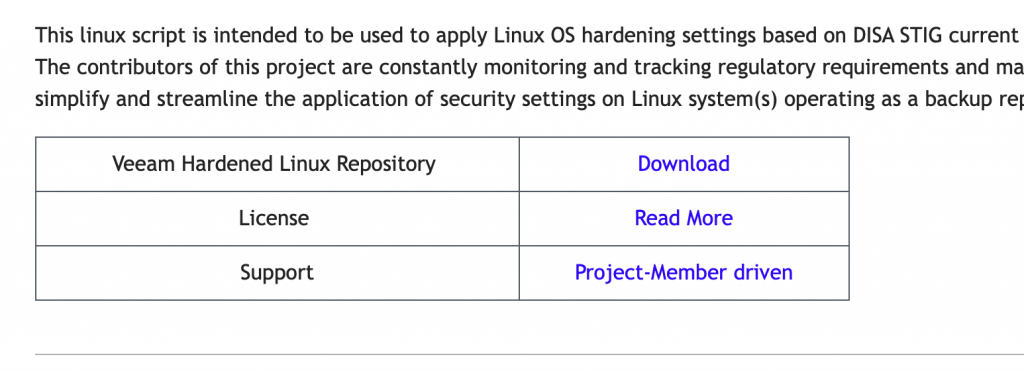
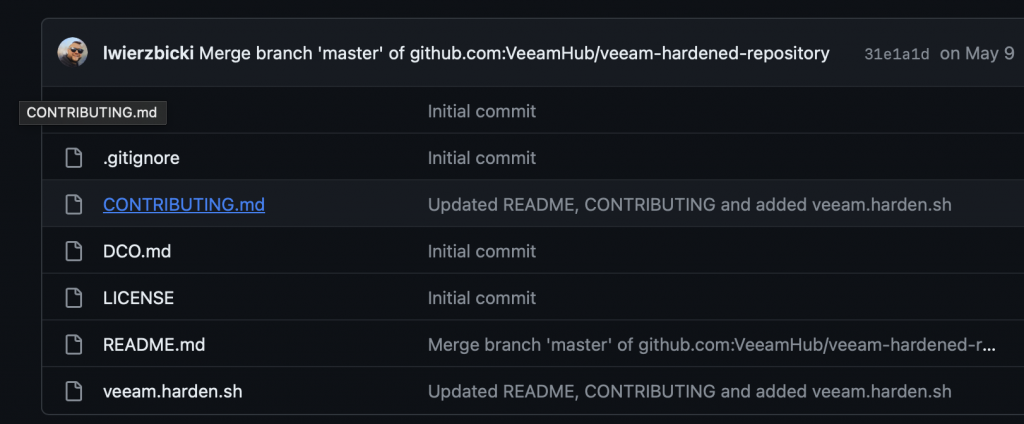
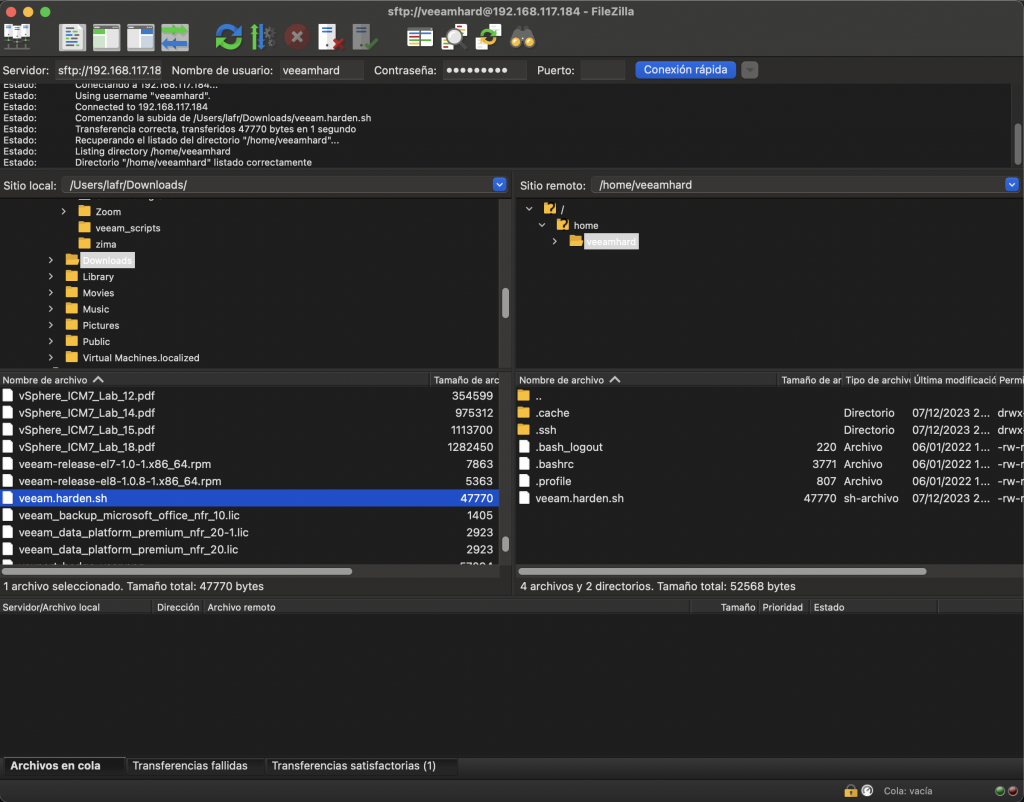
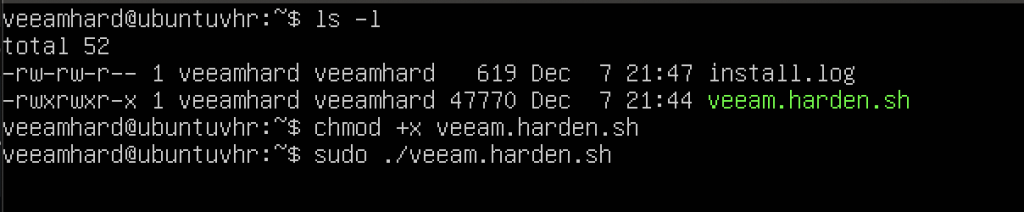
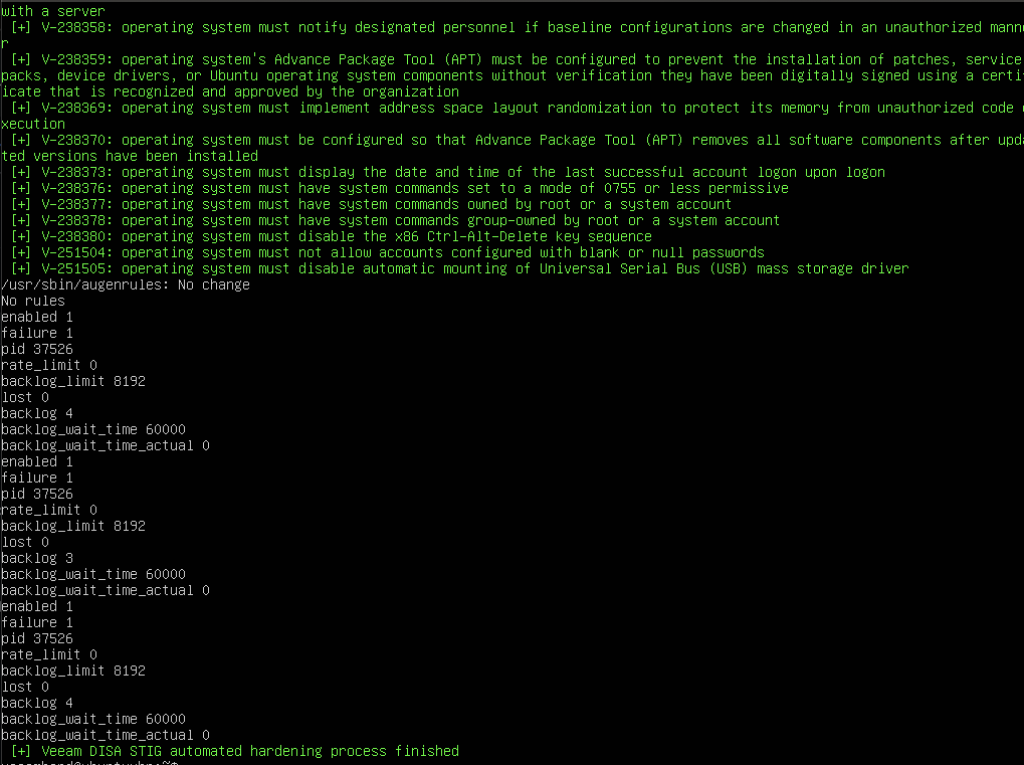
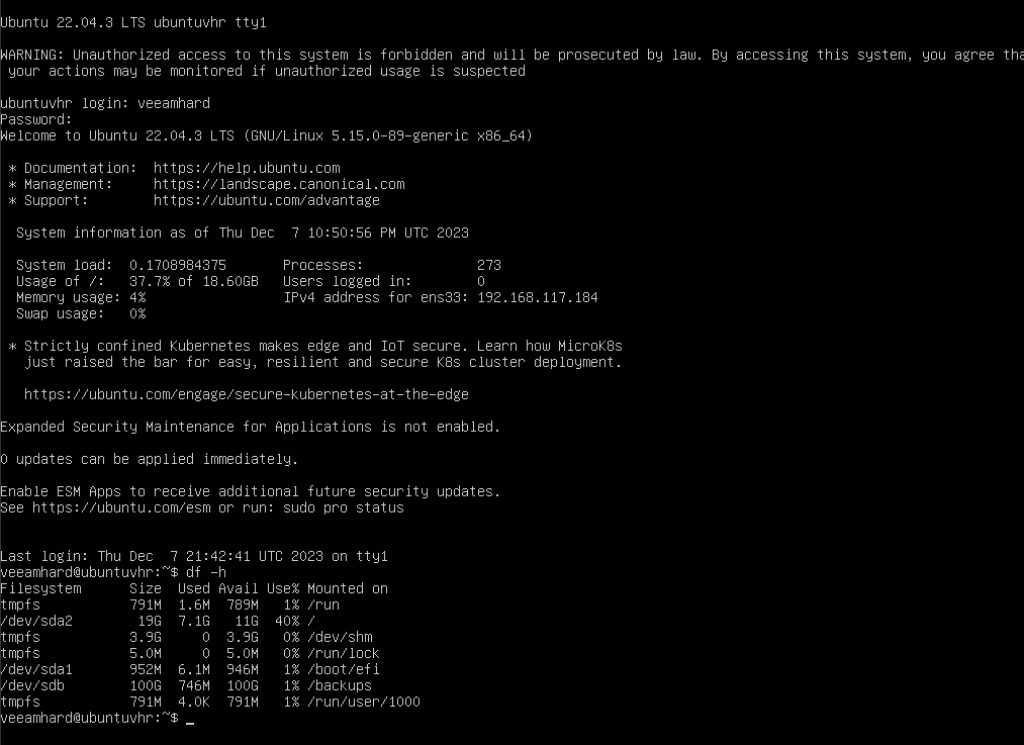
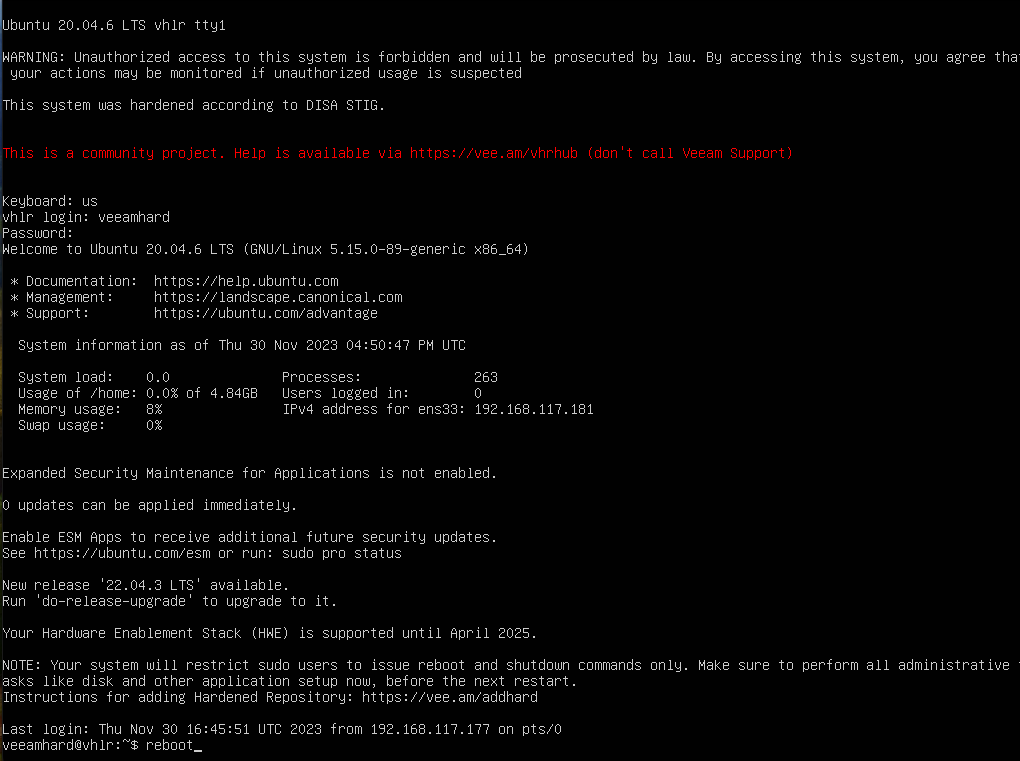
Go to the “Download” section.It takes us to a Git repository, where the script is available.I downloaded it to my computer and uploaded it to my Ubuntu server over SSH. Choose whichever method you prefer.Important: after copying the file, make it executable and run it with superuser privileges.The script is doing its thing…Done! Everything has been applied and installed.Here, after rebooting and signing in, we see the familiar “Disclaimer” message at the top. We can also see the mount points: the system and /backups, where we’ll store immutable backups later.
Done!
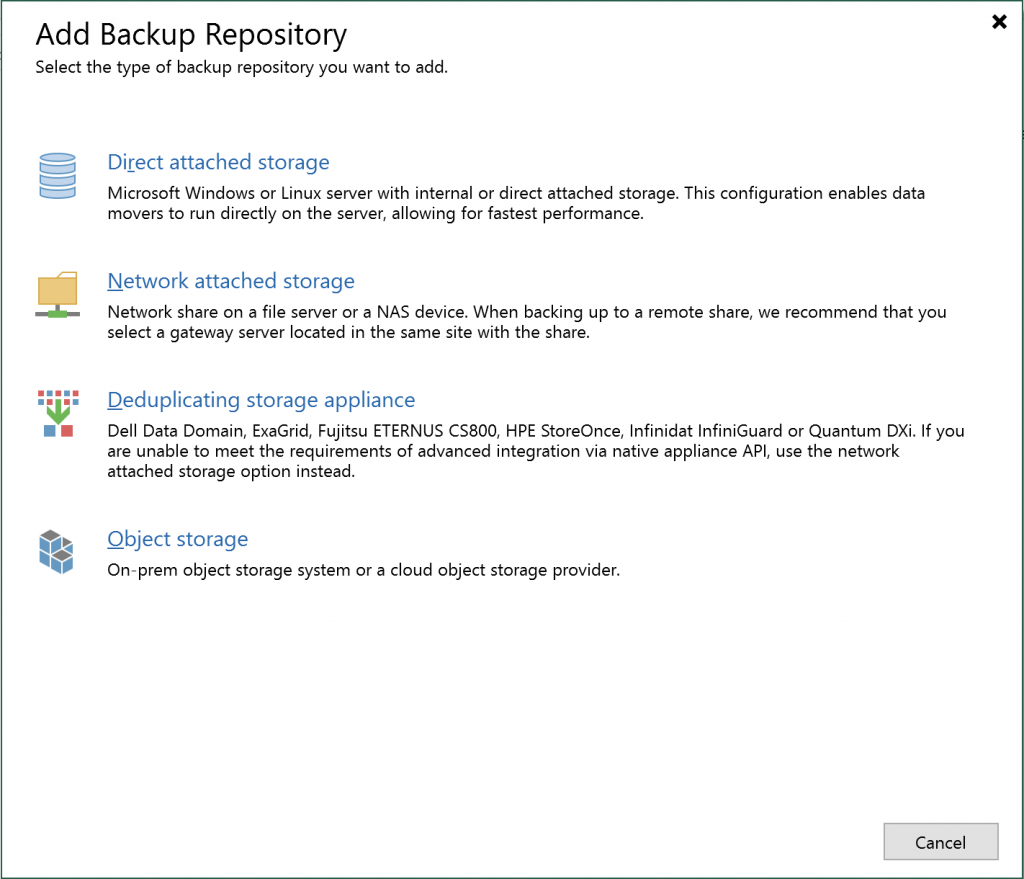
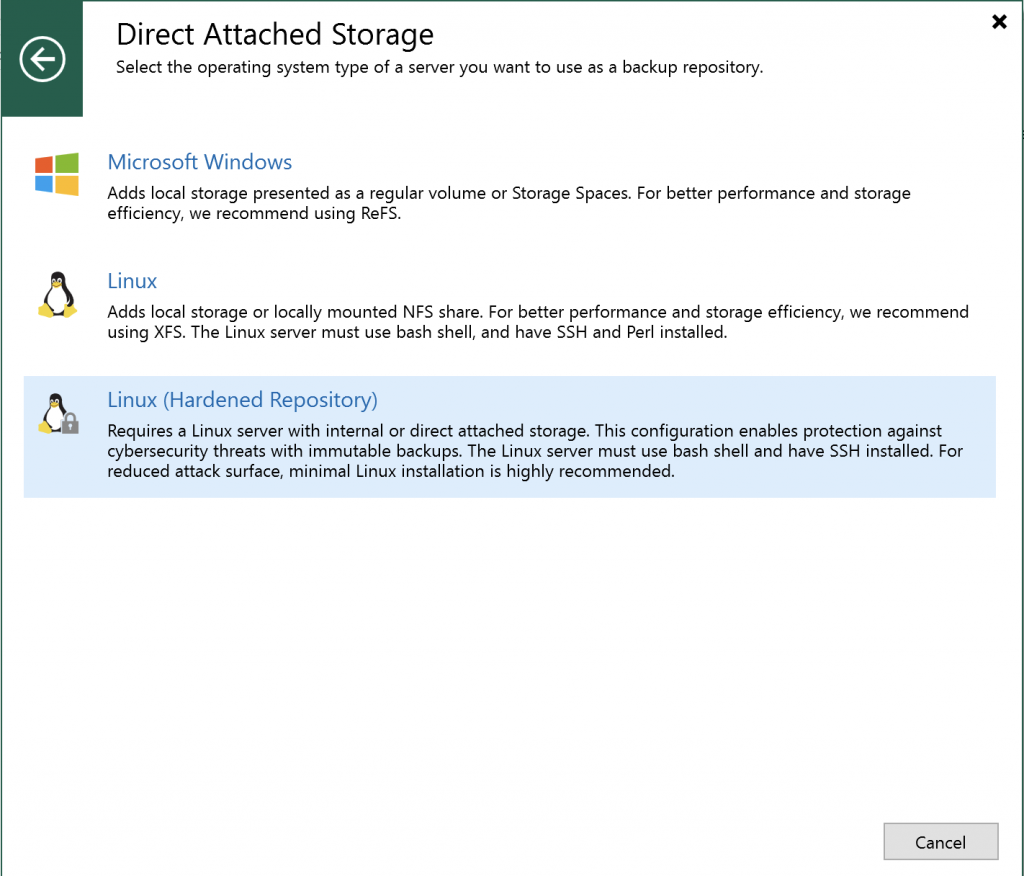
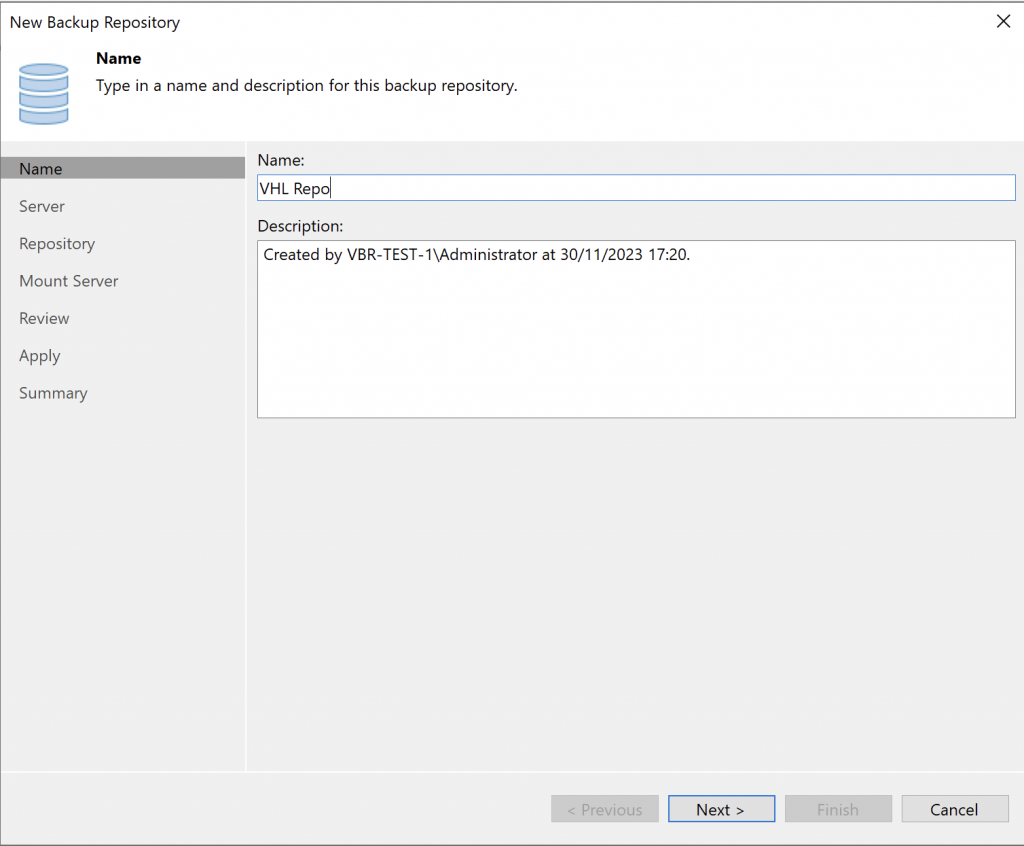
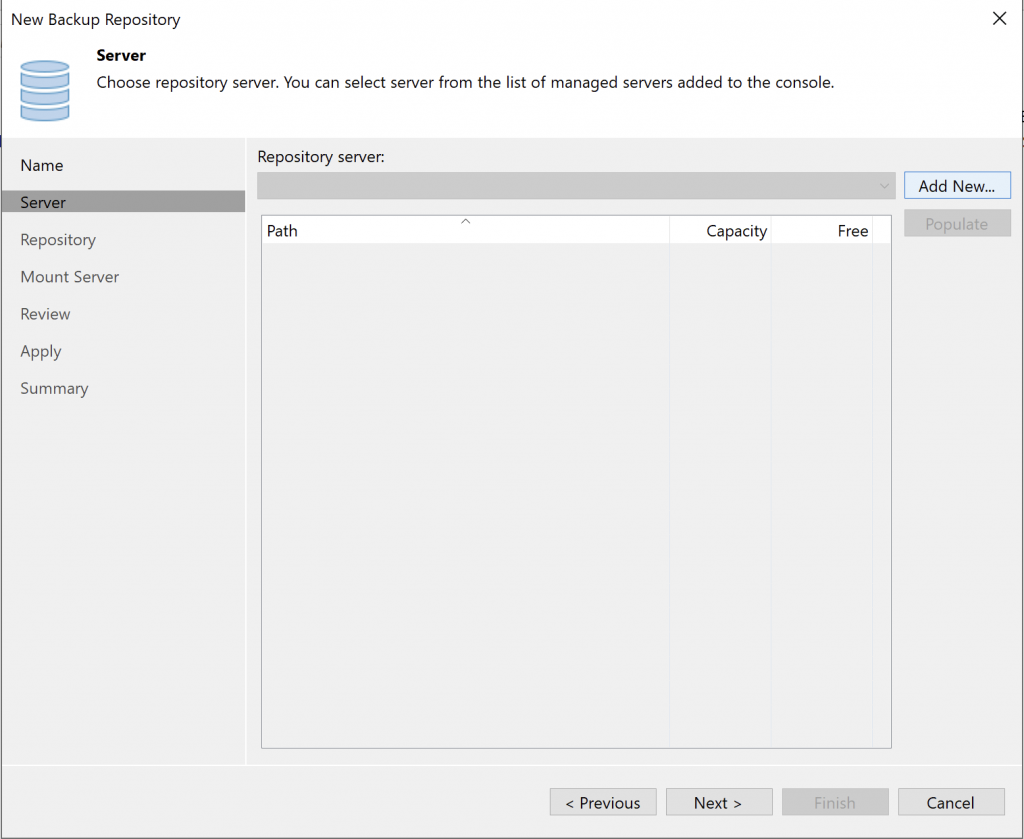
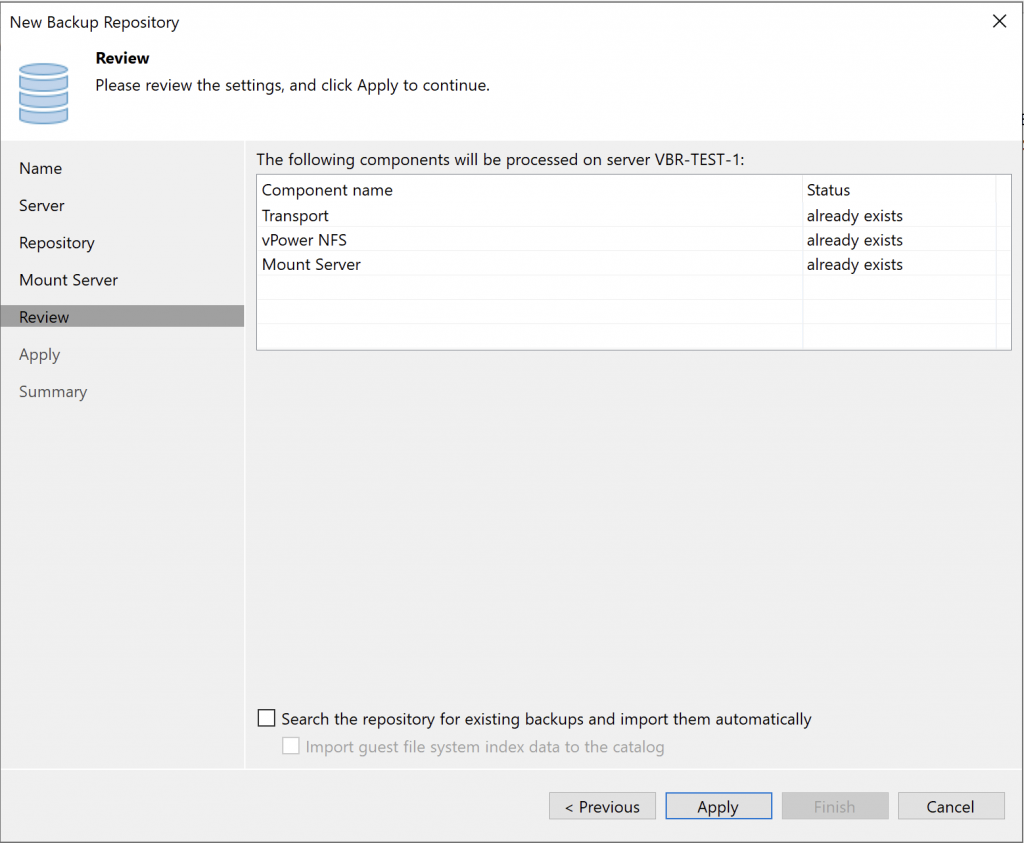
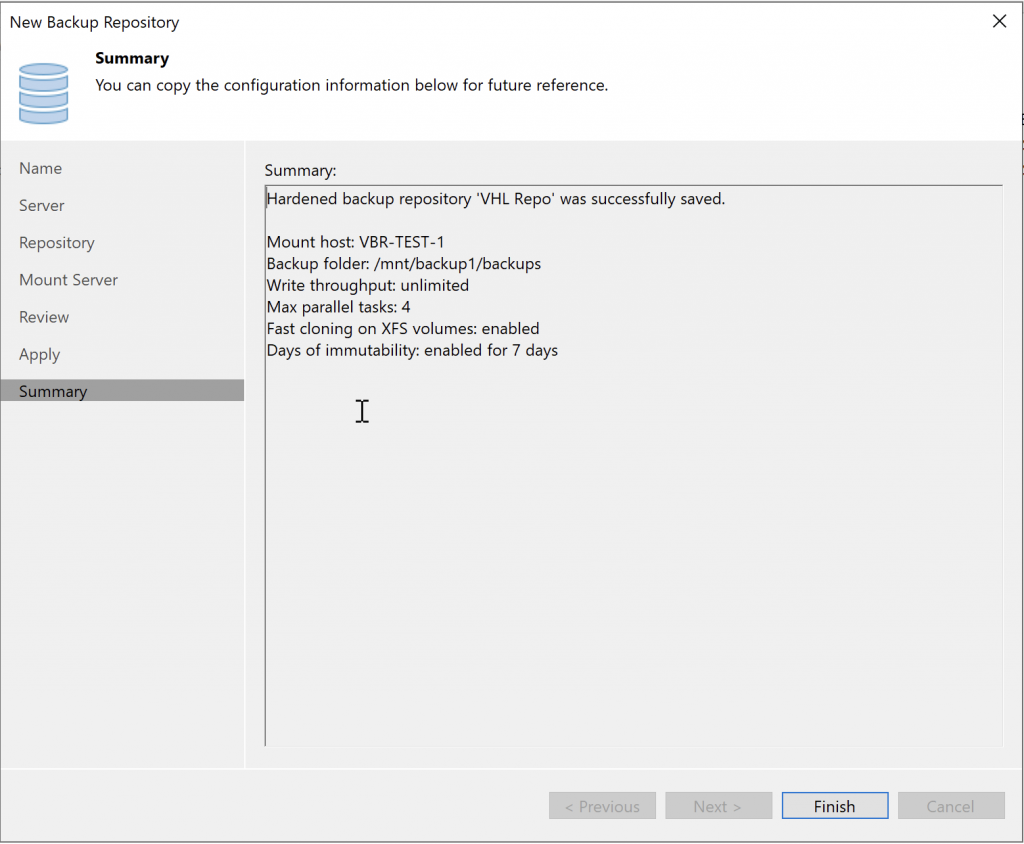
Our Ubuntu Server has been hardened, and we can now follow the next article to add the repository to Veeam B&R v12 and make it immutable, starting with adding the repository to VBR v12.
Hi! Today I finally got around to deploying and testing Veeam’s excellent VHR project, the VHR “Veeam Hardened Repository.”
It is a packaged Ubuntu Server deployment that has been hardened using DISA STIG security guidelines.
You can install the OS yourself and then run the Hardened script, but I was more interested in trying this “packaged” deployment.
I’ll share screenshots and a few comments; the process is very simple. For this test, I deployed it as a virtual machine. However, VHR is designed to run on a physical server, not a VM.
You can find all the information and downloads here!
Let’s get started:
As a prerequisite, the installer looks for the smallest disk for the OS and the largest disk for the repository. I used a 20 GB disk and a 100 GB disk, and both were detected automatically. For a physical server deployment, a RAID controller is recommended: a small RAID 1 for the OS and RAID 5 or 6 for the repository.
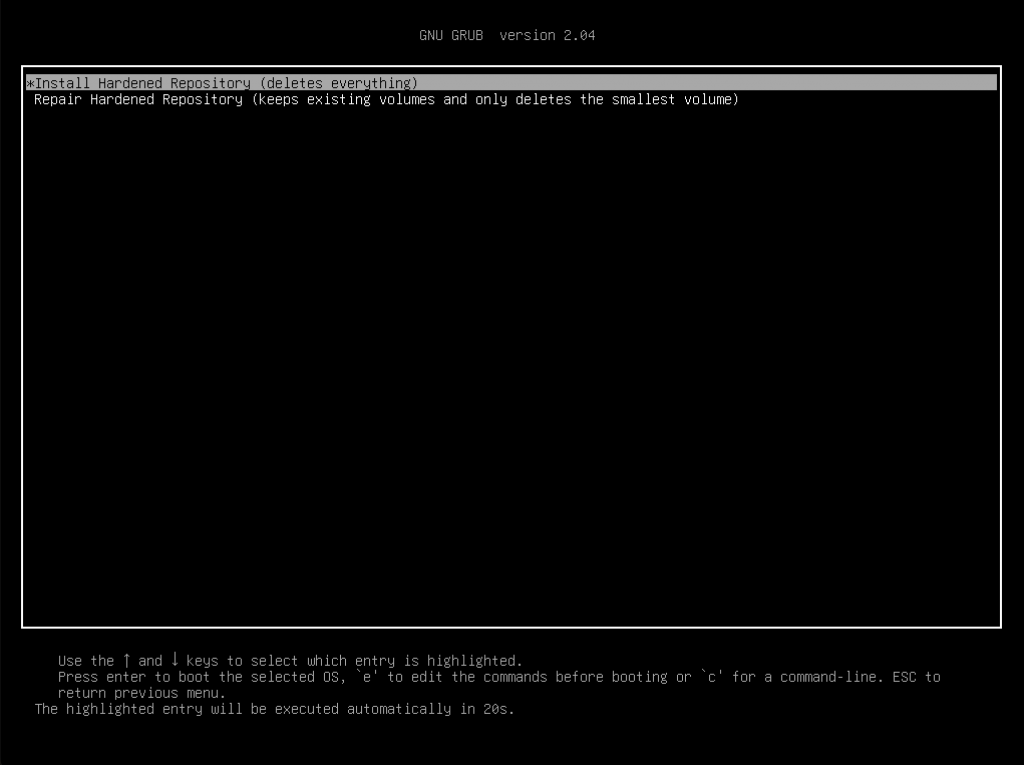
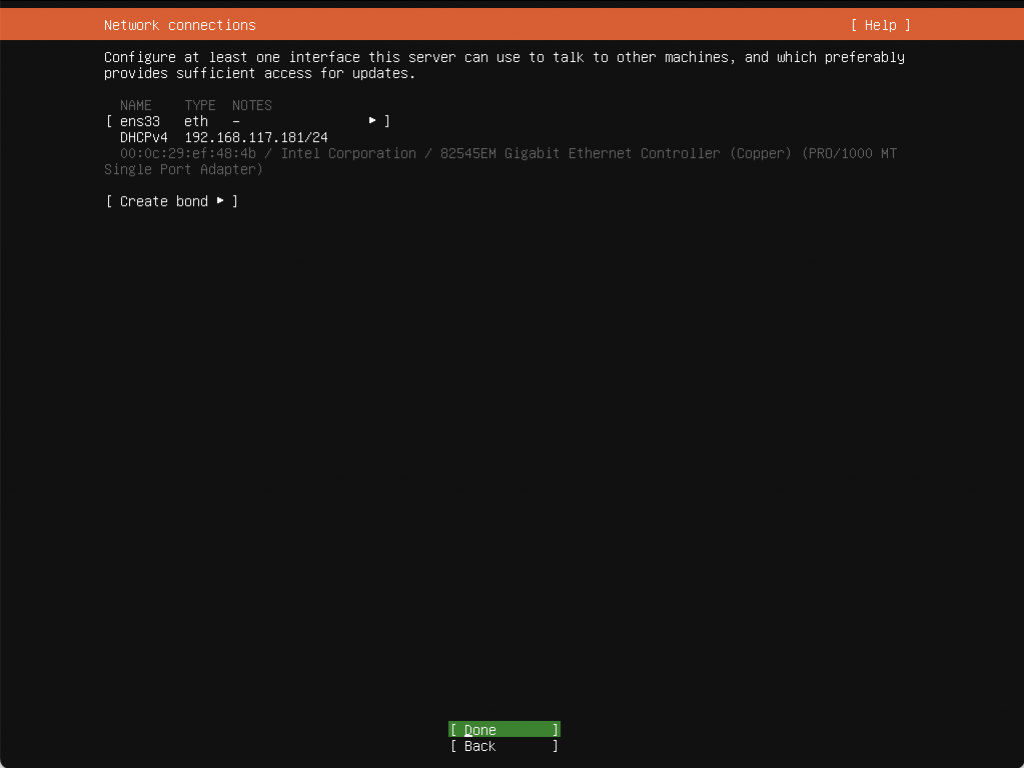
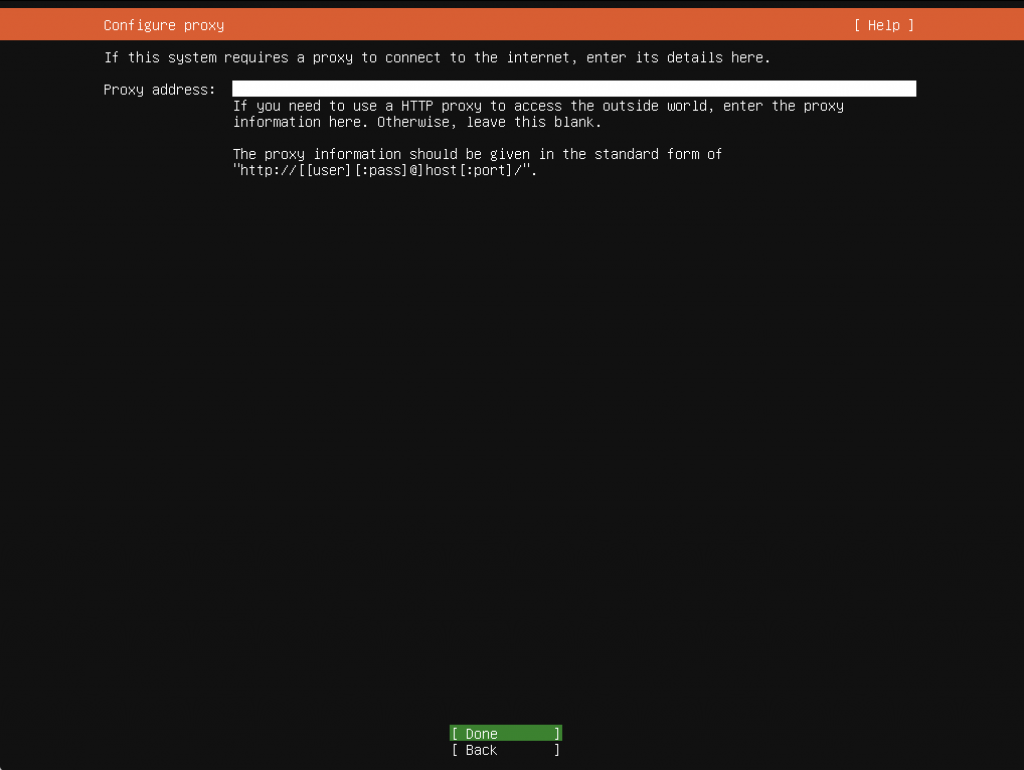
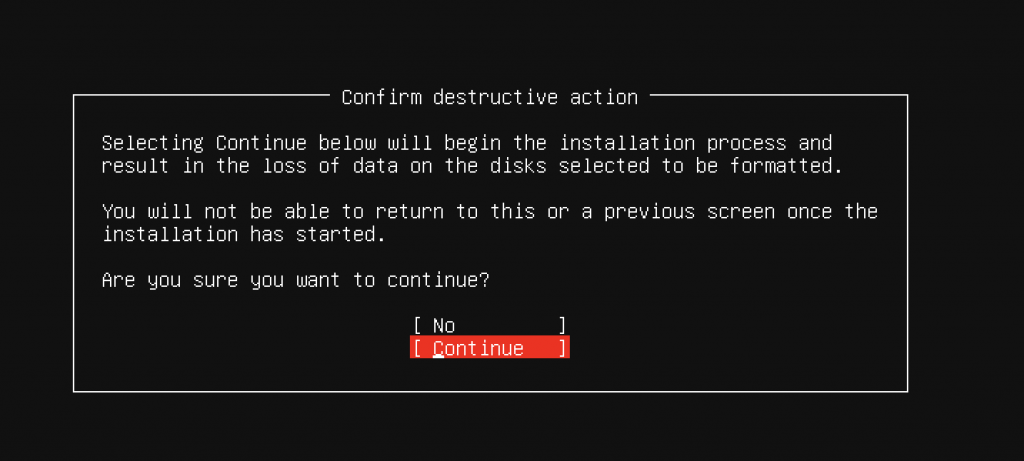
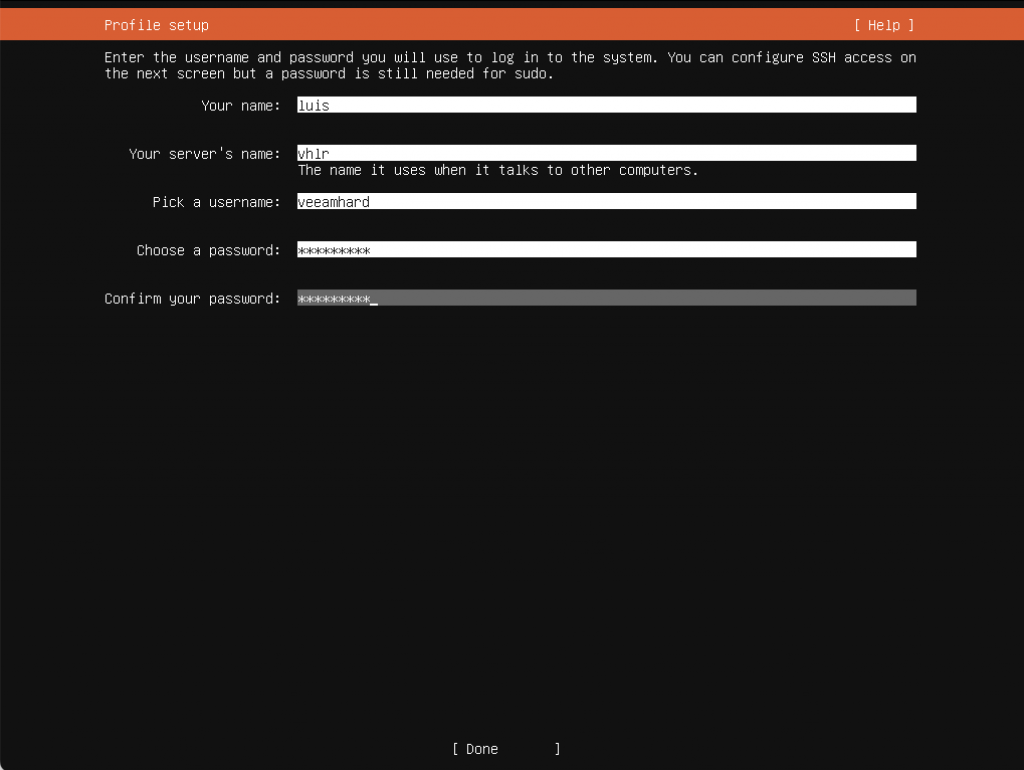
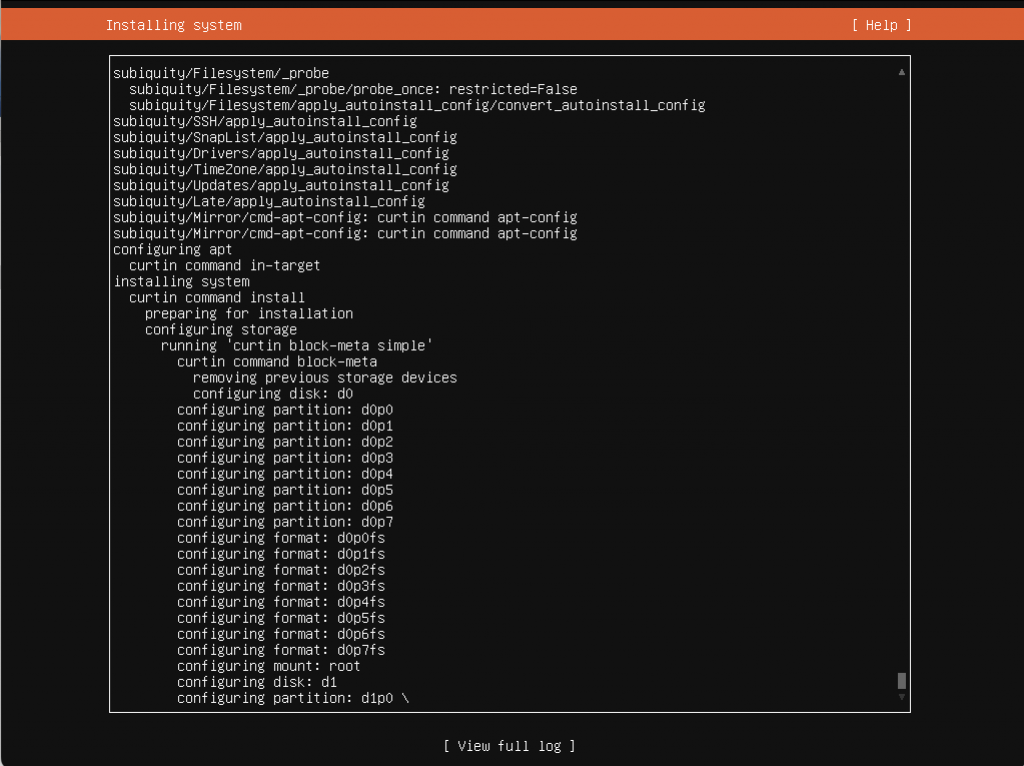
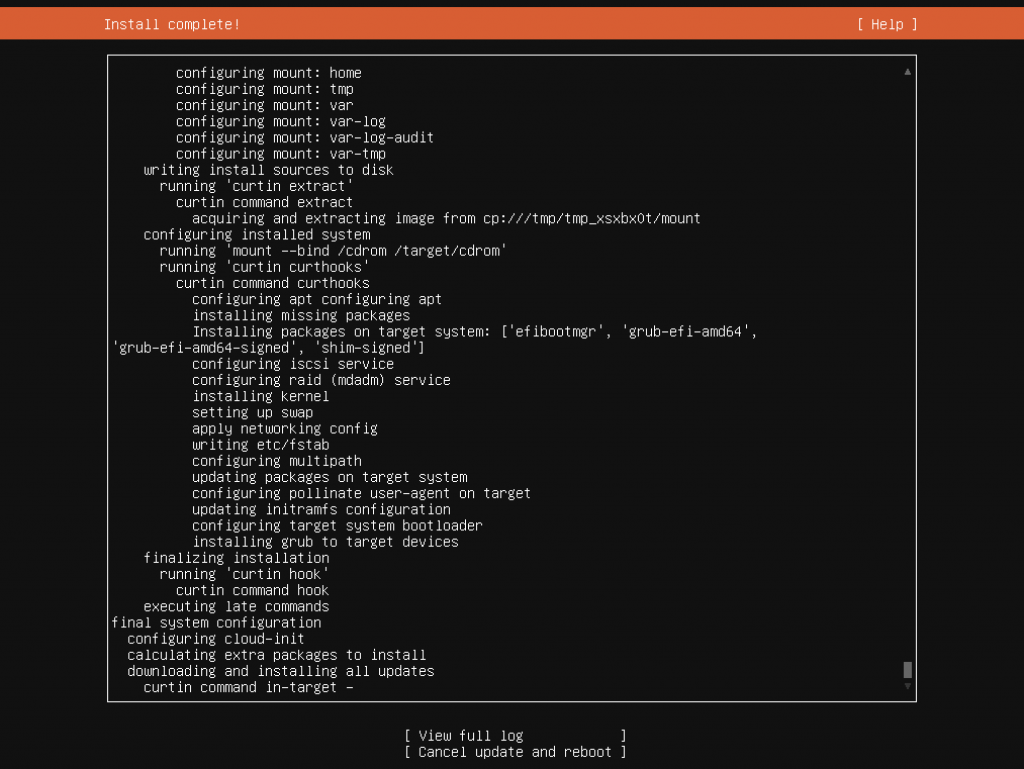
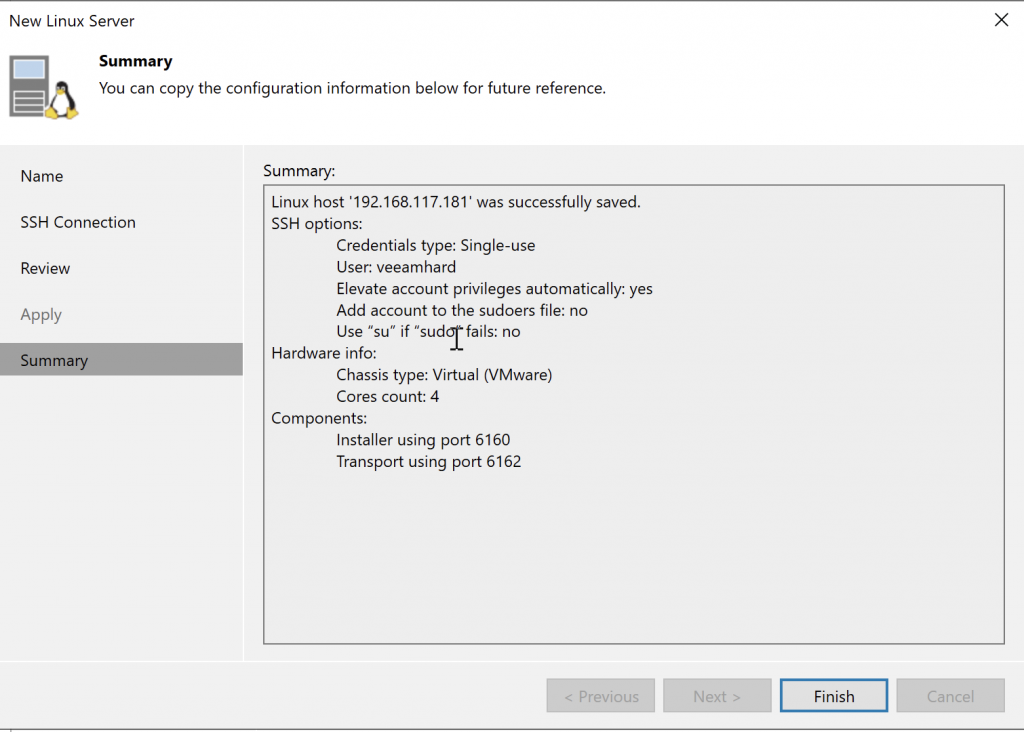
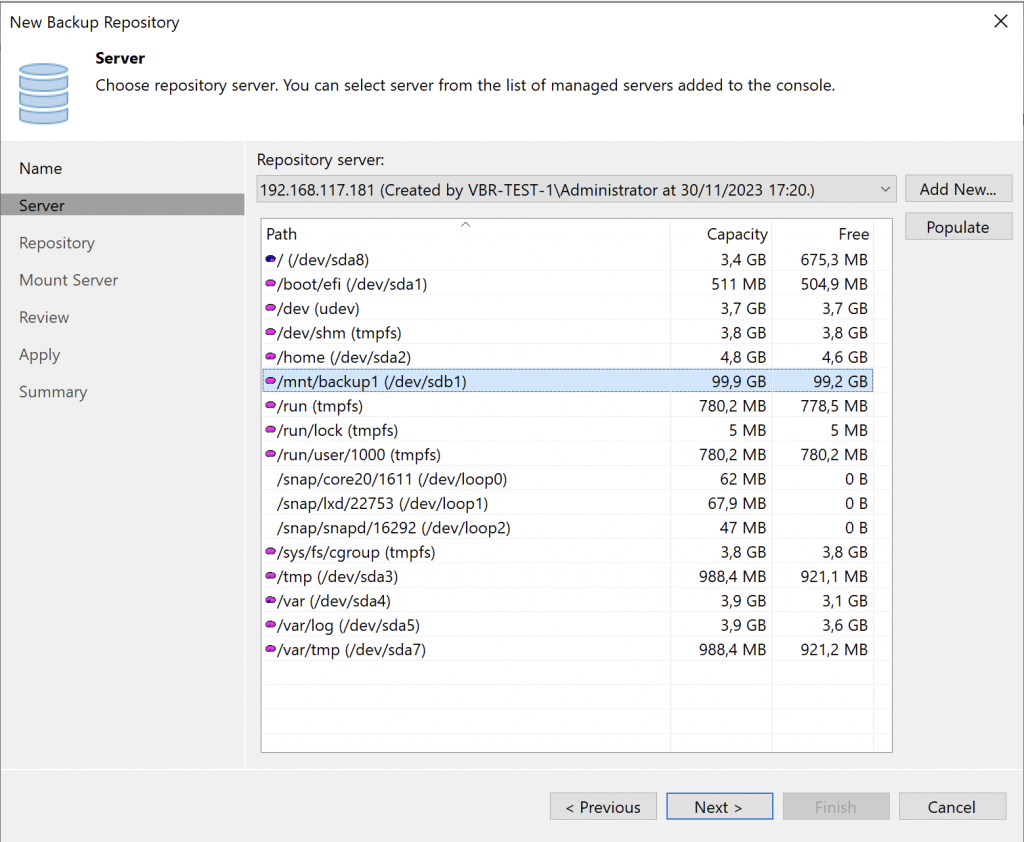
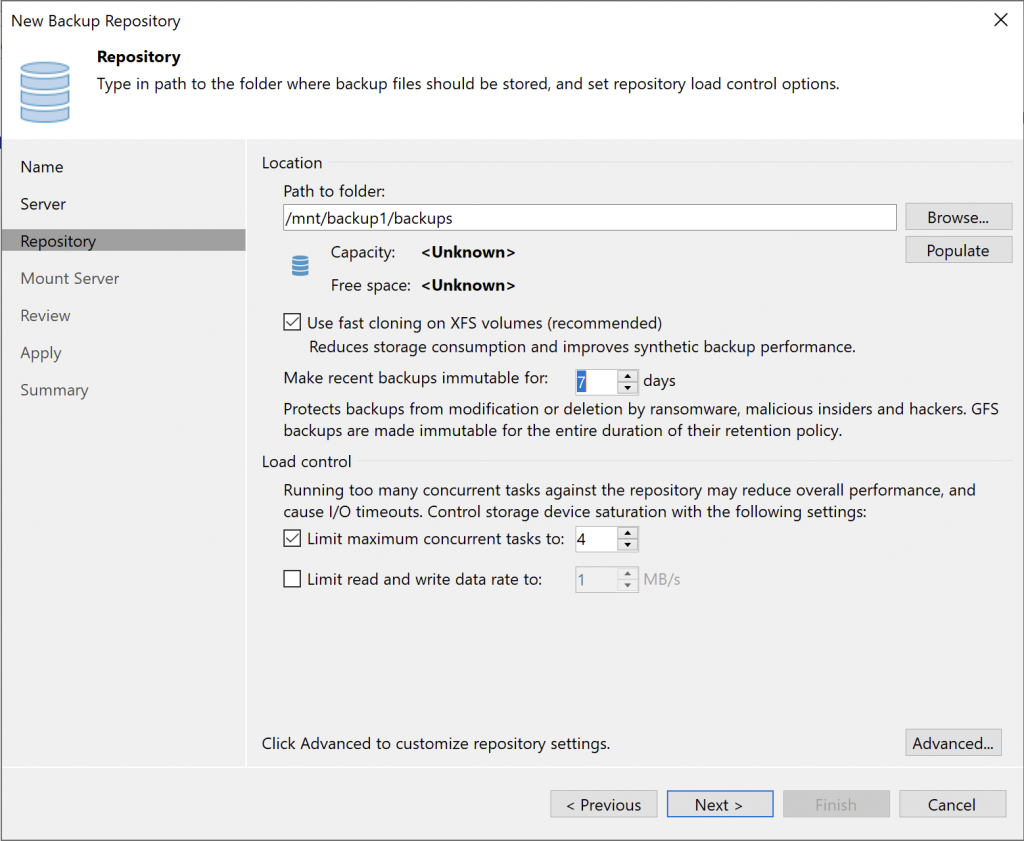
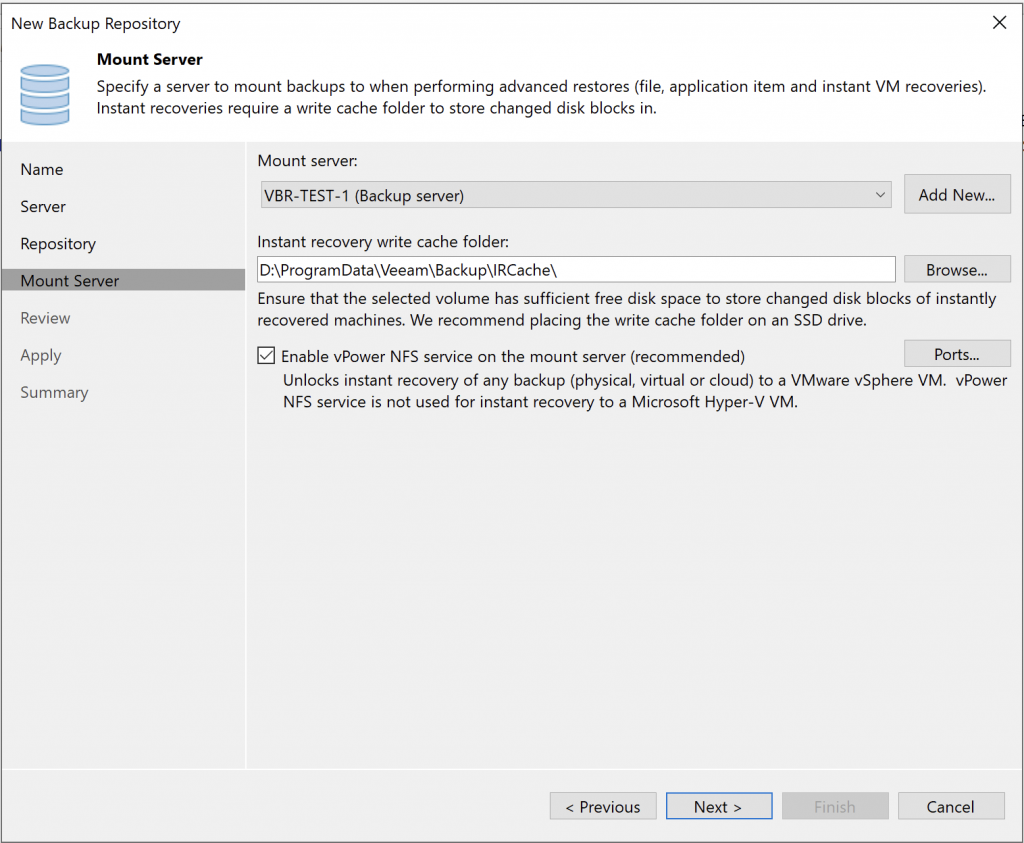
Boot the ISO.Network configuration: a bond using two network cards is recommended and easy to set up with the wizard. In my lab, I used a single DHCP-configured network card.If you use a proxy server for internet access, be sure to configure it, since the installer downloads security updates during setup.WARNING! This will erase all data on the disks and install the OS and repository. If you are reinstalling the OS because of a failure, do not do this or you will lose everything.Create a user.Here we go!The updates are running.That’s it. Now reboot.On first boot, sign in with the user you created earlier…Read the disclaimer carefully: after this initial setup and reboot, the OS will be hardened and all commands will be disabled for this user except reboot and shutdown! Make any adjustments before rebooting, and add the server to Veeam VBR first! In VBR, open the wizard to add a backup repository.HARDENED!!!Add the VHR server you just deployed.Use single-use credentials; otherwise, the connection will fail. This is a hardened repository, so every detail should be as secure as possible!Continue through the wizard. Select the drive where you want to store the backups: the repository drive!Set the immutability period in days. I left the default at 7 days!Continue with the usual repository configuration.Done!Here is our immutable repository, ready to use independently, as a SORB, and so on…
Now return to the VHR server we deployed to finish hardening it!
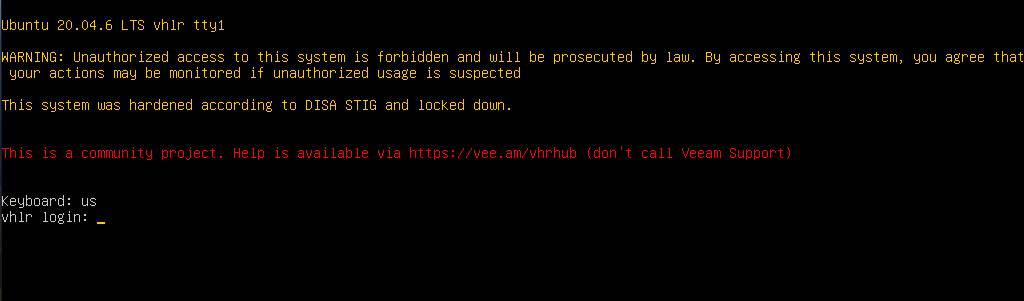
As you can see, we’ve added it to VBR. Now reboot the server. The hardening script will run, leaving the user with only the shutdown and reboot options.Done! The disclaimer confirms that hardening has been completed. Everything is ready to use the repository on our secure server.
To troubleshoot, reboot and sign in to the server as root in standalone mode from the GRUB boot menu, since root is disabled and our user only has reboot and shutdown permissions.
I hope you found this useful and that it helps you deploy this great option. I run it in my lab. As the documentation says, use it at your own discretion. It is unsupported, so you cannot open a support ticket for it!
To monitor the disks for failures, configure your server’s ILO, IPMI, DRAC, or equivalent, since the VHR OS does not send notifications.
I had a case during this week, and I wanted to share my experience / workaround with y’all.
I wanted to export a backup to an external drive, the VBR was a virtual machine, and no access to the Hypervisor to plug the USB and push it to the vm.
Now you may think, mount it somewhere and share it over the network as a shared folder…
I did, and was not working, some windows stuff that we were not allowed to share any unit, and was driving us crazy!
We did some research, and remembered that there was a way to share / mount remote USB Devices over the Network! now, time to give it a shot!
The idea is very straight forward, a Server machine, where the USB Devices is located at, and a client, to mount the remote resource as “local”.
USB SERVER(Local USB Drive)→NETWORK→USB CLIENT“Remotely mounted USB Drive”
You simply download the Server and client, and execute them in the decided machines, couple of easy configs, and you are good to go, let me show you some screenshots.
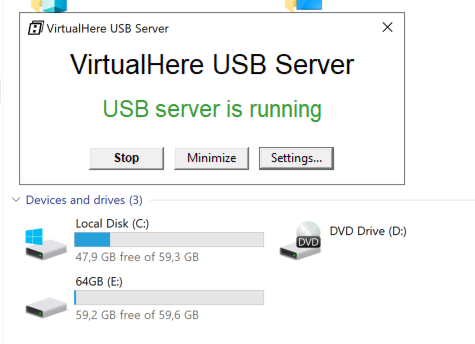
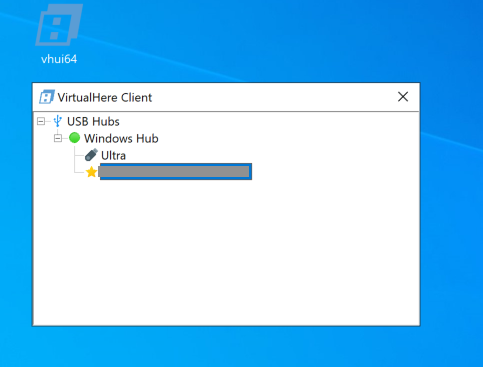
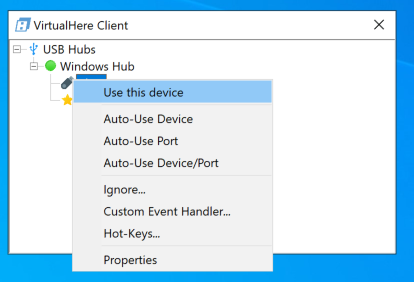
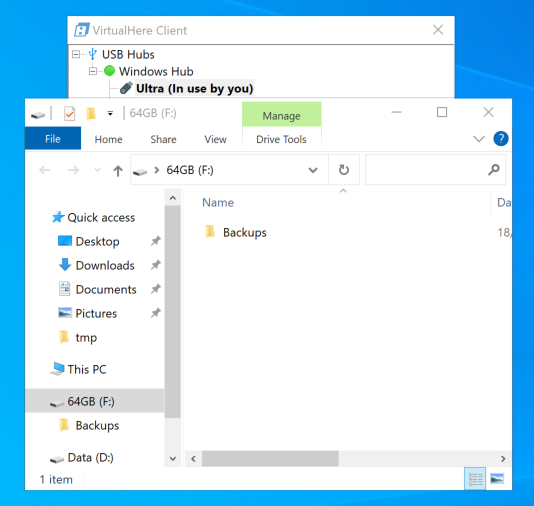
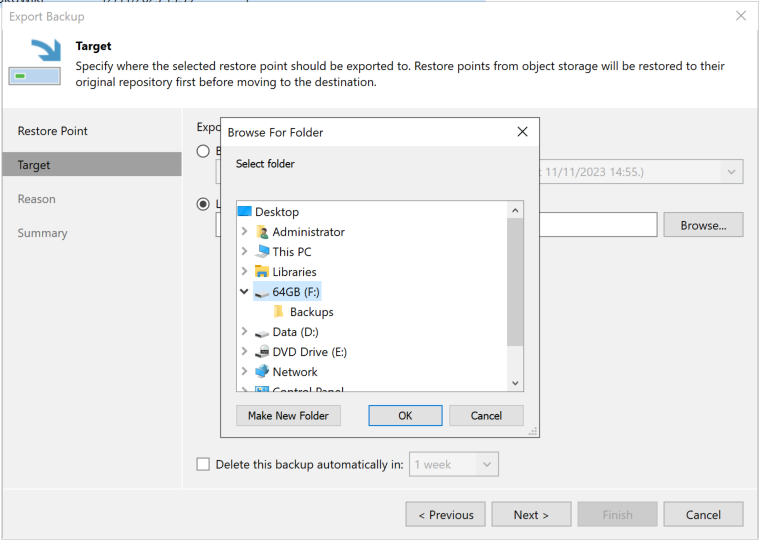
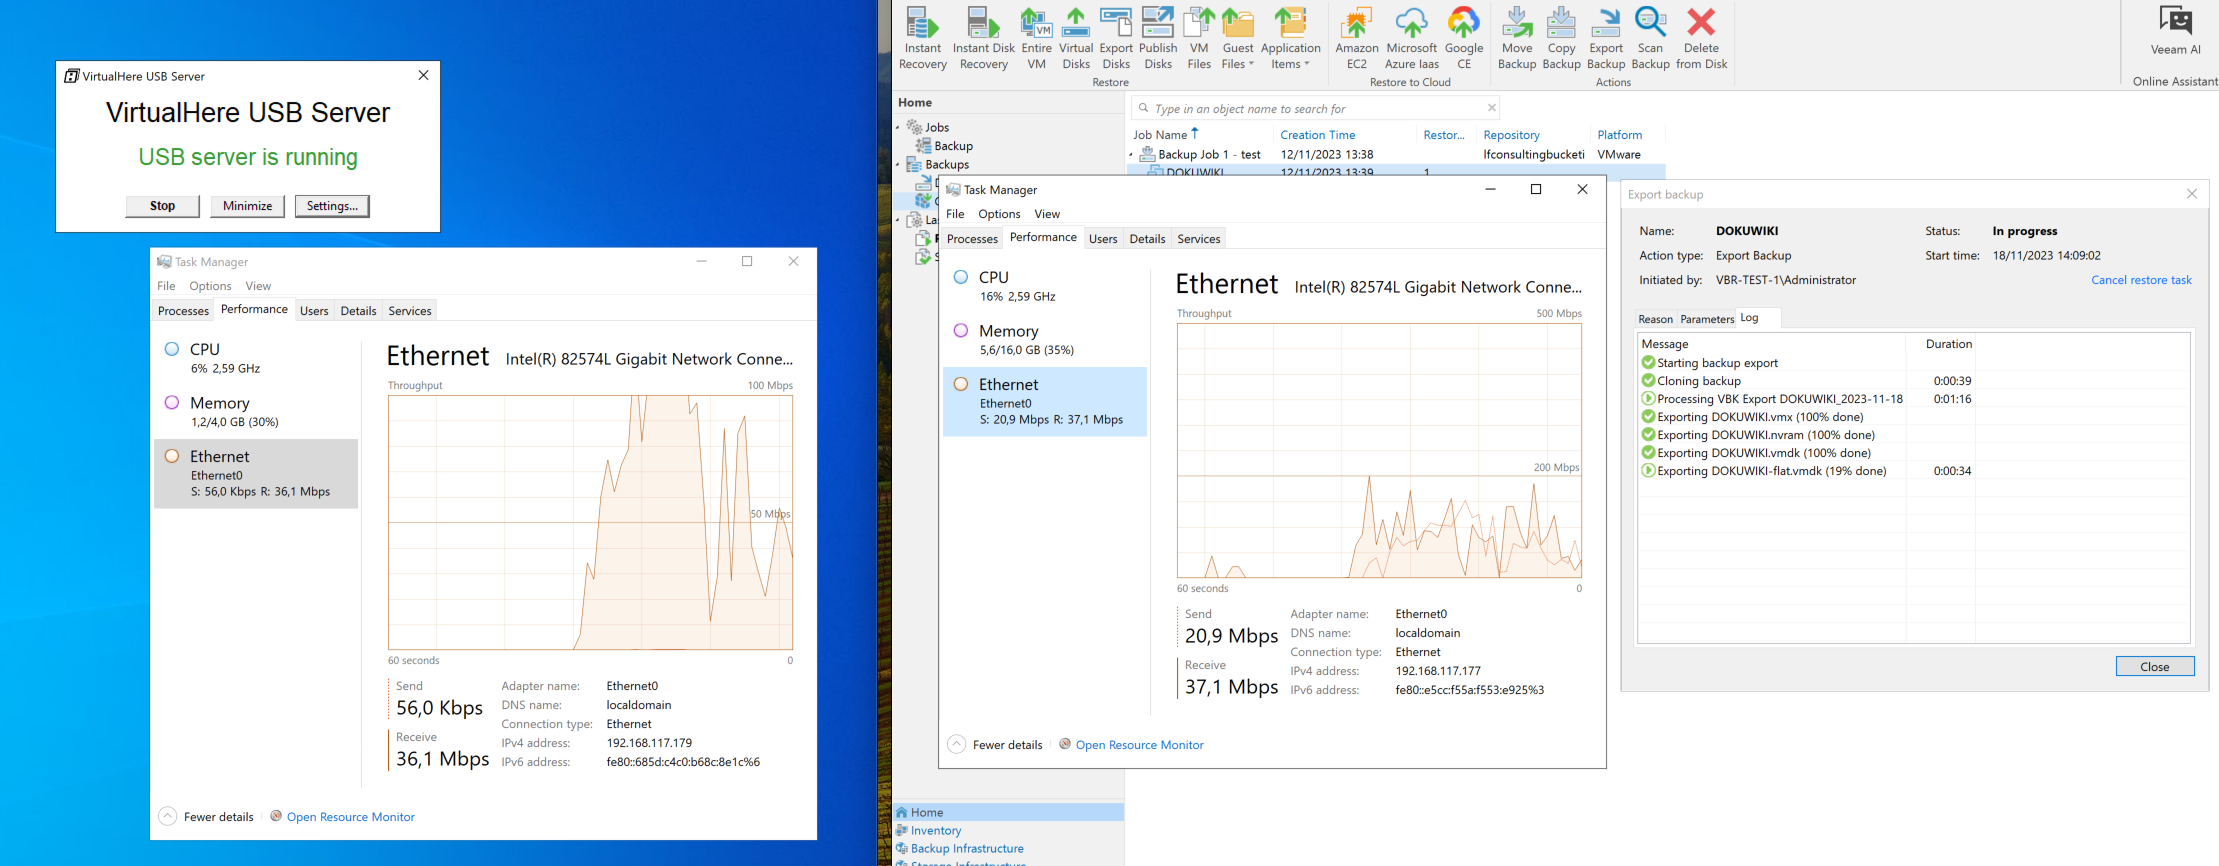
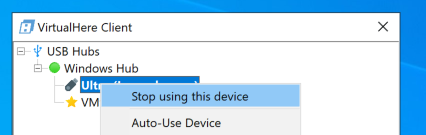
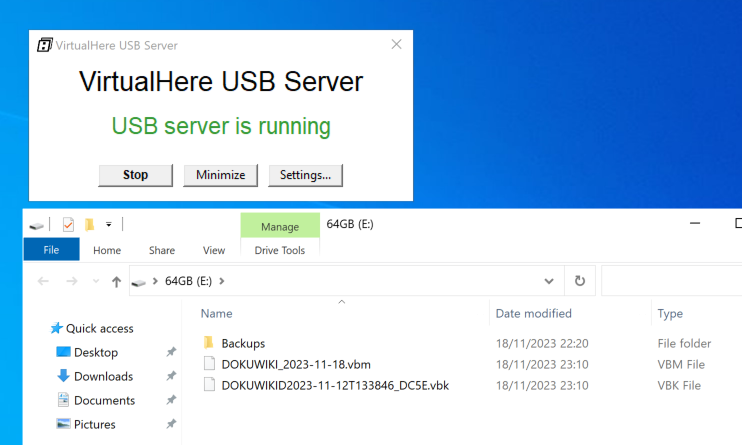
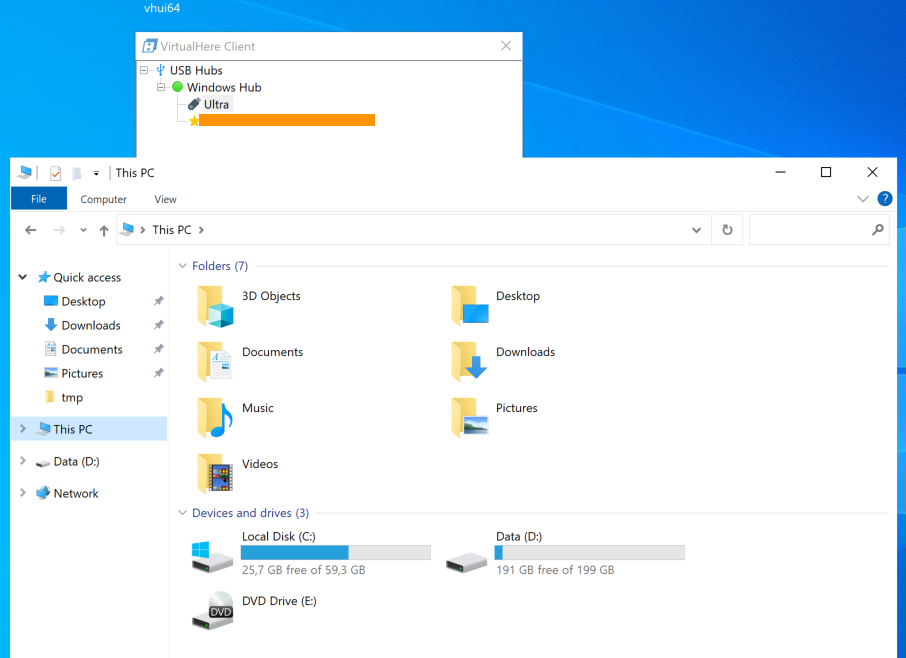
VirtualHere Server running in the workstation out of the Vsphere environment.Client running in the VBR ServerWe right click into the device we would like to mount remotely – locally.Boom! now shows the USB Drive like being plugged locally, its not!VBR Sees the unit from the system, so now we are good to export the backup to it.Some networking traffic going on, sending the files to the USB drive.After the usage, we unmount the unit by right clicking and stop using the device.Now we can see here at the “Server” that the unit has the files into it! worked perfectly.Finally, you can see that the USB Drive is unmounted in the VBR server, all the files copied ok.
Hope you liked this little workaround,
now, planning and thinking in future usages for this great tool.
Just wanted to highlight that I used the “Free” Version, which only allows to mount one USB Device at a time, there is a licensed version, but not used for now. Also wanted to tell you that I have no relationship at all with them, just found it and wanted to share it with all of you.
Hi, This unusual request came from a friend who needed help with something: a server that needed a copy of its disk volumes for an audit.
My first thought was to restore the VM from a backup, then take the relevant VMDK files and do whatever was needed.
Then I had another idea: if it’s a virtual server, why not restore the VM files rather than the contents? That seemed like the simplest and most suitable approach for a VM.
But then I thought: what if it’s a physical server? How could we do it? Why not ask Veeam to provide the VMDK files directly?
Veeam can convert or provide not only VMDKs (VMware), but also VHD files (Hyper-V or Azure) or VHDX files (Hyper-V).
Let’s go through a few screenshots in case this is useful to someone:
Hi! In a previous post, we covered the Backup Move feature in VBR 12. It’s great.
However, I ran into a small error that prevented me from moving backups between repositories—in particular, from a local repository to an immutable S3 repository in Wasabi.
As the error shows, the issue was in the job configuration: it was set to run a Synthetic Full on Saturdays, which caused the problem.
We changed it to Active Full, ran a full backup, and then the repository move worked.
It’s a small detail to keep in mind when moving backups. Keep an eye on available space. An Active Full takes up space, and depending on your resources, you could run into issues.
Another detail to keep in mind when creating jobs: if you expect to move backups this way, it’s worth preparing for it in advance.
I was lucky to get a TerraMaster NAS to test in my lab.
In this post, I’ll show you how it arrived, what it looks like inside and out, its basic specifications, and finally a few photos of my current setup and my impressions.
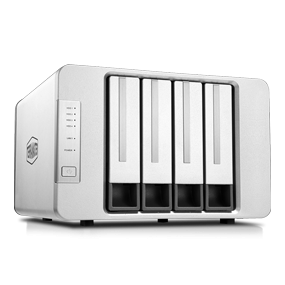
The four-bay F4-423 is designed for users who need high-performance storage. This performance lets users handle demanding workloads, while multiple enterprise-grade backup options help protect data and reduce the risk of data loss.
It is a high-performance storage solution that provides expanded virtual storage and a database for SMB users. It uses a quad-core Intel Celeron N5095 processor running at 2.0 GHz, with a maximum turbo frequency of 2.9 GHz. It includes integrated GPU graphics and AES-NI hardware encryption. It also has two 2.5 GbE network interfaces and 4 GB of dual-channel DDR4 memory (expandable to 32 GB). In addition, it has two built-in M.2 NVMe slots, which accelerate SSD caching and double the storage efficiency of your RAID.
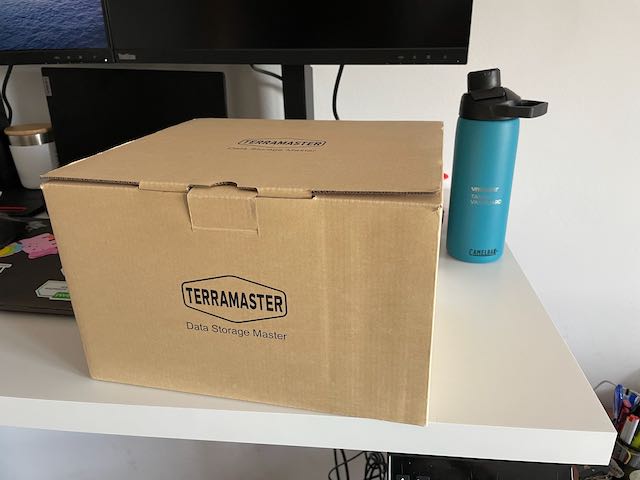
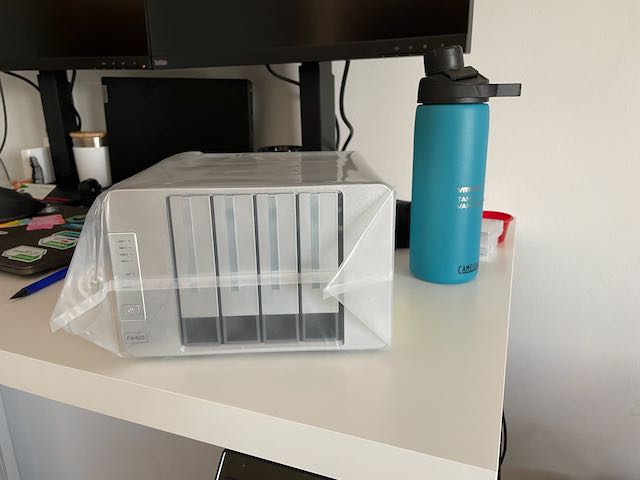
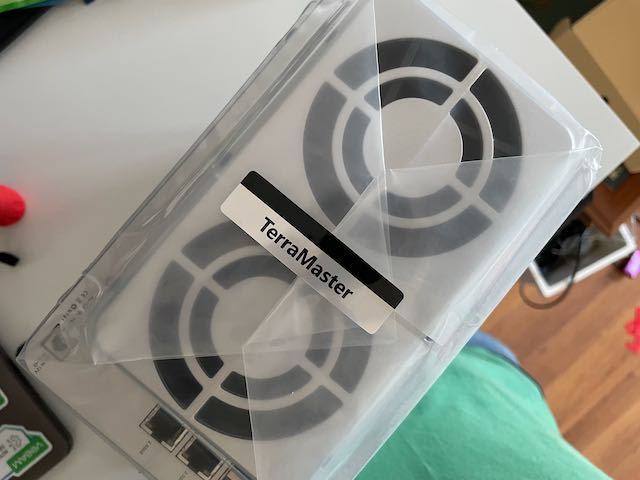
Let’s look at a photo of the box and how it comes out:
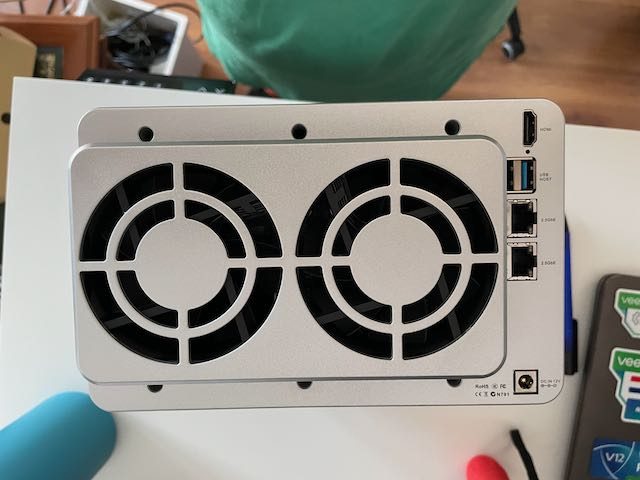
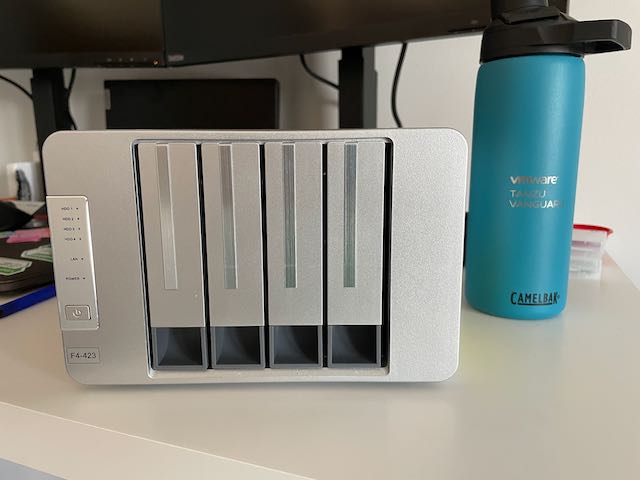
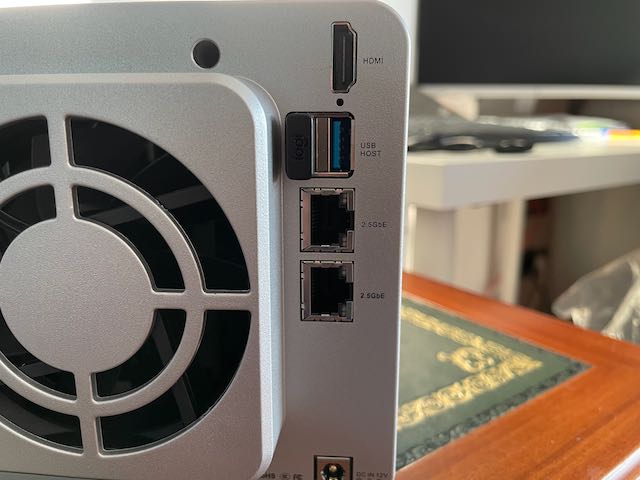
Simple, clean packaging.Protected with plastic.Sealed.Here you can see its ports: two 2.5 Gb Ethernet ports! 😍Simple, attractive, clean, and elegant.
My first impression is very positive: a robust product with a clean, simple, and elegant finish.
I was pleasantly surprised by the connectivity: USB 3.0, two 2.5 Gb Ethernet ports, and HDMI, which we’ll use later to view the system and explore the internals of this little device.
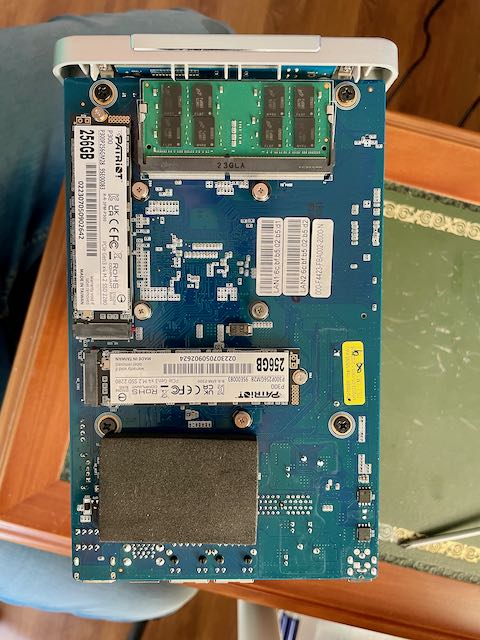
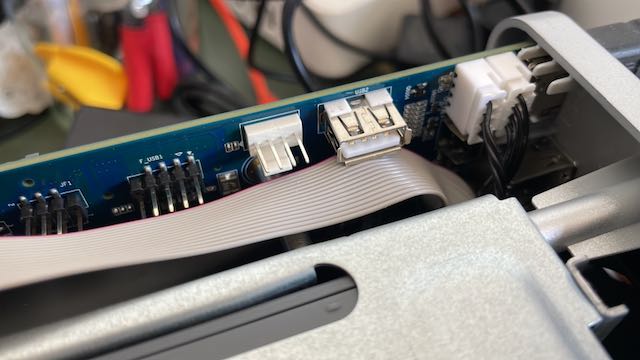
Here’s an initial photo of the inside, showing the two M.2 NVMe expansion slots on the board, followed by a closer look at the rear ports.
With this network capacity, four 3.5- or 2.5-inch bays, two M.2 NVMe expansion slots, and RAM expandable to two 16 GB DDR4 SO-DIMMs, it’s a very capable unit that’s easy to expand.
If you’re interested in taking a look or buying one, you can click here.
We’ll keep testing this great unit, from its own operating system, TOS, to installing other systems and integrating it into the homelab.
This time, we’ll go through the simple steps for configuring a Copy Job for a virtual machine from our environment to another datastore, either on a VBR server or on an ESXi server registered with VBR.
Don’t confuse this with a Backup Copy Job; that is something entirely different. This job copies the VM files, not backups or backup files.
I don’t see this feature discussed or used very often. I’ve used it to copy VMs directly to the destination where I wanted them, with a control mechanism to “ensure” the copy completed successfully. It can also be useful when you want a last-resort copy, since the destination is an ESXi host where you can quickly register and power on the VM.
One final note: this is a Copy job, so it does not keep a history of runs. You’ll only have the files from the last successful copy.
Let’s look at the screenshots and example:
Here we’ve selected the ESXi host and datastore.When the job finishes, the VM files will be copied to the destination.Contents of the Optane 1+2 datastore.We can see the copied VM files. Let’s register the VM to test it.Boom! It’s registered and running on the destination!
Now let’s look at the other option: using a Veeam repository as the destination. Here, I’m using the local repository on our VBR server.
The job is the same; only the destination changes to a datastore on a VBR server.And here are the copied files.
As you’ve seen, this is an effective way to copy a VM for different purposes: register it on an ESXi host, keep its files on a repository or server, move a VM from one host to another if you don’t have HA or replication, or simply store a copy of your machines in a different repository as an ESXi VM rather than in VBR backup format.
Today’s post covers one of my favorite Veeam B&R v12 features. It’s called “Move Backup.” It helps us move backups from one repository to another automatically, updating the job they belong to, without extra work or problems.
It’s very useful when backups need to be moved because of a storage change, whether due to expansion, maintenance, or a model change. You don’t lose the backup chain or settings, and you don’t have to create a new job.
Let’s look at a few screenshots and walk through the process so you can see how it works and why it’s useful.
Check the job: its storage now points to the new repository.The backups are now in the local repository, Default Backup Repo, D:\…The folder no longer exists at the source, the DXi storage appliance repository.
Done! The backup is no longer listed in the network repository, only in the new destination, and Veeam has updated the job. There were no changes to the backup chain or settings!
Now let’s run Move Backup again to put the backups back where they were:
We’re moving them back to the original DXi repository.
Done!
As mentioned earlier, this is a simple and useful process for storage infrastructure changes, repairs, or migrations.
Hi Folks, recently I wanted to “upgrade” my home lab, and I was thinking the best way to have an affordable, low consumption usable home lab for a ESXi Cluster, nothing fancy, just to be able to deploy a couple of little VMS, play with HA, DRS, shared storage and so on.
I started checking out the Intel NUCs, but then I realized that it comes “empty”, so it becomes costly at the end.
Then, what about HPE Gen 8-9 Servers, “the wife would kill me” They are noisy, expensive and consumes tons of electricity!
So, looking over the hardware I have, I looked into my Workstation, a Lenovo P320 which it has 64GB of ram, more than sufficient to run a Nested lab, but I wanted something more realistic, with wires and lights, you know, Im a hardware and wires lover!
I kept the Workstation as base Server, Planning tu run there the base or foundational vms I normally run like: vCenter, DNS, AD, a Storage Appliance and a Veeam Server.
lets keep it “low profile”, so, Nowadays normally we do have a laptop or workstation capable enough to run a vmware workstation or a ESXi to place a vcenter instance and a Windows Server machine, pretty basic.
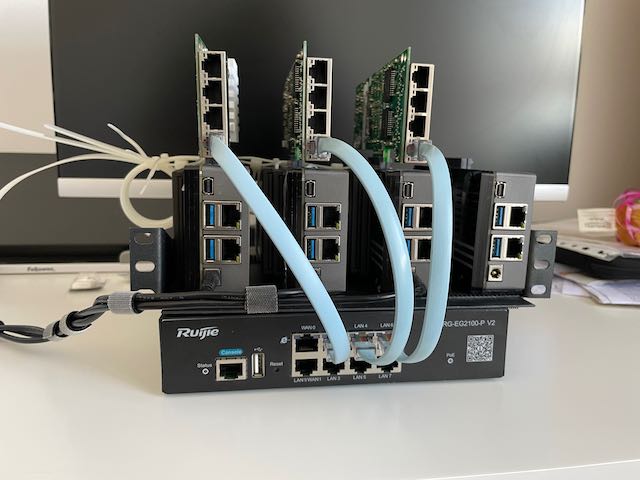
Then, I though, I need a switch, and I had an “old” 1Gbps Router – switch capable of Vlans, so perfect for this task.
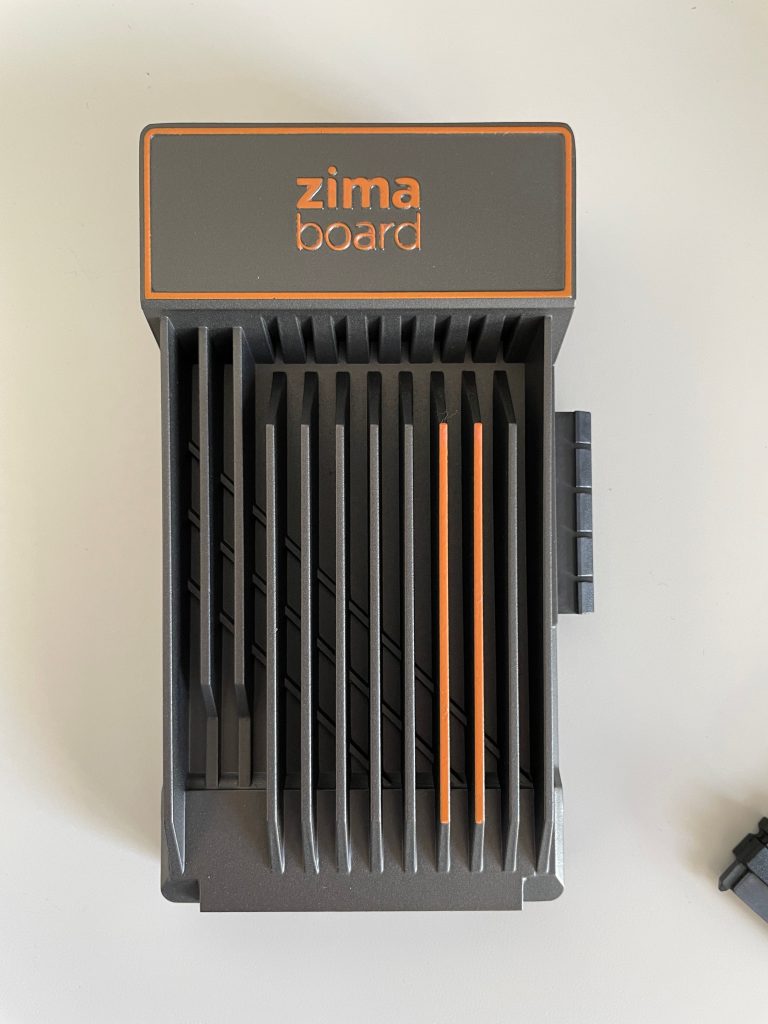
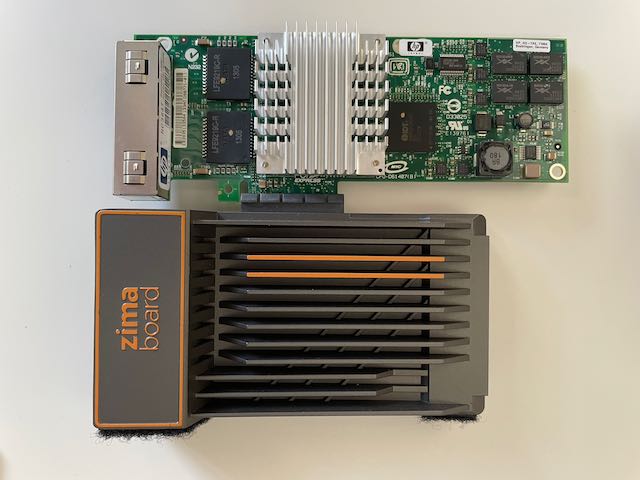
Now Im just missing some hosts to add to the picture, and I found these little guys:
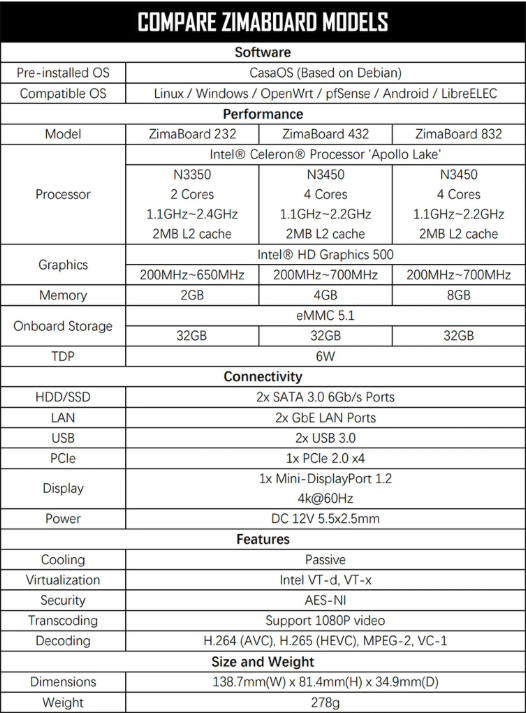
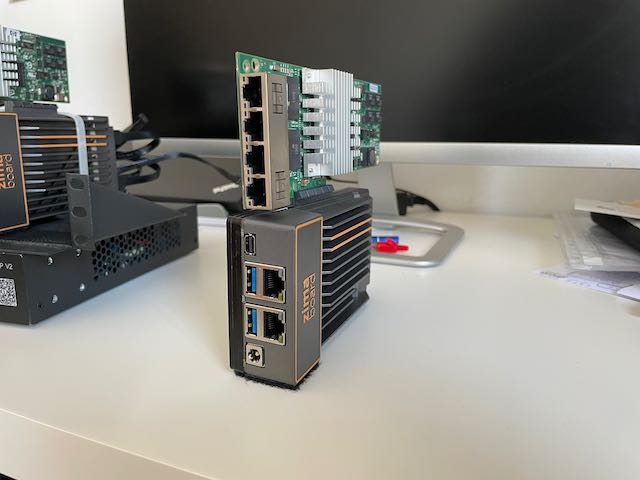
Looking at them, they were quite perfect, the top performing setup has a 4C processor, 8GB of RAM, and a local NVME 32GB, so perfect for a ESXi mini server. Ah! forgot to say: it has a 4x PCI-E and 2 SATA Ports!! Amazing!!
Everything was going soooo good, until the tragedy came, Realtek Gigabit Ethernet, not supported by vmware vsphere…. nooo! but wait a second, I told you already they’ve got a PCI-E port?
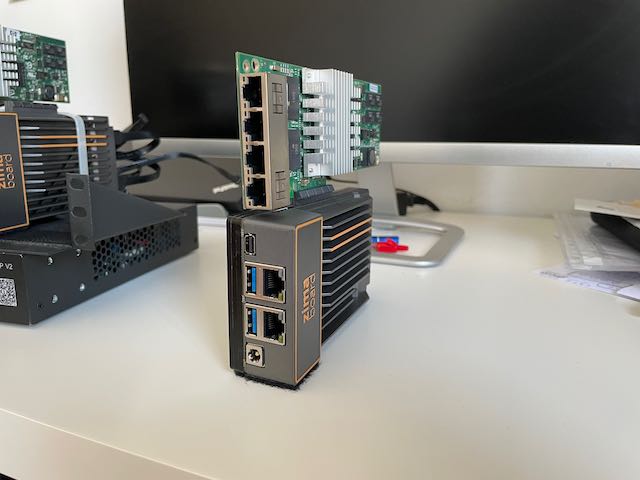
Exacly, I looked over into my warehouse, and there you go! a 4 Ports Intel NIC card! Fully compatible and ready to be installed!!
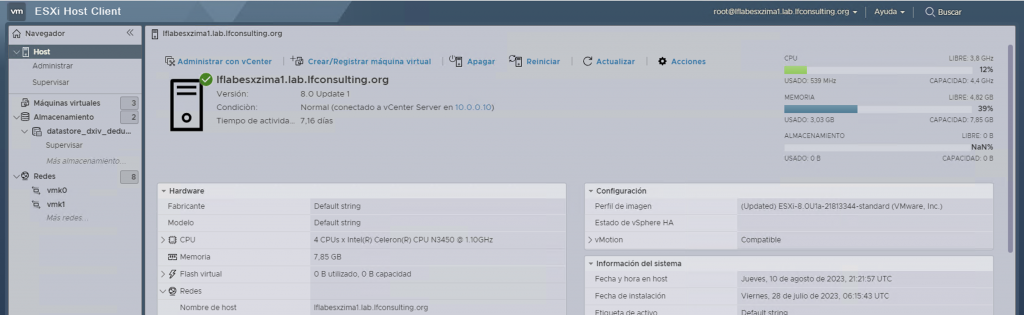
Now, with all setup, lets get into it, installing Vsphere 8, no problem!!
NIC Card, OK, system ready and first boot OK!
Then I did the same operation with the other two Zima mini CPUs I’ve got! Configured the initial parameters, IPs, Hostnames, DNSs, etc. and ready for next steps!
By the time, I setup a vCenter instance and a Software Appliance for Storage, Simple NFS datastore for home lab experiments, a Quantum DXiv Community Edition.
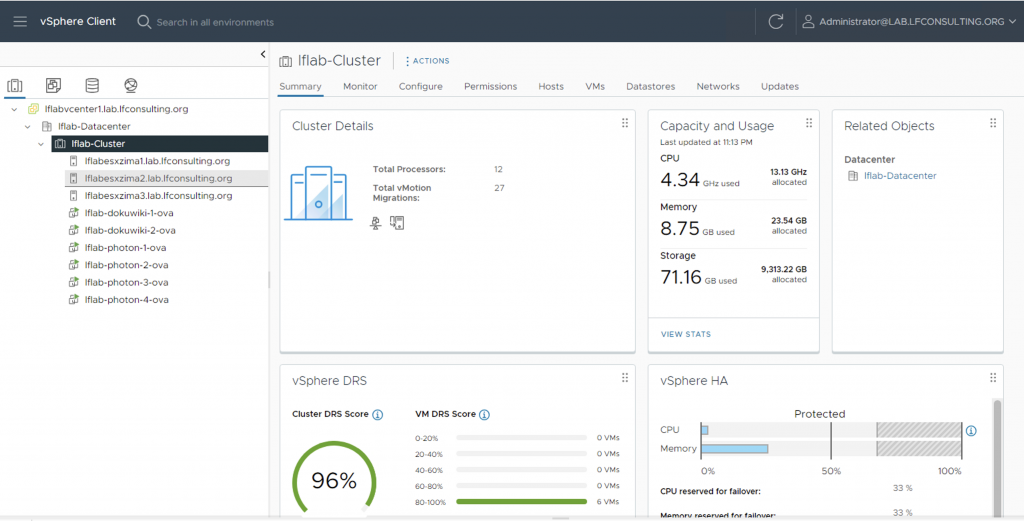
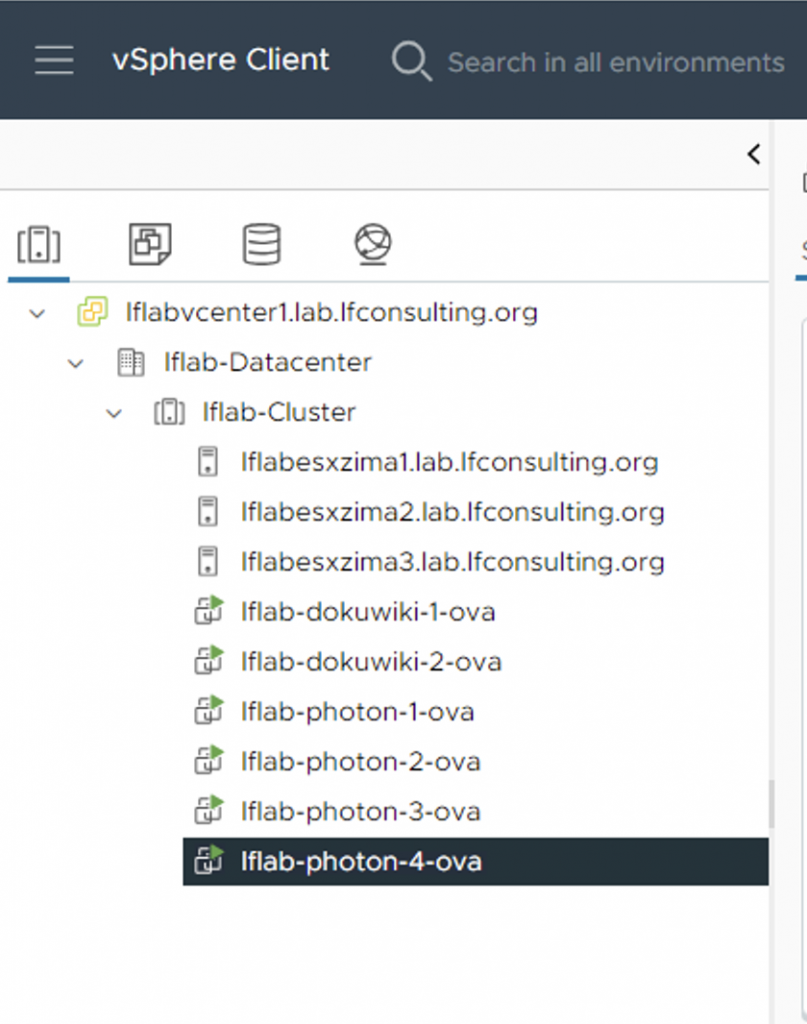
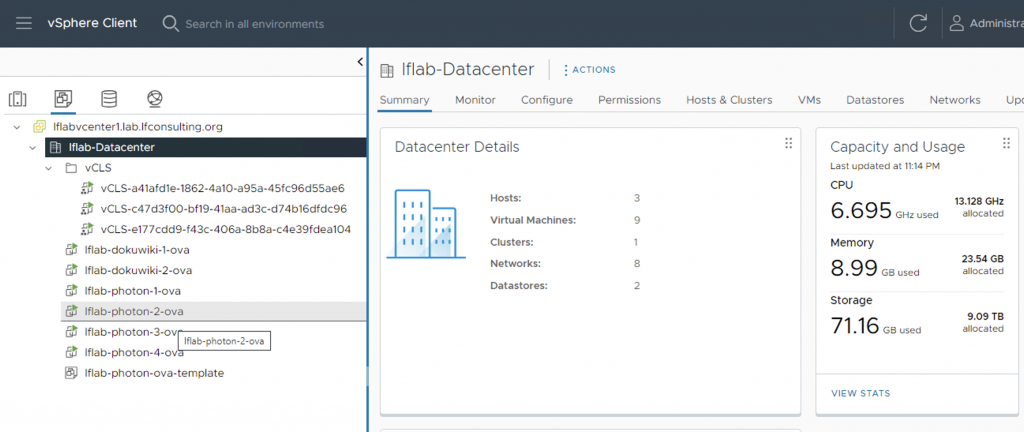
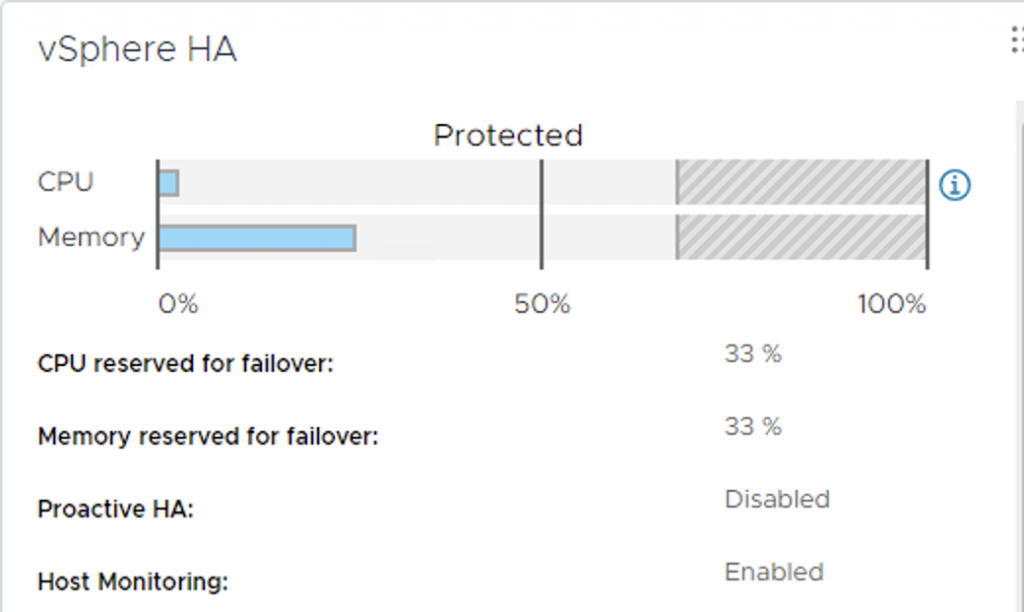
After a few configurations, added those three ESXi hosts into my vcenter instance, create the cluster, and let it build, and…. Voila!
The cluster was up and ready to be used!
Let me show you a few pics of how it looks now, externally and from the vCenter perspective!
The normal electrical consumption for this little guys is around 6W each, pretty low, a little more with the Ethernet PCI-E card, but nothing overkilling like a full server, and not counting noise and hit!
My overall cost, taking into count that I do own the workstation, switch and I made the Ethernet cables, around 200$ per Zima Server, so around 600$.
if you plan to start low, you can do it with only two Systems, so around 400$ + shipping.
Hope you enjoy it, and don’t hesitate to give them a try and have some fun! will try to follow this up, and upload some future info, tests and ideas.