Creating a Nutanix CE 2.1 Cluster

Hi, in this post I’ll show you how I created a three-node Nutanix CE 2.1 cluster nested on ESXi 8 in my lab, using a straightforward approach.

To download the software and start the cluster, you must be registered with Nutanix Community.

Sign in and open the following link, where you’ll find the files needed for installation. In my case, I used the CE 2.1 ISO.

Once downloaded, upload it to your ESXi host, as I did, so you can install the software.

Now let’s create the virtual machines that will become our three nodes.
Here are the specifications for the three VMs:

In the advanced configuration, I added a line so the virtual disks would have serial numbers:

In the VM settings, go to Edit > Options > Advanced > Edit Configuration and add the parameter.

Let’s continue with the screenshots and explanations.

One more detail: configure the vSwitch running the lab as shown below:
Enable promiscuous mode and forged transmits; otherwise, networking will fail.

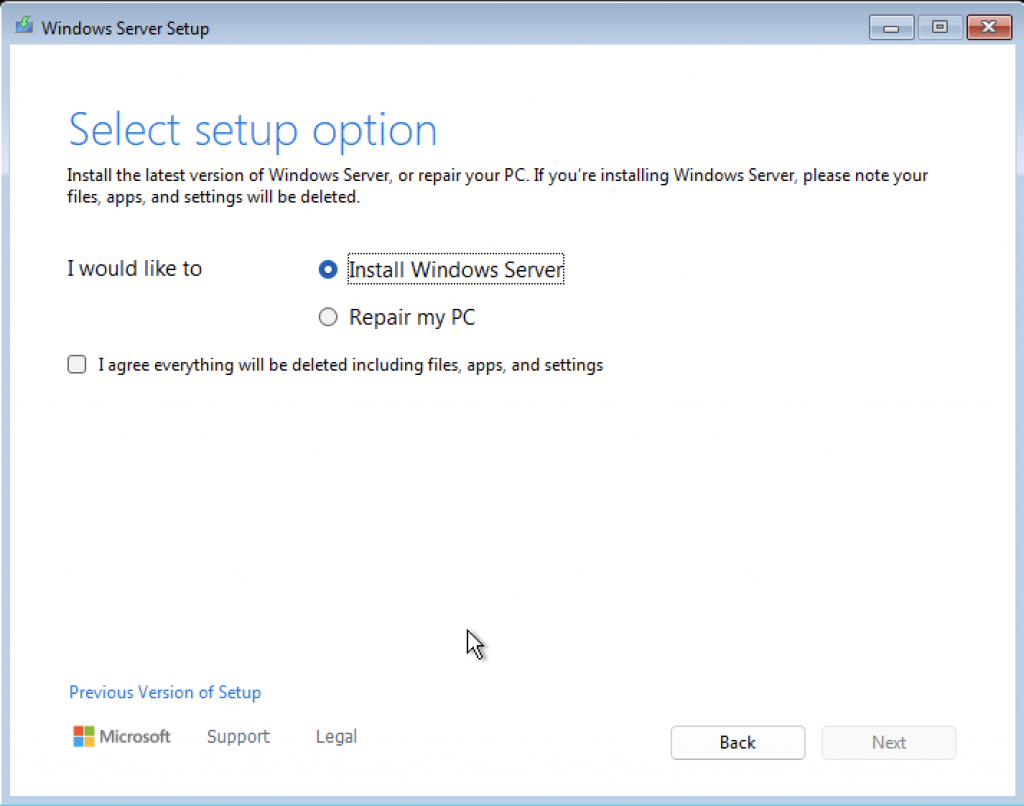
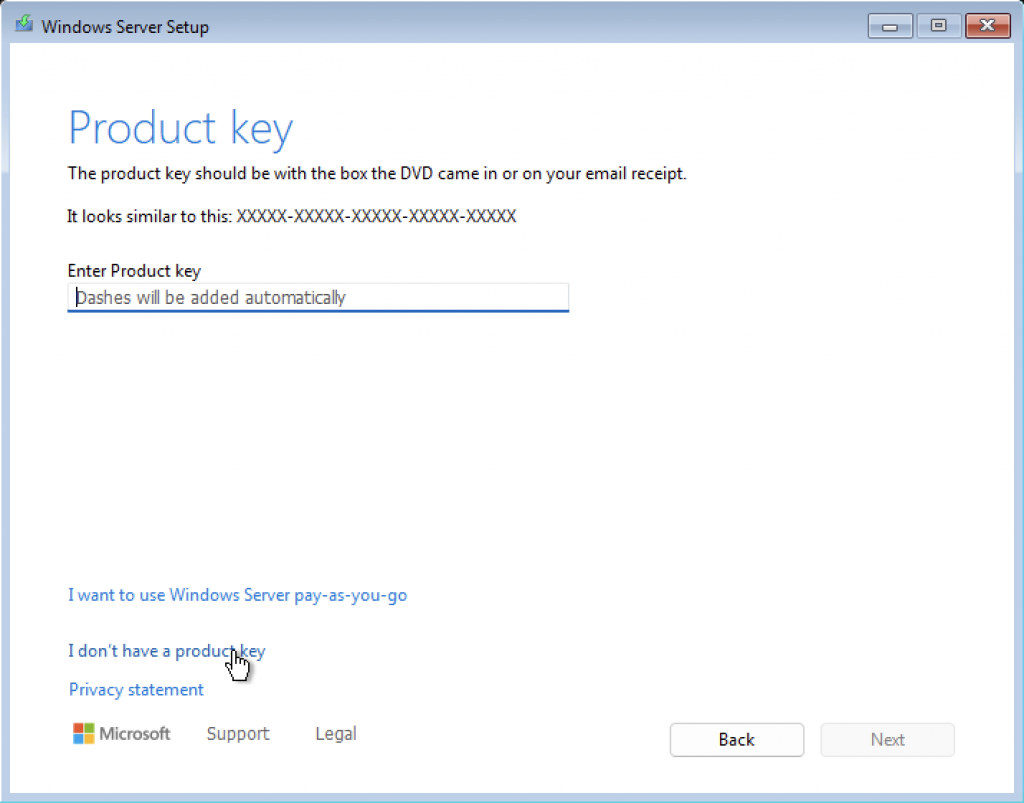
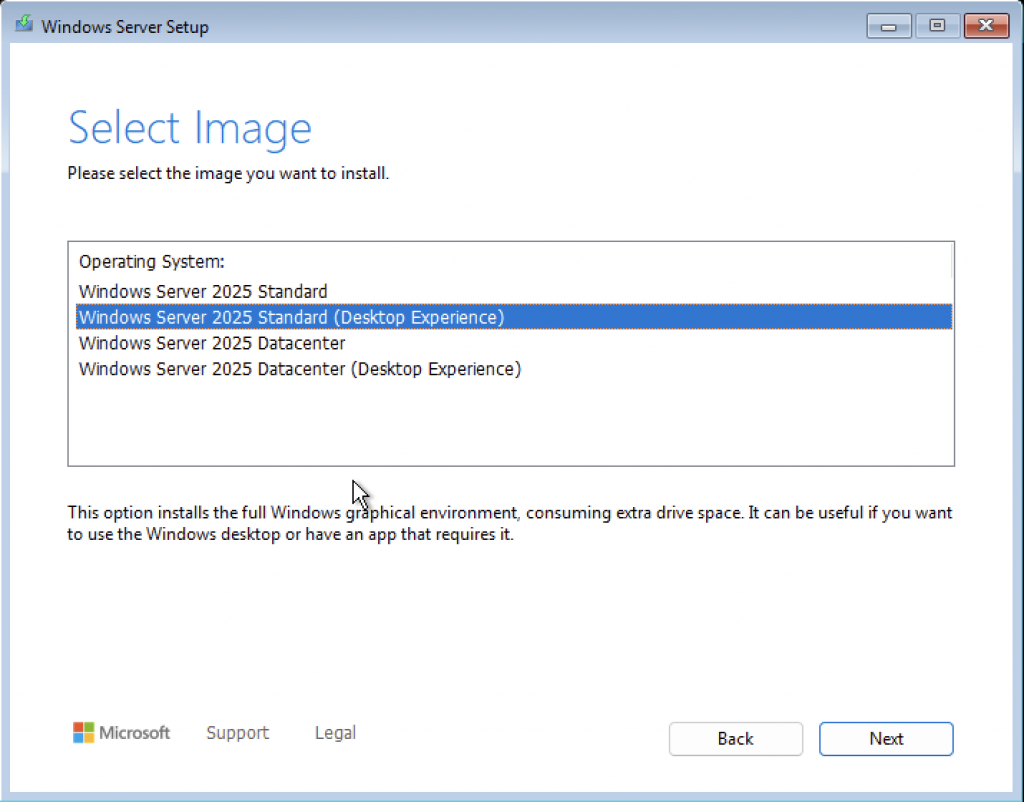
Boot the CE installer on each VM and install the system, entering the requested settings. As you can see, the disks show serial numbers on all three nodes:

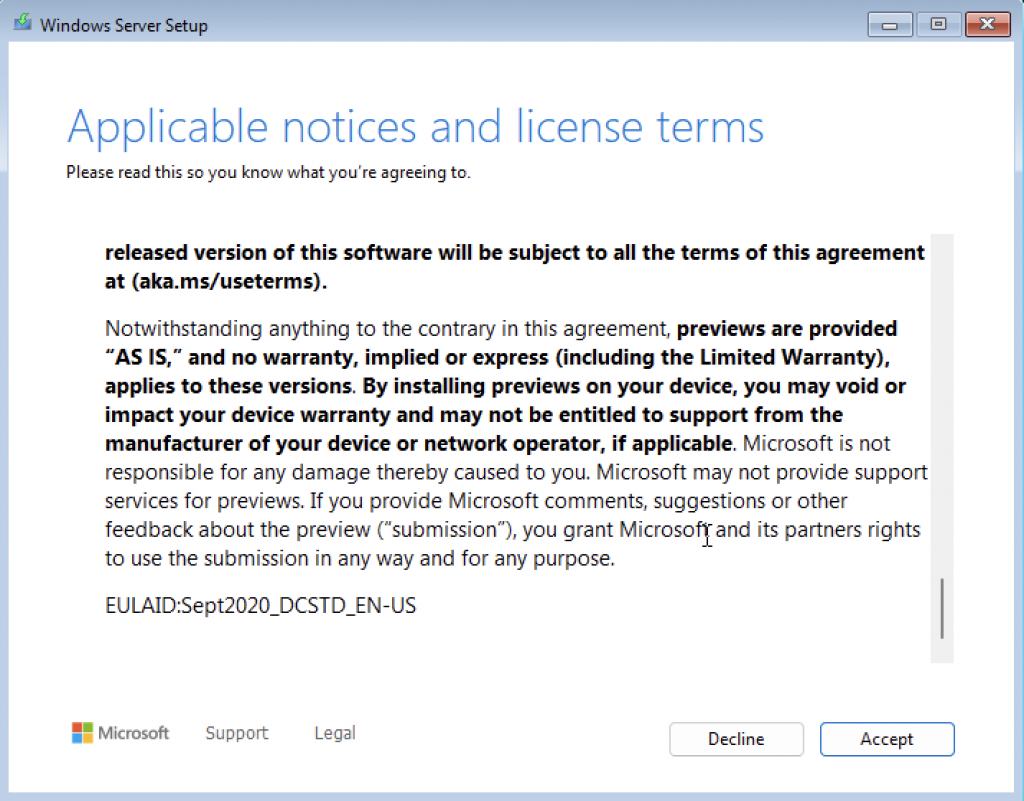
Accept the EULA and continue.

The installations are complete. Now reboot the last node, wait a little, and then create the cluster. Let’s get started:

Connect over SSH to one of the CVMs using one of the IP addresses we configured. From there, we’ll orchestrate the installation. The default username is nutanix and the password is nutanix/4u.

I’ve prepared the command. I’ll paste it below and explain it as clearly as I can:

cluster -s 192.168.101.21,192.168.101.22,192.168.101.23 --dns_servers=192.168.101.1,1.1.1.1 --cluster_name=NTX-LAB-1 --cluster_external_ip=192.168.101.20 create

This command creates a cluster named NTX-LAB-1 with external IP address 192.168.101.20 and the DNS servers shown. It will include the three CVMs ending in .21, .22, and .23.

Here you can see the tasks running on the different nodes and the services being created.

After a while, we get this result: the cluster was created successfully!

Here you can see the three running nodes, each with 32 GB of RAM, their disk usage, and more.

Now let’s open Prism and complete the initial setup so we can access the cluster. In a browser, enter the IP address of one of the CVMs or the external cluster IP configured in the command above:

It asks us to change the default password to one of our own.
After that, as mentioned, it will ask for your Nutanix community credentials. Enter them and continue.

Done!
We’re in our cluster!

Keep in mind that this is a test and learning lab, so the cluster is running nested and uses quite a lot of resources.
Each node has 32 GB of RAM and 4 vCPUs. The disk uses thin provisioning, but it still takes up space.

Next, we’ll start tuning it before deploying our first VM and more.

The first change I like to make is to set the NTP server so everything has the correct time from the start:

Go to the top menu and select Settings.
Scroll down to Networking and select NTP Servers.
Add a trusted server, and you’re done.

Regards.

Installing Veeam B&R 12.1: A Screenshot Walkthrough

Today we performed a clean installation of Veeam Backup & Replication 12.1.

Here are the screenshots so you can follow along.

One detail: the Windows Server has two partitions, C: for the OS and D: for Veeam data and the local repository.

First, download the ISO. I downloaded Veeam Data Platform.
Now let’s mount the ISO and get started:

Launch the ISO to begin the installation.
Select VBR.
VBR 12
You know what to do here.
Select your license. For the Community Edition, leave this blank.
Review the installation settings.
As you know, I like to have two partitions: C for the OS and D for Veeam data and the local repository created during setup.
Installation is now underway.
After a little while, it’s done!
Open the VBR 12 console.
And here it is, ready for us to add settings, repositories, jobs, and more.

Regards.

Object First OOTBI: Final Steps to Get Ready

Before setting up the S3 bucket, we covered the first boot and initial configuration of the OOTBI cluster.

Now for the fun part: configuring the S3 bucket, adding it to VBR, and sharing my first impressions—all with screenshots, as always!

Open the OOTBI GUI using the cluster IP configured in the earlier steps, then sign in with the objectfirst username and the password you set during installation.
A great initial dashboard, with clear and essential information.
Let’s create our S3 key so we can create the bucket.
Here it is. Save the Key ID and password somewhere safe.
The key has been created and is listed.
We’re now in the S3 Buckets section of the side navigation menu.
Create a bucket with a name and enable versioning for immutability.
The bucket is now created.

Next, add the OOTBI S3 repository to VBR: go to Infrastructure > Backup Repositories > Add Repository.
Object Storage
S3 Compatible
S3 Compatible
These steps should look familiar: enter a name,
the access IP address, region, and credentials. Here we’ll add the S3 key we created earlier.
Accept the certificate.
Great! The bucket is listed. Select it.
VBR asks you to create a directory inside the bucket. I used the same name for consistency.
IMPORTANT: The second checkbox enables immutability. Select it and set the immutability period. In my lab I used one day, but the right value depends on your retention policy. Remember that an immutable backup cannot be deleted until it expires, so size your repository carefully.

Here’s a summary of what we added.
Done! The repository is now listed in VBR.

Now that the repository has been added to VBR, let’s run a simple test with a VM, a job, and one day of immutability.

Test job
Starting with VBR 12, you can send backups directly to S3 repositories. Select the repository and use a short retention policy for this test.
Summary: three days of retention, one day of immutability, and one virtual machine.
The full backup has been created.
Here’s the full backup stored on our OOTBI.
Let’s try to delete the backup. Remember, it has one day of immutability, so we should not be able to delete it.
That’s the expected error: “Failed to delete, immutable.”
The backup is still available, so immutability has protected our restore point from deletion.

I hope you found this deployment and test walkthrough useful.

Next, I’ll test larger machines, Instant Recovery, SORB repositories for Performance and Capacity Tier, and more—one step at a time…

Regards.

Object First OOTBI: First Boot and Configuration

As we saw in the previous post,
we unboxed our OOTBI unit.

Now it’s time to power it on, connect to its console remotely, complete the initial system setup, open its GUI, and create our first bucket.

Let’s go…

Connect to the OOTBI IPMI. To find the IP address, I scanned my network with Advanced IP Scanner.
The username is ADMIN, and the password is printed on the tab on the front panel.
This is the IPMI home screen. From here, we can remotely manage and power on the OOTBI.
Red Power button
Power On
Go for it!
While it starts up, open the HTML5 remote console.
Remote Console > Remote Console > Launch Console
Boom! Here’s the OOTBI booting.

Does this screen look familiar? It sure does to me… I wonder where I’ve seen it before…
As you can see, we’re creating the cluster. Yes, even though this is a single-node cluster, setting it up this way makes it easier to expand later.
Network configuration: I’m using just one 10 Gb RJ45 interface and leaving the others disabled.
Hostname
Cluster details, which we’ll use later when adding the system to VBR and configuring the GUI.
Important: set the objectfirst user password for the GUI.
The single-node cluster is ready. Now open a browser and let’s explore.
Remember the cluster IP we configured? Enter it in a browser to connect to the OOTBI GUI, using the password we just set.
Boom! A great-looking GUI. From here we can create S3 keys and buckets, check disk status, and more.

In the next post, we’ll create an S3 bucket and its key, then add it to VBR.

Regards.

Initial Configuration of Our Nutanix Community Edition Single-Node Cluster

In the previous post, we covered the installation and first boot of our Nutanix Community Edition single-node cluster. You can find it here.

Now let’s go through the initial settings I applied to get everything configured before deploying our first VM.

Let’s connect to the cluster using the CVM IP address, sign in, and get started:

On the home screen, open the menu in the upper-right corner and go to Settings.
Change the cluster name to one you prefer. You can also set an FQDN and virtual IP address.
Here you can see how much RAM is allocated to the CVM.
Pulse is important. It reports cluster issues to Nutanix. Even though we’re using the Community Edition, it’s useful to report problems and receive information about future issues, KB articles, and more.
Review the DNS servers. We added one in the previous post, but we can change it or add another now.
Configure NTP to keep the time and date accurate.
I like to receive email reports and alerts. The cluster sends them through Nutanix, and everything looks good!

Now let’s personalize the system further by running an inventory.

In AHV, this scans the system’s software and firmware for updates, issues, fixes, and more.

Open the menu again and go to LCM.
Click Perform Inventory.
It takes a little while, but that’s fine. When it finishes, we can review the results.
In my case, the menu shows a software update is available.
Open it and select the update to apply.
It shows the update plan. Let’s apply it.

Once complete, everything has been updated successfully. Great!

Finally, the system flags a few warnings, including prompts to change the passwords for system users such as admin, root, and Nutanix.

We changed the admin password after installation so we could access the web administration interface, so we can consider that warning resolved.

To change the root user’s password, connect to the host over SSH and run the standard Linux command: passwd root. Then follow the prompts.

For the Nutanix user, connect to the CVM over SSH using the IP address configured during installation, and change the password in the same way: passwd nutanix. Then follow the prompts.

Regards.

Nutanix Community Edition: Single-Node Cluster

Hi!
I’ve been looking at other virtualization options for a while, and this one caught my interest.

Nutanix developed its own CVM (Controller VM), which runs the services needed for HCI, as well as its own hypervisor, AHV.

They have also made the Community Edition available to the public,

which includes the hypervisor, CVM, and Prism management. It supports up to four disks per node and up to four nodes in a cluster—great for trying out and learning the product.

Now I’ll show, with screenshots and explanations, how to deploy Nutanix CE in my lab. In my case, it is nested on an ESXi 8 host as a single-node cluster.

A single-node cluster is a one-node cluster with the CVM, Prism, and network and storage management capabilities. It’s a cluster with just one member, which is useful for certain applications and, in our case, for an initial introduction.

Let’s go…

Open the following link and follow the simple steps: register with the community, download the ISO from a forum post, and continue with the setup.

Nutanix requires resources. In my case, the machine running the single-node cluster had
4 vCPUs, 32 GB of RAM, and three disks: 64 GB for the system, a 200 GB SSD, and a 400 GB HDD.

Let’s start by creating the VM in ESXi.
Here are the initial specifications: disks, NICs, vCPUs, and so on.
The installer boots from the ISO.
At this step, the installer selects the disks automatically. Leave its selections in place, then enter the IP addresses: one for the host and another for the CVM (Controller VM) on each node, along with the DNS server.
Accept the terms and conditions.
Done! After a while, the installation completes. Eject the ISO, answer yes, and let’s continue.
Our AHV is now running inside the VM.
It takes a while because it needs to start all the services in the CVM and then run the post-installation scripts. I left it alone until these results appeared in the VM console.
Let’s get started. In a browser, enter the CVM IP address we configured earlier, using HTTPS.
It will ask us to change the predefined password, nutanix/4u, to a different one.
Here it asks for our community credentials to license the node or cluster.
Boom! There’s an error: no DNS server is configured on the CVM, so it cannot register. Let’s fix that.
Connect to the node over SSH using the IP address configured at the start. The username is root and the password is nutanix/4u.
From the node, connect to the CVM over SSH. Use the IP addresses configured earlier; the username is admin and the password is nutanix/4u.
Here’s the command to add a DNS server to the CVM network configuration:
ncli cluster add-to-name-servers servers=1.1.1.1

I chose 1.1.1.1 as an external DNS server. If you have an internal DNS server, you can use that instead.

Now it accepts the configuration. Let’s continue.
Here it is: the first screen of our working single-node cluster!
This is a single-node cluster with one host and one block, running the AHV hypervisor.

That’s all for this post. In a future post, we’ll tune the environment and create our first inventory to check that everything is up to date and apply any available updates.

We’ll also try different network and disk configurations.

It’s a great way to try AHV and get an introduction to Nutanix features.

Regards.

Downloading and Installing Windows Server 2025

Hi,
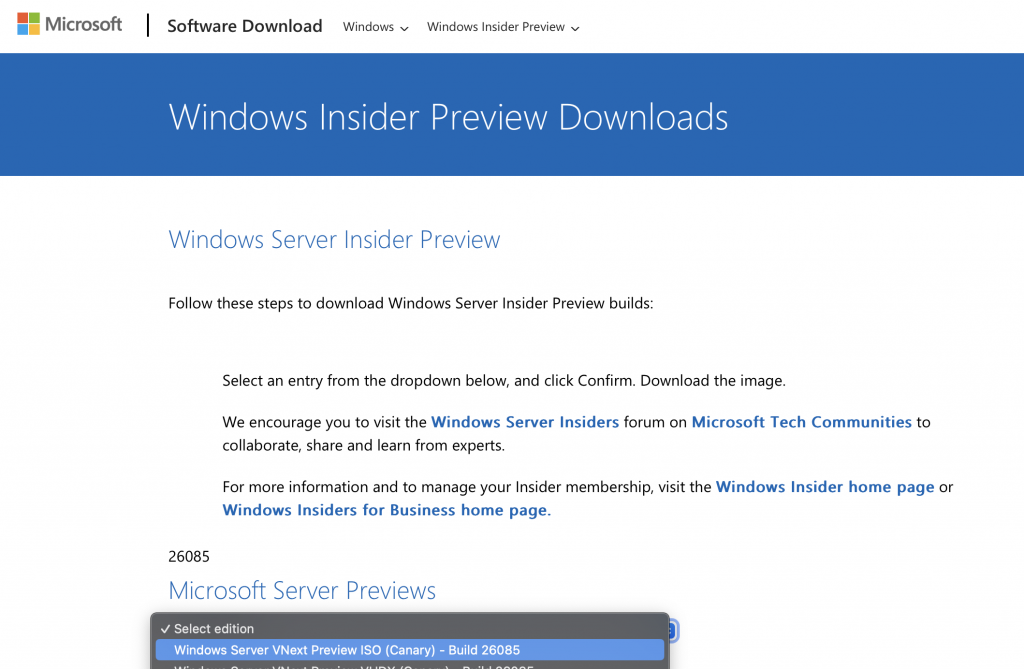
Here’s the Microsoft Insider link where you can download the Windows Server 2025 preview.

https://www.microsoft.com/en-us/software-download/windowsinsiderpreviewserver

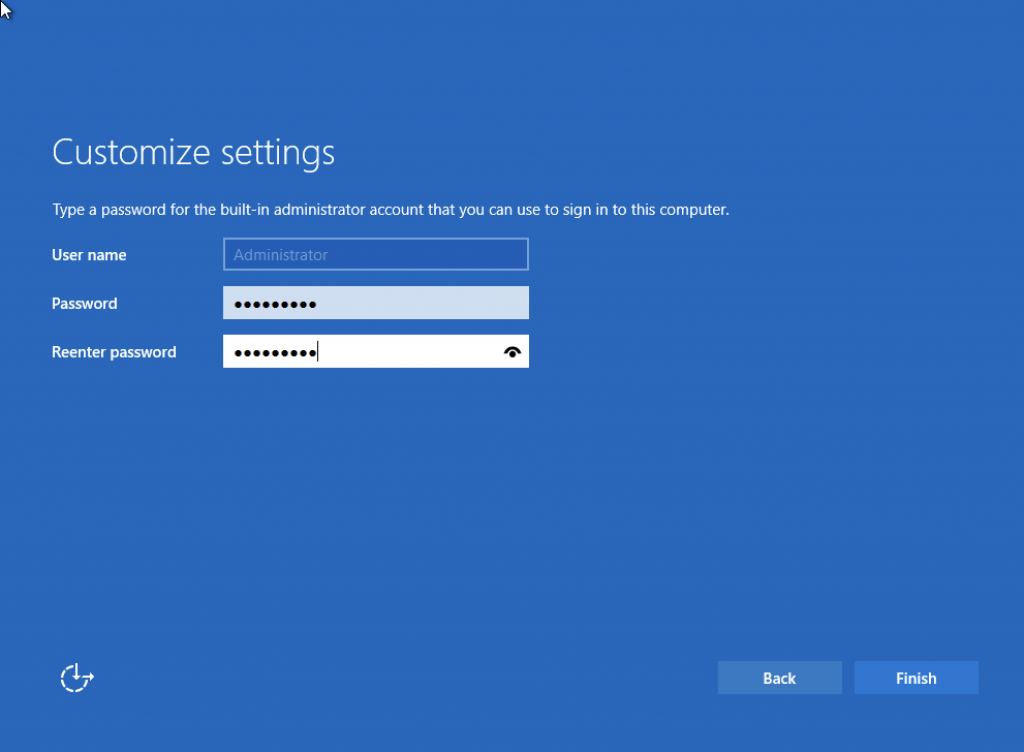
To download it, sign up as an Insider and follow the steps to get access to the Windows Server 2025 download.

Once you have it, download it as shown.

Now let’s go through the Windows Server 2025 installation with screenshots…

Go!

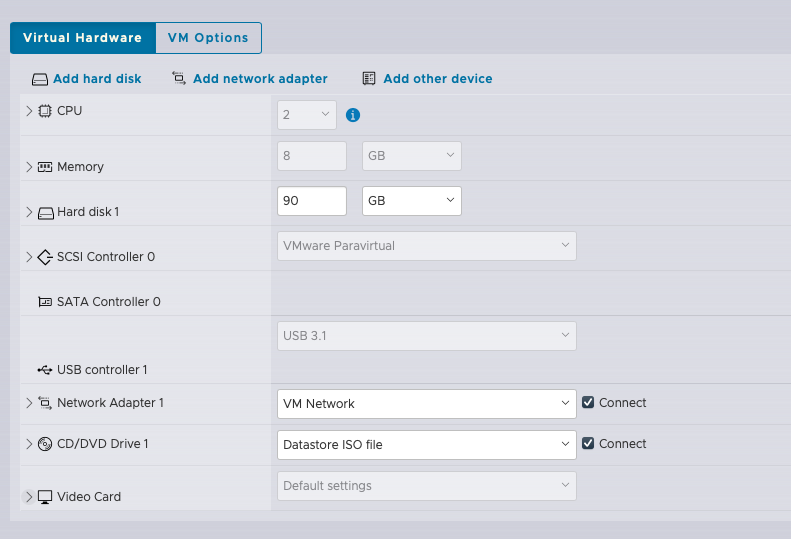
VM settings created in vSphere 8
Boot from the ISO.
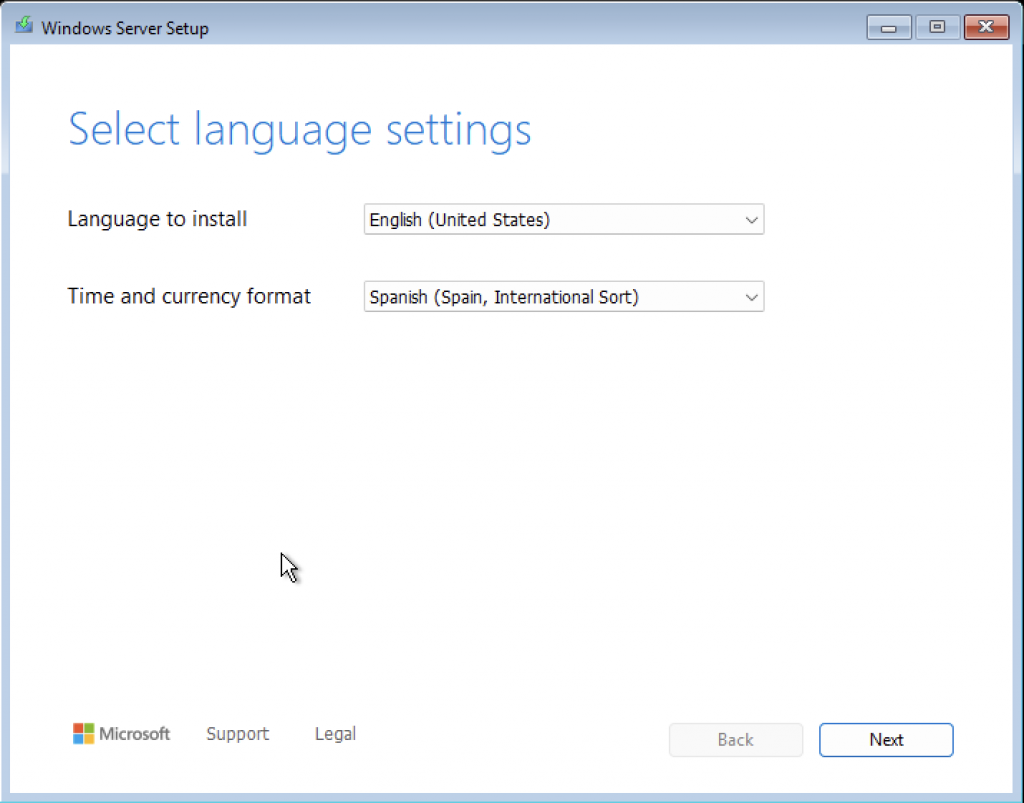
Select the settings.
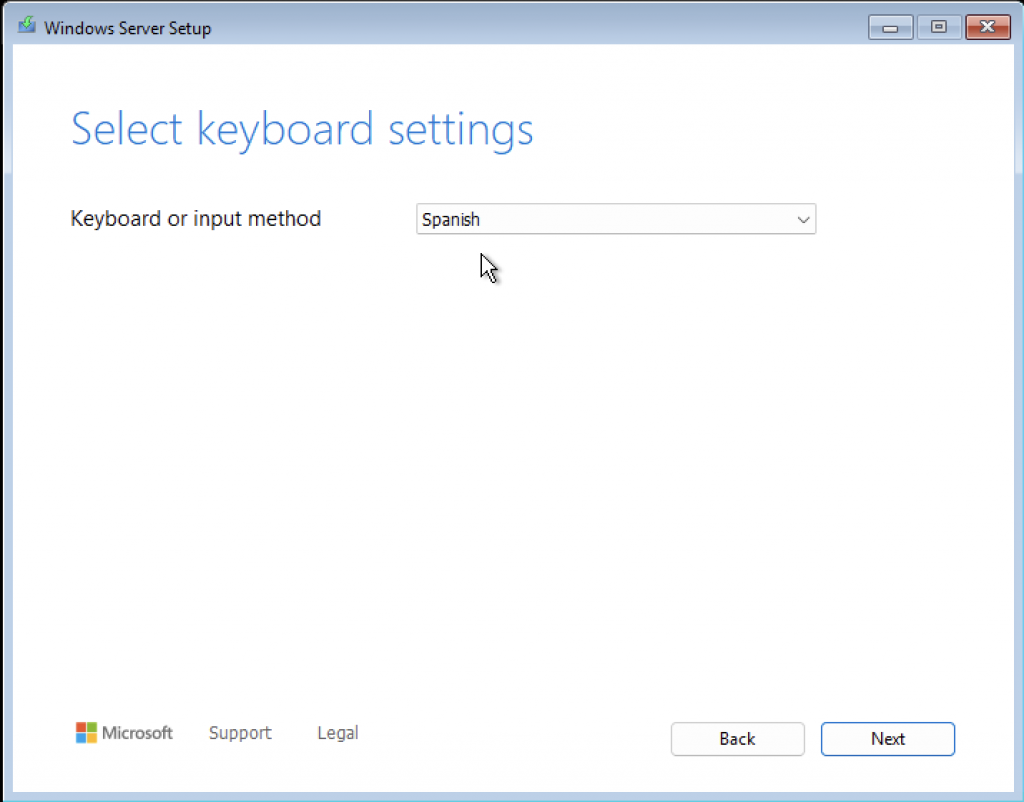
Here, choose the keyboard language.
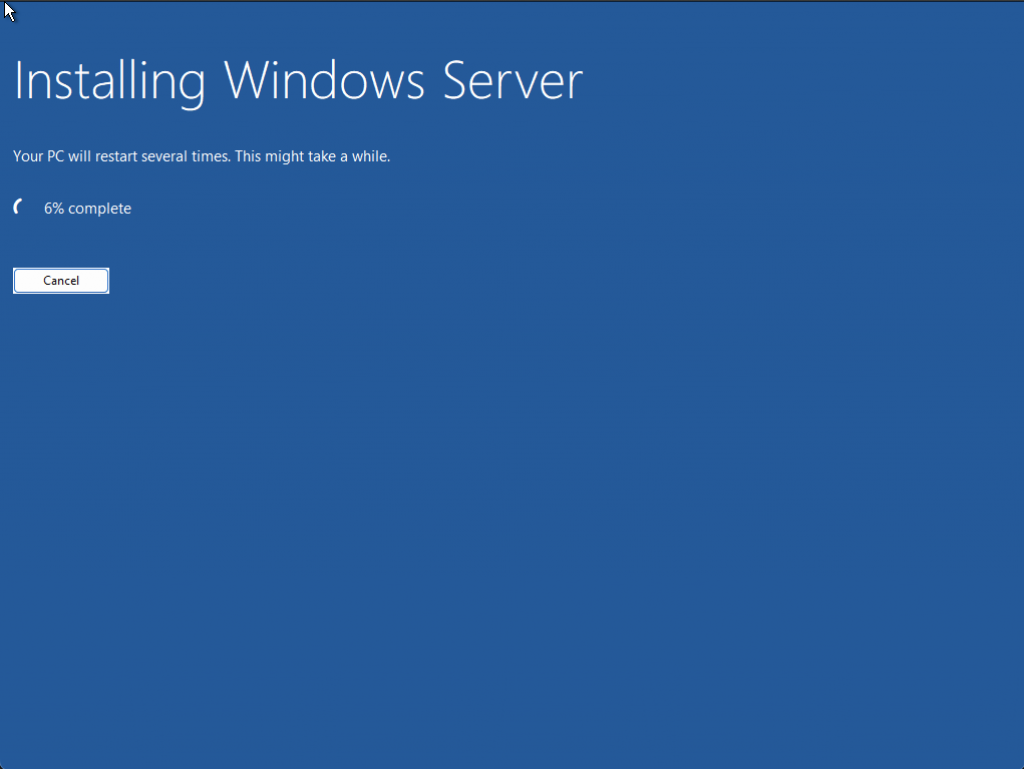
Let’s go! Install!
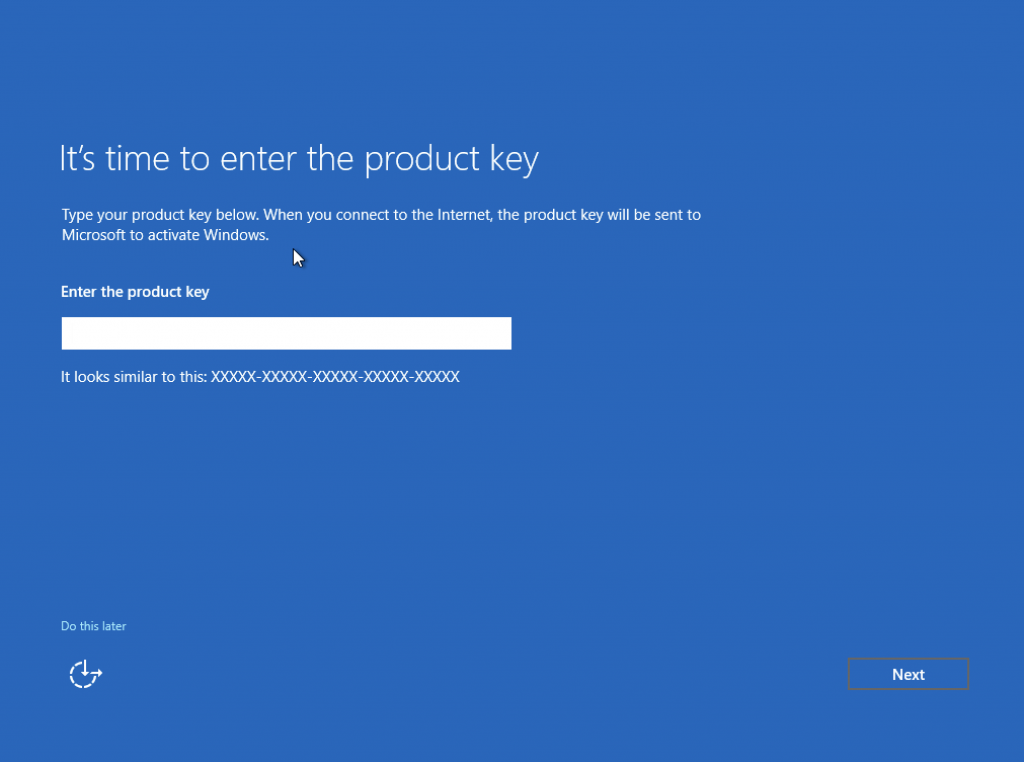
I don’t have a product key… 😔
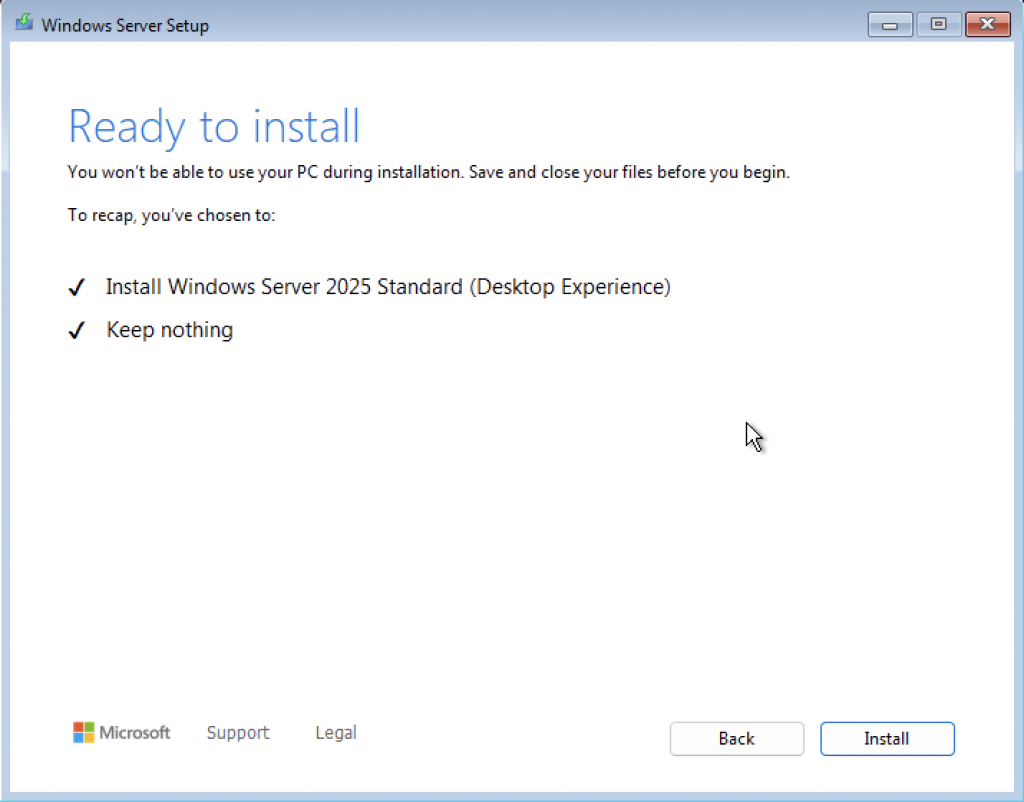
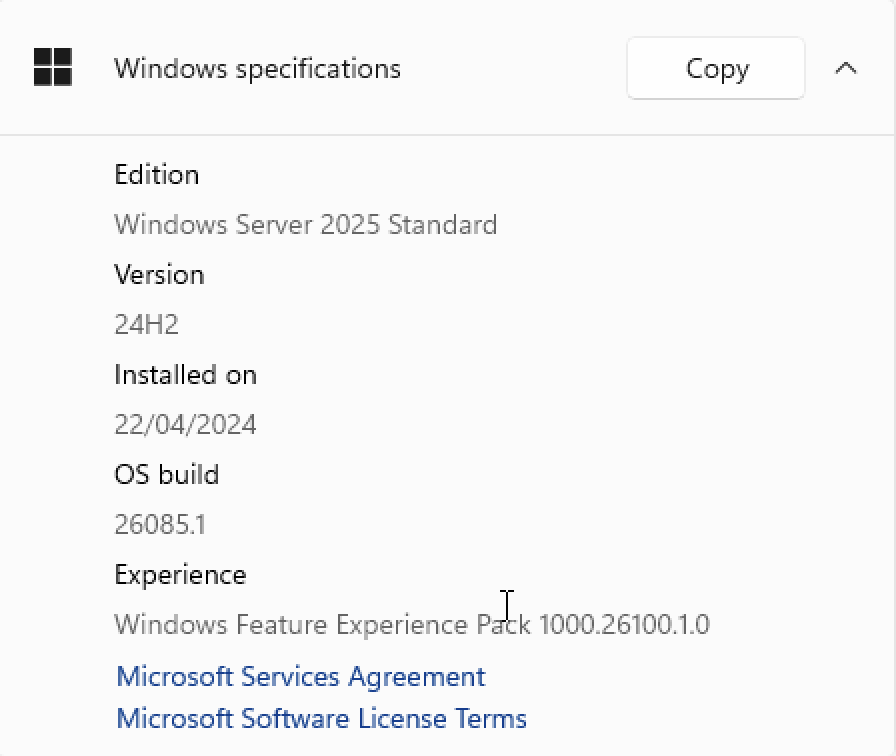
In my case, Windows Server 2025 Standard (Desktop Experience).
I want the desktop GUI, the full system!
You know what to do here…!
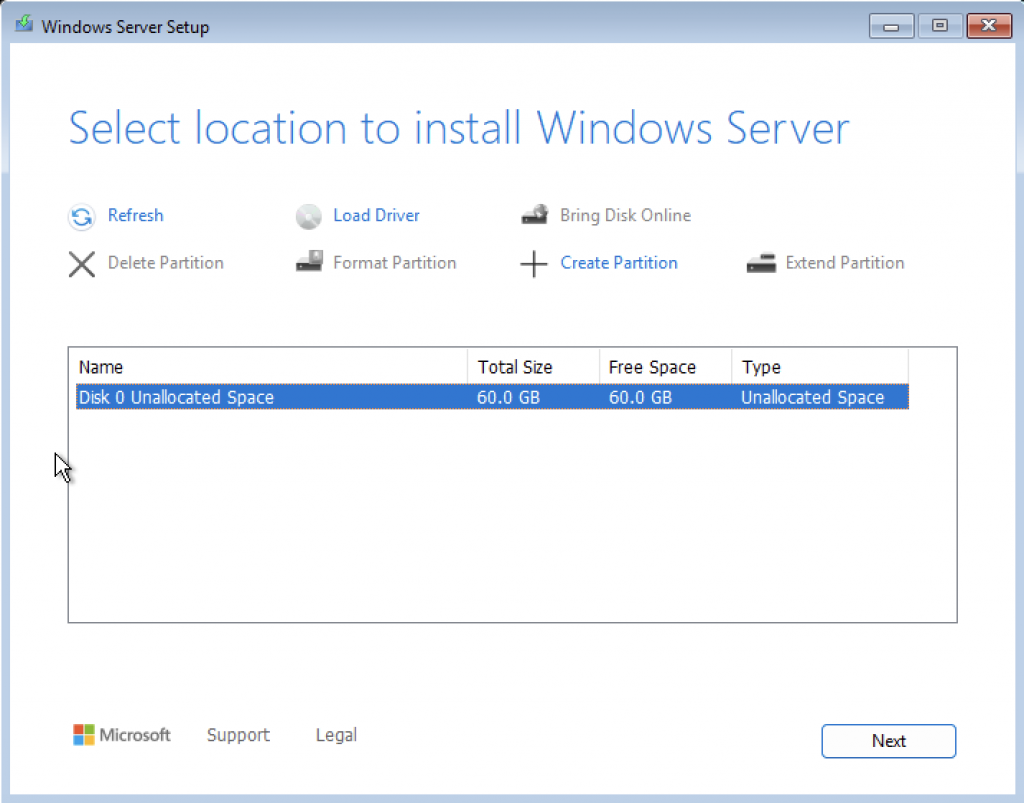
Select the disk where you want to install the OS.
Then click Install.
I don’t have one, so I’ll choose “Do this later…”

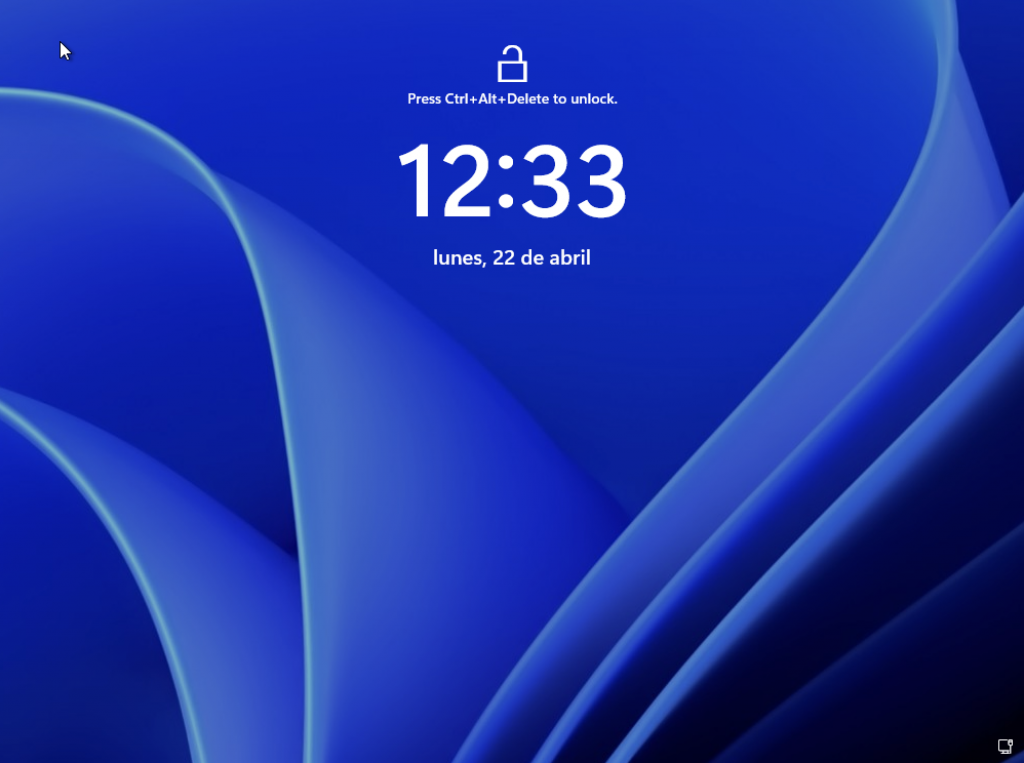
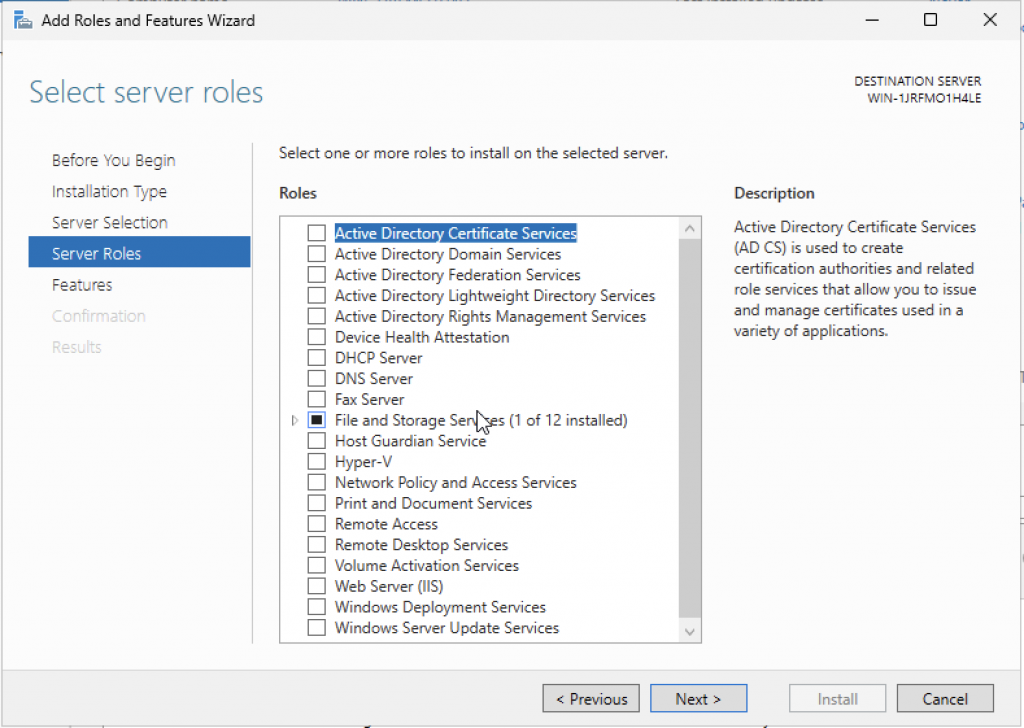
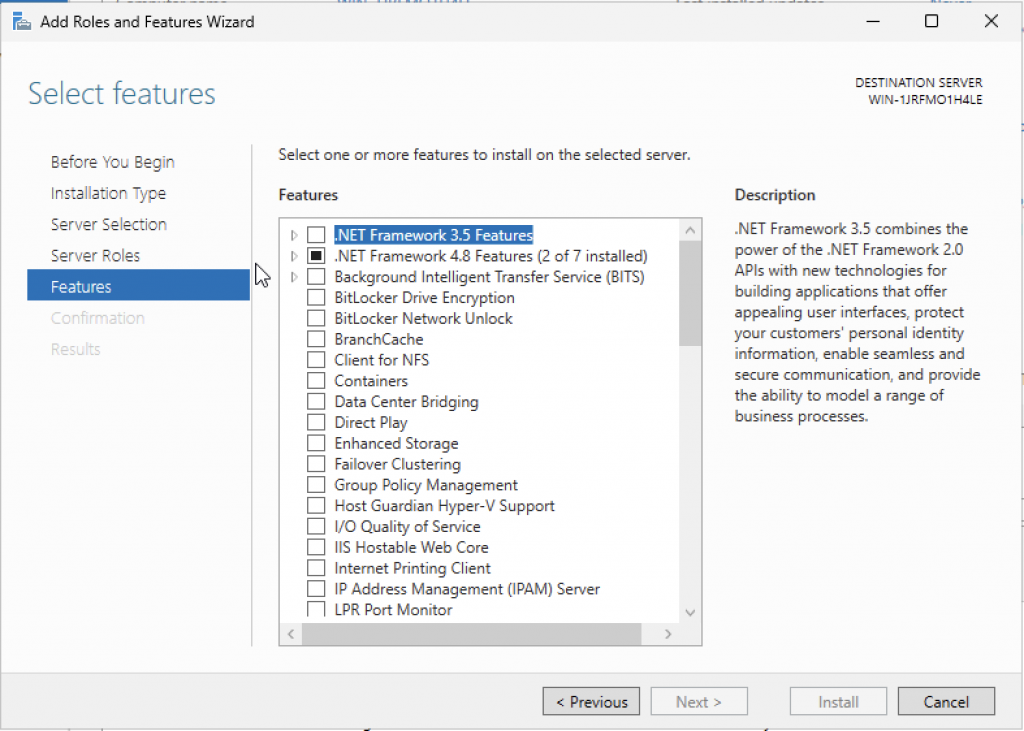
It’s installed! Now here are a few screenshots of the interesting features it includes, such as the roles and features we can deploy.

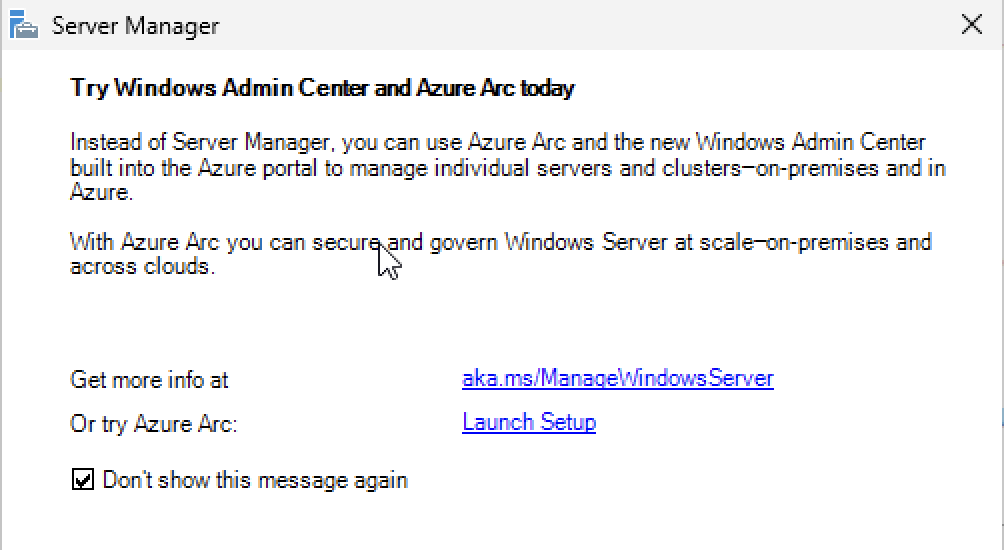
This one really caught my attention: Azure Arc. Wow!
This is gaining momentum and looks promising!

https://www.microsoft.com/en-us/software-download/windowsinsiderpreviewserver

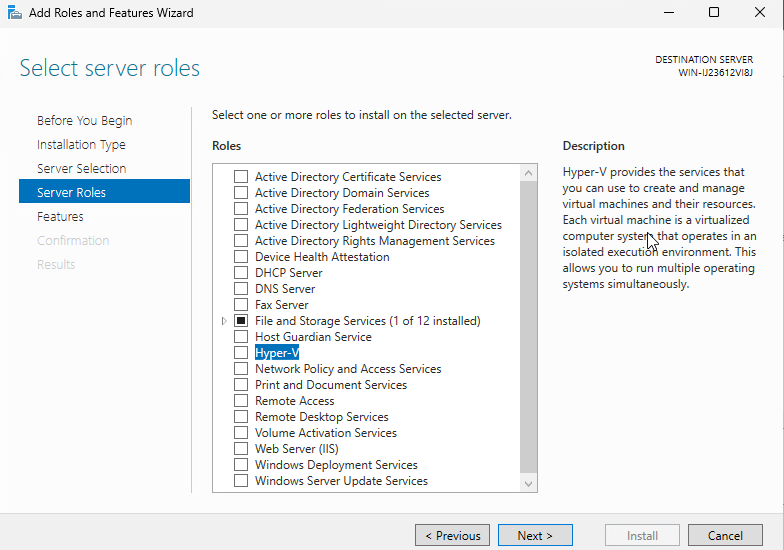
One last interesting detail: Hyper-V is already in the server’s Add Roles menu. It’s no longer a separate command or an add-on feature; it’s integrated.

Regards.

Object First OOTBI: Unboxing

The day has finally arrived!

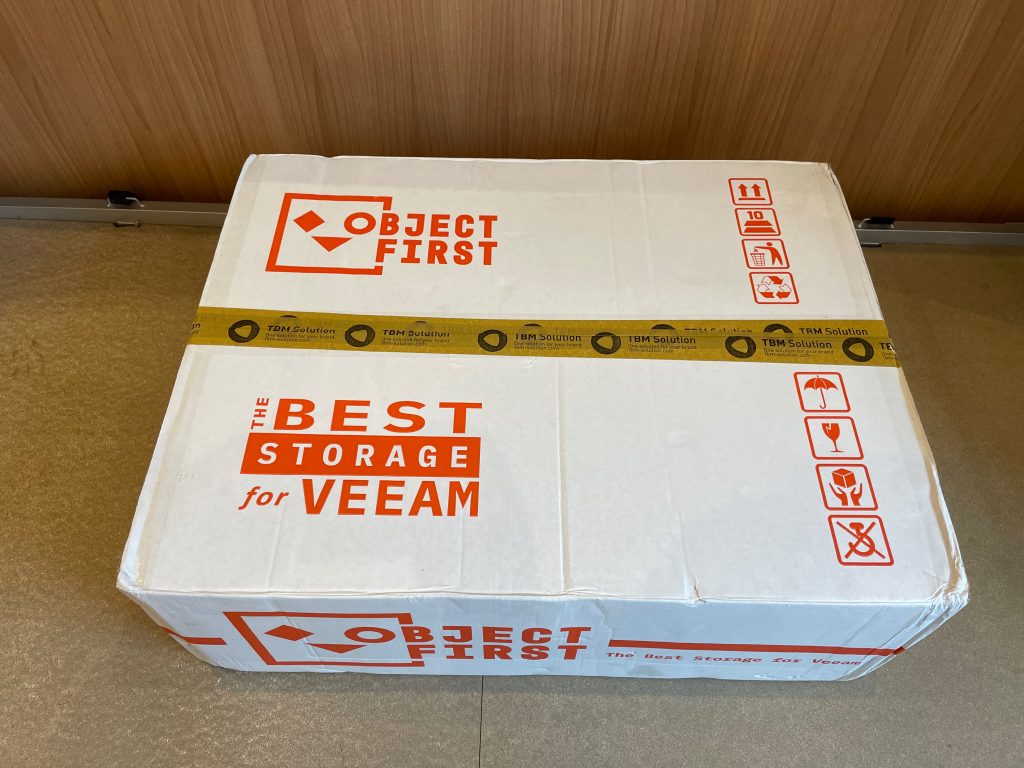
I finally got to open the box that had been waiting for me for weeks. After a little effort, we’ve finally unboxed it.

It’s an OOTBI appliance from Object First,
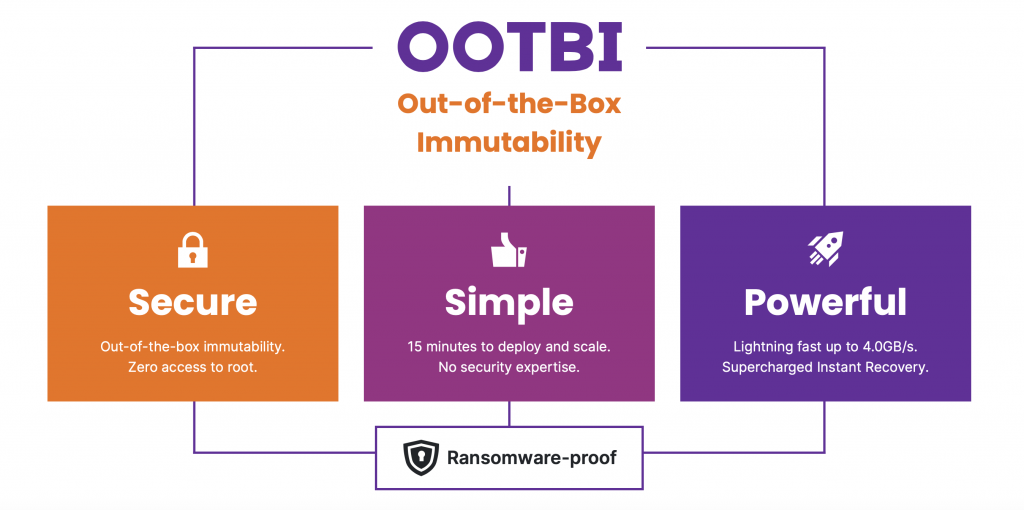
As you know, it’s an immutable S3 storage solution for Veeam.
Here’s some more information!

Let’s get to it. I’ll share photos and explain what we find along the way:

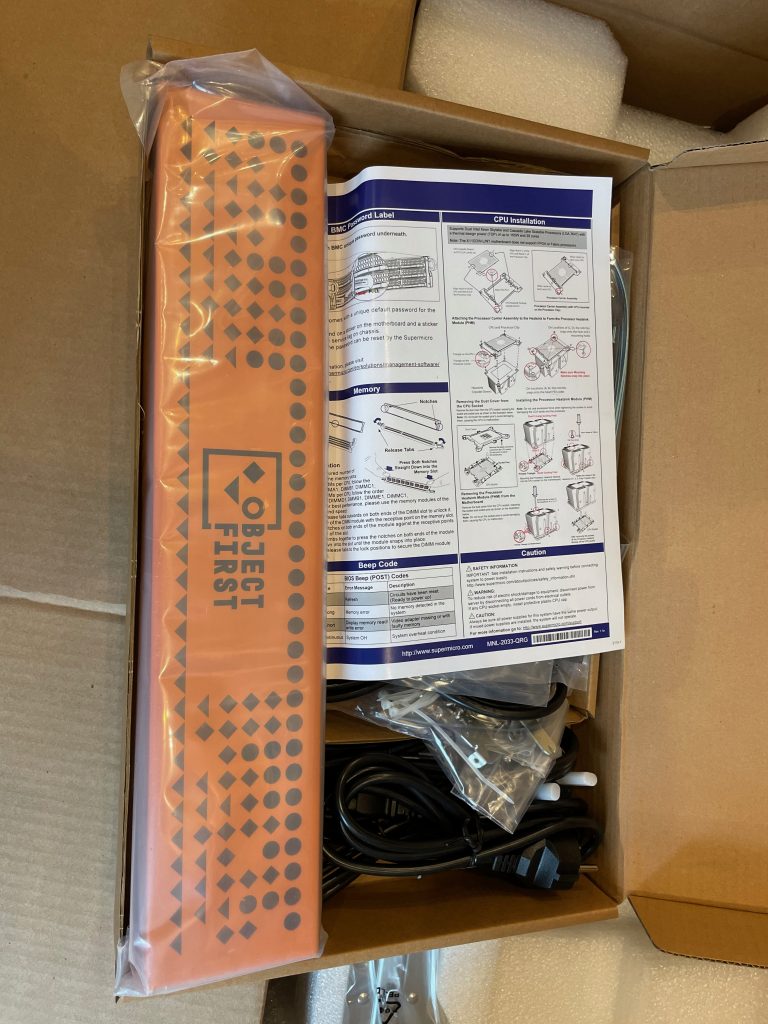
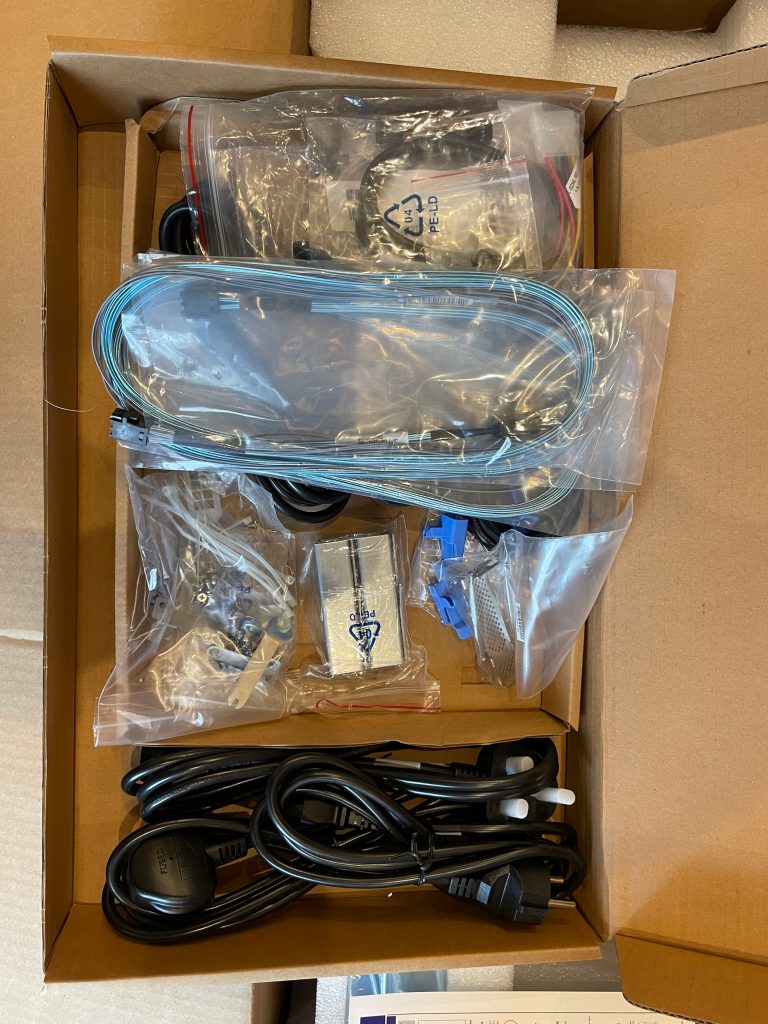
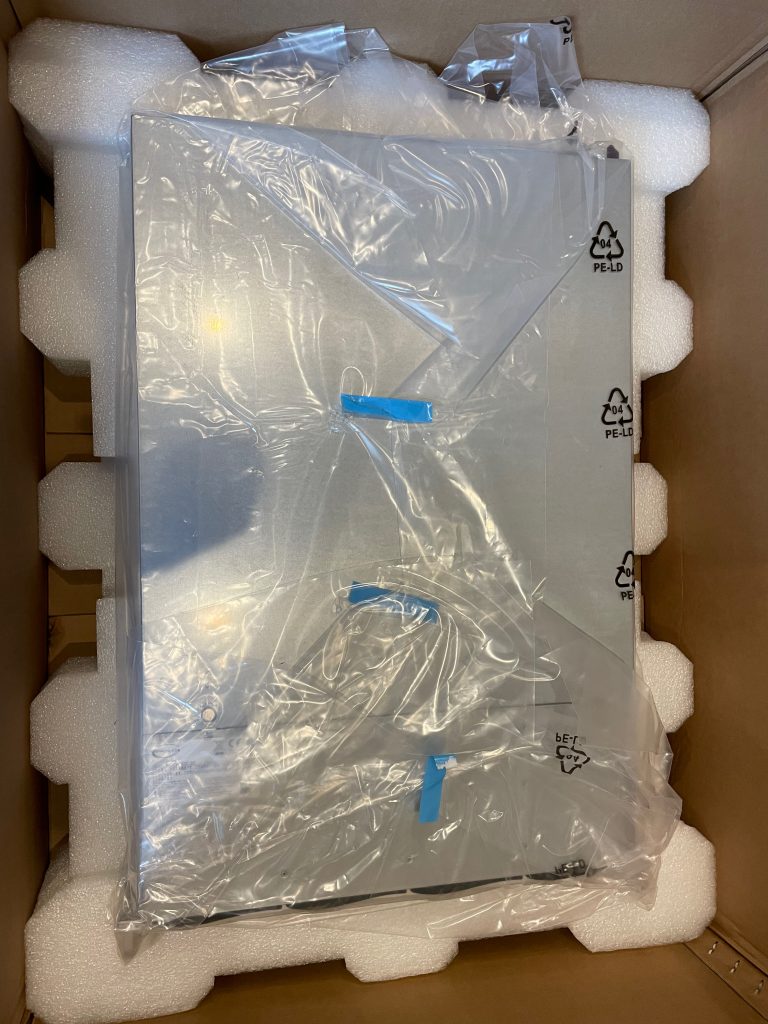
The fun begins: everything is well packed and labeled.
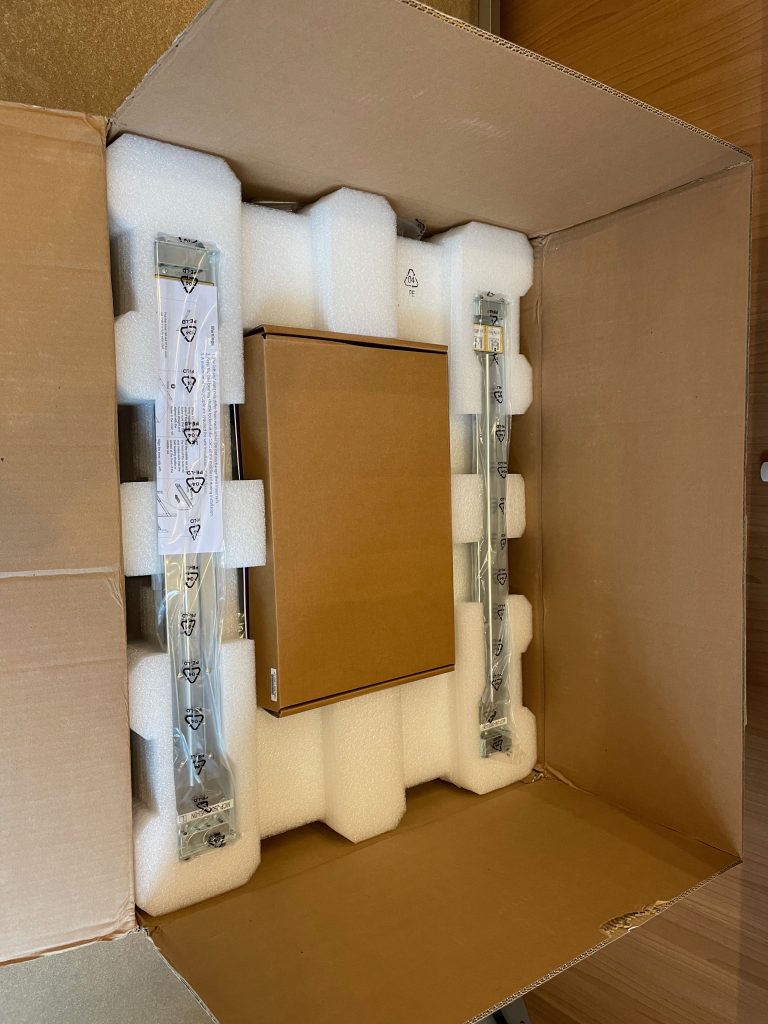
Inside, there’s a box with accessories and rails for rack mounting.
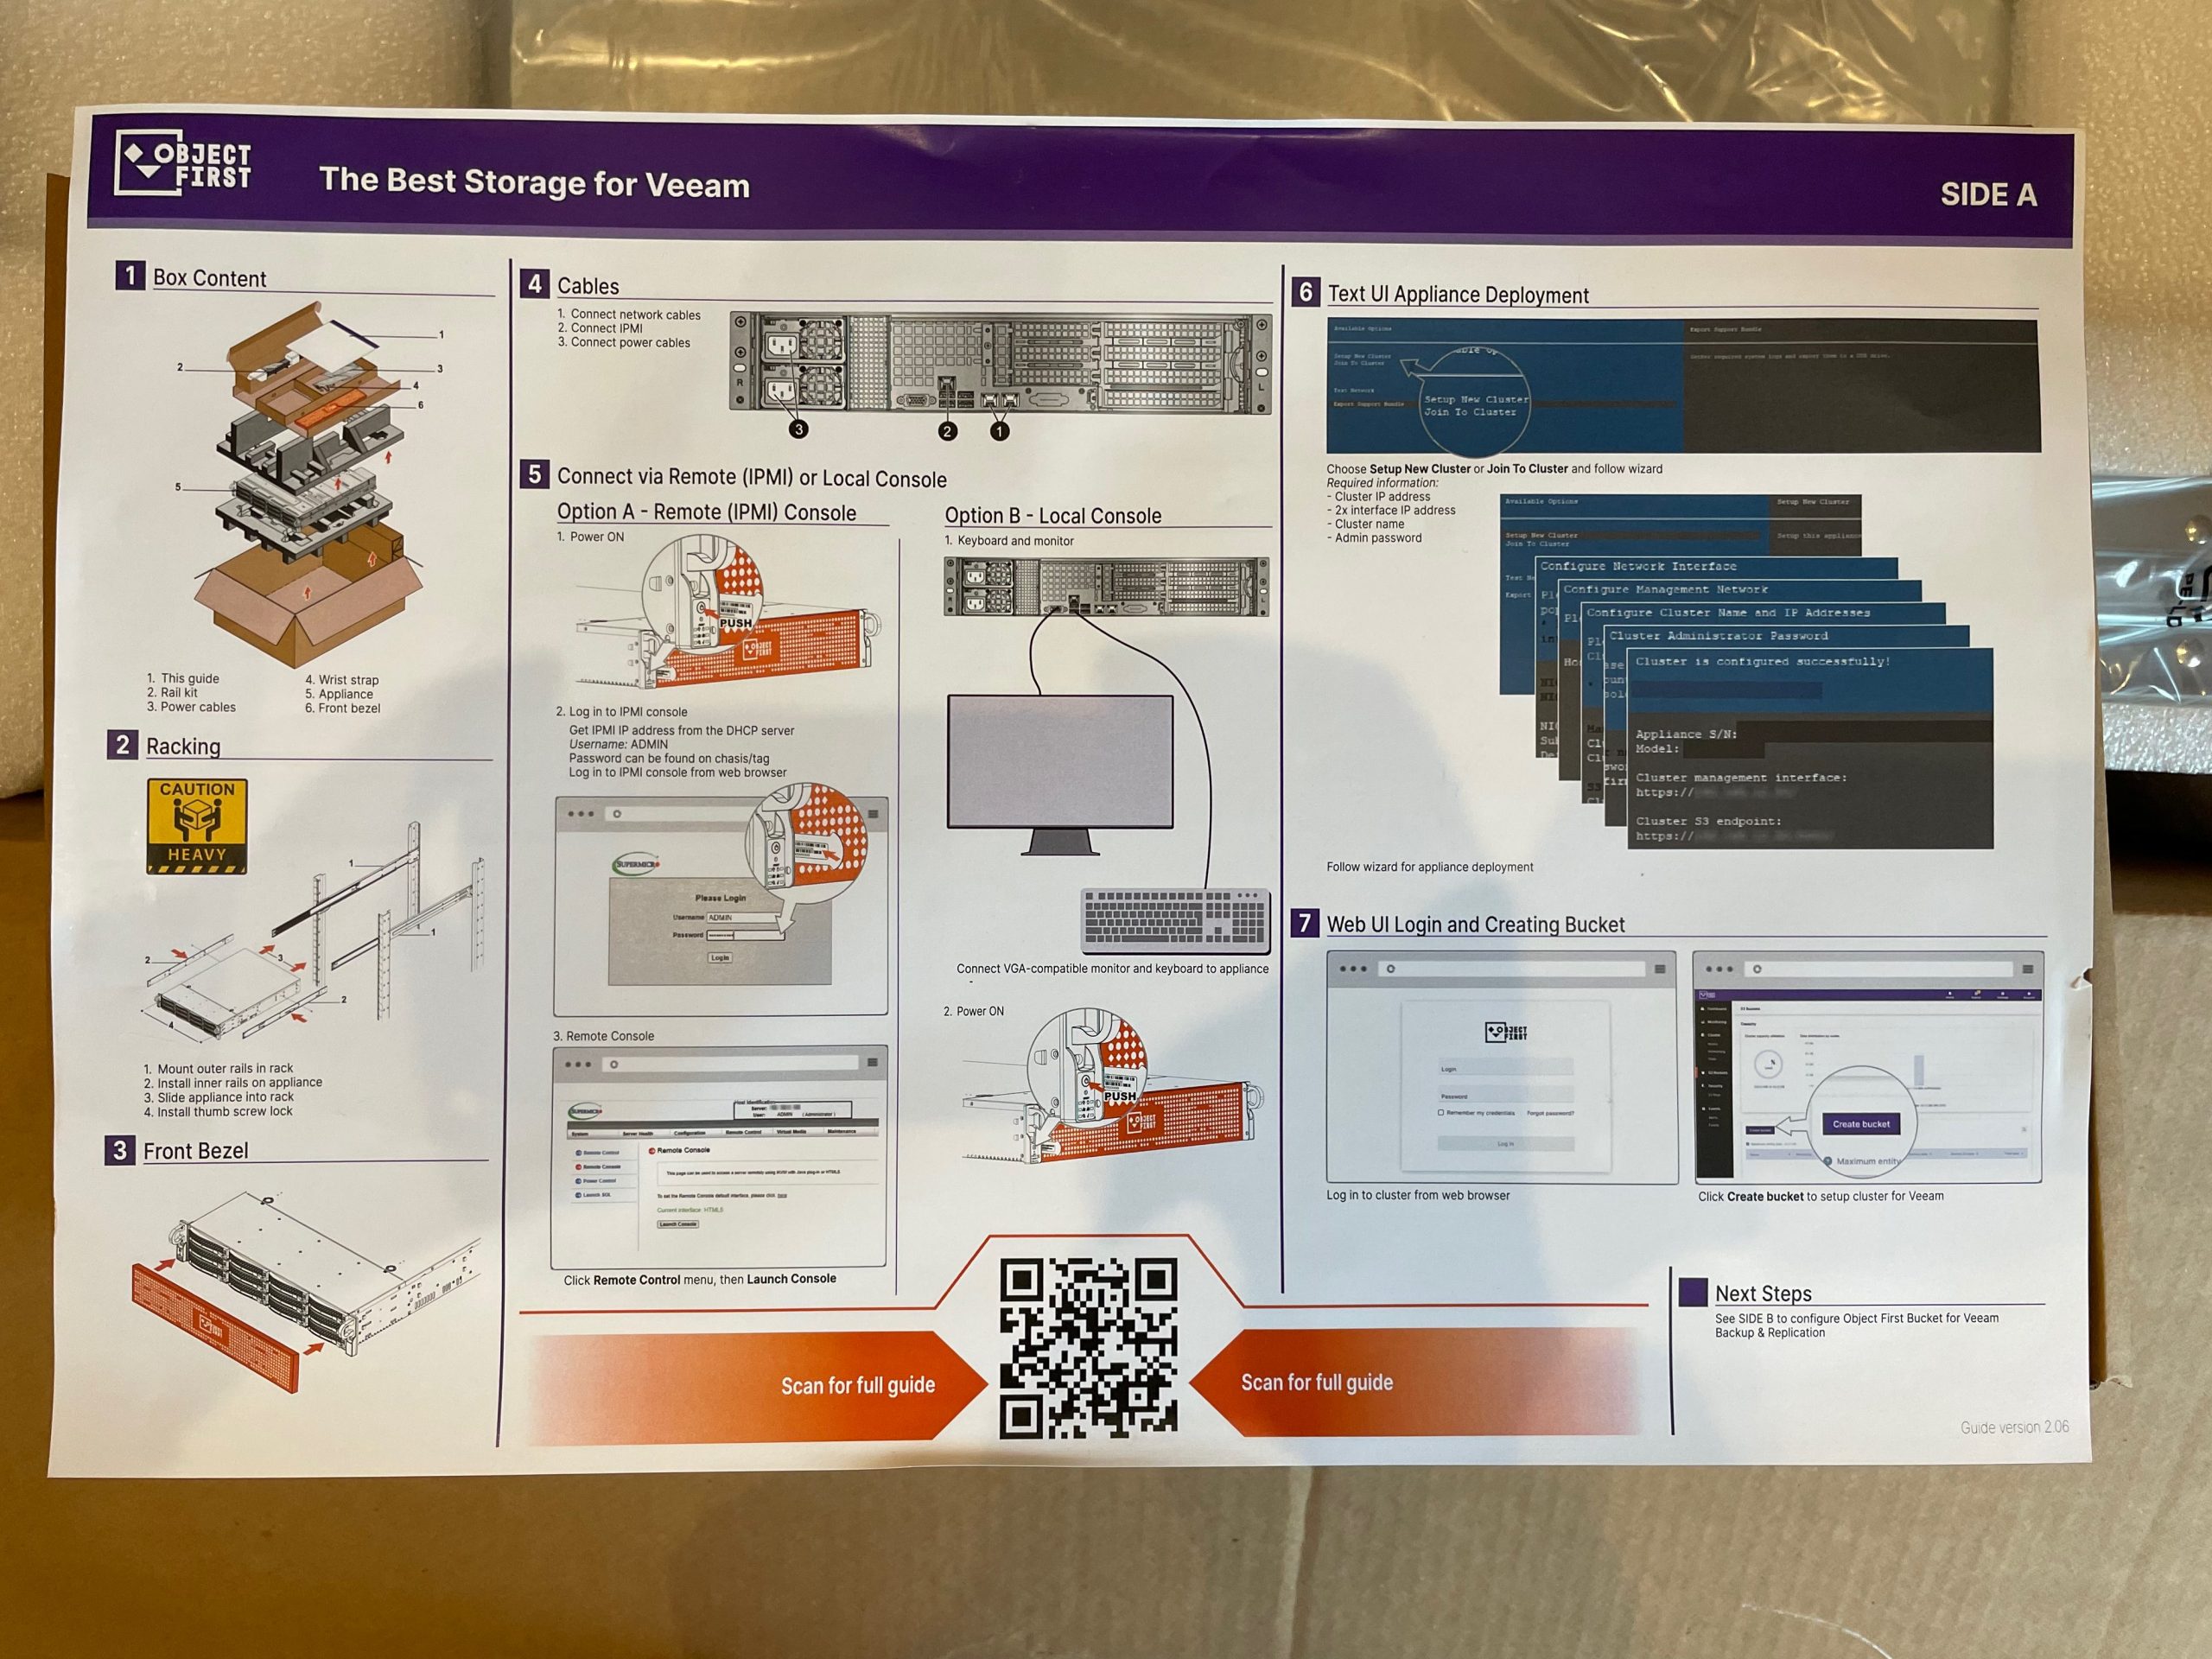
A poster with instructions—I love it! I’ll hang it in my office.
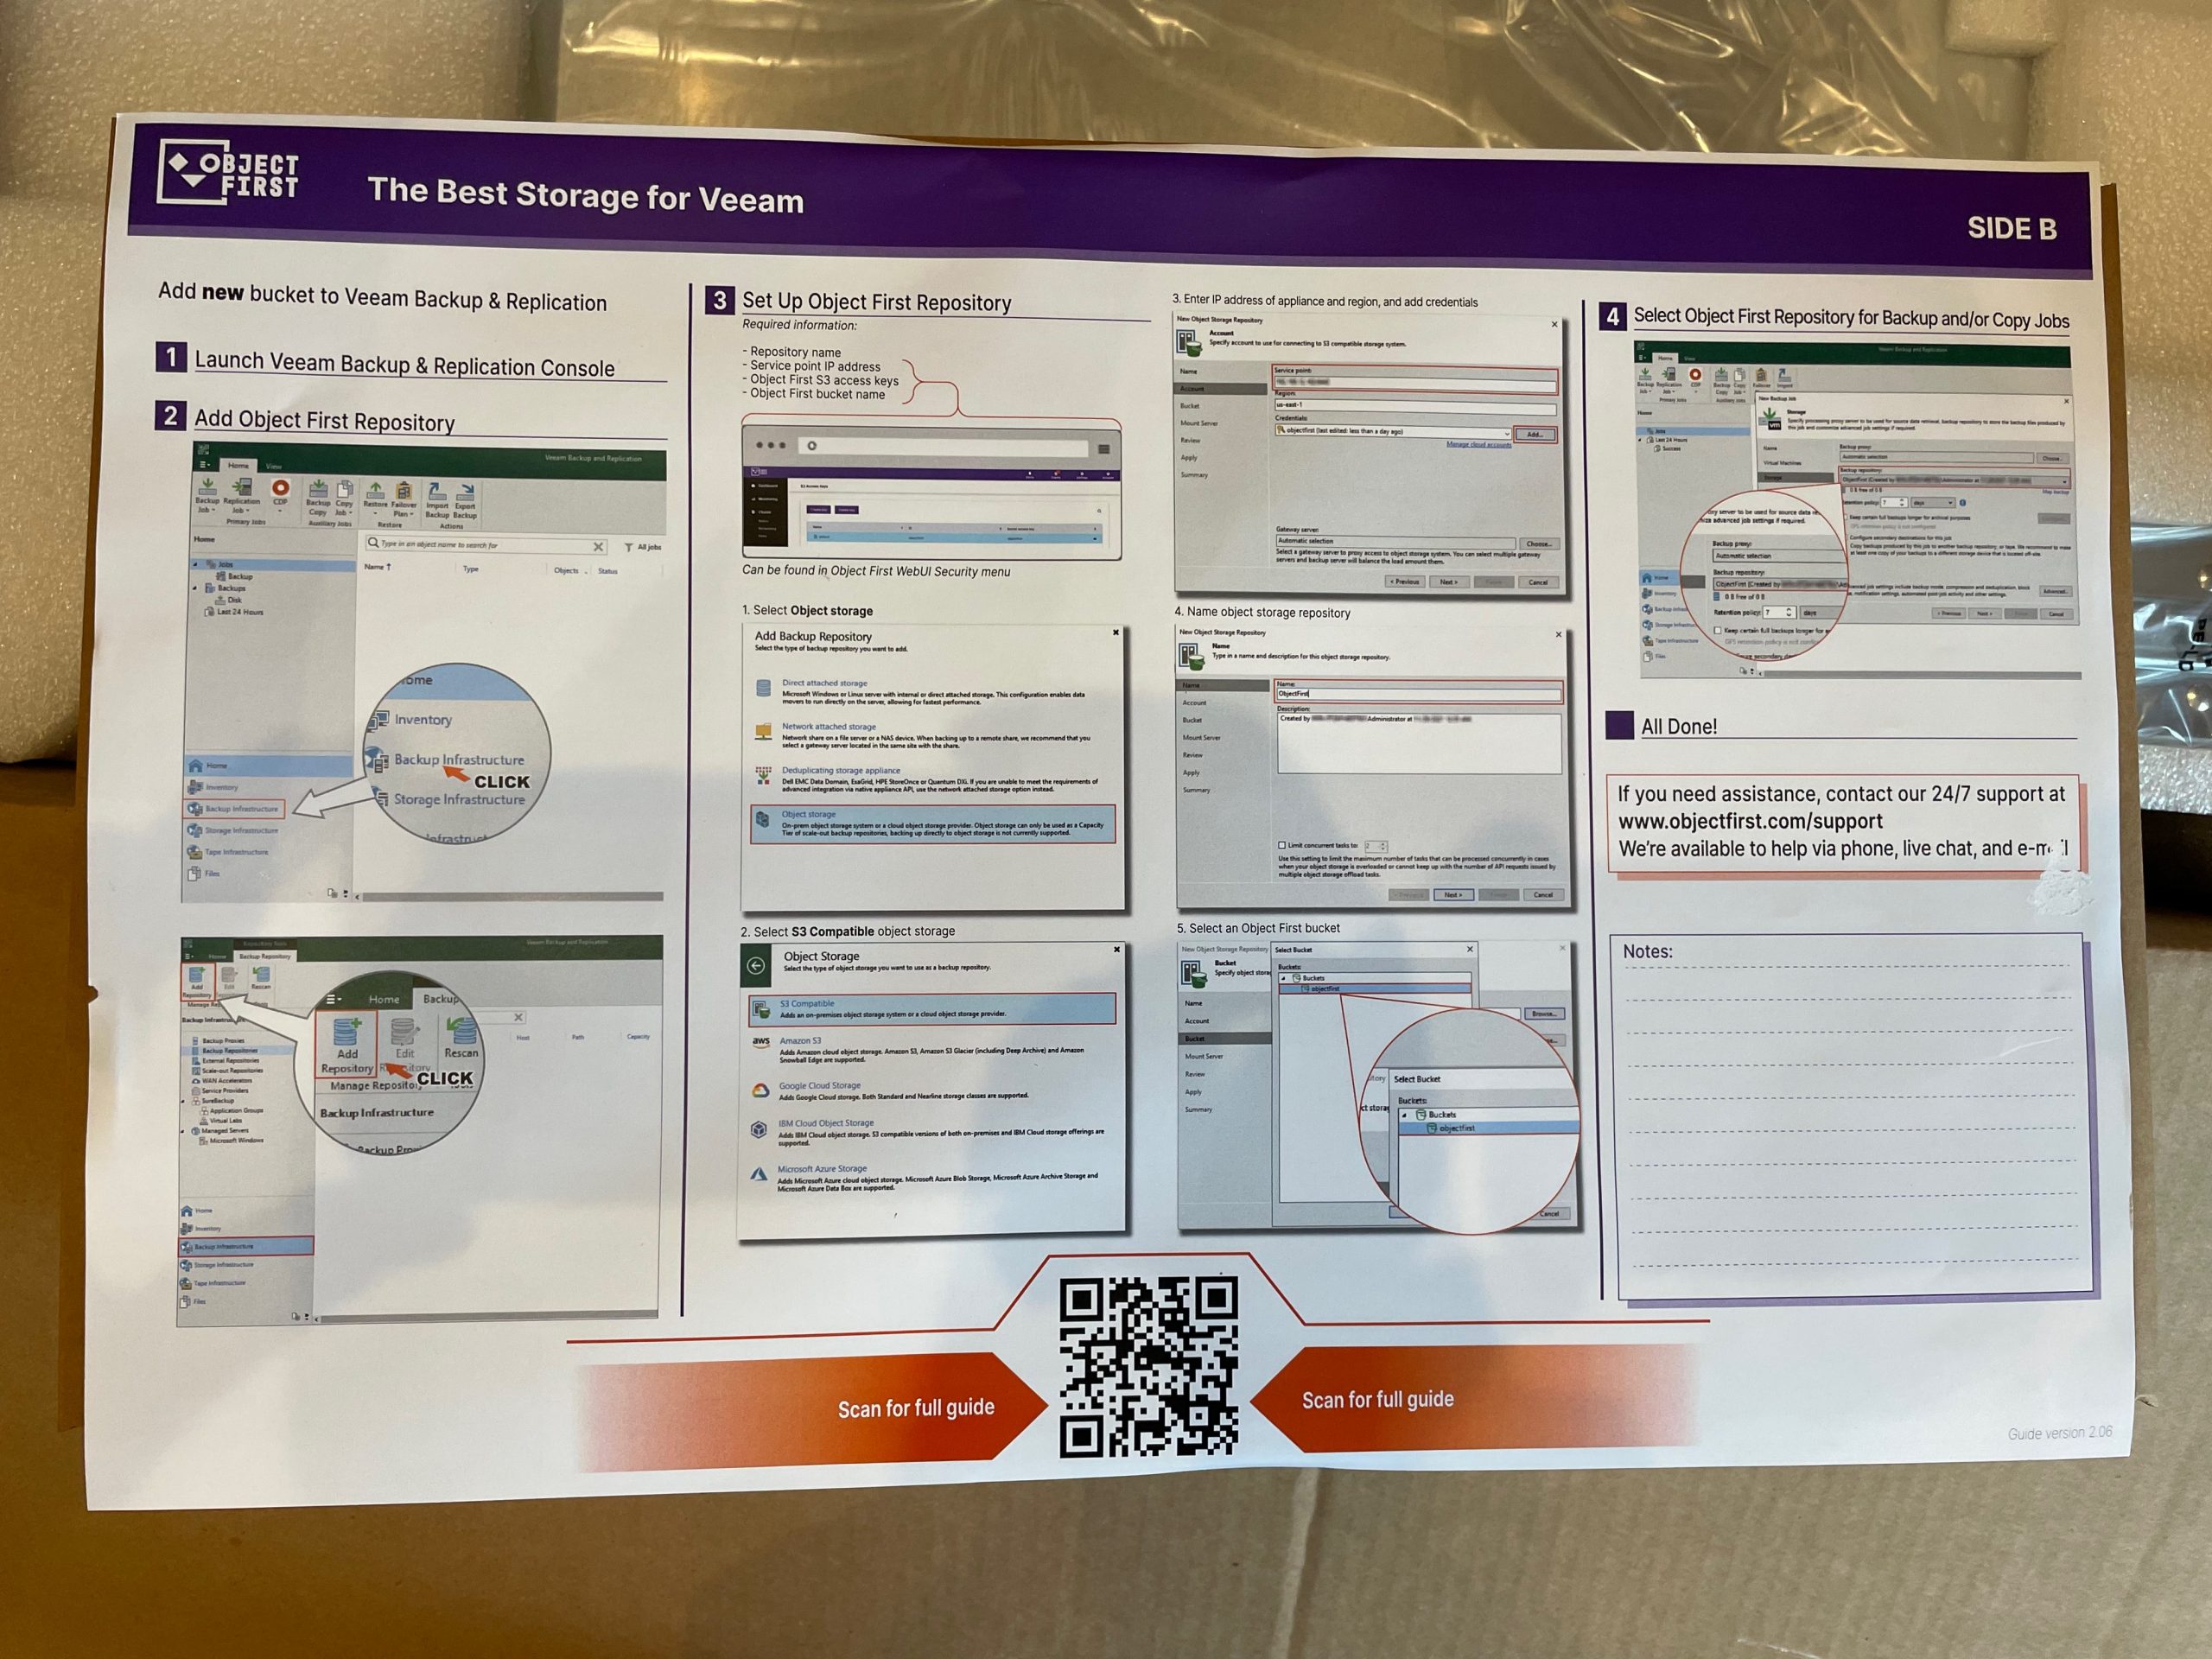
The back of the poster.
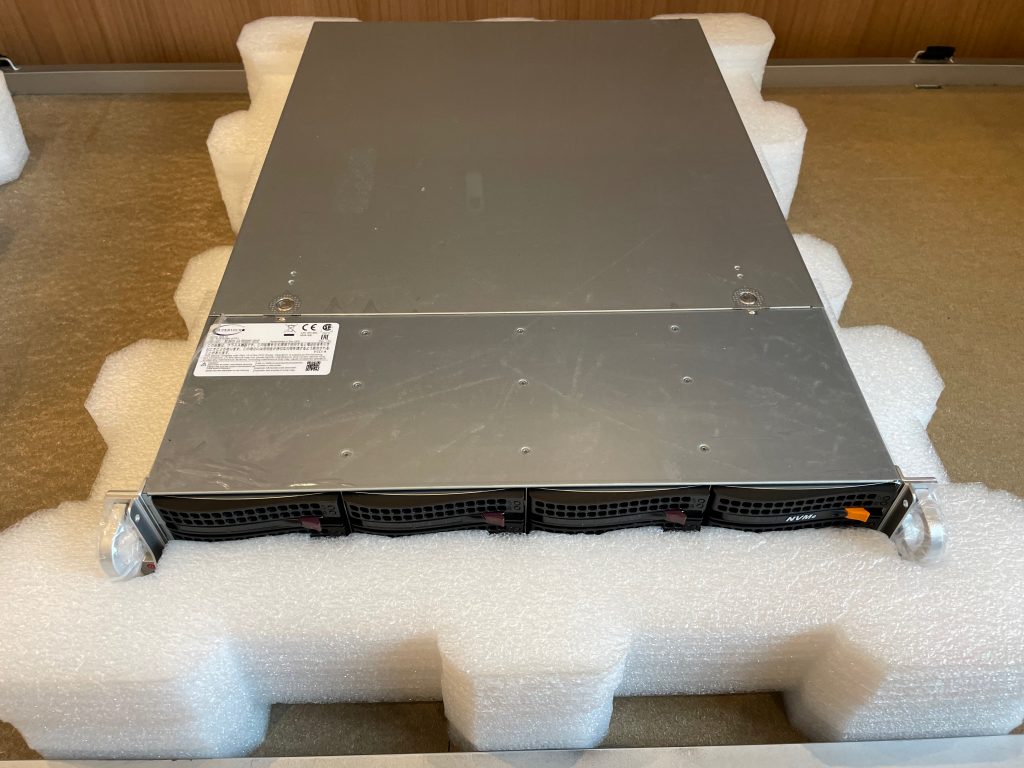
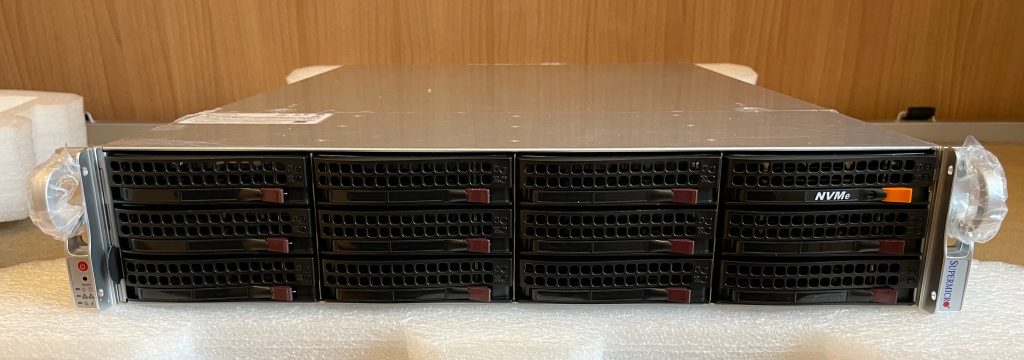
Oh yes, the front panel we’ve all been waiting for.
Goodies…
Let’s get to it.
Wow!
A beautiful front panel with 12 3.5-inch bays.
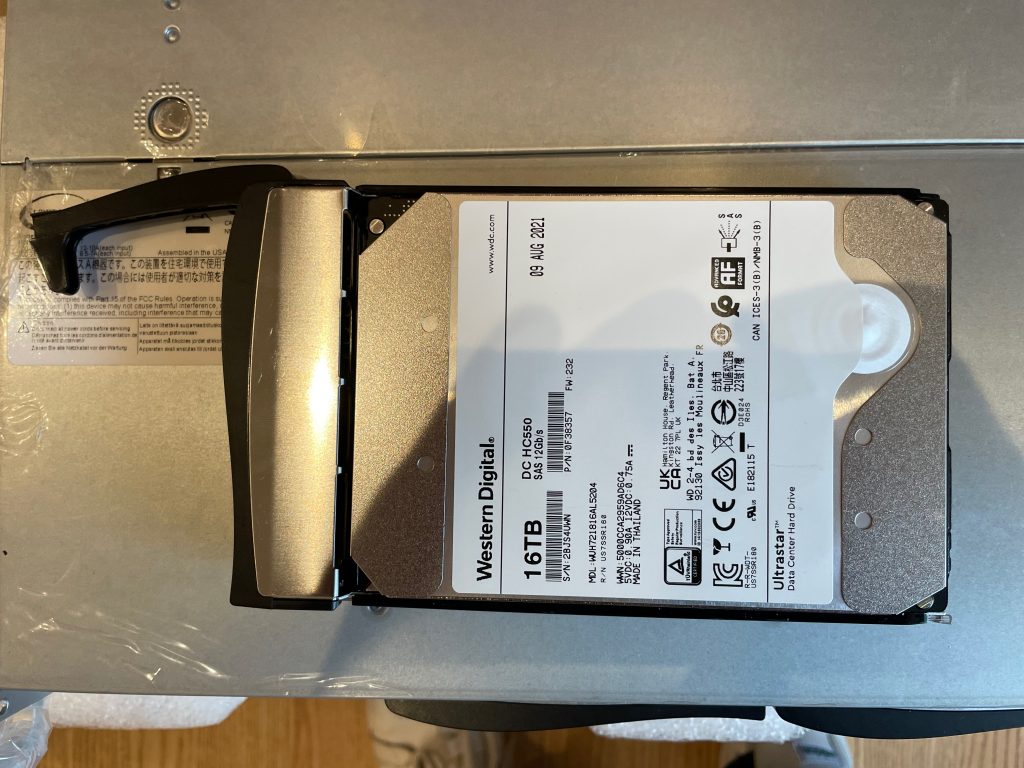
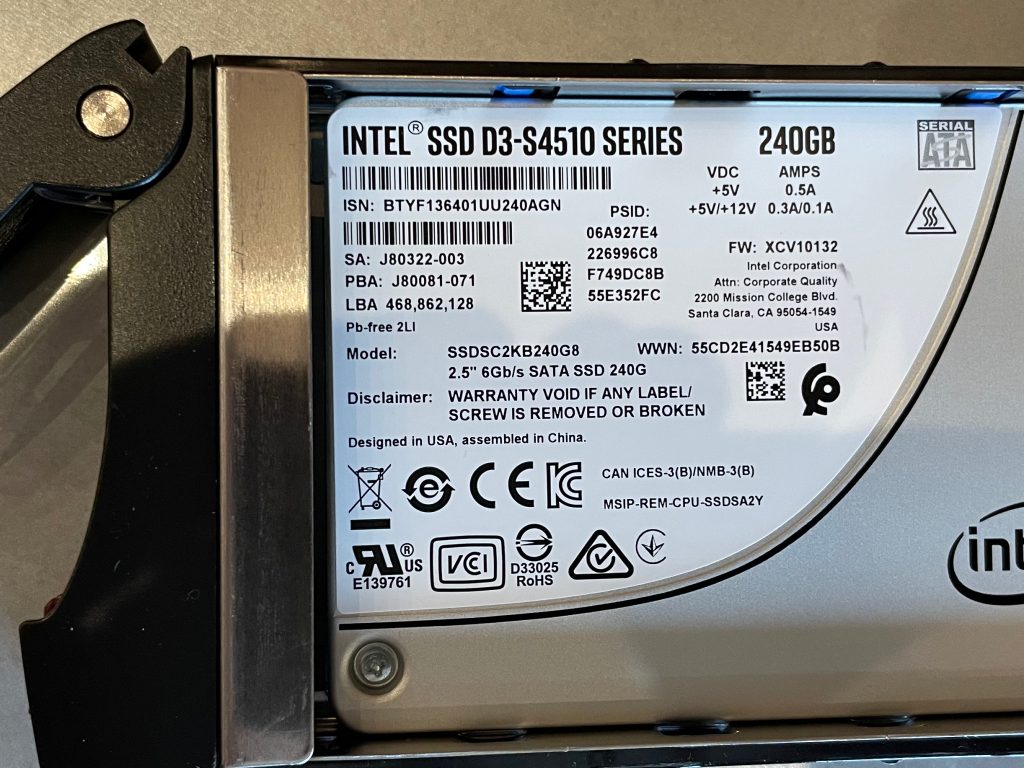
It comes with 11 drives like this one. This appliance is the 128 TB effective-capacity model.
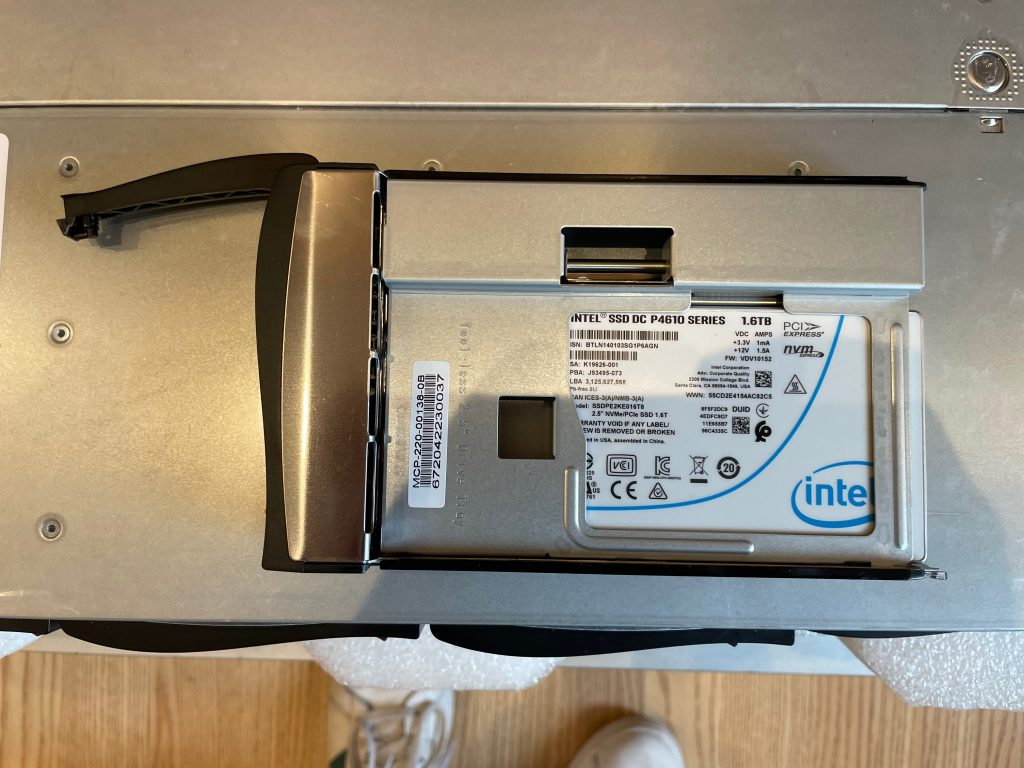
The drive in the tray labeled NVMe is the high-speed cache drive!
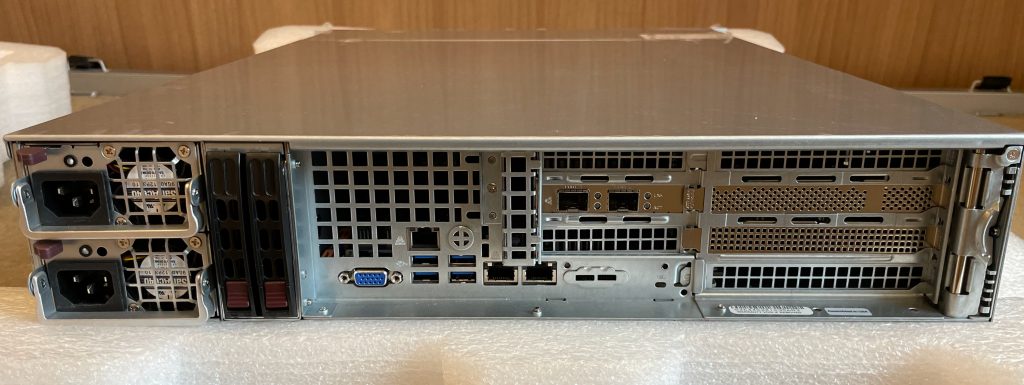
The rear panel and its backplane with two 2.5-inch drives look great!
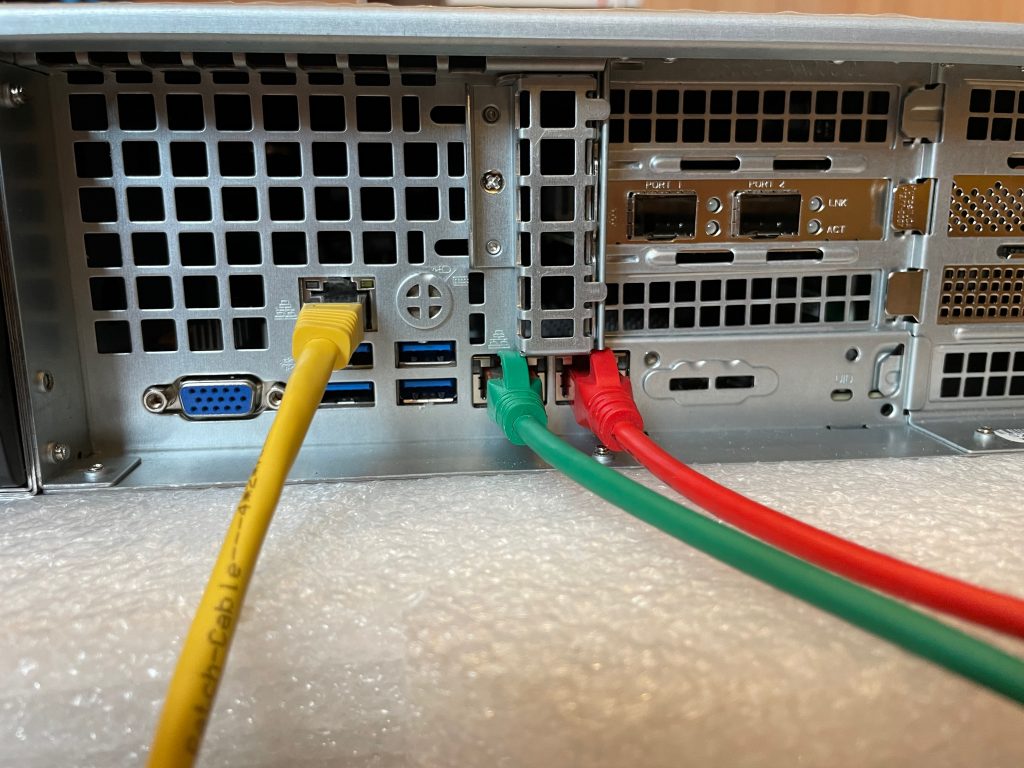
Not to forget the two 10 Gbps Ethernet ports, two 10 Gbps SFP+ ports, and the IPMI port.
The two 2.5-inch drives at the rear.
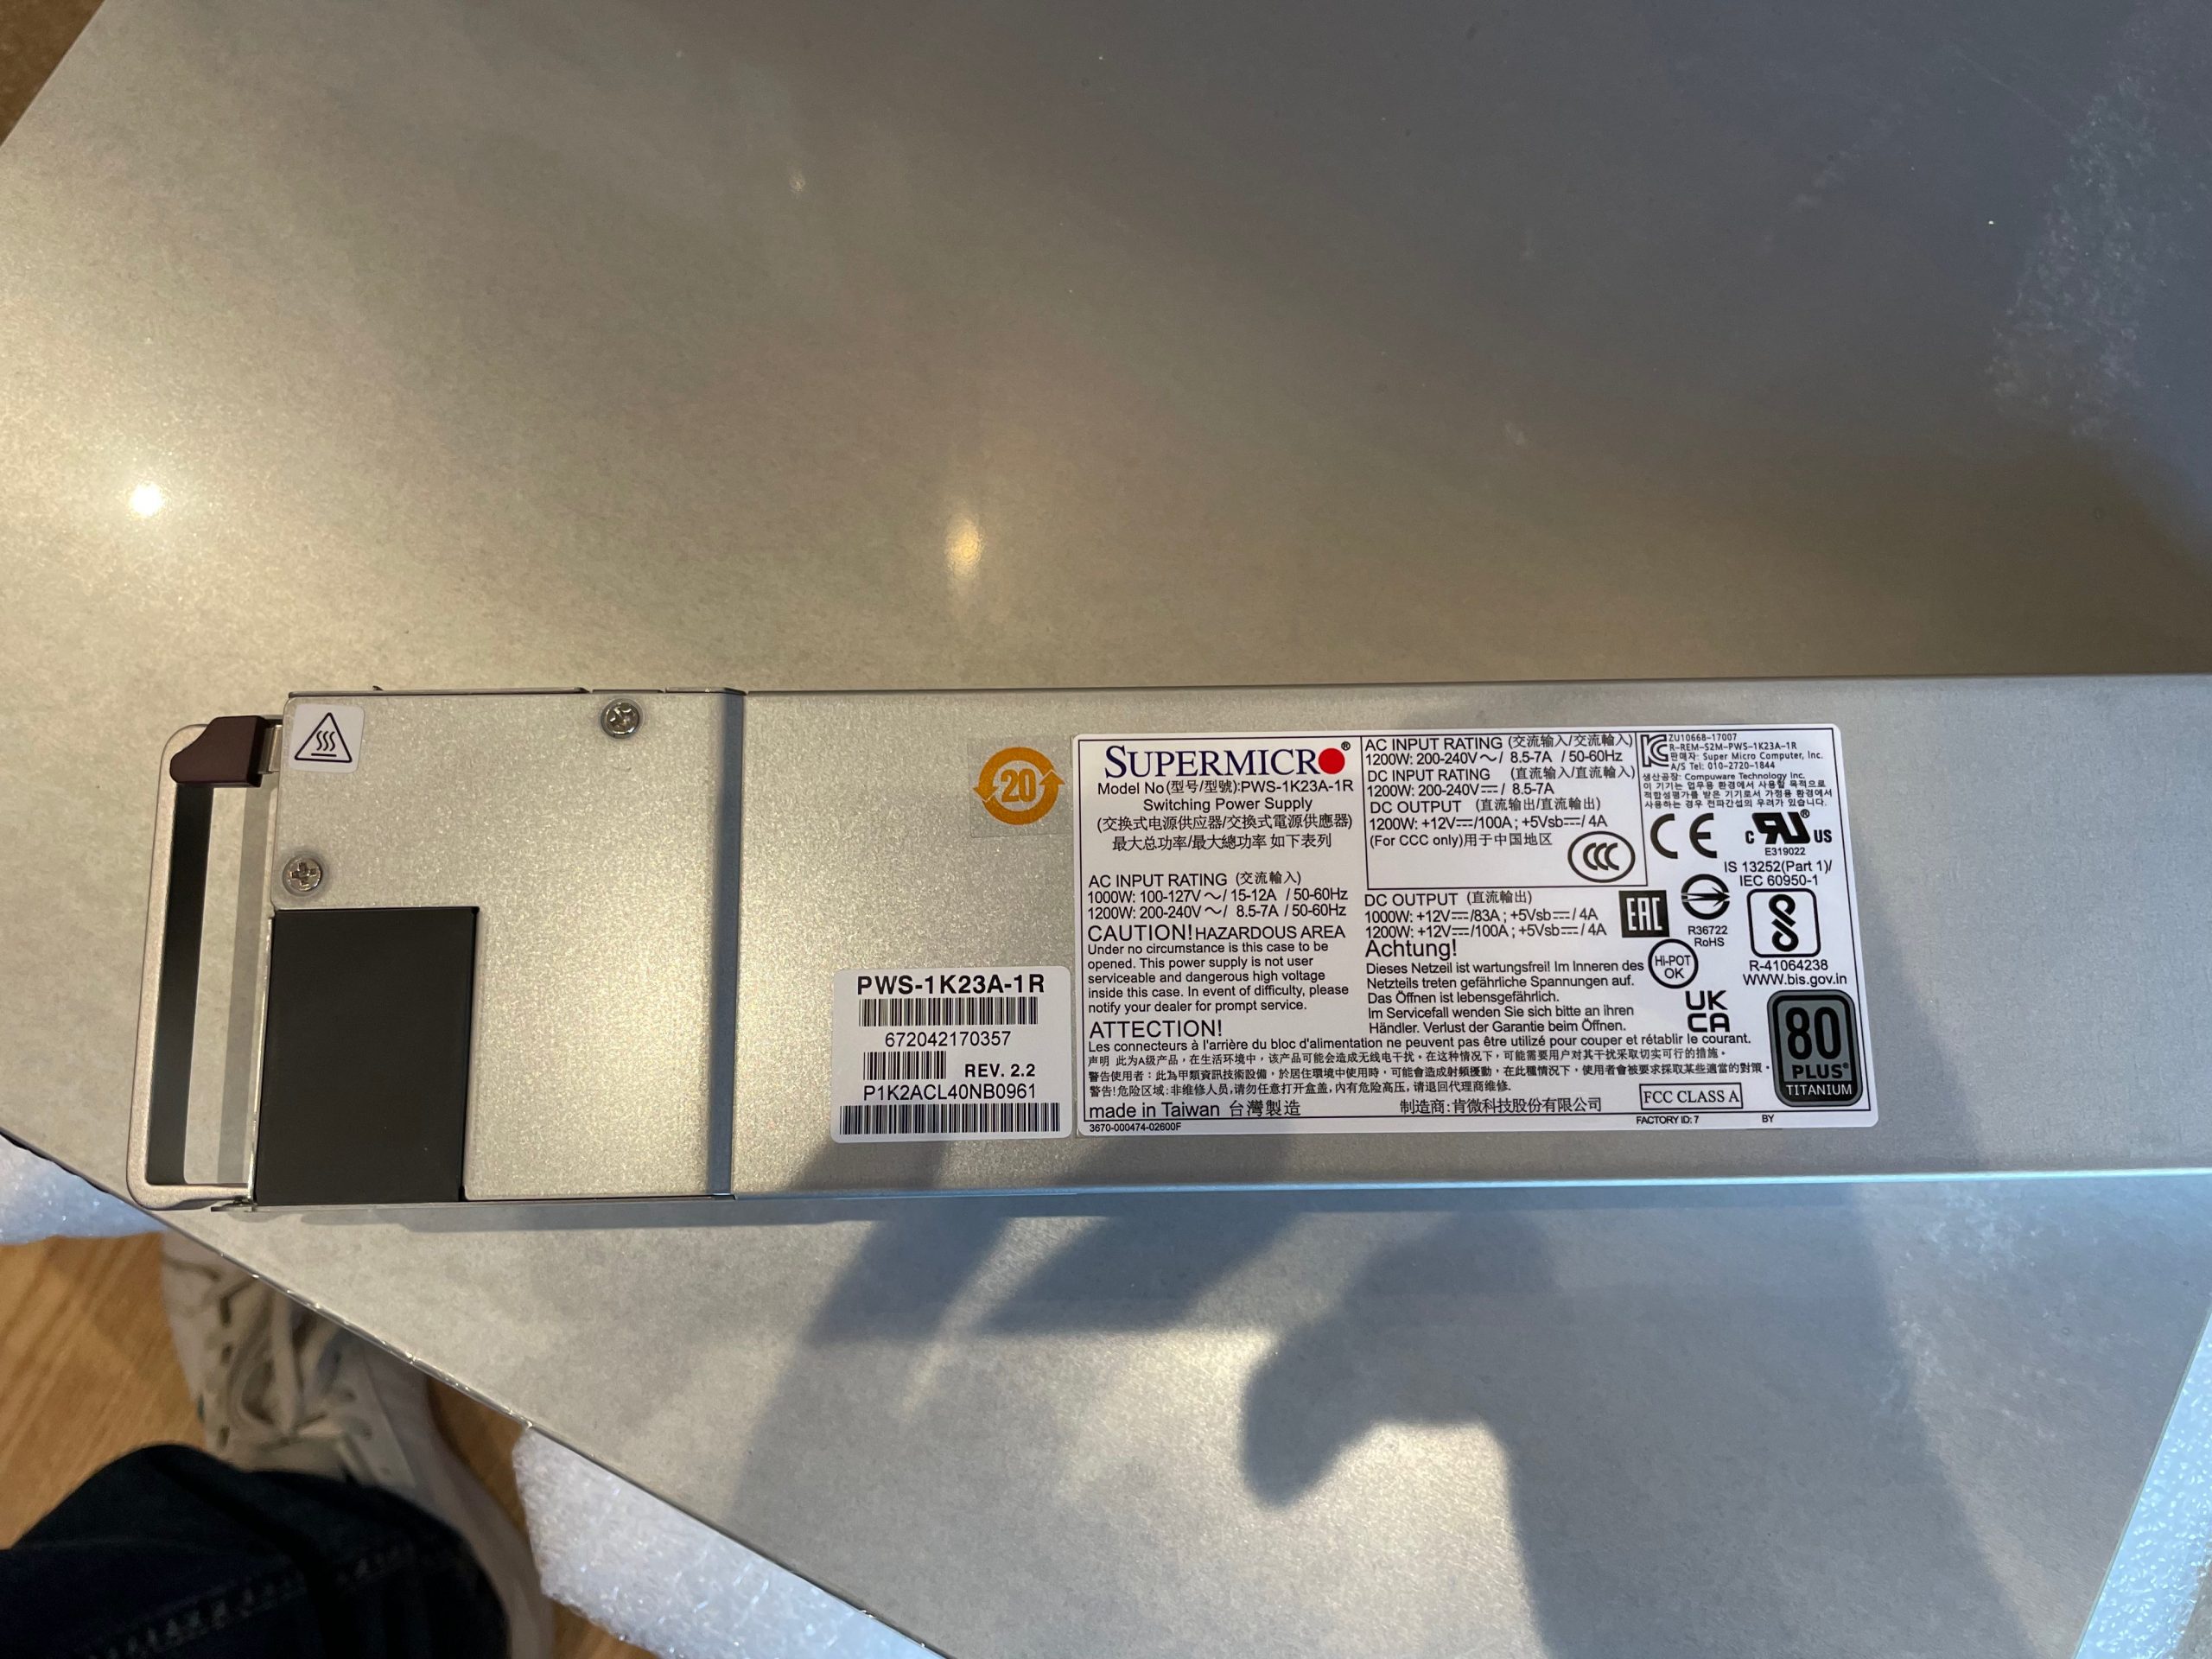
Hot-swappable power supplies: it comes with two for redundancy.
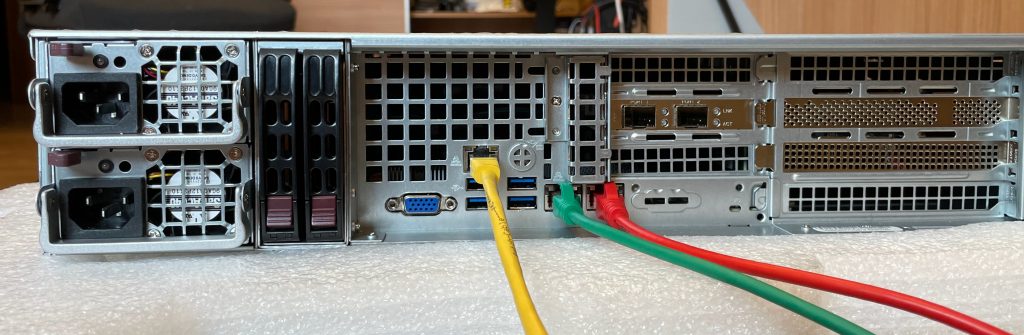
This is the rear panel with the network cables connected.
One last look at the rear—what a great design!
Here it is inside: clean and orderly, with its fans, SFP+ card, disk controller and battery, backplane, processors, and memory.
I couldn’t resist looking under the hood. It’s a beast!

That’s my first impression of the hardware and first power-on.

The build quality is excellent—Supermicro’s best.
Along with high-quality drives offering great capacity and speed!

Next time: booting the OS, integrating it with Veeam VBR 12.1, and sharing first tests and impressions.

I’ll show you the front panel again; I think it looks beautiful!
It would look fantastic hanging on the wall of my office like a picture!

Regards!

Lab DNS Server: Pi-hole

After remodeling the lab, which became a “clean slate,” I missed having a DNS server. I wanted a simple DNS server for testing and internal name resolution, and a little filtering at home.

My first thought was a Windows Server, but that seemed like too much for a VM that would need to run all the time. I want to be able to shut down the lab to save power (and avoid getting kicked out of the house!).

So I looked around and—boom!

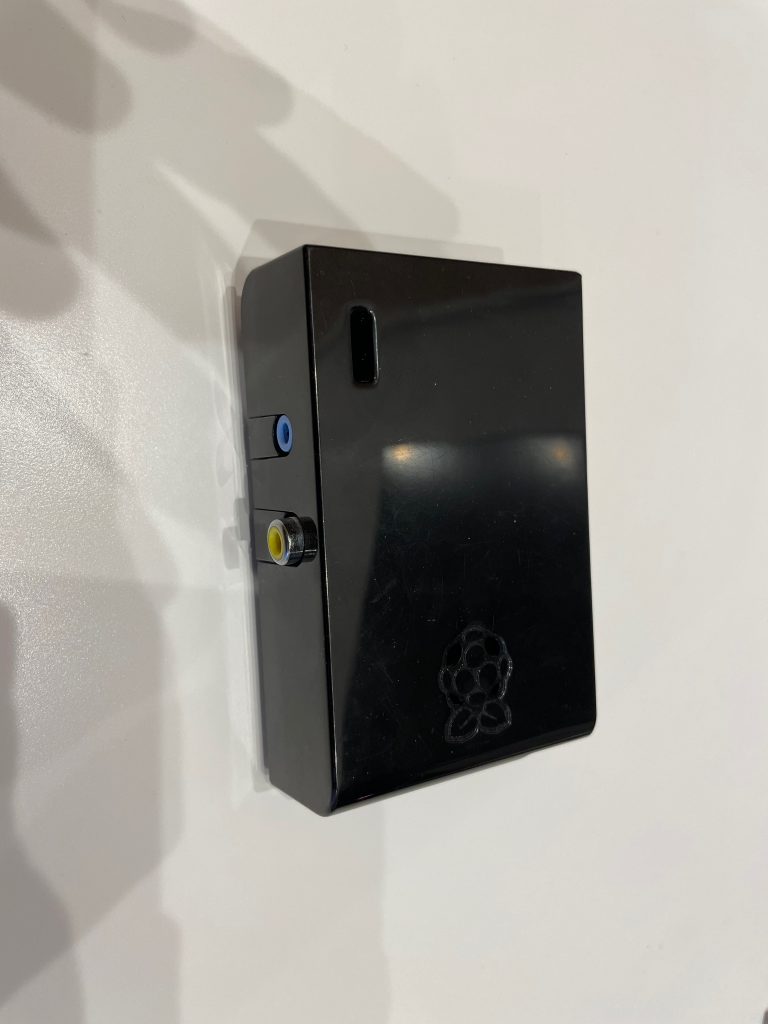
An old, old Raspberry Pi… with a “big” HDMI port and RCA video output!

I thought: if all I need is DNS, something quiet and low-power, maybe I can get this running…

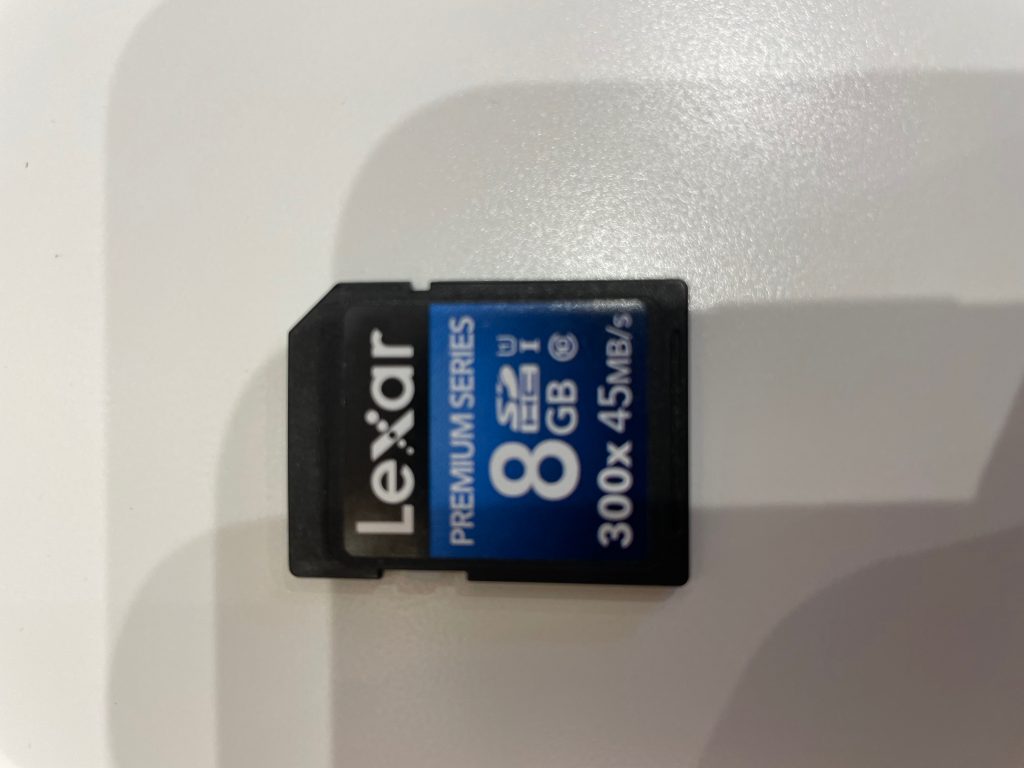
My trusty Pi booted, so now I needed to find a “large” SD card.

Do you remember this? An SD card! XD

All that was left was downloading the app to prepare the card. Since I use a Mac,
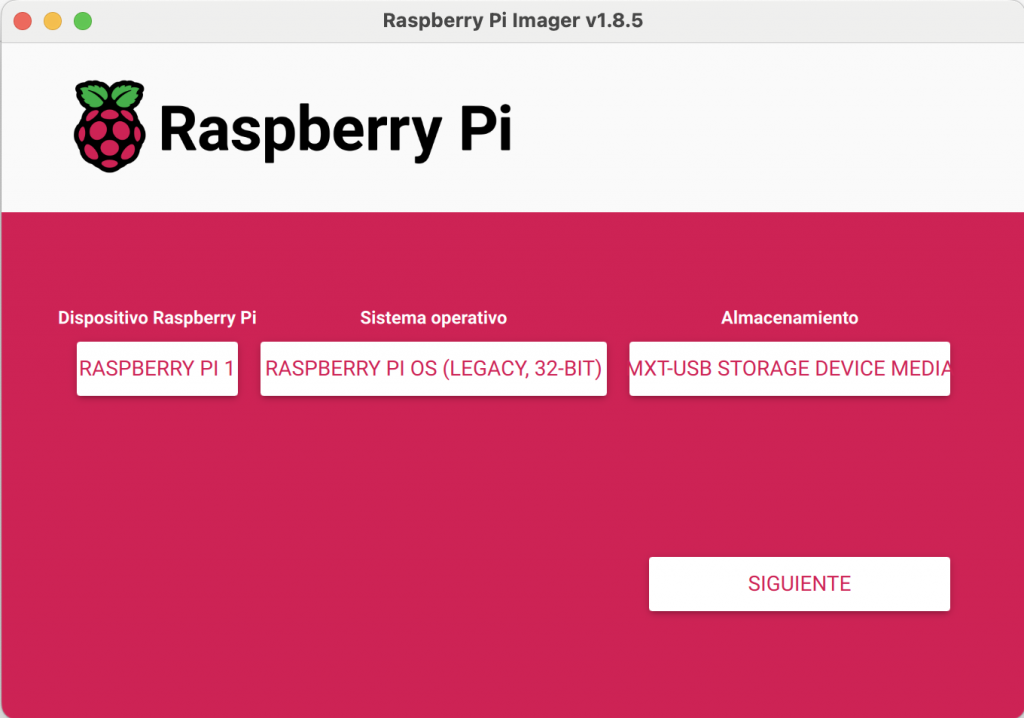
we’ll use Raspberry Pi Imager:

https://www.raspberrypi.com/software/

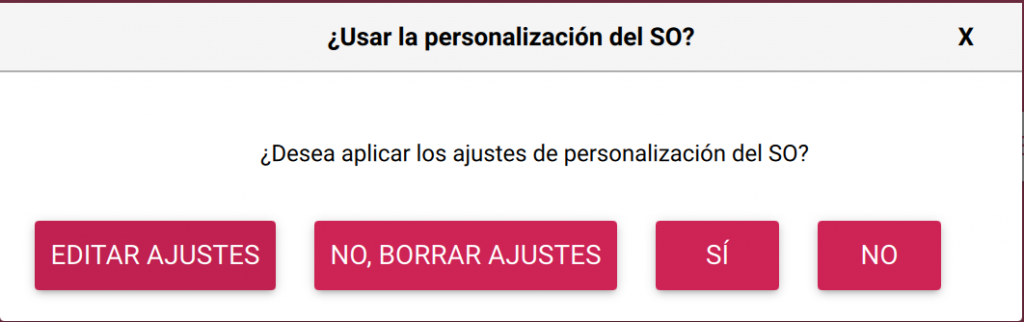
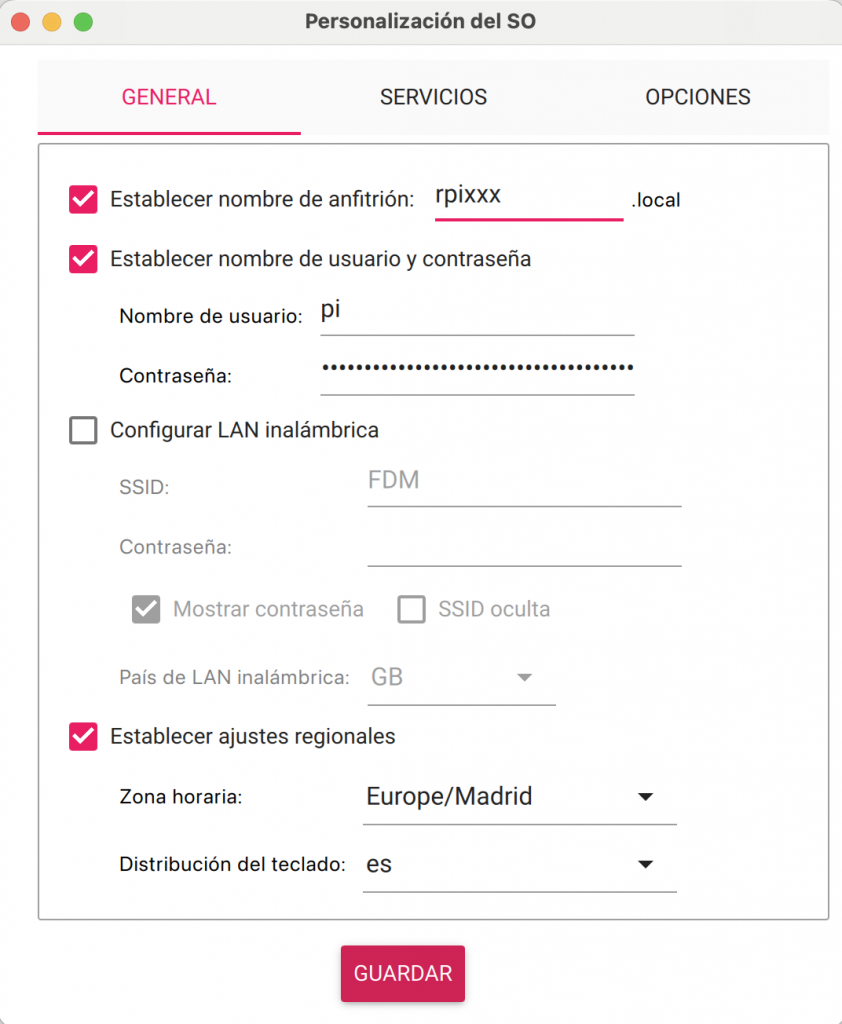
Once installed, open it, insert the card, and simply choose the image, destination, and device to filter the options.

Once the card is ready, plug it in and boot the Pi!

And voilà! It booted!

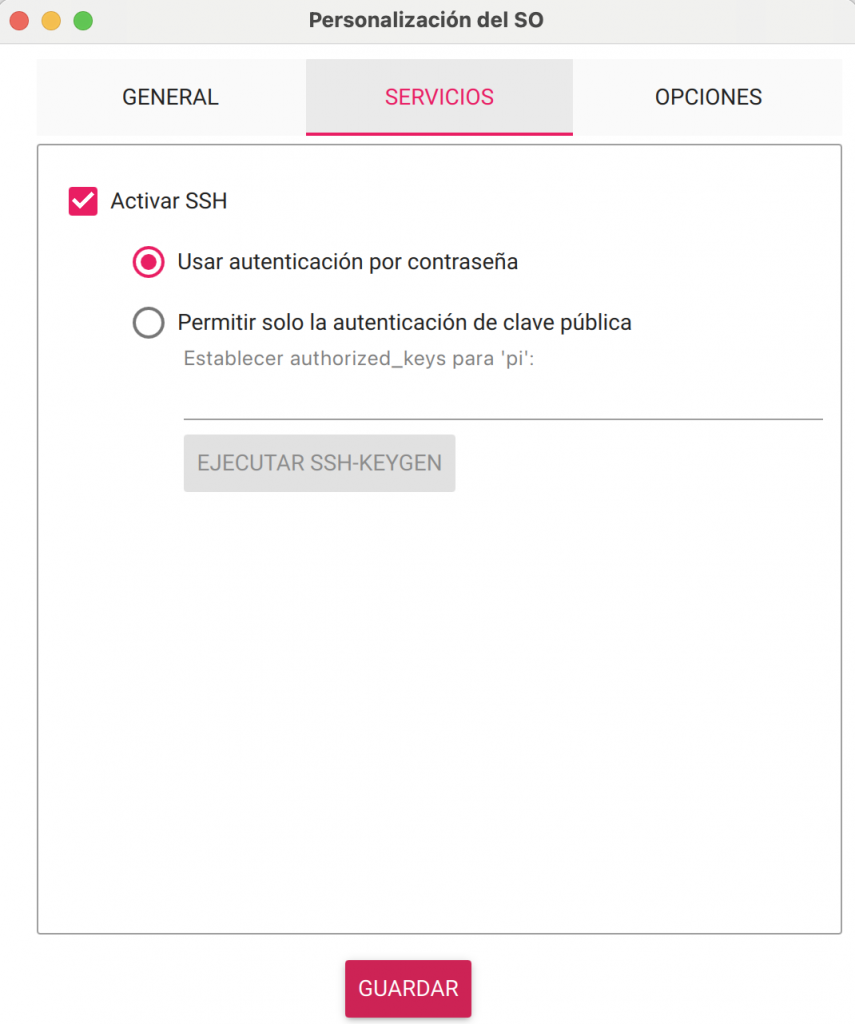
Now SSH into the Pi and start installing Pi-hole.

Go to the website and run the installation command with sudo:

https://docs.pi-hole.net/main/basic-install/

curl -sSL https://install.pi-hole.net | bash

Let’s do it!

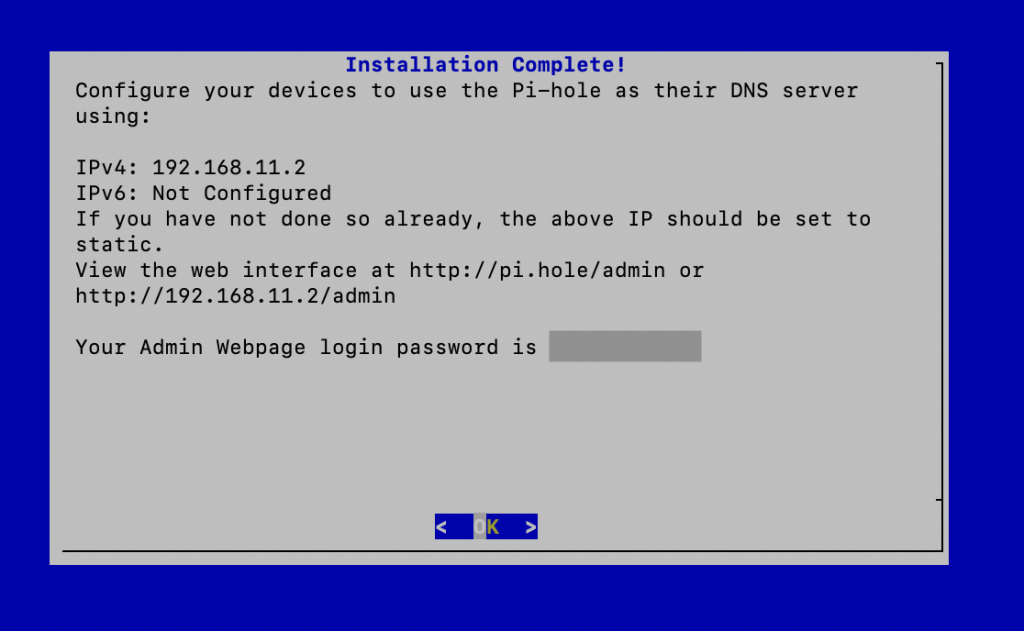
After a few simple steps, you’ll reach a final screen showing the password for the web console. Save it, because it disappears; if you need it later, you’ll have to reset it.
Read the prompts. They’re straightforward, such as whether to install the web administration console.
The wizard also lets you assign a static IP address to the Raspberry Pi or leave it on DHCP. The choice is yours. I set a static IP because I plan to use it as a DHCP server later too!

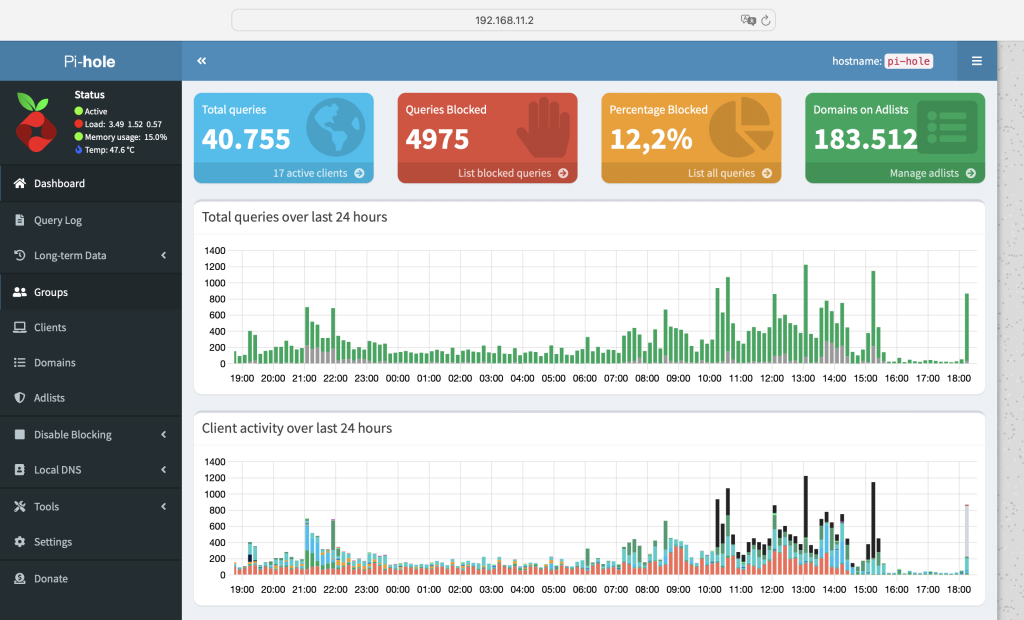
Open the console, and it should look like this:

Now change the DNS server handed out by your DHCP server to the Pi-hole’s IP address,
and you’re up and running.

It’s intuitive and easy to use.
You can enable several DNS providers, such as Comodo, OpenDNS, and Google.
You can block domains from adlists, add your own blocked domains, create custom DNS entries, and more…

It’s great.

Regards.

Telegram Notifications from Ubuntu Server – all SSH Logins

Recently I added to my home lab, my first Ubuntu Server with a Hardened Repository for Veeam Backup, you can find more info here.

Now, the thing is, I want to be able to get notified if some user logs into the server via ssh, as a extra control, since I disable the SSH service when I dont use it.

Also the idea came, to be able to get notified from other applications via telegram, so wasn’t a crazy idea at the end.

from previous entries, or the internet, you can easily find how to create a Bot, and how to get your ID, so Im not going to dive into that,

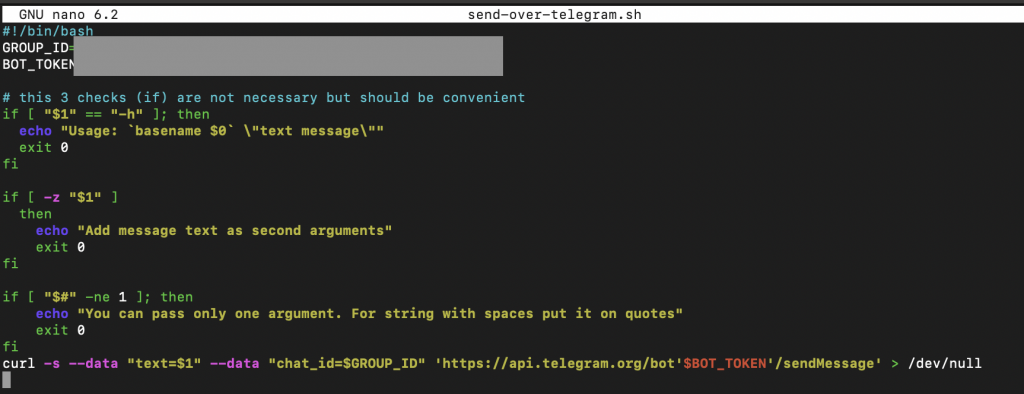
So first, once we have created and activated our bot and user ID, lets go a create our Telegram messaging program,

in our home, lets create a file like this:

nano send-over-telegram.sh
#!/bin/bash
GROUP_ID=
BOT_TOKEN=

# this 3 checks (if) are not necessary but should be convenient
if [ "$1" == "-h" ]; then
  echo "Usage: `basename $0` \"text message\""
  exit 0
fi

if [ -z "$1" ]
  then
    echo "Add message text as second arguments"
    exit 0
fi

if [ "$#" -ne 1 ]; then
    echo "You can pass only one argument. For string with spaces put it on quotes"
    exit 0
fi
curl -s --data "text=$1" --data "chat_id=$GROUP_ID" 'https://api.telegram.org/bot'$BOT_TOKEN'/sendMessage' > /dev/null

GROUP_ID: Your Group ID from your telegram suscription
BOT_TOKEN: your token received when you created your bot.

let`s convert this into a “program” to do so, lets move (or copy) our file into the route /usr/sbin

sudo mv send-over-telegram.sh /usr/sbin/send-over-telegram

Everything inside /usr/sbin is owned by root, so lets change the ownership to our file

sudo chown root:root /usr/sbin/send-over-telegram

Finally, we want any user to execute this “program” so lets also modify the permissions for that

sudo chmod 0755 /usr/sbin/send-over-telegram

now we can test it out:

send-over-telegram test

you should get the “test” text message into your Telegram Group!

Now, let’s get notified any time a user logs into our server via SSH, to do so, we are going to create a script, and move it to a specific folder.

nano login-notification.sh
#!/bin/bash
    
# prepare any message you want
login_ip="$(echo $SSH_CONNECTION | cut -d " " -f 1)"
login_date="$(date +"%e %b %Y, %a %r")"
login_name="$(whoami)"

# For new line I use $'\n' here
message="New login to server"$'\n'"$login_name"$'\n'"$login_ip"$'\n'"$login_dat>

#send it to telegram
send-over-telegram "$message"

As you can see, here we are sending the information to our previously created “command” send-over-telegram

now, lets move (copy) the script where needs to be to trigger the alert:

sudo mv login-notification.sh /etc/profile.d/login-notification.sh
sudo chown root:root /etc/profile.d/login-notification.sh
sudo chmod 0755 /etc/profile.d/login-notification.sh

We are done!
Now, lets log off and back on to our Ubuntu Server,

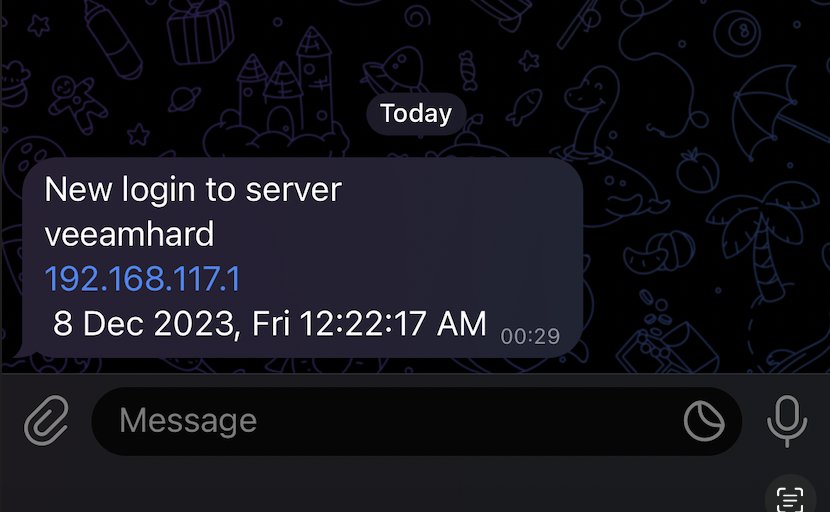
You should get your Telegram Message with the information like this:

Remember!!

After using your SSH access, you should always disable it from the server, to avoid unwanted accesses to your server remotely, and do local changes or enable it just when you need to

To disable SSH:

sudo systemctl stop ssh
sudo systemctl disable ssh

Cheers!