
Let’s continue setting up our Proxmox Lab.
Download the ISO file from the Proxmox site .
I then wrote it to a USB Thumb drive to boot and Install, I use a Mac, so I did it with BalenaEtcher.
Now, I will post a few screenshots of the installation process.
I did the same steps on the three nodes, just changing the managing IP address and hostname, the rest, the same:

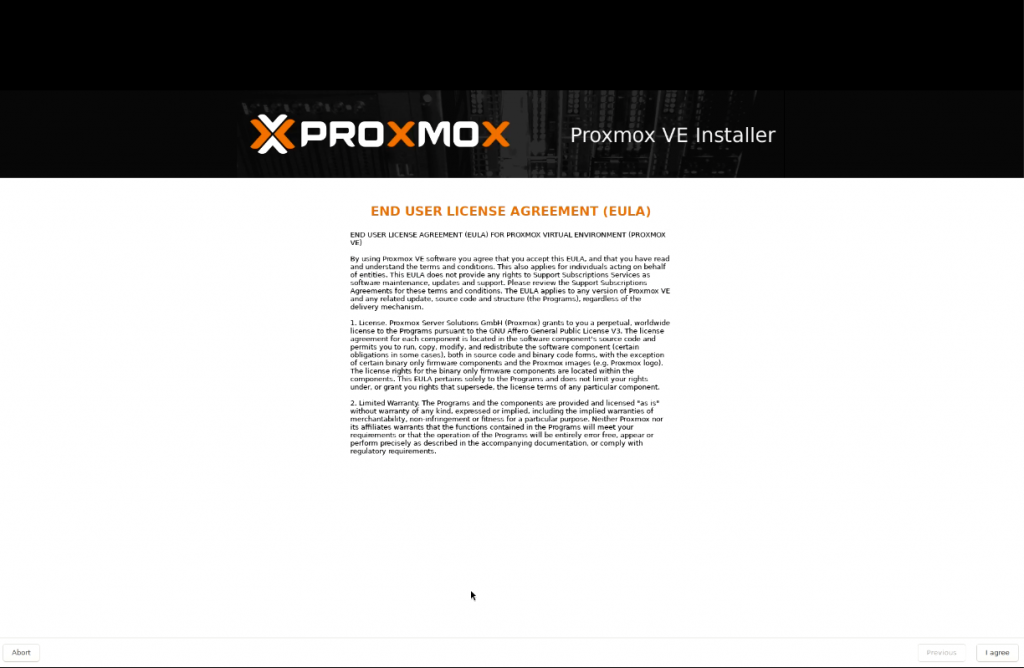
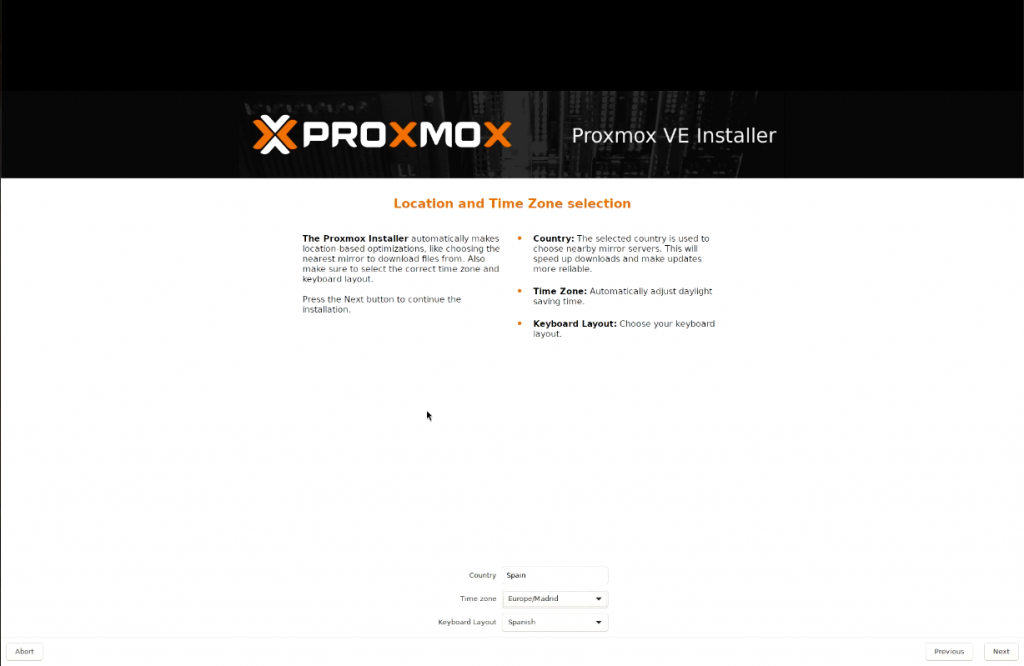
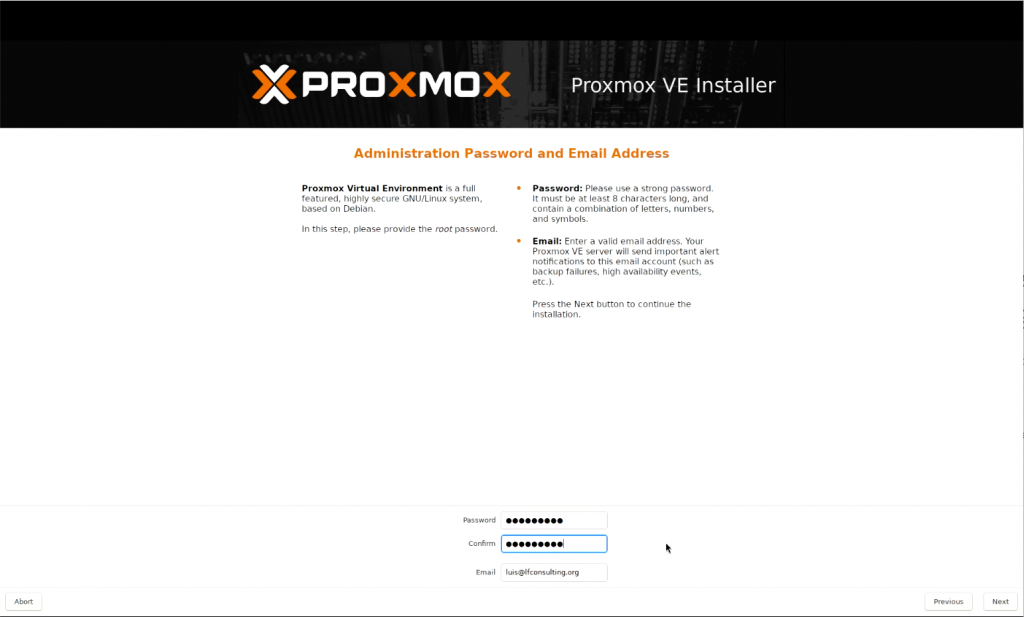


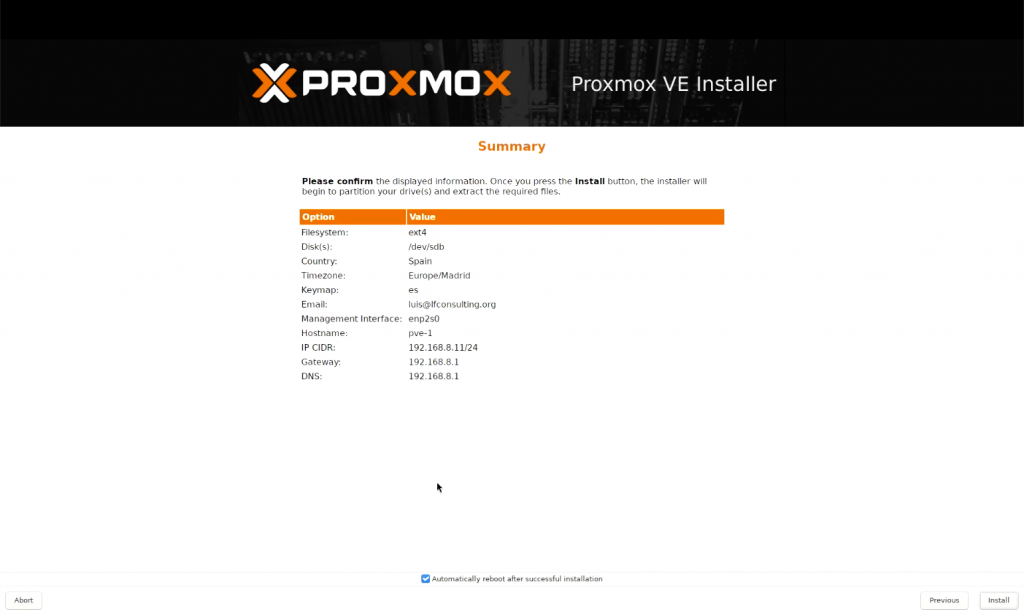
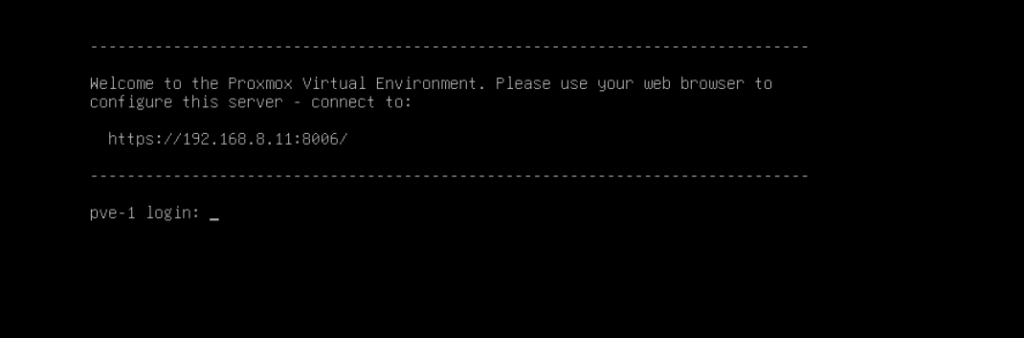
The OS installation is super simple,
Now, in the next entry, we will get into details with the console, initial configurations and shared CEPH storage.
Stay tuned.